Here is the easiest way to decorate a simple and cheapest photo frame using ordinary toilet paper rolls.
You will need about a dozen rolls
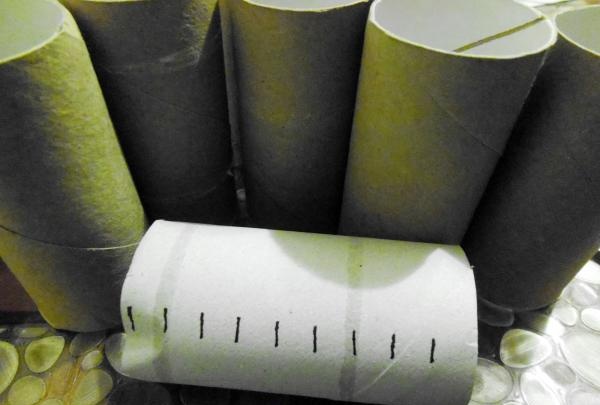
We mark them into equal sections of 1 cm.
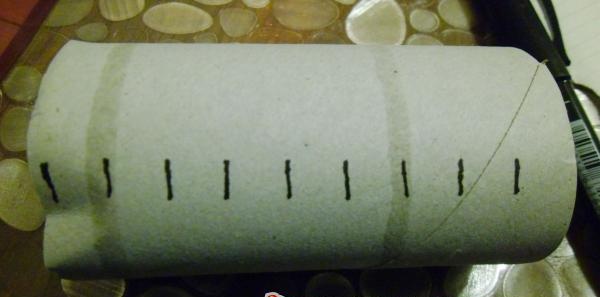
We cut the rolls into strips.
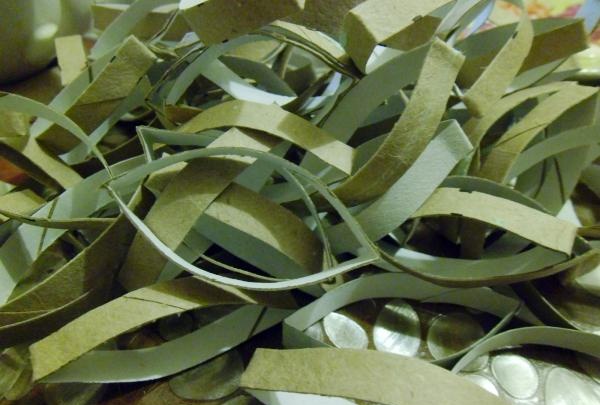
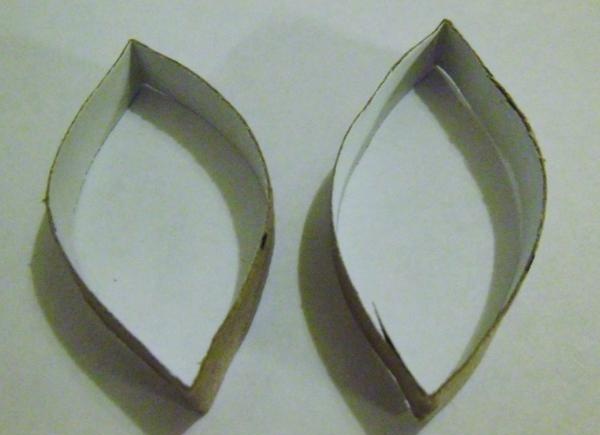
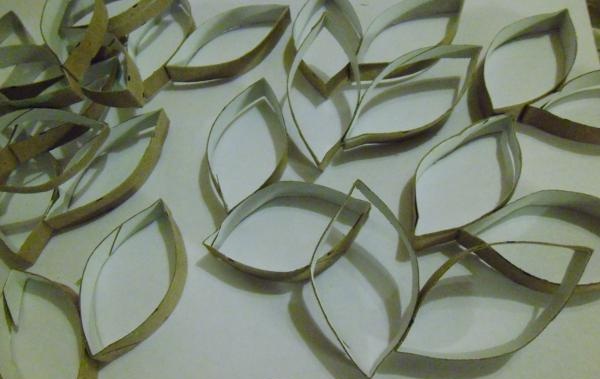
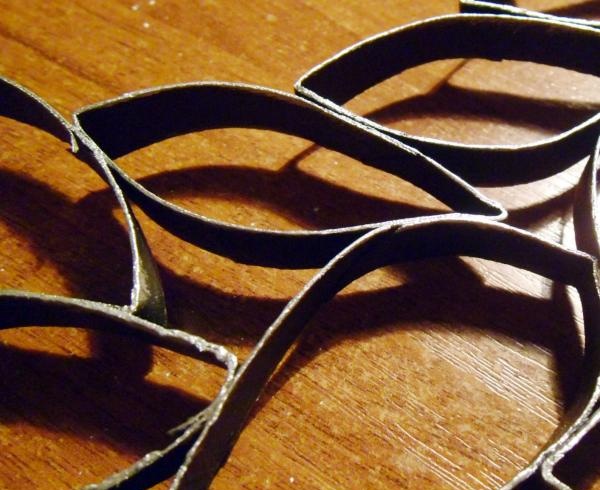
Feel free to crumple them in half; this is exactly the shape of cardboard we will need for the frame.
We divide all strips into three parts. We put one third part aside, and from the remaining two parts we make the initial blanks.
To do this, lubricate one strip with glue, just below the middle. See photo.
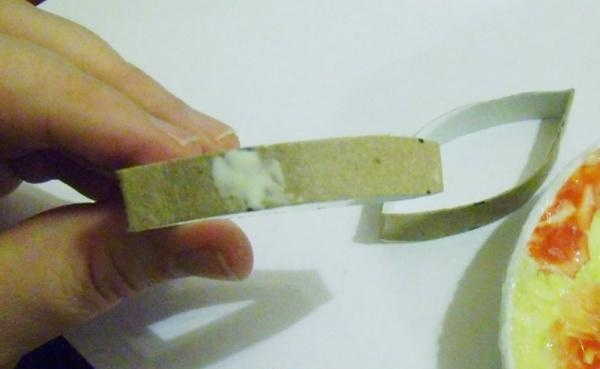
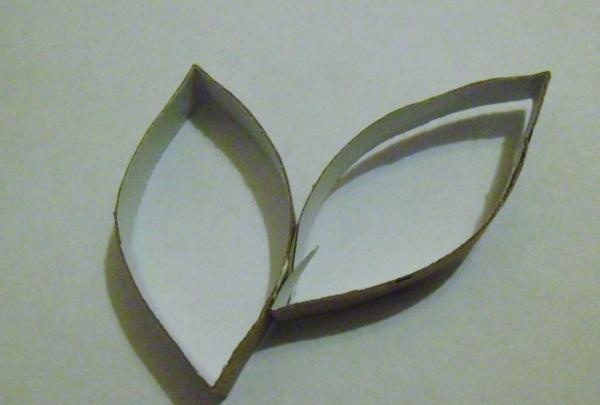
It should look like a branch like this.
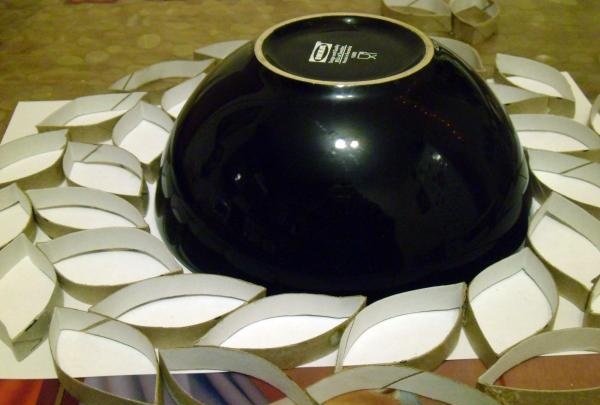
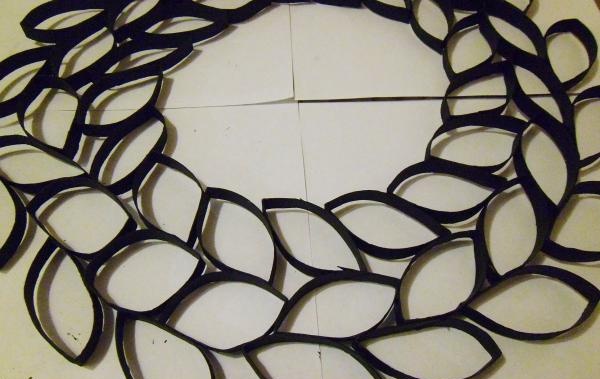
Next you need to create an even circle.The easiest way is to use a round plate for this.
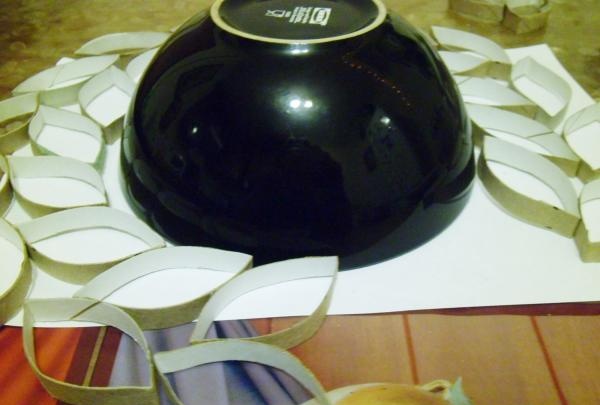
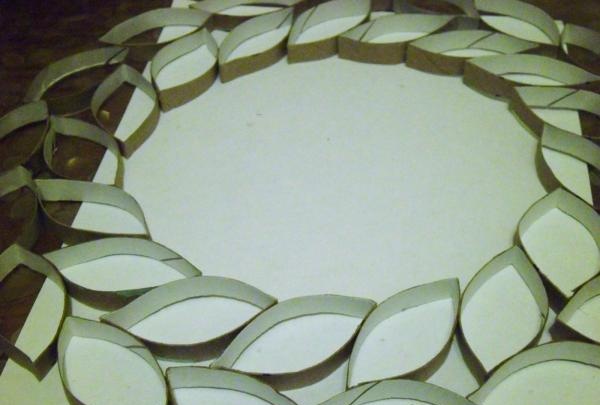
Carefully arrange the leaves into a kind of wreath. After all the parts have found their place, we begin to glue them together step by step.
Try to make the gluing area as large as possible. The stability of your product depends on this.
When all the parts are glued together, the plate can be removed. We won't need it anymore.
For greater originality, you can glue a third row of leaves. Just preferably glue them in the opposite direction, like this:
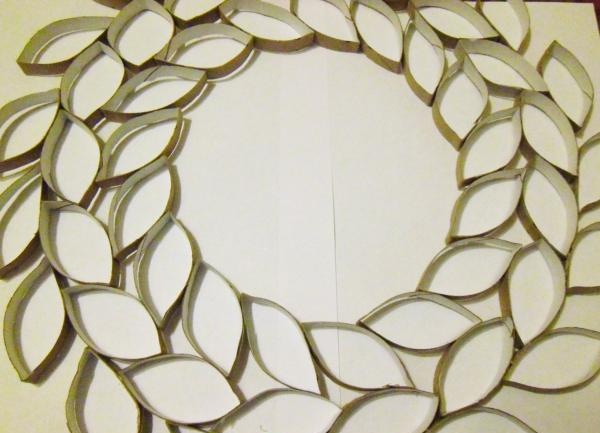
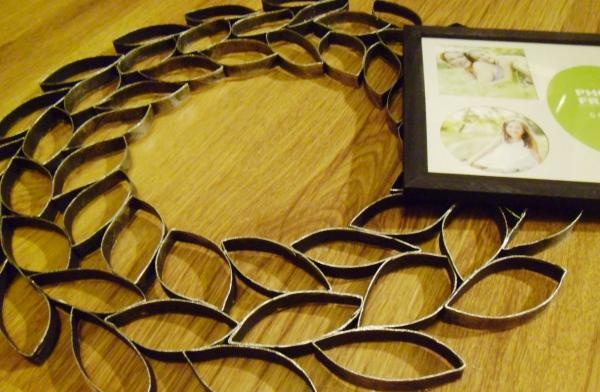
The main work is done. All you have to do is wait until the glue dries and you can start painting.
Any black paint will do: gouache or acrylic. Acrylic, however, dries faster and smudges less. Look how the frame changes:
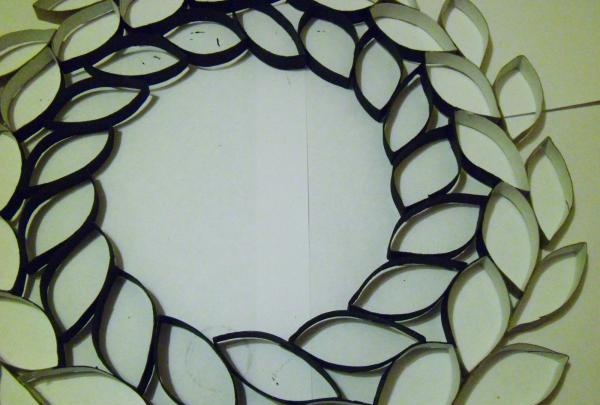
Paint all areas very carefully, leaving no gaps. Both outside and inside the circle.
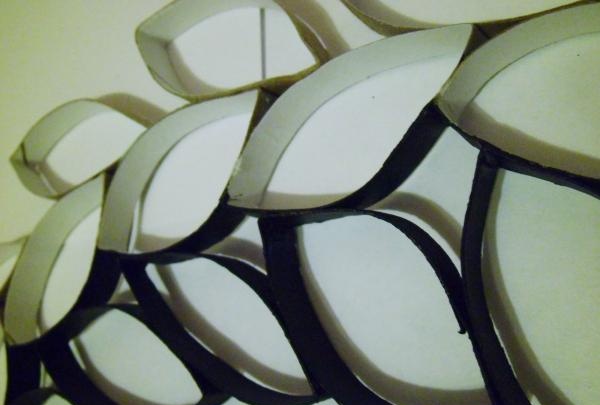
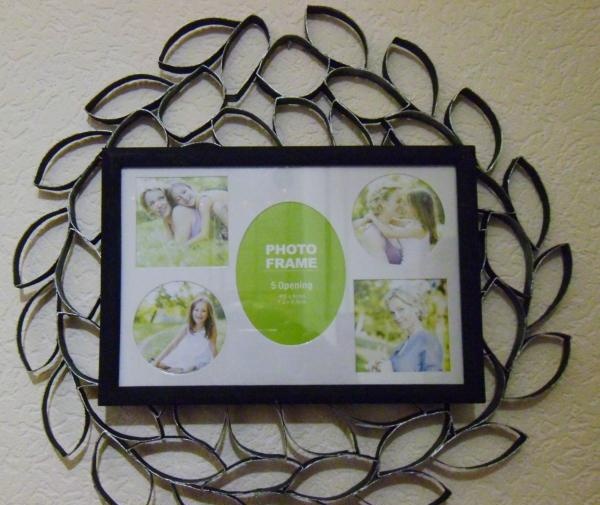
The painted rolls already take on the appearance of a strong iron openwork
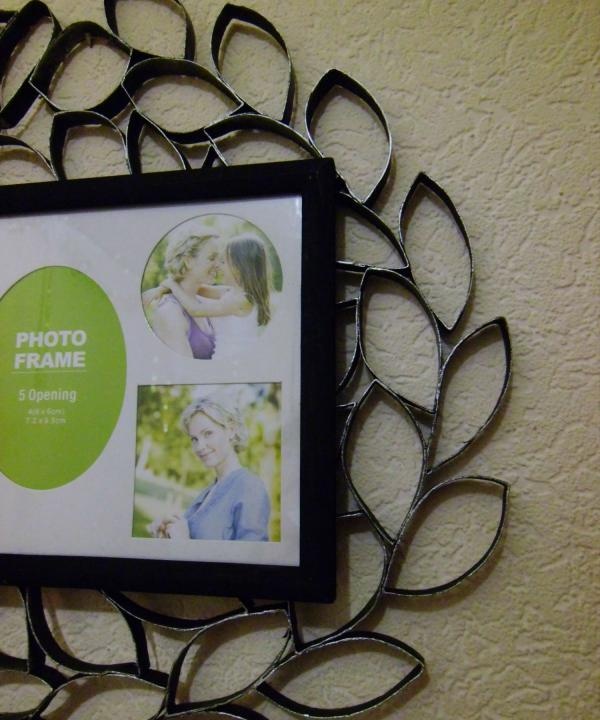
But not quite yet. To give absolute realism, you can use silver paint. You need to wipe with a sponge with silver on the “cut” areas, that is, on the front edge of the frame and very slightly with light strokes in especially visible places.
All that remains is to glue a photo frame to our fake forged product and you can hang it on the wall.
In the most visible place of the apartment.