Materials for work:
- Wooden flat slats – the length of the slats = the height of the creation + its width multiplied by 2;
- Short self-tapping screw – 28 pcs;
- Corner – 4 pcs;
- Toilet paper – 1 roll;
- Bracket for drywall – 2 pcs;
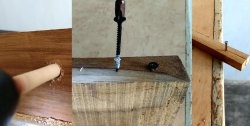
- Jigsaw, packaging cardboard, liquid nails glue, gold gouache, silver gouache, round and flat brushes, PVA construction glue, acrylic varnish.
Stages of work:
First stage: cutting parts.
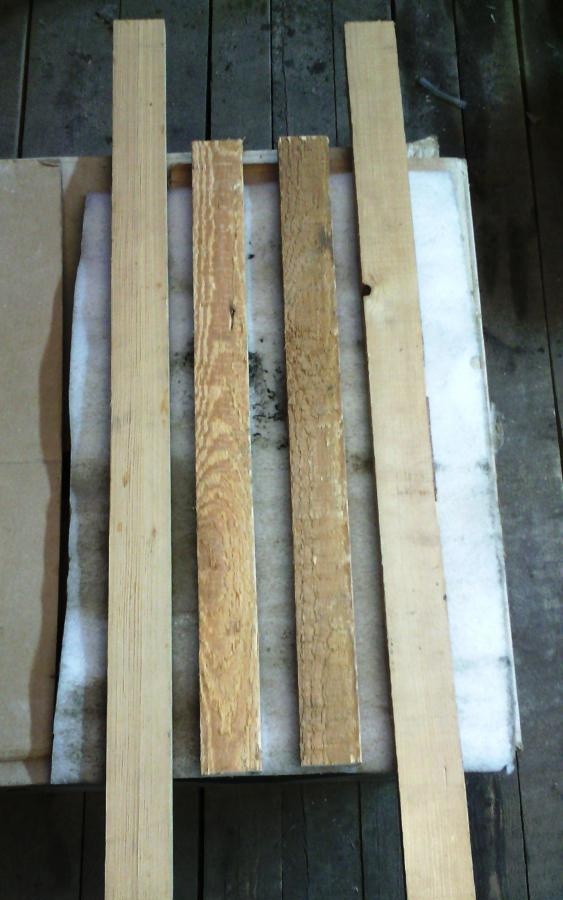
We select wooden slats of the required length.
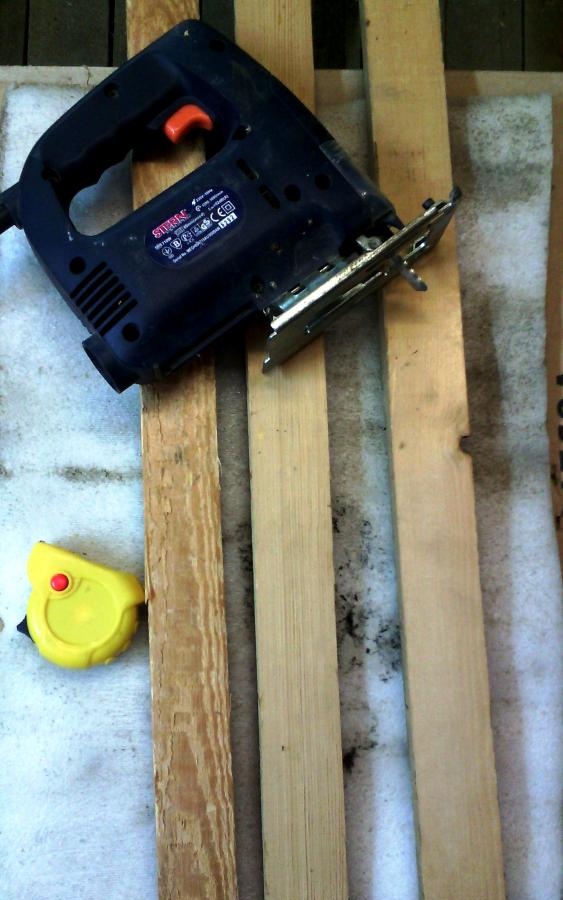
We take measurements of the painting along the perimeter (2 heights and 2 widths). Using a jigsaw, cut off the excess length of the slats.

This results in 4 segments.
Second stage: connecting the parts into a single whole.
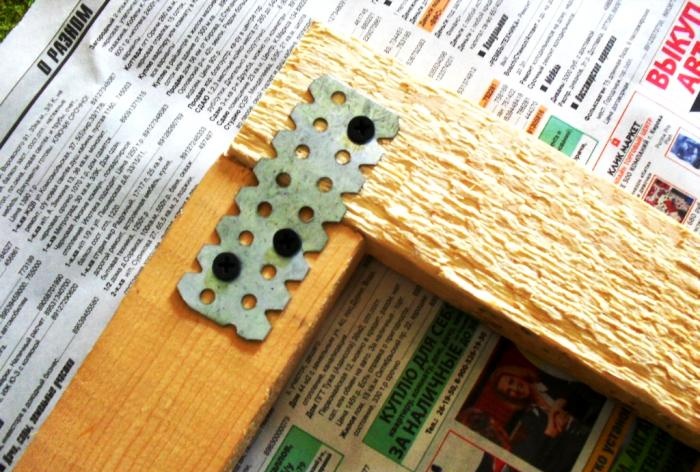
On the front side of the frame, we make fasteners from scraps of brackets for attaching drywall (I just didn’t have corners for the front and back sides). We screw 3 screws into each corner joint of the slats.
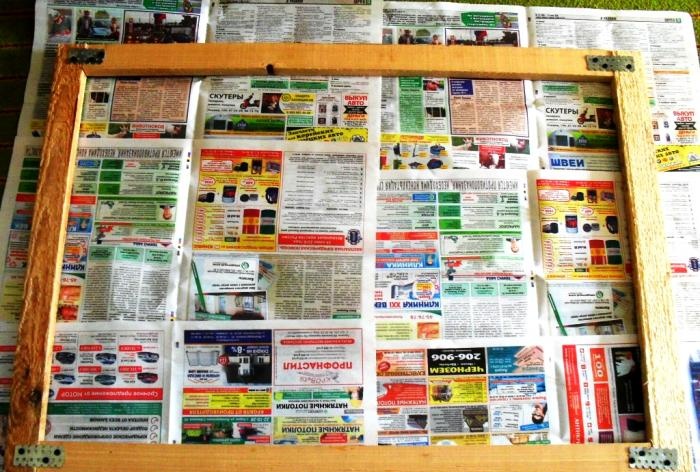
The result is a frame frame fastened on the front side. Here, the different heights of the slats do not matter at all.
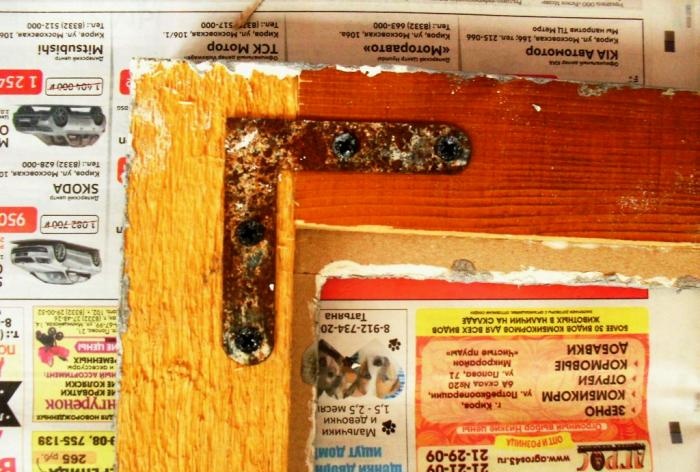
We turn the frame over and on the reverse side (the wrong side that will lie on the wall) the height of the slats should be even. We fasten the joints with corners, screwing 4 screws into each.
Third stage: forming the basis.
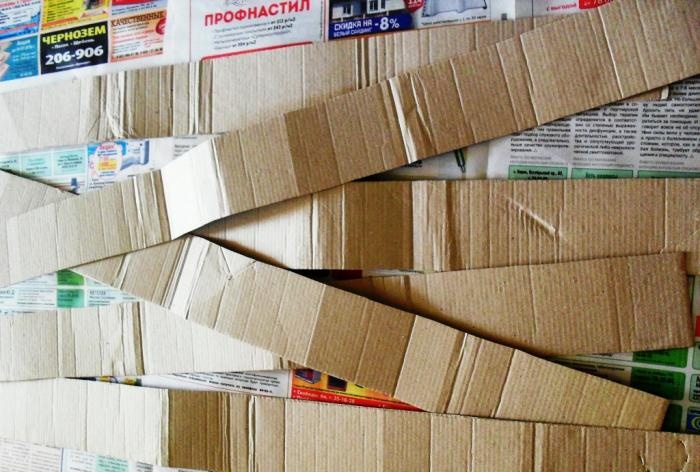
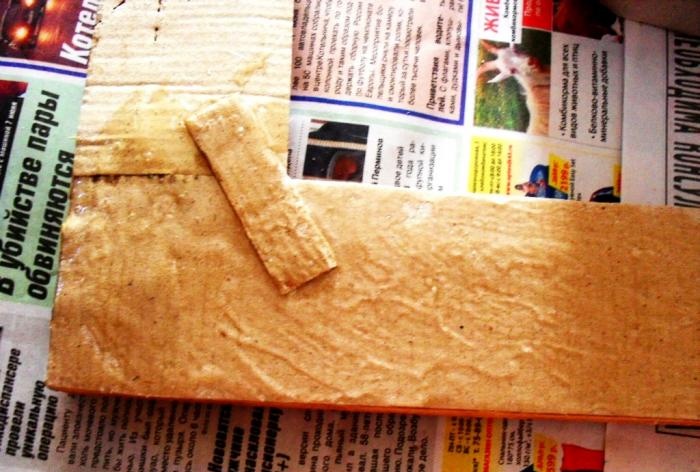
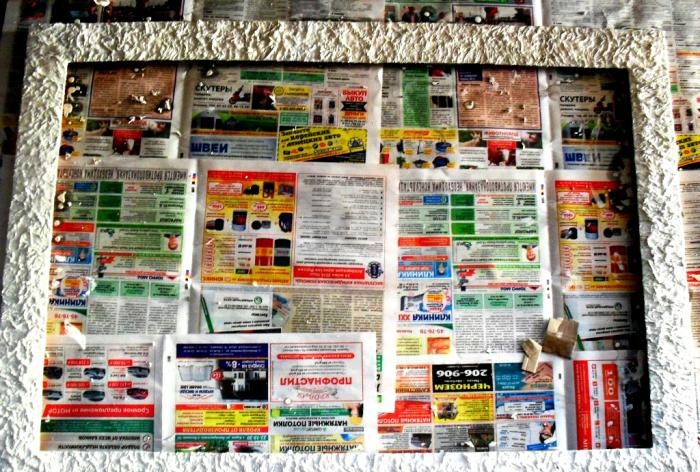
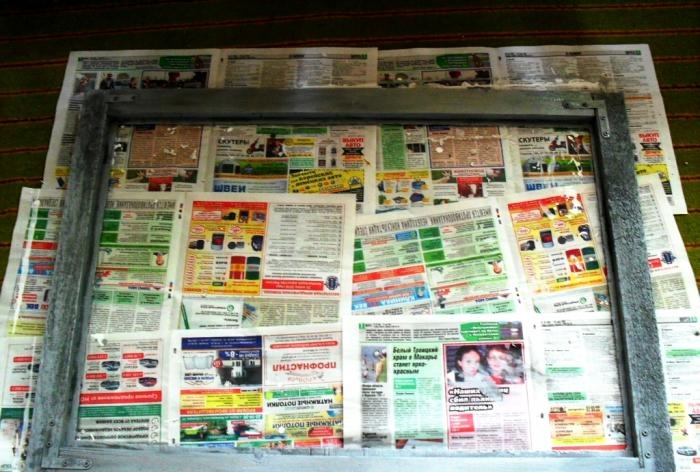
We cut even strips of packaging cardboard. The strips should be a couple of centimeters wider than the frame rail.
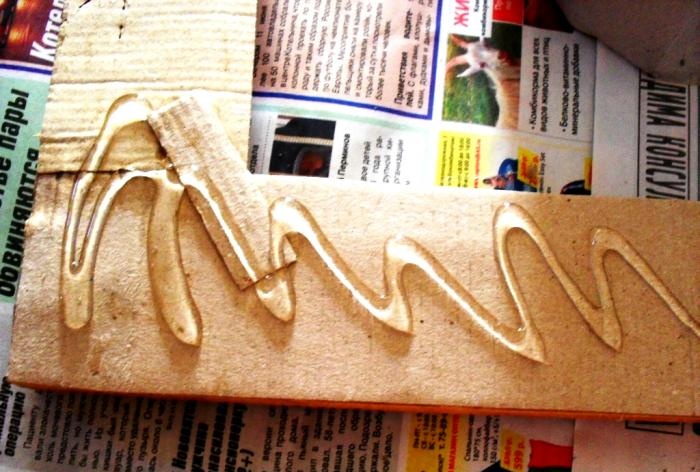
Apply “liquid nails” glue to the surface of the slats.
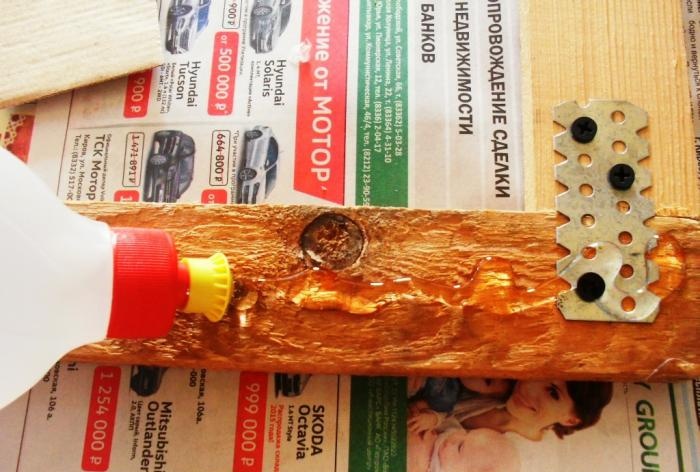
We place strips of cardboard on top so that the excess width is inside the frame (the side edges should be smooth).
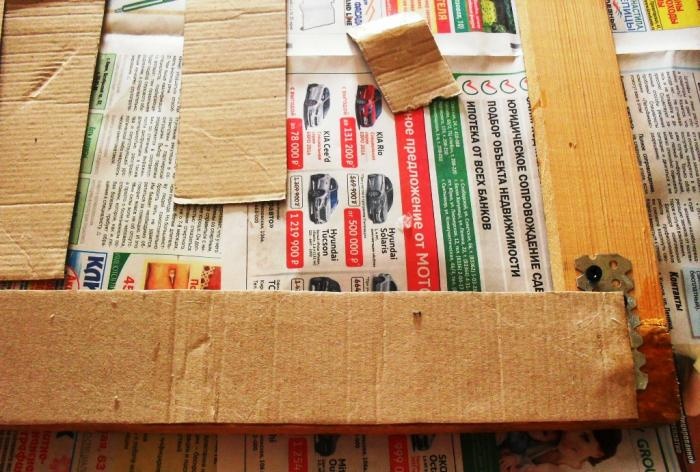
We connect the joints of the slats with narrow strips of cardboard (to avoid delamination along the seam). We carefully press the cardboard along its entire length.

Stage four: decorate the base of the frame.
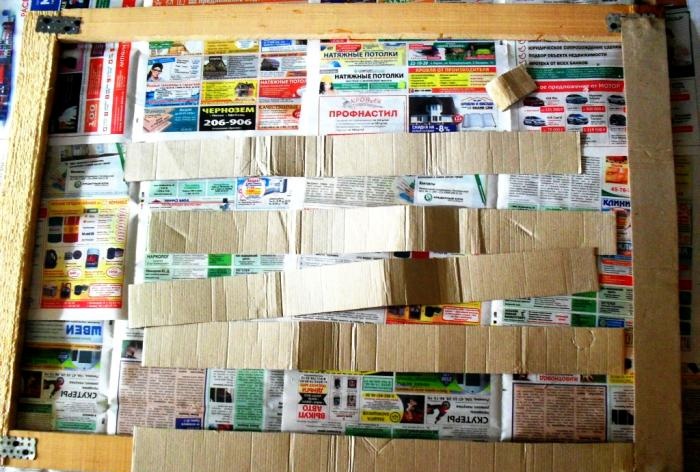
Apply liquid nails glue.
Distribute it evenly over the surface.
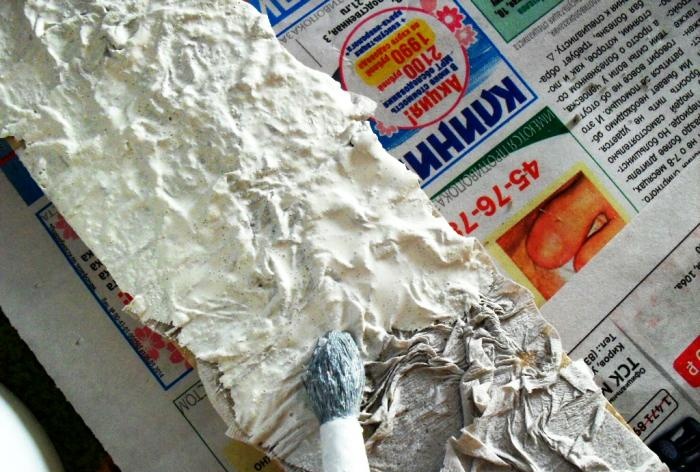
We lay out the toilet paper, forming folds and trying to cover the entire surface of the cardboard strips with it. It is not at all necessary to align the edges of cardboard and paper; it cuts perfectly after complete drying.
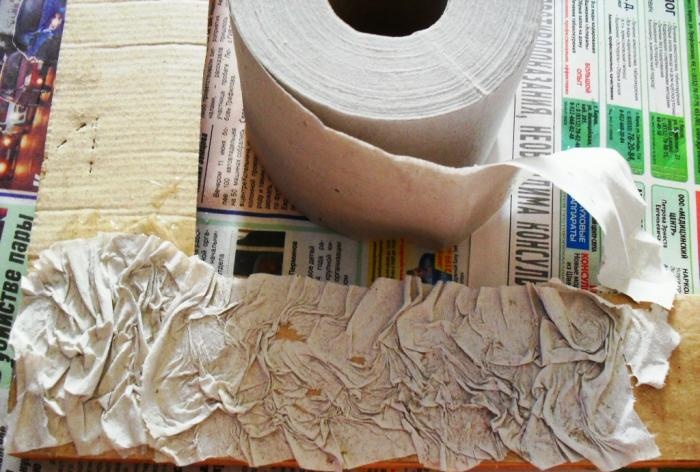

We cover the entire frame of the frame with paper.
Fifth stage: decoration of the front side of the frame.
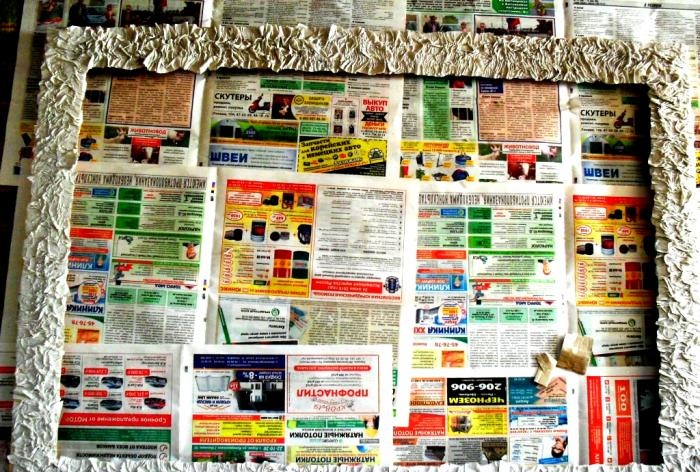
To seal the folds of toilet paper, thoroughly soak the entire surface with PVA glue (construction, liquid).
We dry it for a day. Then we cut off the excess edges of the paper, aligning the layers of paper and cardboard.
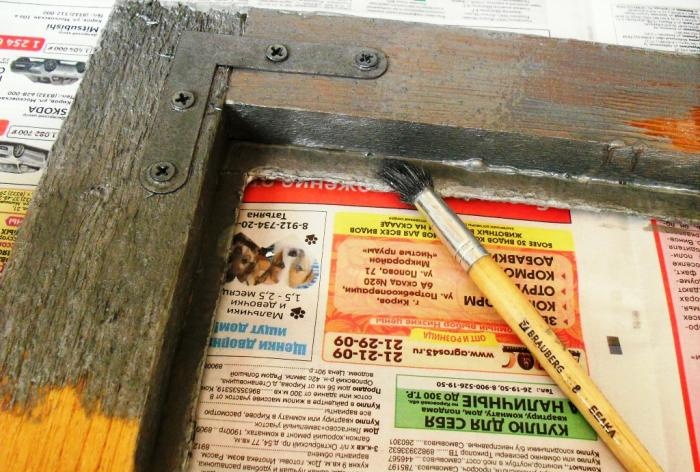
Apply a thick layer of PVA to the open side edges of the slats. This makes a high-quality primer.

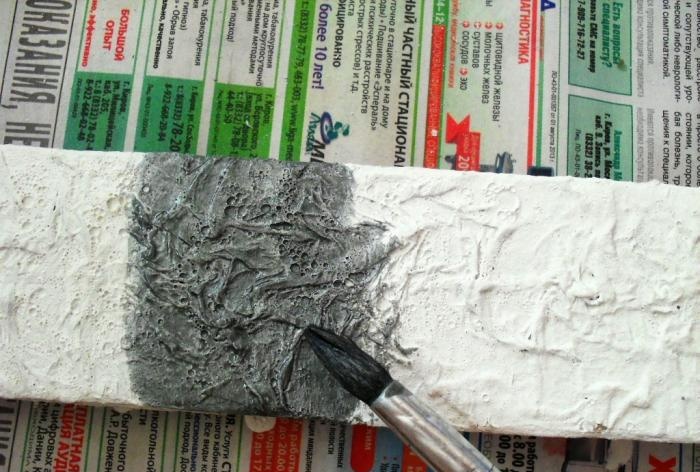
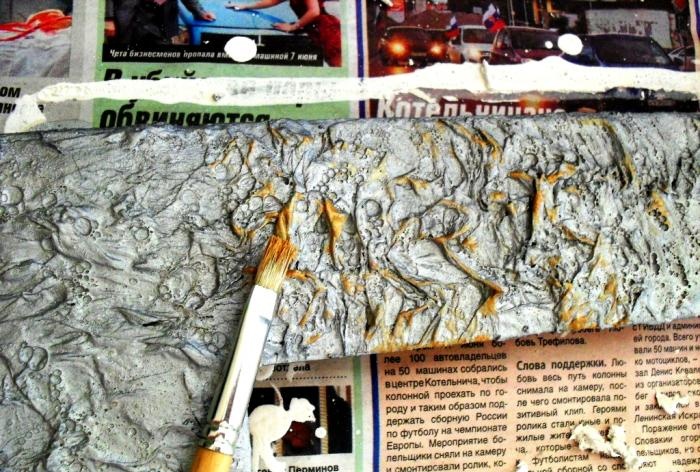
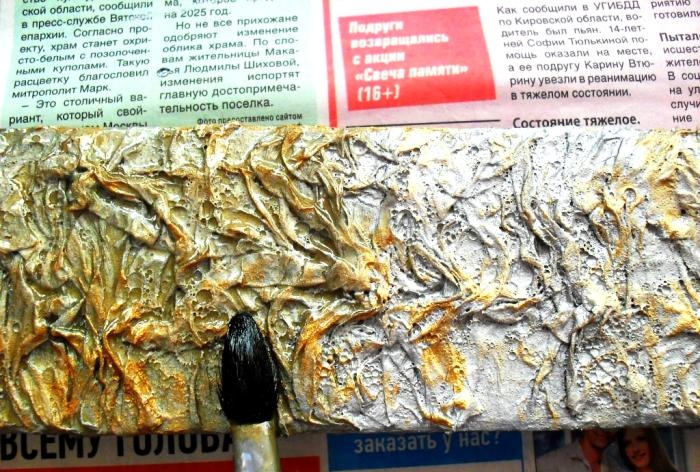
We paint the frame with silver gouache.
Let it dry for a couple of hours depending on the air temperature.
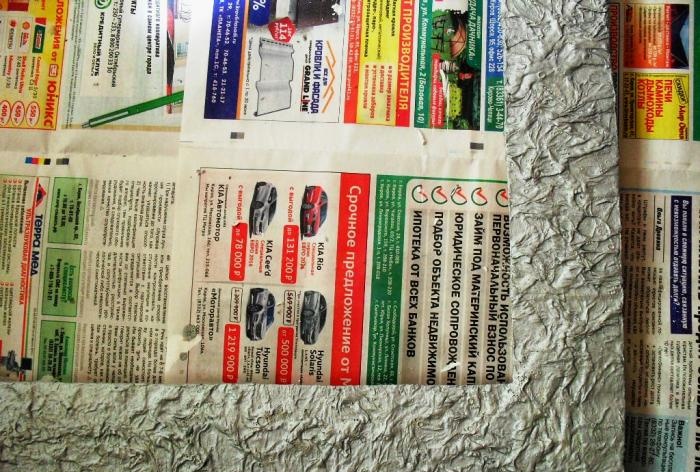
Using the side of a flat brush, apply gouache paint “gold” to the ribs of dried toilet paper. Let's dry it.
Sixth stage: paint the back side of the frame and the groove for the picture.
On the reverse side we paint the frame and groove for the picture “silver”.
Seventh stage: varnish.
We cover the frame with several layers of varnish from the front and back sides (carefully drying each layer)
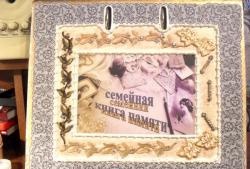
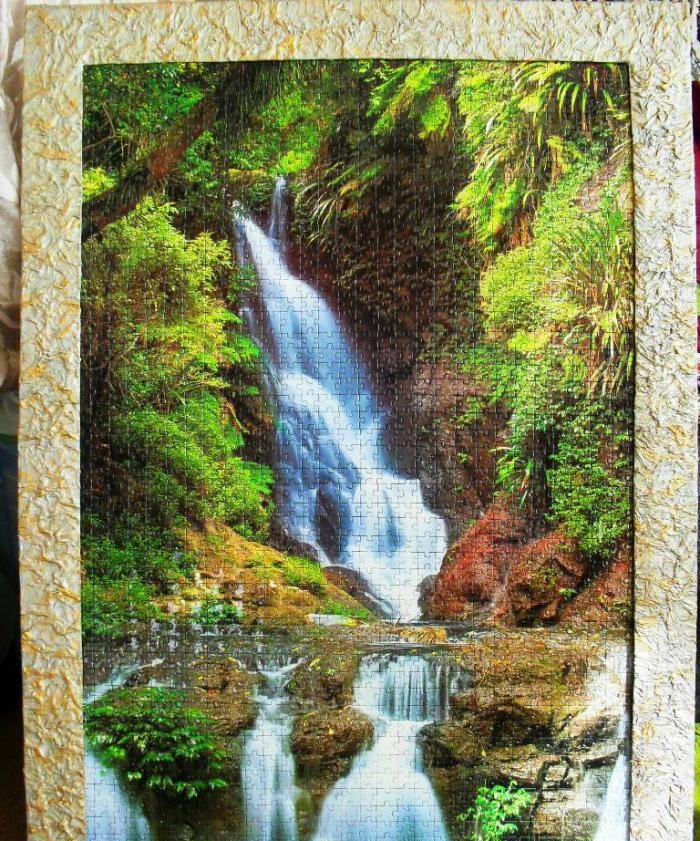
We insert the picture into the groove. If the fitting was done correctly, the picture fits tightly and does not require additional fastening. In case of displacement, the picture can be secured by driving several nails obliquely into the frame from the wrong side so that the head rests against the back wall of the picture.
All! We hang the masterpiece on the wall and enjoy the admiring glances of our guests.