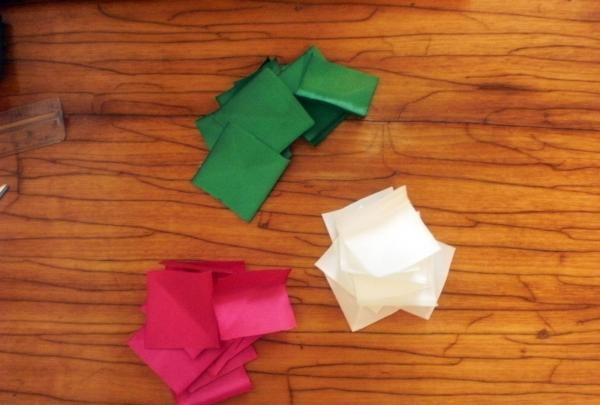
To transform my old headband, I needed. Three colors of satin ribbons, 5 centimeters wide, a candle, superglue, scissors, beads of two colors, accessories for jewelry - a rosette, thread and a needle for beads.

First, you need to prepare the material; to do this, I cut the ribbons into 5-centimeter squares.
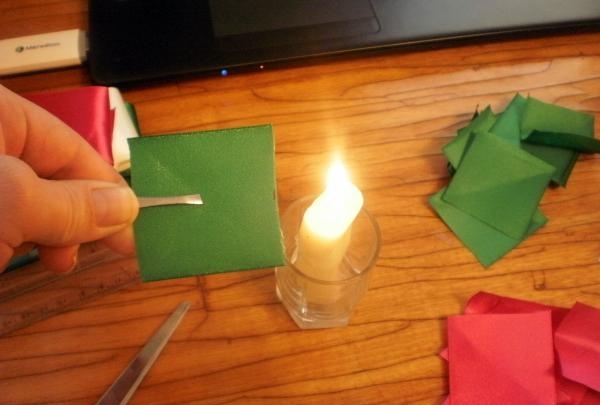
To prevent the tapes from fraying during operation, their edges must be melted over a fire.
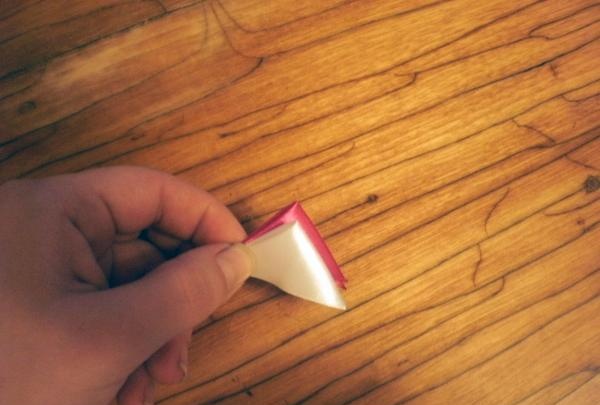
The next step was to fold the green pieces into sharp kanzashi petals; to do this, fold the square into a regular triangle.
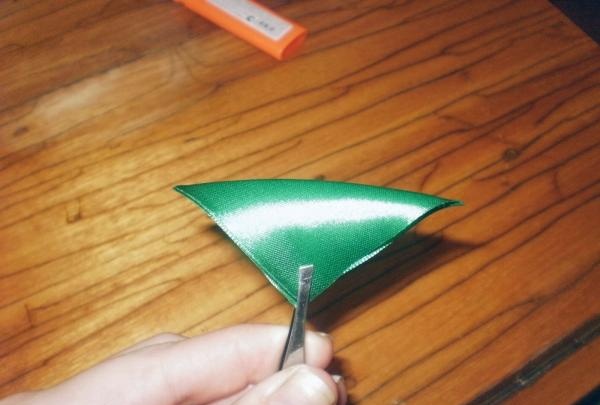
Then we bend the resulting triangle in half.
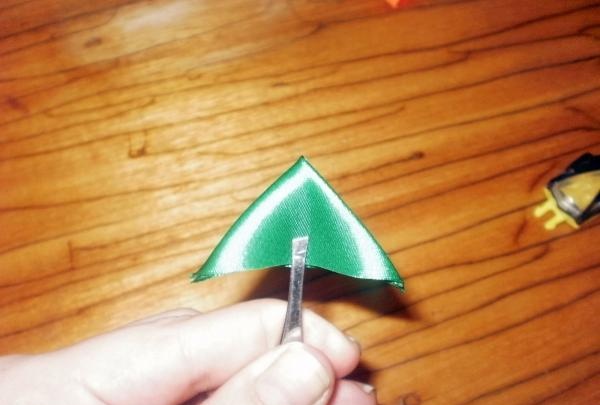
Now we connect its two lower corners together, and, having drawn such a marking, we cut off everything below. We melt the cut corners well over the candle and squeeze with our fingers so that the edges do not separate.
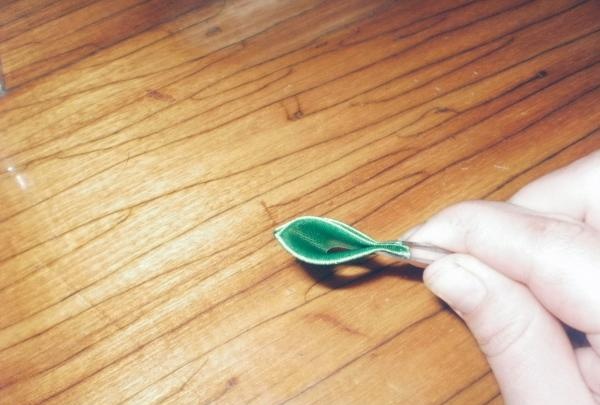
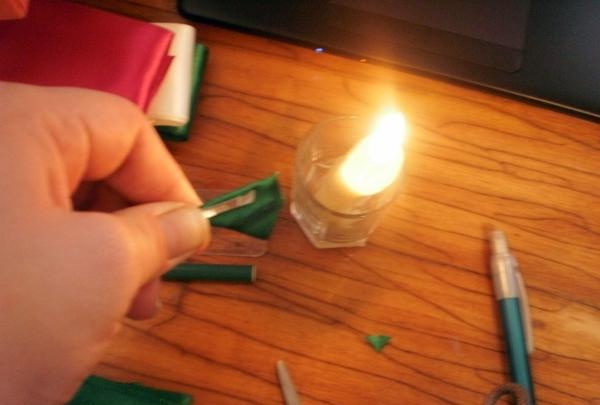
The bottom edge only needs to be scorched to prevent fraying.
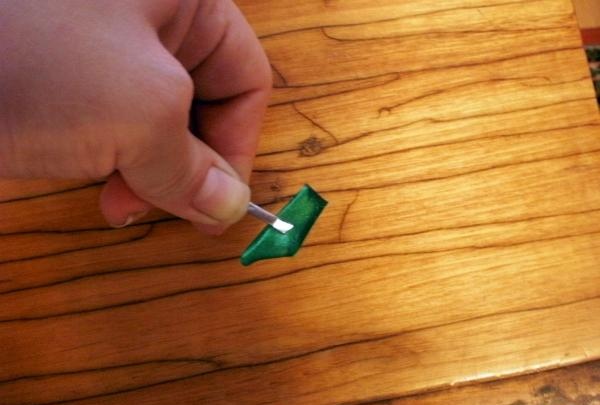
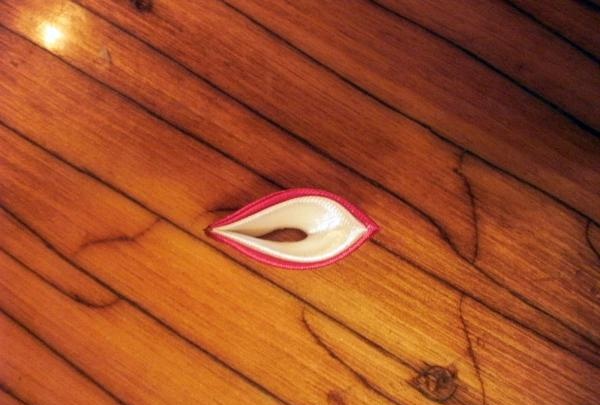
There should be a neat hole at the bottom of the finished petal.
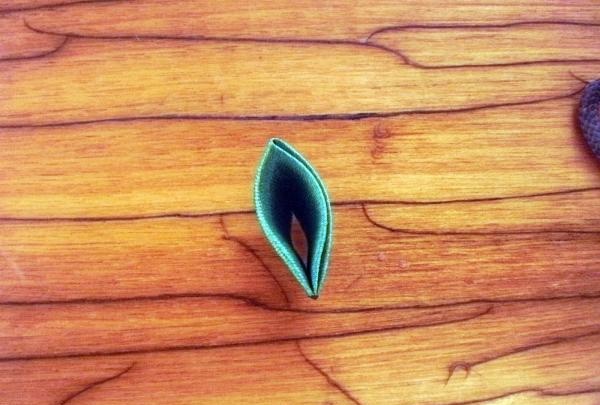
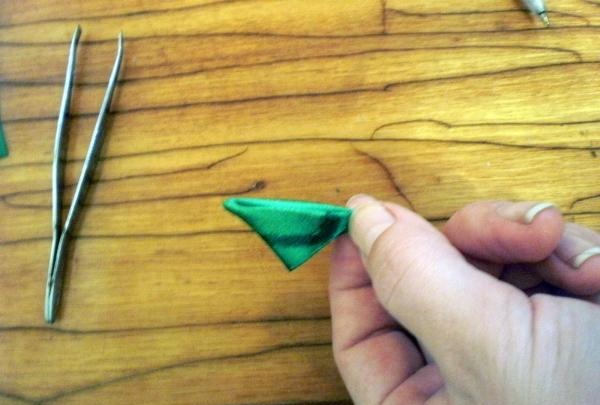
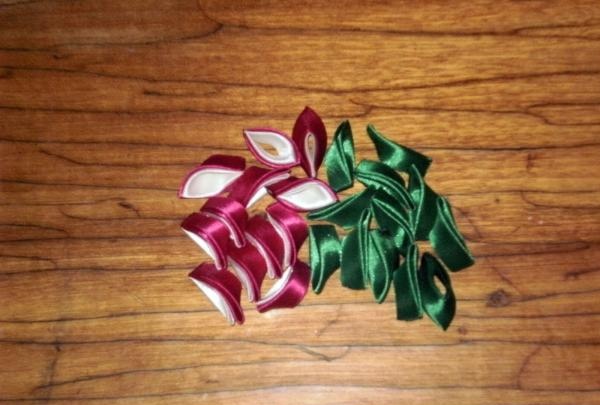
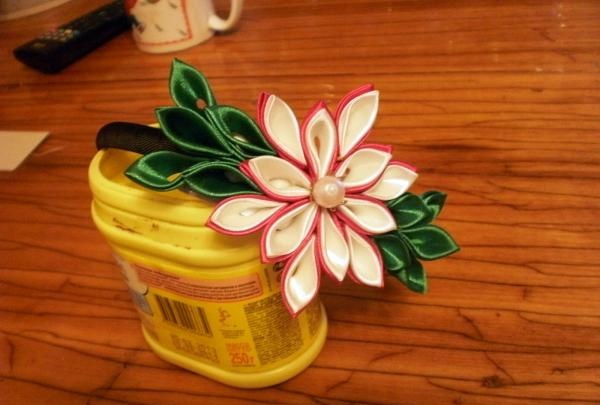
Using this technology, we make all the remaining petals from green ribbon - these are leaves. My project took 10 of these leaves.
Now let's start making flower petals. Making them is not much more difficult, because they are based on the same sharp kanzashi petal. The main difference between the petals of a flower and its leaves is the number of triangles.
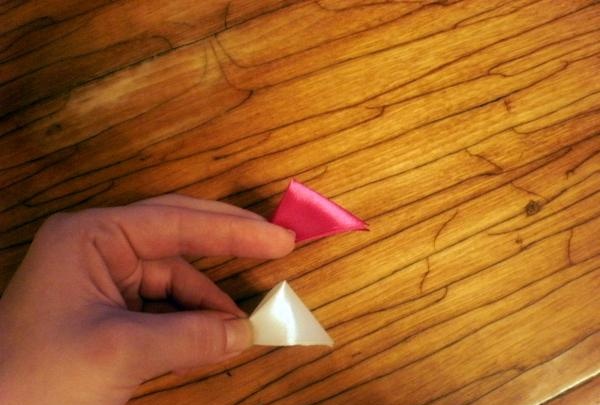
It took me 12 squares of pink and beige colors. The meaning is the same, only before connecting the corners you need to put one triangle on top of the other.
Now you can form the petal by connecting the corners and singeing the edges to give it a finished look.

All important details are ready.
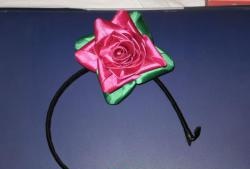
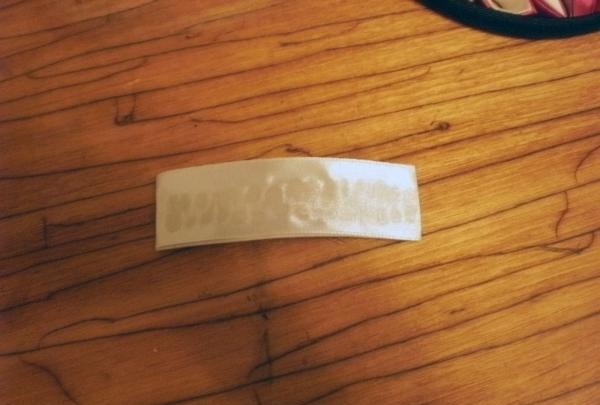
The next step is to prepare the surface on which we will attach our flower. To do this we need a piece of cardboard, a piece of tape and glue.
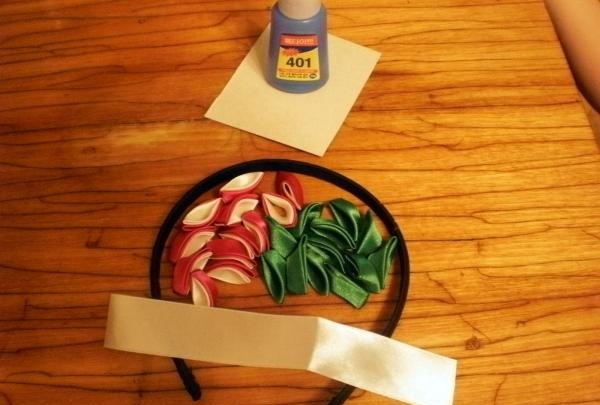
Cut out a strip of cardboard that will be slightly wider than the rim. Now we carefully cover it with the prepared tape and singe off the excess edges.
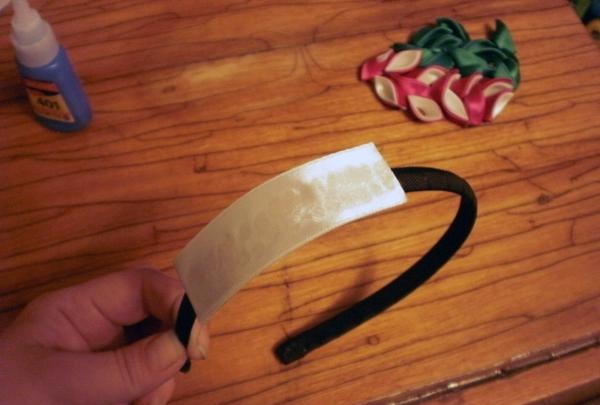
Next, we fix the prepared base in the desired area of the rim.
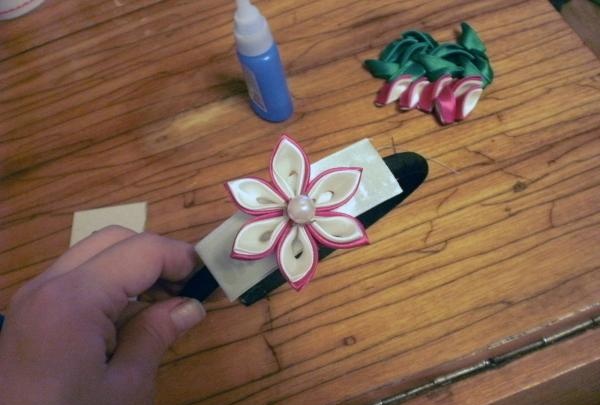
Well, you can proceed to the main part of the process - collecting the flower. To do this, apply a drop of glue at the edges of the petals and glue them together like this.

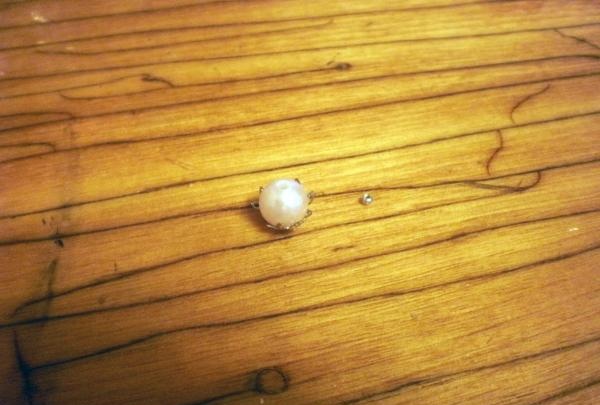
To hide the singed edges and unevenness in the middle, we attach a rosette and a bead of suitable size to the center using a small bead and thread.
And glue the flower to the center of our blank.
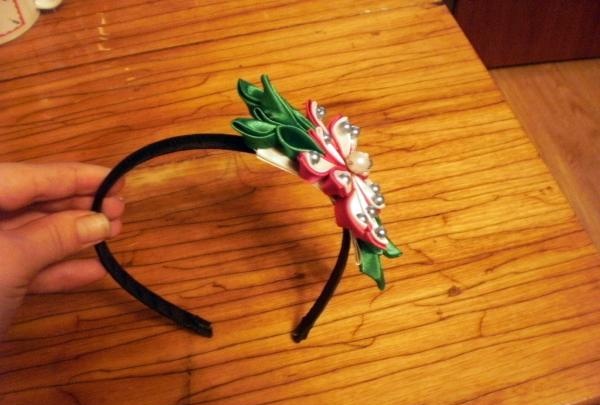
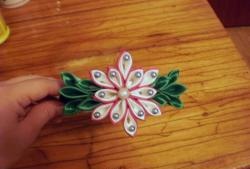
Next, we supplement our work with the remaining petals and leaves in the required order, using the same gluing technology. (photo28) And we decorate it with beads, which we also put on superglue.
The work is done.

After a good drying, you can safely decorate any head with such a headband.