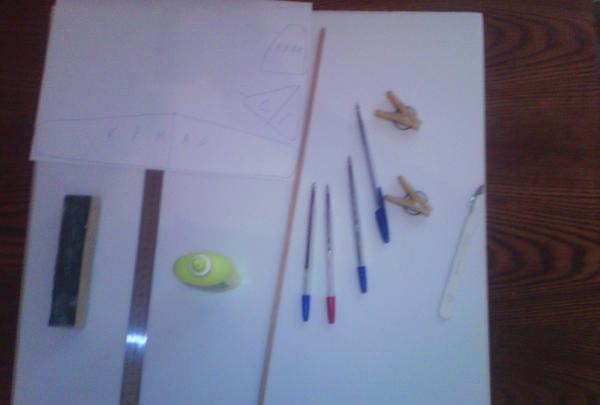
Materials:
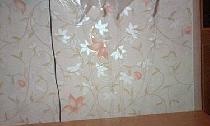
*ceiling tiles without relief pattern
*PVA glue
*pine slats 4x4 mm
*buttons
*clothes pegs
*pins or needles
*templates
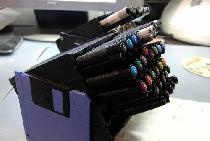
*pens, markers, etc.
*stationery knife
*fine skin on a block
*plasticine
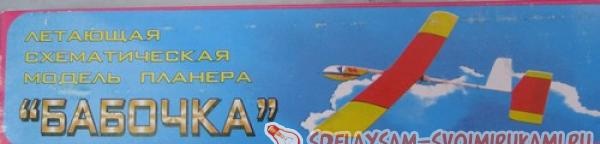
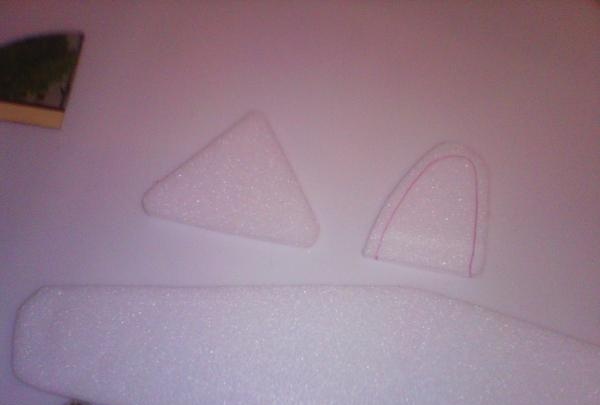
First you need to print and cut out the templates for the airplane.
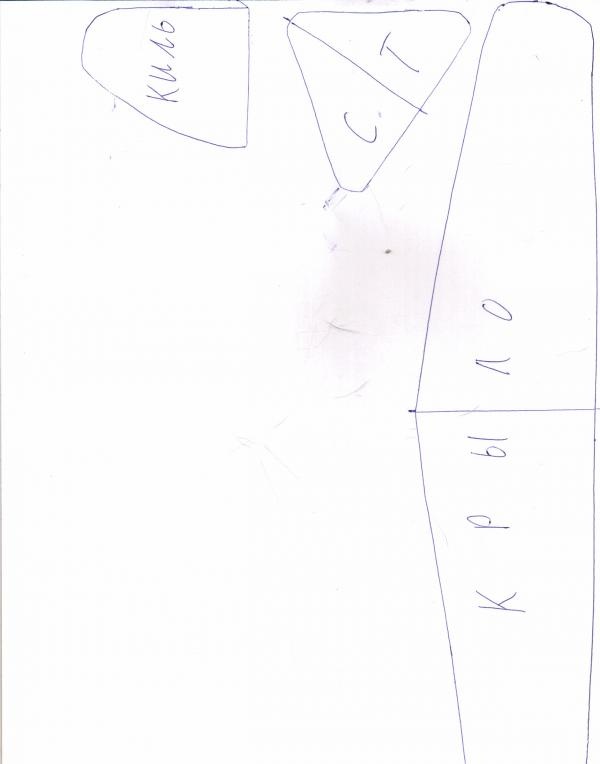
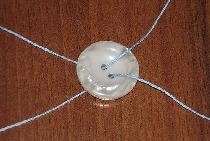
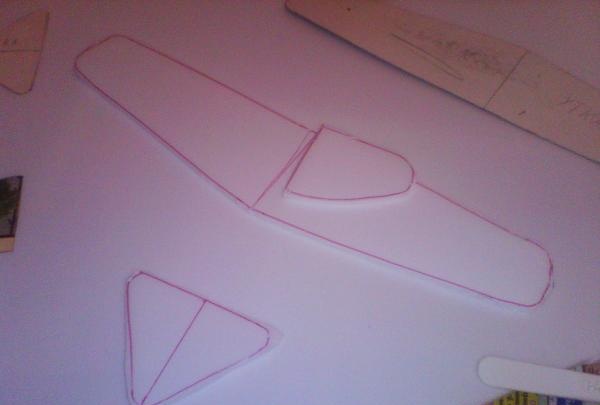
It is advisable to glue the printout to cardboard. Then attach them to the tile, secure with buttons and draw the wing, stabilizer and keel.
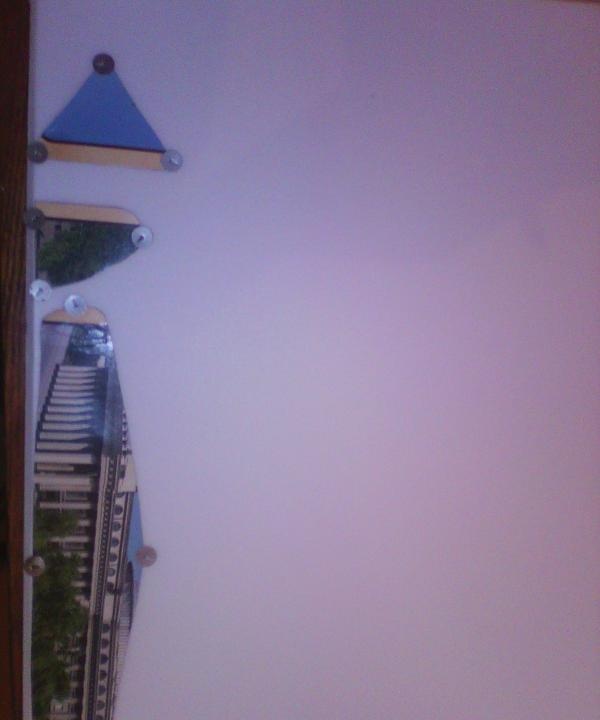
Afterwards, we remove the templates and cut out the workpiece with a stationery knife (or a medical scalpel) with an allowance of 1-2 mm.
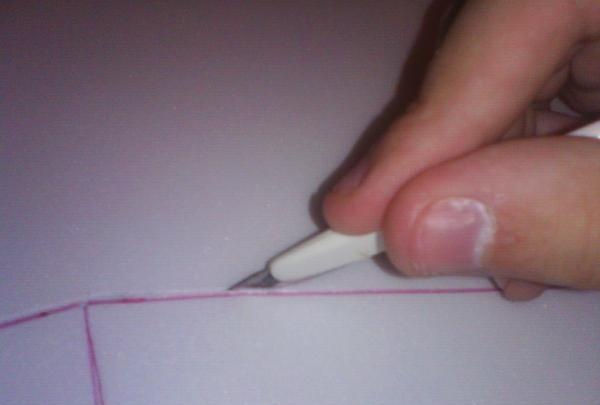
Be careful not to touch the workpiece lines.
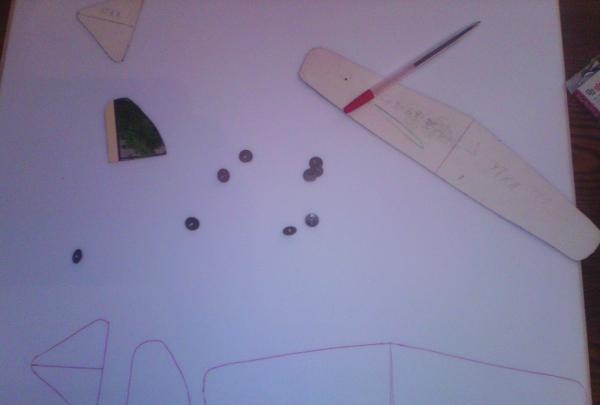
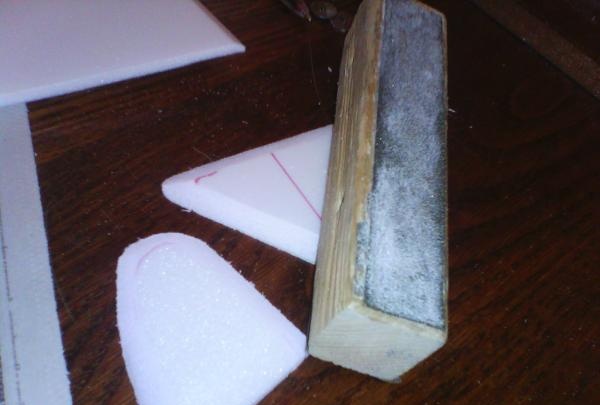
Now you need to process the workpieces.We mark the boundary lines, take a block with sandpaper and give a profile to the wing and stabilizers using back and forth movements.
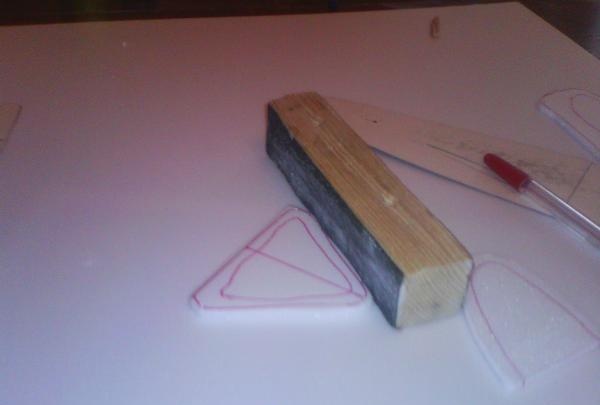
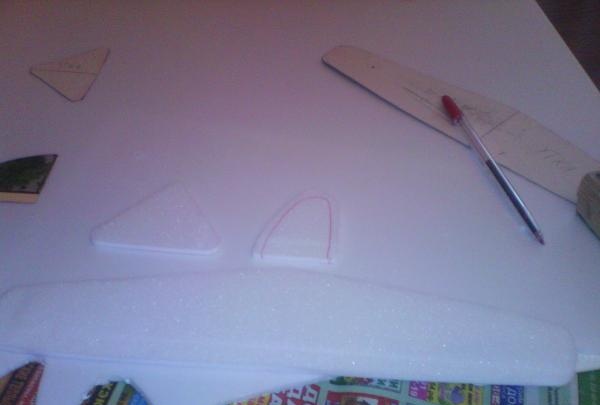
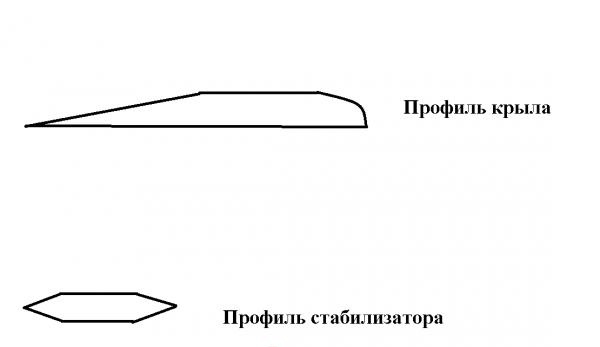
You need to process it confidently, smoothly, without jerking, otherwise you can ruin the part. Of course, you can give a profile with a heated iron, but this method does not always work.
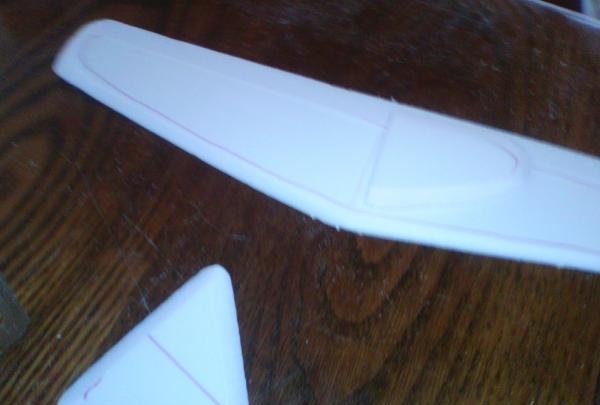
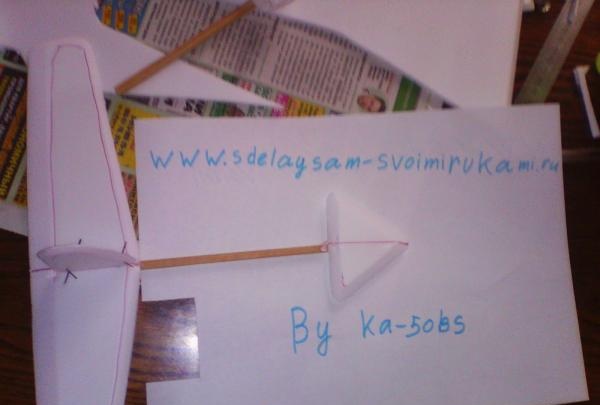
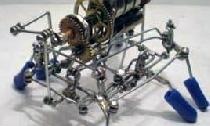
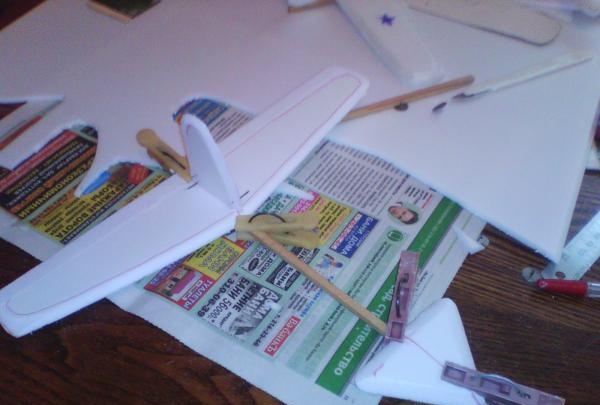
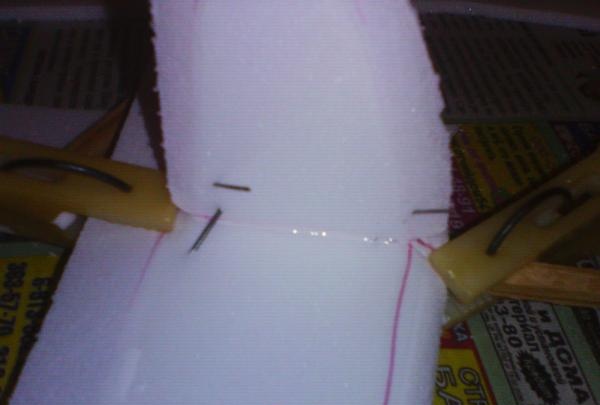
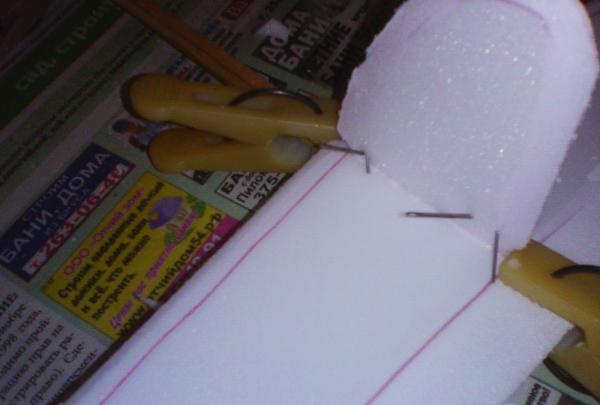
If you have given the parts the desired shape, then you can start gluing. Never grab the Moment glue! Solvents will turn the plane into mush, so you need to use PVA glue. A rail 18-25 cm long is smeared with glue on one side and the other, and left for 5 minutes so that the glue is absorbed into the wood. The middle of the stabilizer and wing is marked and the bottom is coated with glue along the middle line. Next, we secure everything with clothespins, the keel is attached with pins to the wing also along the midline.
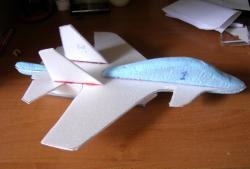
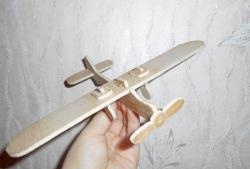
After 5-8 hours, you can remove the fastenings and configure the model. To do this, launch the glider by hand and watch how it flies. If it gains altitude sharply, stick plasticine to the nose, if it dives, to the tail or bend the stabilizer down. Happy flying!