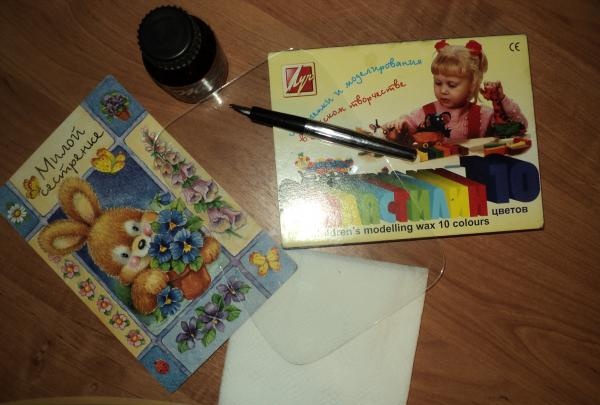
Çalışmak için ihtiyacınız olacak:
-cam (herhangi bir boyutta);
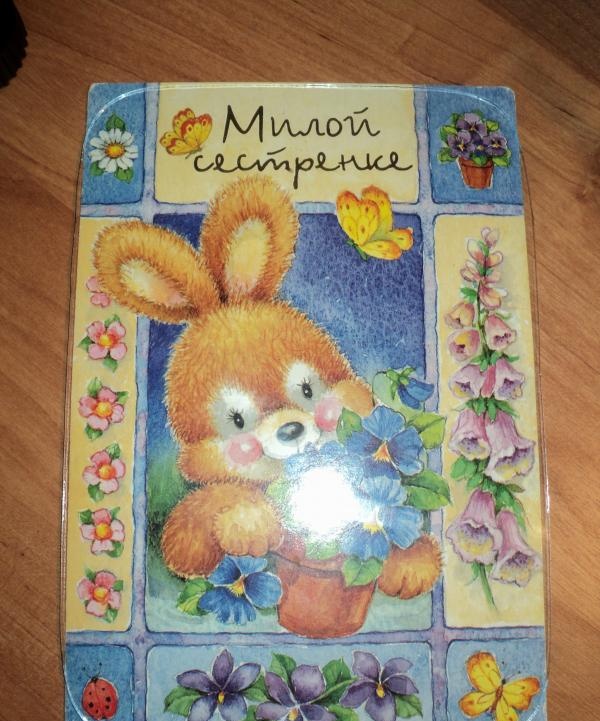
- beğendiğiniz resim;
-çizim işi için siyah mürekkep;
-bir dolma kalem;
- bir dizi hamuru;
- sıradan peçeteler.
![gerekli malzemeler](https://i.washerhouse.com/images/4/1011-neoyuhodimye-materialy.jpg)
İlerlemek:
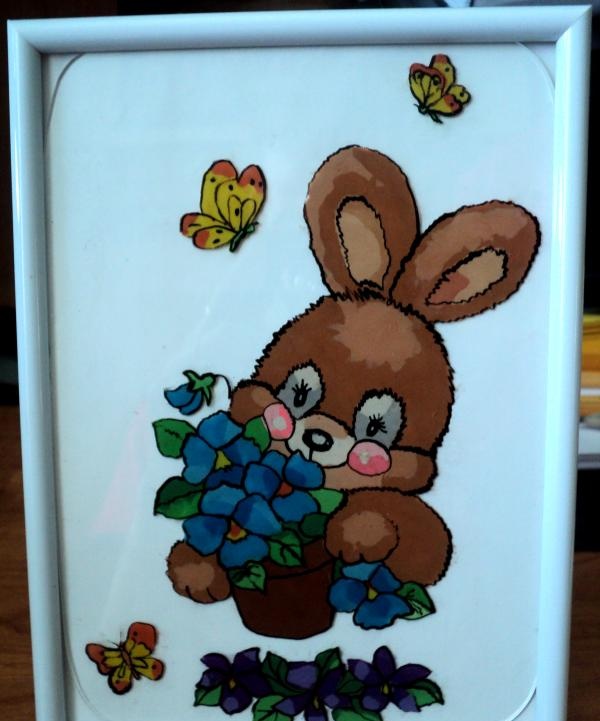
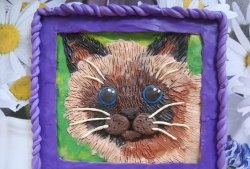
Resmin üstüne cam koyduk.
![cam uygula](https://i.washerhouse.com/images/4/1012-nakladyvaem-steklo.jpg)
Kalemi mürekkebe batırdıktan sonra çizimi cama aktarmaya başlıyoruz.
![cam üzerine çizim yapmak](https://i.washerhouse.com/images/4/1013-risunok-na-steklo.jpg)
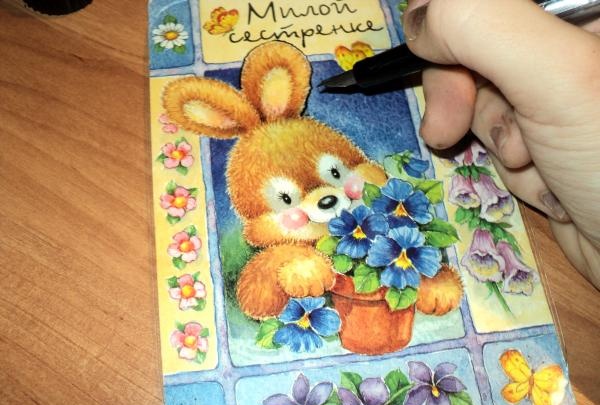
Çizimi izlemeye devam ediyoruz.
![taslağın izini sürmek](https://i.washerhouse.com/images/4/1014-obvodim-kontur.jpg)
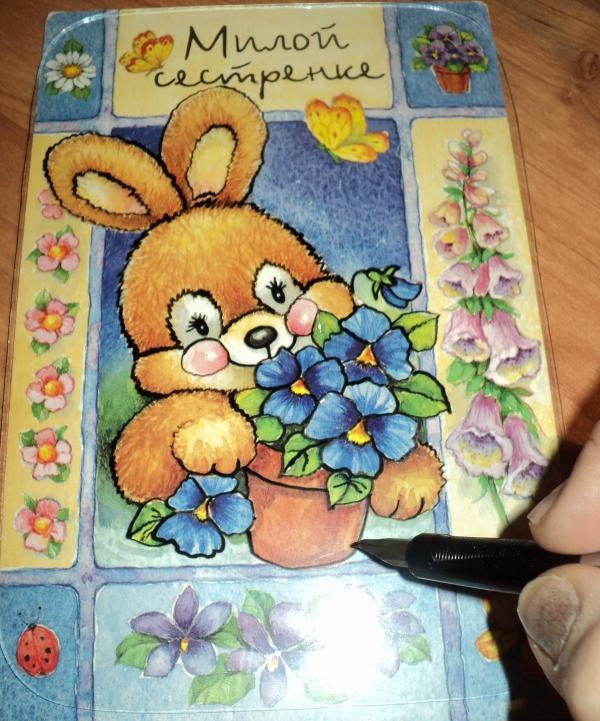
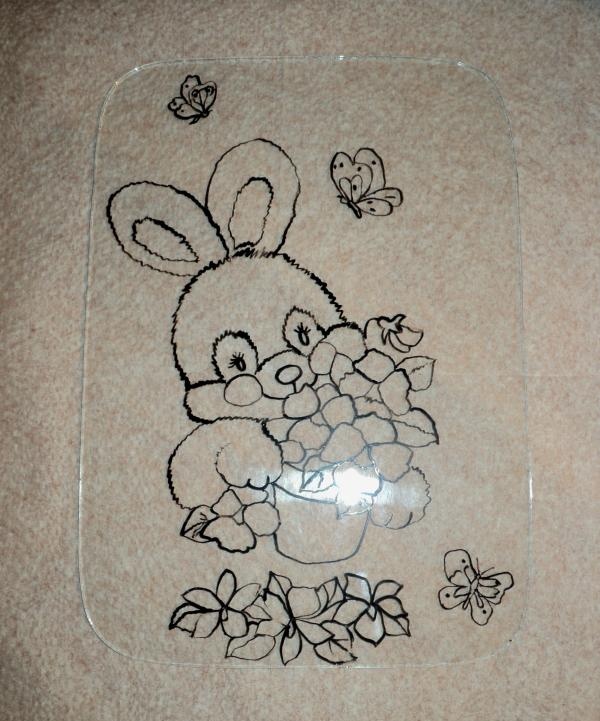
Ve şunu elde ediyoruz.
![sonuç bir çizimdir](https://i.washerhouse.com/images/4/1015-roluchilsya-risunok.jpg)
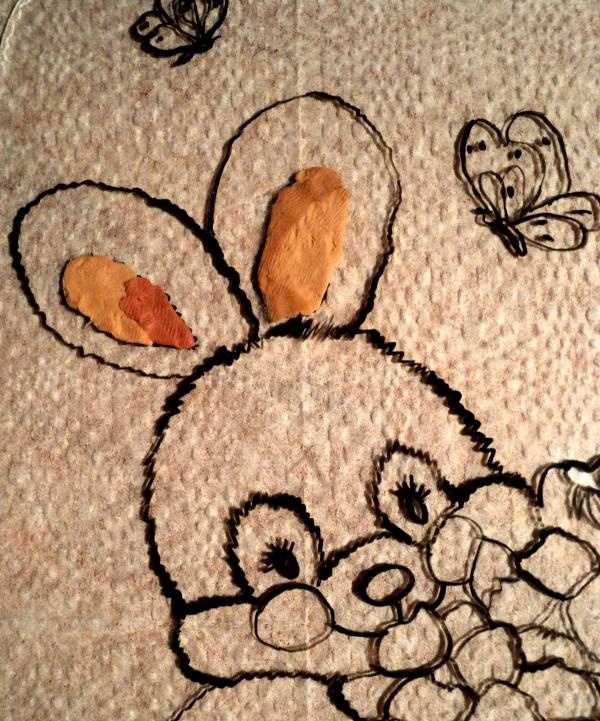
Ana işe geçelim: hamuru alın ve tavşanımızı süslemeye başlayın, gerekli tonları elde edene kadar karıştırın.
![hamuru ile süsleyin](https://i.washerhouse.com/images/4/1017-razukrashivaem-plastilinom.jpg)
![tavşanı renklendirmek](https://i.washerhouse.com/images/4/1018-raskrashivaem-zayca.jpg)
![çiçek ve kelebekleri renklendir](https://i.washerhouse.com/images/4/1019-raskraske-cvetov-i-babochek.jpg)
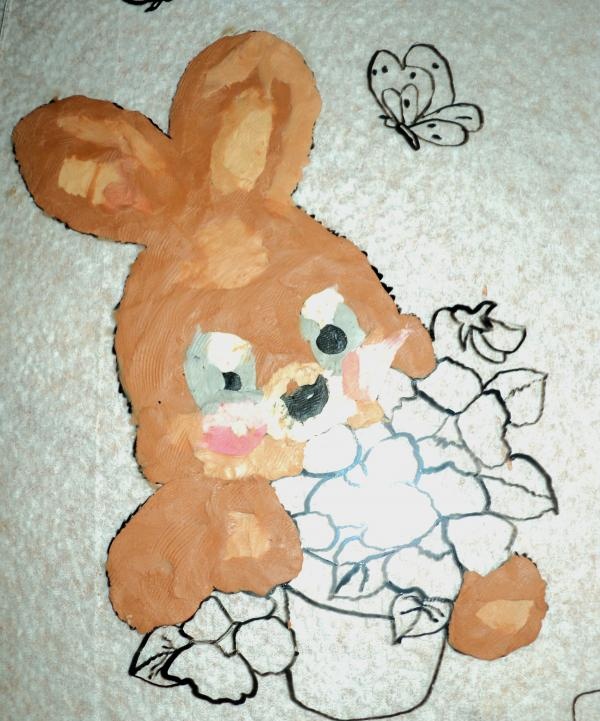
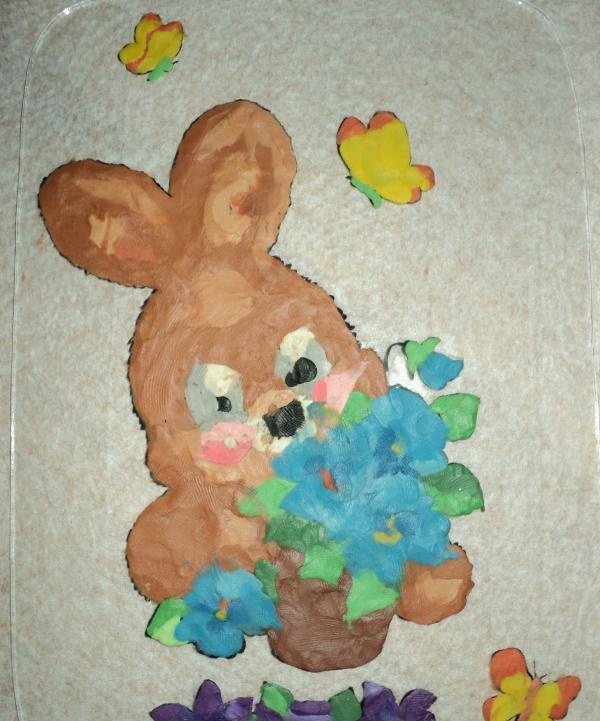
Daha sonra çiçekleri ve kelebekleri renklendirmeye başlıyoruz.
![fazla hamuru çıkarın](https://i.washerhouse.com/images/4/1020-udalit-izlishki-plastilina.jpg)
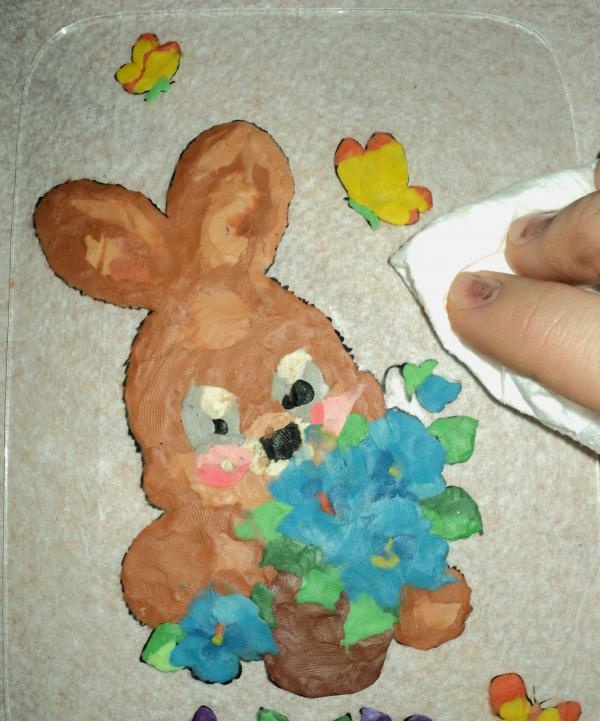
Çizimin tamamını hamuru ile doldurduğunuzda, fazla hamuru bir peçeteyle çıkarmanız ve camı silmeniz gerekir.
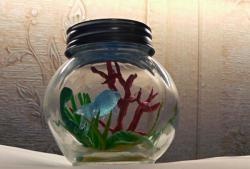
Bardağı ters çevirip bu sonucu elde ediyoruz.
![camı sil](https://i.washerhouse.com/images/4/1021-proteret-steklo.jpg)
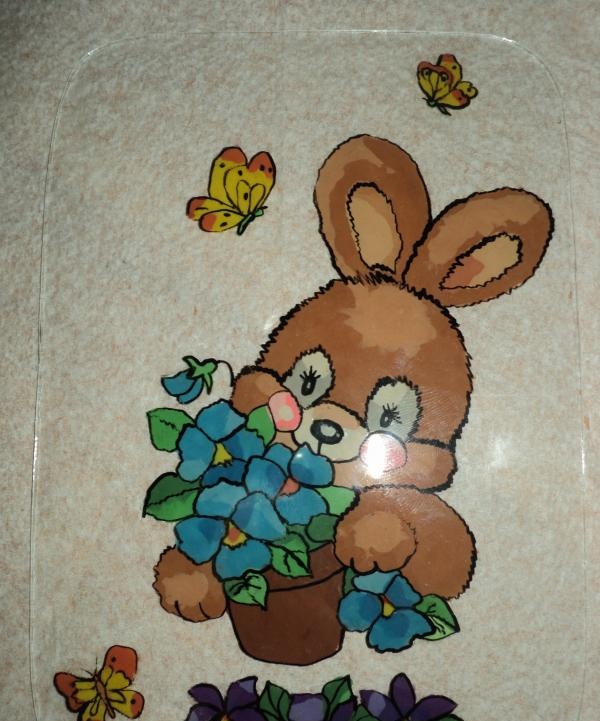
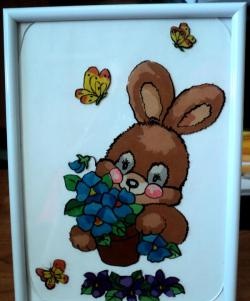
Camı çerçeveye yerleştiriyoruz, resim hazır!
![hamuru resim](https://i.washerhouse.com/images/4/1022-plastilinovaya-kartina.jpg)