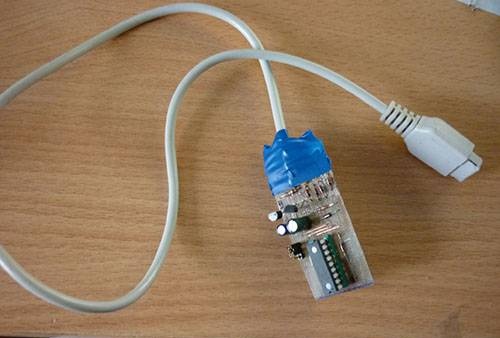
Acest programator este unul dintre cele mai simple și mai comune. Conține un minim de detalii și este ușor de repetat:
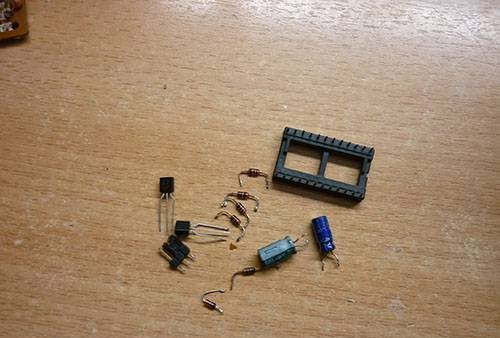
Pentru asamblare avem nevoie de:
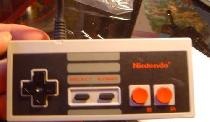
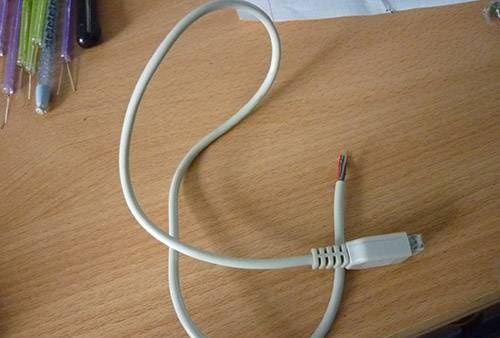
Dacă nu există mufă la portul COM, îl puteți deconecta de la joystick-ul shogi:

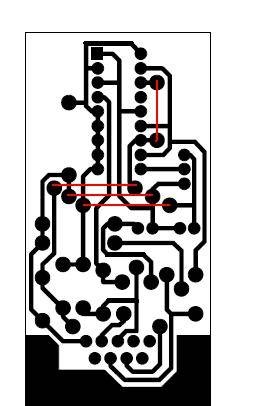
Realizarea unei plăci de circuit imprimat
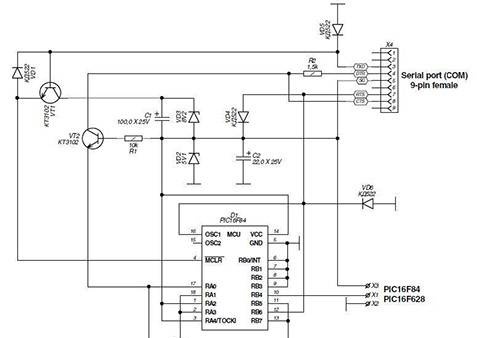
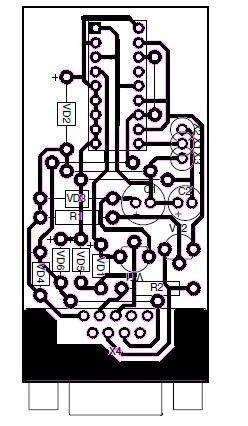
Locația pieselor:
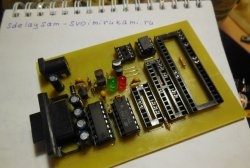
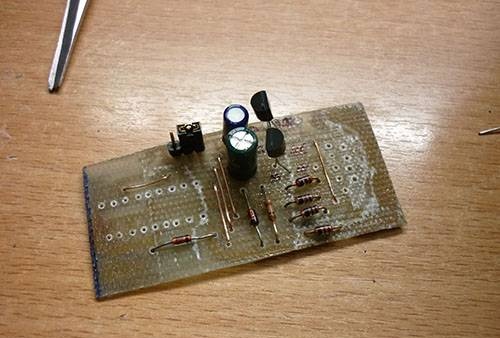
Deci, placa noastră este gata, acum lipim piesele. Mai întâi săritorii, apoi detaliile:
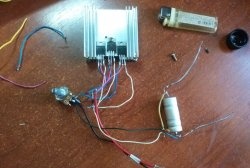
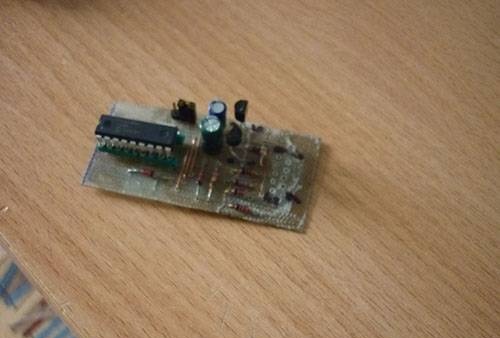
Aici toate piesele sunt deja lipite și este introdus PIC16F628A MK
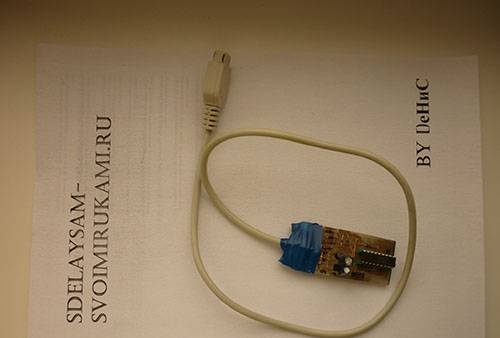
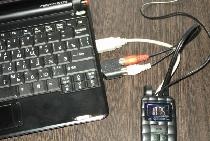
Etapa finală: lipiți firul COM. Dar înainte de a lipi trebuie să suni
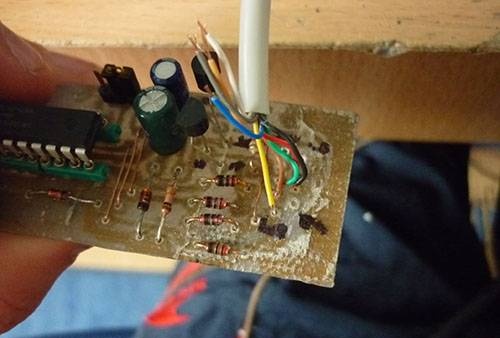
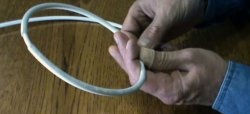
Este mai bine să tăiați firele neutilizate pentru a evita scurtcircuitele.