![Origami modular Iepuraș vesel](https://i.washerhouse.com/images/7/1041-modulnoe-origami-veslyy-zaychishka.jpg)
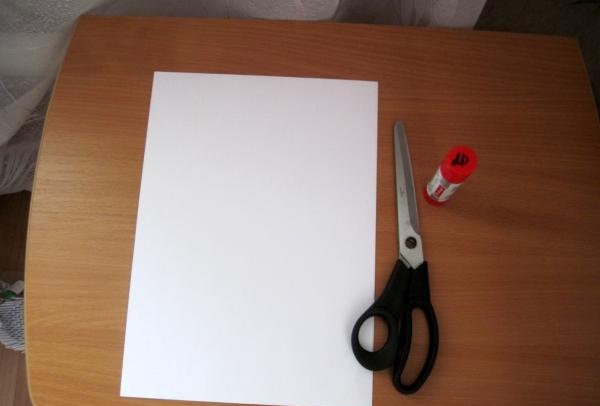
Puteți stăpâni tehnica de realizare a modulelor destul de ușor folosind fotografiile de mai jos. Pentru început, din foi de hârtie A4 trebuie să tăiați frunze pentru modulele în sine, așa cum se arată în figură.
![Origami modular Iepuraș vesel](https://i.washerhouse.com/images/7/1042-modulnoe-origami-veslyy-zaychishka.jpg)
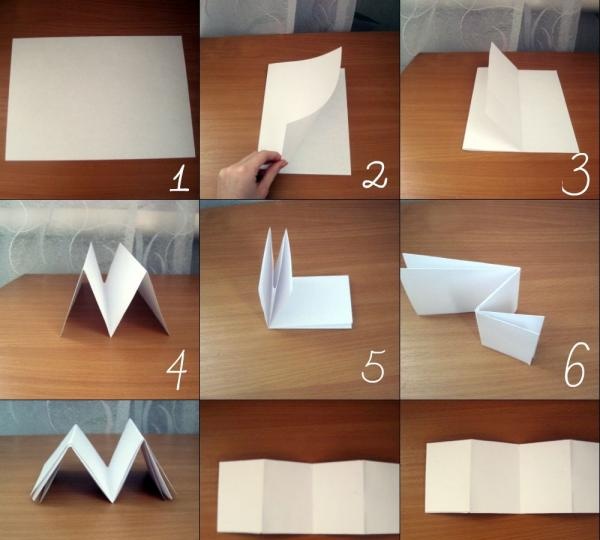
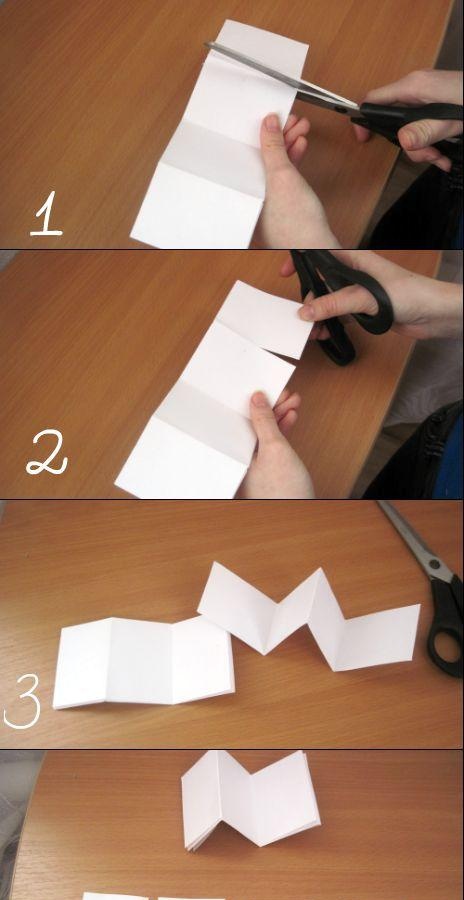
Și tăiați în părți egale (Fig. 1-4).O foaie ar trebui să producă 16 frunze mici.
![Origami modular Iepuraș vesel](https://i.washerhouse.com/images/7/1043-modulnoe-origami-veslyy-zaychishka.jpg)
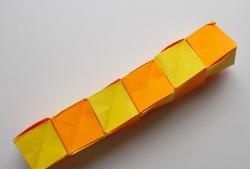
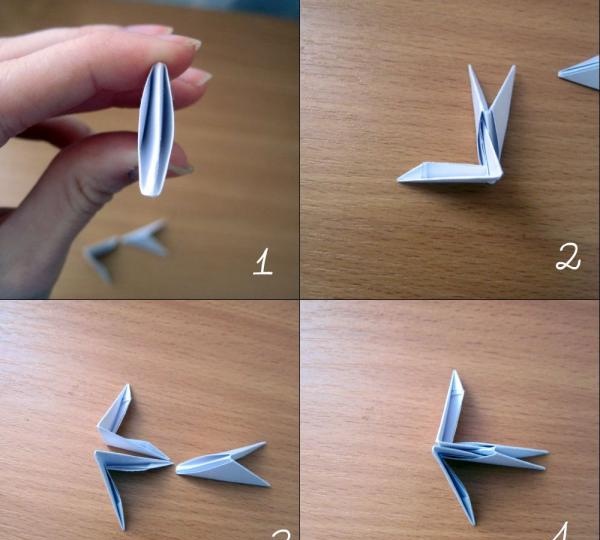
Următoarele arată cum să pliați corect modulul. Am folosit coală A4 pentru a fi mai ușor de văzut.
![Origami modular Iepuraș vesel](https://i.washerhouse.com/images/7/1044-modulnoe-origami-veslyy-zaychishka.jpg)
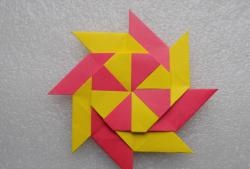
Figura arată cum să conectați corect modulele între ele.
![Origami modular Iepuraș vesel](https://i.washerhouse.com/images/7/1045-modulnoe-origami-veslyy-zaychishka.jpg)
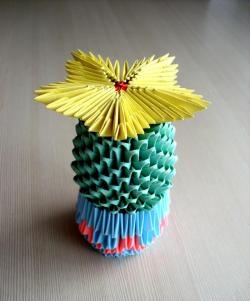
Acum că știți toate elementele de bază ale origami modulare, puteți începe să faceți un iepure de câmp.
Pentru a lucra avem nevoie de:
- Foi de hârtie A4.
- Foarfece.
- Lipici.
![Origami modular Iepuraș vesel](https://i.washerhouse.com/images/7/1046-modulnoe-origami-veslyy-zaychishka.jpg)
Sa trecem la treaba.
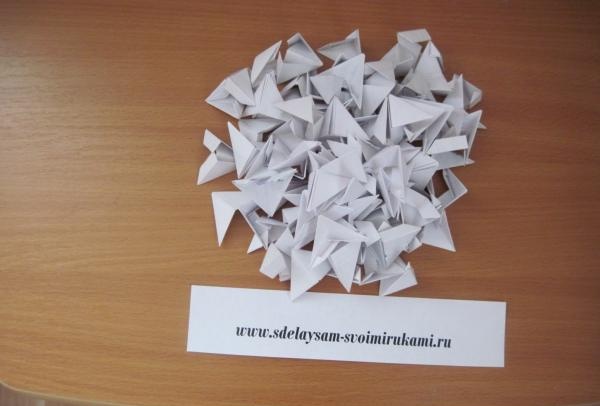
1) Mai întâi trebuie să faceți un număr mare de module, cu cât mai multe, cu atât mai bine.
![Origami modular Iepuraș vesel](https://i.washerhouse.com/images/7/1047-modulnoe-origami-veslyy-zaychishka.jpg)
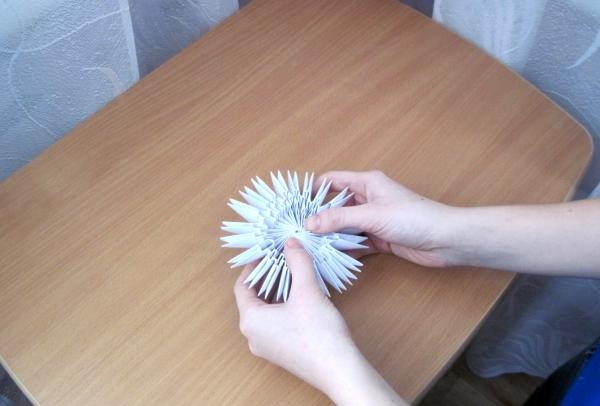
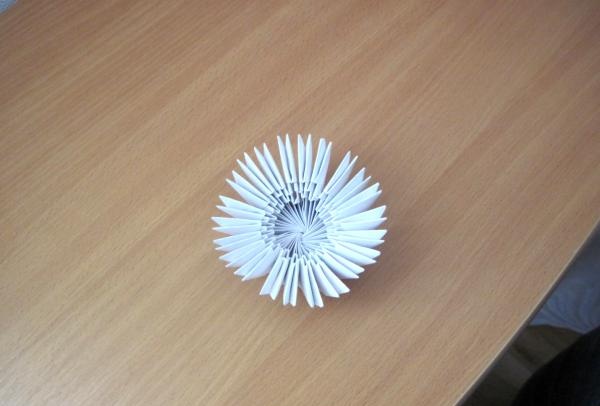
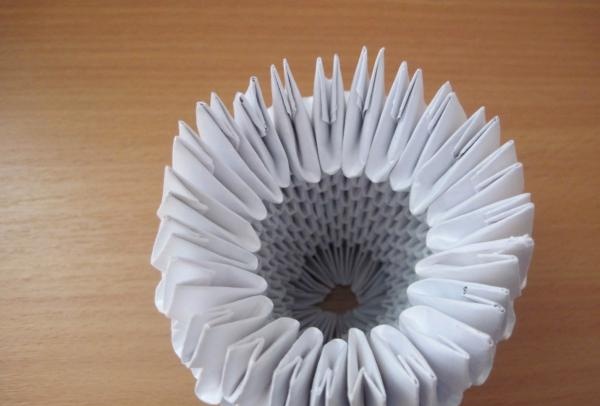
2) Luați 22 de module (orice număr par este posibil) și conectați-le într-un cerc și lipiți-le împreună (doar primul rând).
![Origami modular Iepuraș vesel](https://i.washerhouse.com/images/7/1048-modulnoe-origami-veslyy-zaychishka.jpg)
![Origami modular Iepuraș vesel](https://i.washerhouse.com/images/7/1049-modulnoe-origami-veslyy-zaychishka.jpg)
![Origami modular Iepuraș vesel](https://i.washerhouse.com/images/7/1050-modulnoe-origami-veslyy-zaychishka.jpg)
![Origami modular Iepuraș vesel](https://i.washerhouse.com/images/7/1051-modulnoe-origami-veslyy-zaychishka.jpg)
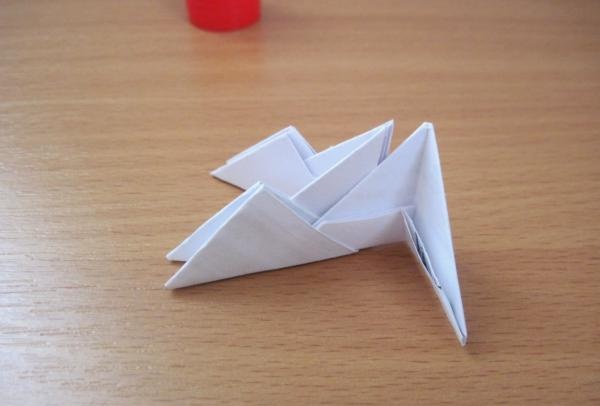
3) Asamblam primul rând, conectând două părți din module diferite. Astfel, facem tot rândul.
![Origami modular Iepuraș vesel](https://i.washerhouse.com/images/7/1052-modulnoe-origami-veslyy-zaychishka.jpg)
![Origami modular Iepuraș vesel](https://i.washerhouse.com/images/7/1053-modulnoe-origami-veslyy-zaychishka.jpg)
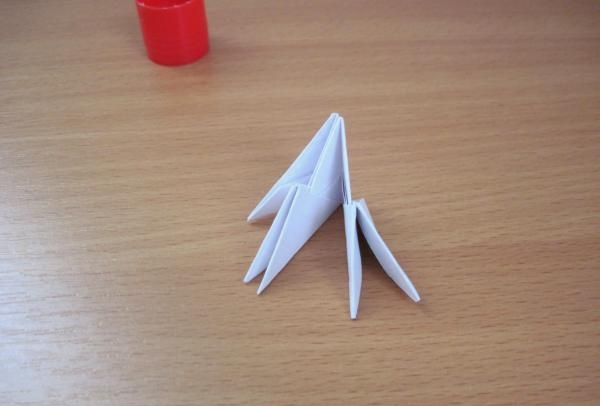
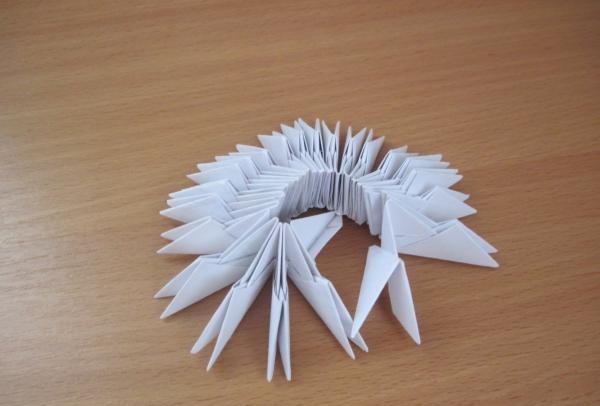
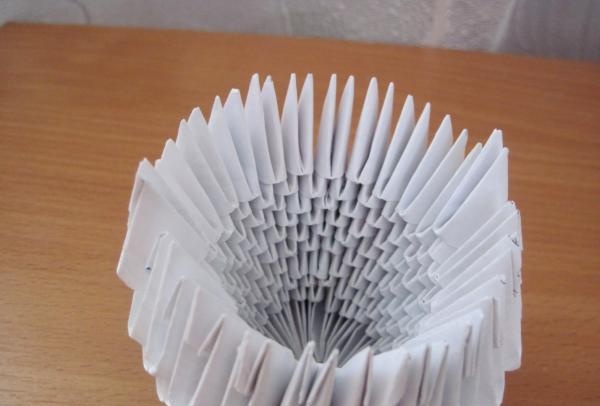
4) Colectăm încă 2-3 rânduri.
![Origami modular Iepuraș vesel](https://i.washerhouse.com/images/7/1054-modulnoe-origami-veslyy-zaychishka.jpg)
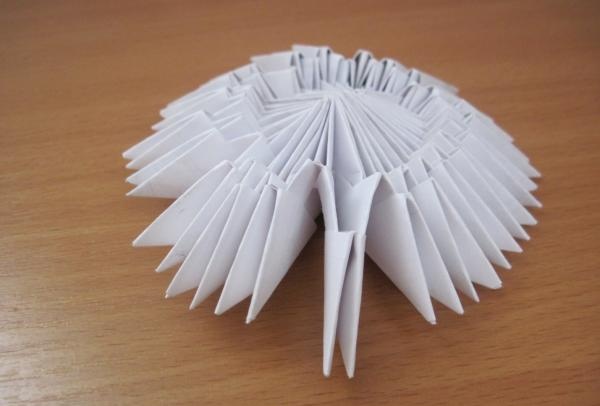
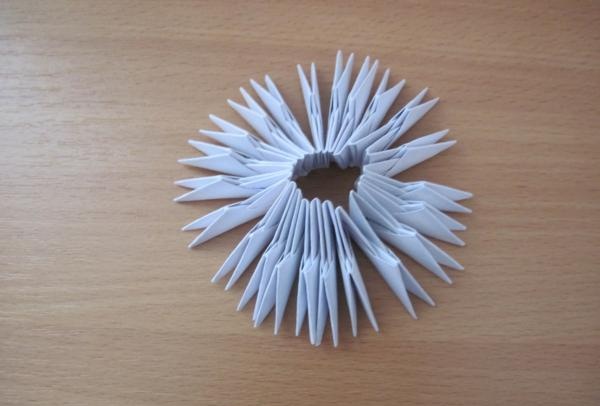
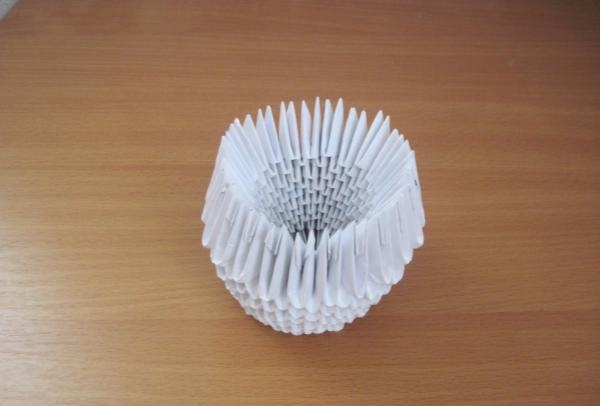
5) Întoarceți cu grijă cercul nostru astfel încât să ia forma unui castron.
![Origami modular Iepuraș vesel](https://i.washerhouse.com/images/7/1055-modulnoe-origami-veslyy-zaychishka.jpg)
![Origami modular Iepuraș vesel](https://i.washerhouse.com/images/7/1056-modulnoe-origami-veslyy-zaychishka.jpg)
![Origami modular Iepuraș vesel](https://i.washerhouse.com/images/7/1057-modulnoe-origami-veslyy-zaychishka.jpg)
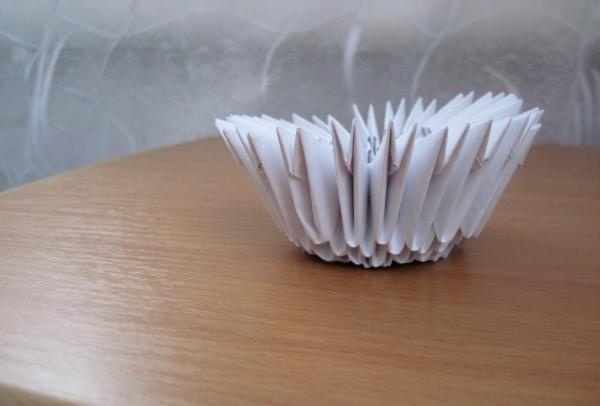
6) Asamblam mai multe rânduri pentru a forma un corp.
![Origami modular Iepuraș vesel](https://i.washerhouse.com/images/7/1058-modulnoe-origami-veslyy-zaychishka.jpg)
![Origami modular Iepuraș vesel](https://i.washerhouse.com/images/7/1059-modulnoe-origami-veslyy-zaychishka.jpg)
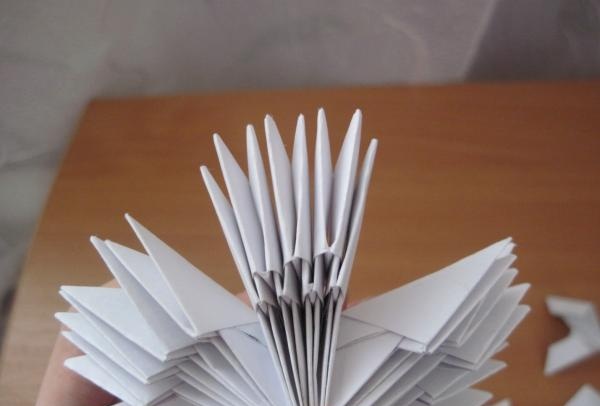
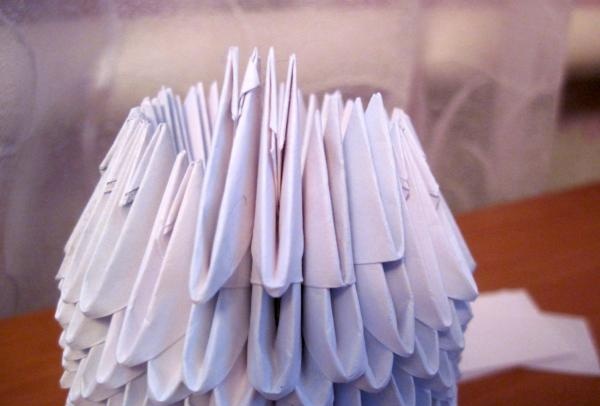
17) Să începem asamblarea capului. Pentru a face acest lucru, punem modulele în interiorul corpului nostru, așa cum se arată în figură.
![Origami modular Iepuraș vesel](https://i.washerhouse.com/images/7/1060-modulnoe-origami-veslyy-zaychishka.jpg)
![Origami modular Iepuraș vesel](https://i.washerhouse.com/images/7/1061-modulnoe-origami-veslyy-zaychishka.jpg)
Deci facem tot rândul.
![Origami modular Iepuraș vesel](https://i.washerhouse.com/images/7/1062-modulnoe-origami-veslyy-zaychishka.jpg)
![Origami modular Iepuraș vesel](https://i.washerhouse.com/images/7/1063-modulnoe-origami-veslyy-zaychishka.jpg)
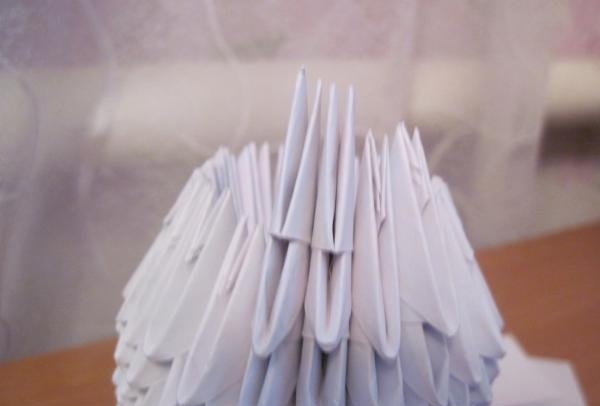
8) Aranjam rândurile rămase în modul obișnuit (ar trebui să mai fie vreo 4-5)
![Origami modular Iepuraș vesel](https://i.washerhouse.com/images/7/1064-modulnoe-origami-veslyy-zaychishka.jpg)
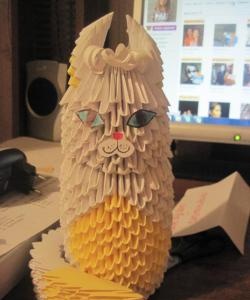
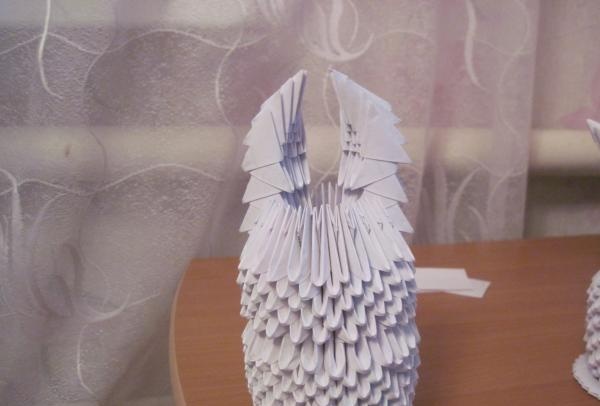
9) Acum trebuie să strângeți puțin capul, astfel încât să ia forma unui oval.
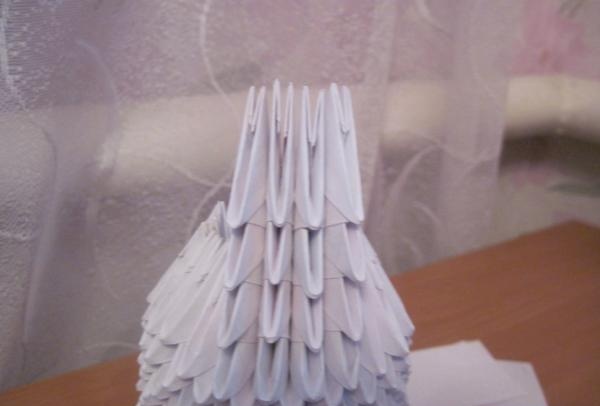
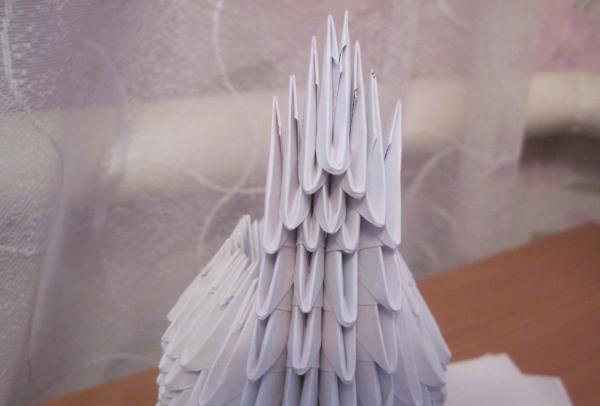
10) Să începem să colectăm urechile. Nu ar trebui să fie foarte departe unul de celălalt. Alegem un număr nepar de module și facem așa cum se arată în imagini, începând cu al 5-lea rând, începem să scădem
![Origami modular Iepuraș vesel](https://i.washerhouse.com/images/7/1065-modulnoe-origami-veslyy-zaychishka.jpg)
![Origami modular Iepuraș vesel](https://i.washerhouse.com/images/7/1066-modulnoe-origami-veslyy-zaychishka.jpg)
![Origami modular Iepuraș vesel](https://i.washerhouse.com/images/7/1067-modulnoe-origami-veslyy-zaychishka.jpg)
![Origami modular Iepuraș vesel](https://i.washerhouse.com/images/7/1068-modulnoe-origami-veslyy-zaychishka.jpg)
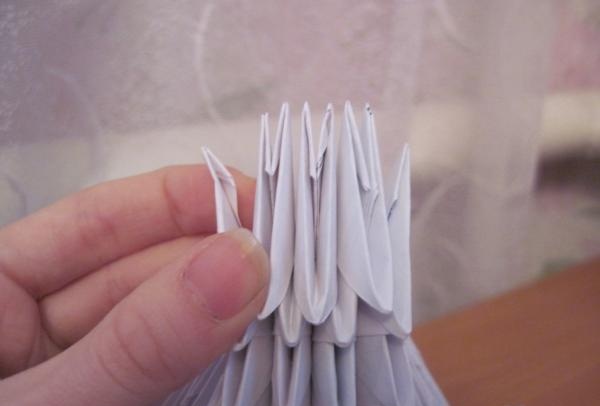
11) Faceți același lucru pentru a doua ureche.
![Origami modular Iepuraș vesel](https://i.washerhouse.com/images/7/1069-modulnoe-origami-veslyy-zaychishka.jpg)
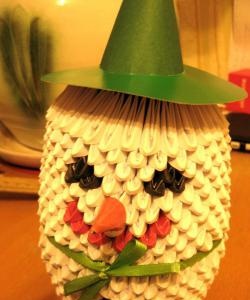
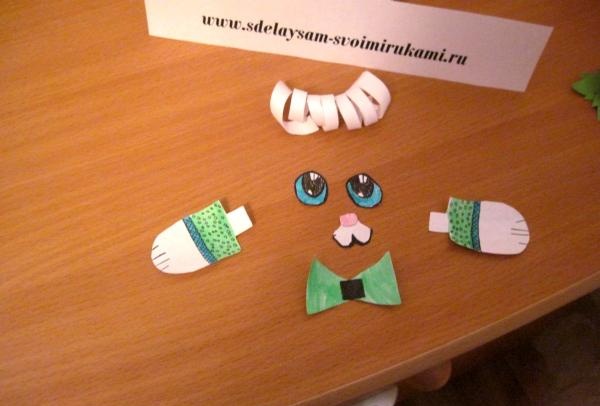
12) Am desenat ochii, labele, arcul și botul, le-am tăiat din hârtie și le-am lipit.
![Origami modular Iepuraș vesel](https://i.washerhouse.com/images/7/1070-modulnoe-origami-veslyy-zaychishka.jpg)
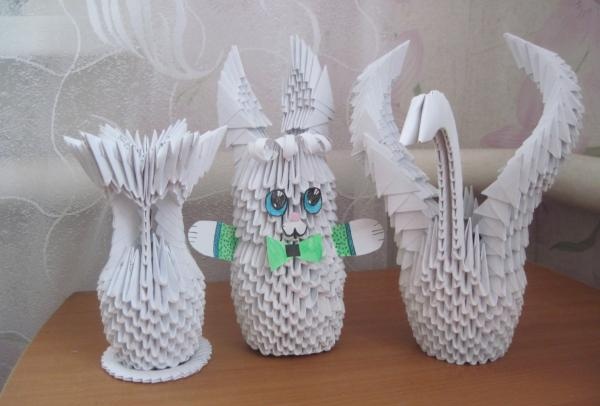
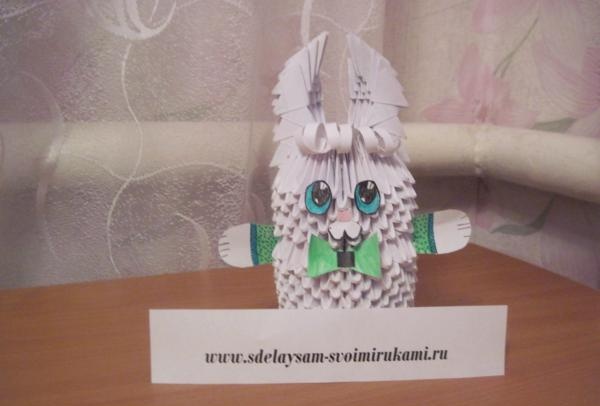
13) Drept urmare, am primit acest iepuraș amuzant. Sunt sigur că poate fi un cadou grozav sau pur și simplu poate decora o cameră.
![Origami modular Iepuraș vesel](https://i.washerhouse.com/images/7/1071-modulnoe-origami-veslyy-zaychishka.jpg)