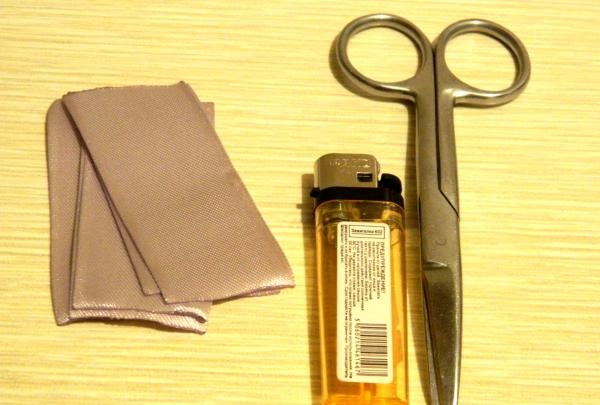
Nødvendige materialer og verktøy:
- Varmt lim.
- Skarp saks.
- Pinsett.
- Lighter.
- Perle.
- Sprøtt.
- Støvdragere for en blomst.
- Lilla bånd 5 cm bredt.
- Syrinbånd 3,5 cm bredt.
![grasiøs blomst](https://i.washerhouse.com/images/9/2123-izyaschnyy-cvetok.jpg)
Tilberedningsmetode:
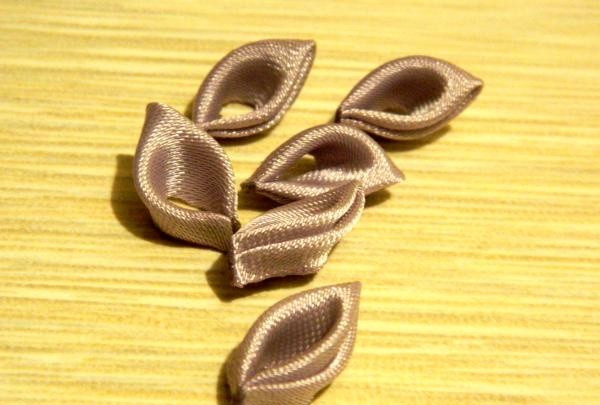
Lag 6 rektangler av syrinbånd. Lengden på hver seksjon skal være 5,5 cm Behandle kuttene med ild.
![grasiøs blomst](https://i.washerhouse.com/images/9/2124-izyaschnyy-cvetok.jpg)
Bøy stykket som vist på bildet.
![grasiøs blomst](https://i.washerhouse.com/images/9/2125-izyaschnyy-cvetok.jpg)
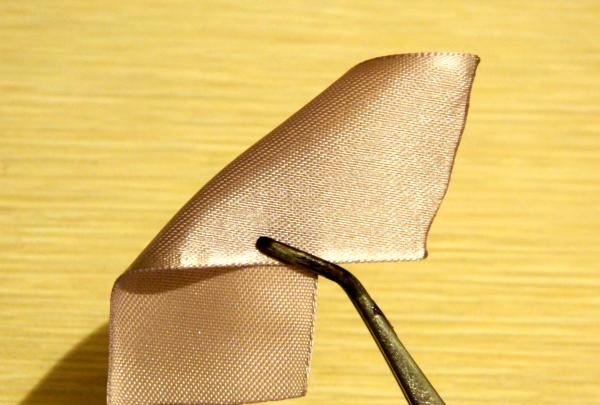
Bøy den deretter igjen, koble kantene på arbeidsstykket. Slik skal baksiden av stykket se ut.
![grasiøs blomst](https://i.washerhouse.com/images/9/2126-izyaschnyy-cvetok.jpg)
Snu det fremtidige kronbladet mot deg og før kanten av basen til midten.
![grasiøs blomst](https://i.washerhouse.com/images/9/2127-izyaschnyy-cvetok.jpg)
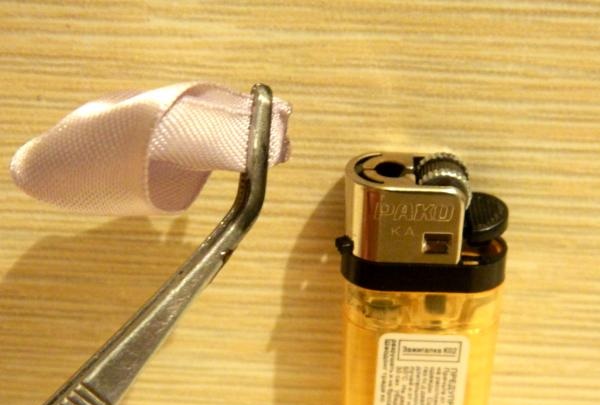
Bøy nå begge ender av basen bakover. Du vil få et veldig uvanlig og voluminøst kronblad.
![grasiøs blomst](https://i.washerhouse.com/images/9/2128-izyaschnyy-cvetok.jpg)
Lodd enden av kronbladet.
![grasiøs blomst](https://i.washerhouse.com/images/9/2129-izyaschnyy-cvetok.jpg)
Lag de samme kronbladene fra de resterende segmentene.
![grasiøs blomst](https://i.washerhouse.com/images/9/2130-izyaschnyy-cvetok.jpg)
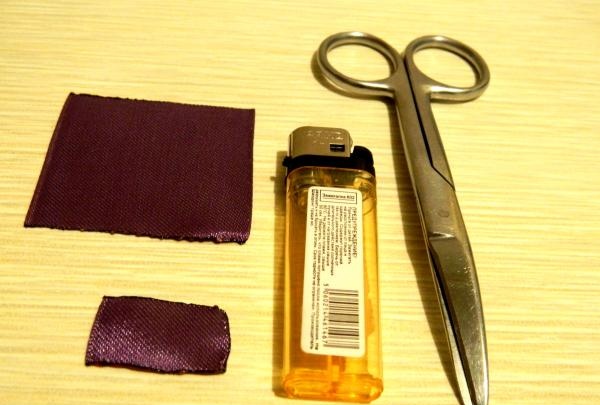
Klipp det lilla båndet i rektangler på 7 cm. Behandle seksjonene med en lighter.
![grasiøs blomst](https://i.washerhouse.com/images/9/2131-izyaschnyy-cvetok.jpg)
Forbered også en firkantet del av denne tapen og en liten del for å feste strikken.
![grasiøs blomst](https://i.washerhouse.com/images/9/2132-izyaschnyy-cvetok.jpg)
Lag 6 lilla kronblad akkurat på samme måte som du gjorde de lilla.
![grasiøs blomst](https://i.washerhouse.com/images/9/2133-izyaschnyy-cvetok.jpg)
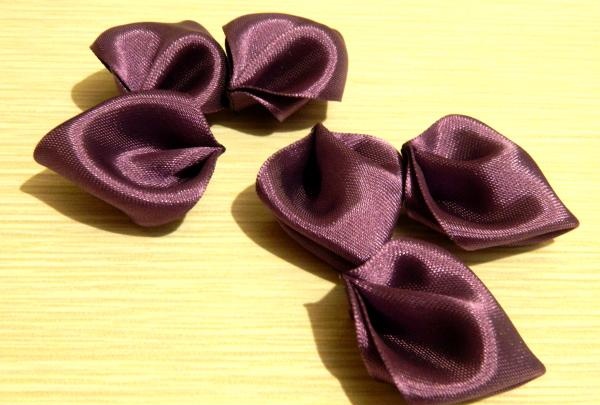
Varmlim en rad med store kronblad til bunnen av blomsten.
![grasiøs blomst](https://i.washerhouse.com/images/9/2134-izyaschnyy-cvetok.jpg)
Lim syriner mellom de lilla kronbladene.
![grasiøs blomst](https://i.washerhouse.com/images/9/2135-izyaschnyy-cvetok.jpg)
Lim nå støvbærerne som vist på bildet.
![grasiøs blomst](https://i.washerhouse.com/images/9/2136-izyaschnyy-cvetok.jpg)
Lag 6 firkanter av syrinbåndet. Bearbeid kuttene.
![grasiøs blomst](https://i.washerhouse.com/images/9/2137-izyaschnyy-cvetok.jpg)
Brett firkanten i to. Forsiden av båndet skal være på utsiden.
![grasiøs blomst](https://i.washerhouse.com/images/9/2138-izyaschnyy-cvetok.jpg)
Bøy deretter arbeidsstykket igjen.
![grasiøs blomst](https://i.washerhouse.com/images/9/2139-izyaschnyy-cvetok.jpg)
Bring kantene på arbeidsstykket sammen.
![grasiøs blomst](https://i.washerhouse.com/images/9/2140-izyaschnyy-cvetok.jpg)
Slutten på det fremtidige kronbladet må kuttes forsiktig av og behandles.
![grasiøs blomst](https://i.washerhouse.com/images/9/2141-izyaschnyy-cvetok.jpg)
Klipp av baksiden av kronbladet også.
![grasiøs blomst](https://i.washerhouse.com/images/9/2142-izyaschnyy-cvetok.jpg)
Rett opp kronbladet og bearbeid kuttet.
![grasiøs blomst](https://i.washerhouse.com/images/9/2143-izyaschnyy-cvetok.jpg)
Her er et standard kronblad "kanzashi«Du bør lykkes.
![grasiøs blomst](https://i.washerhouse.com/images/9/2144-izyaschnyy-cvetok.jpg)
Lag de samme kronbladene fra de resterende rutene.
![grasiøs blomst](https://i.washerhouse.com/images/9/2145-izyaschnyy-cvetok.jpg)
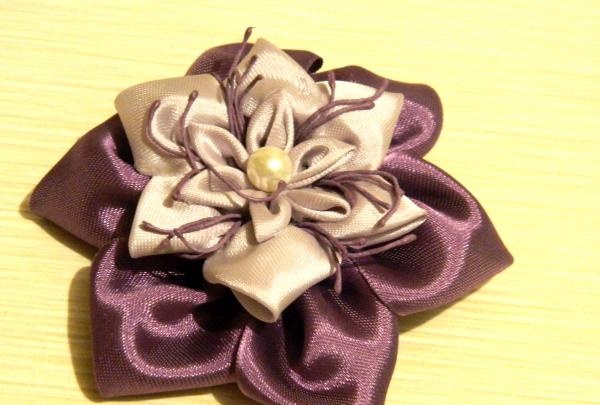
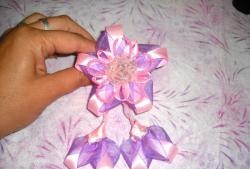
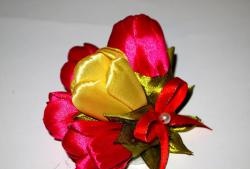
Påfør varmt lim på sidene av kronbladene for å lage en liten blomst.
![grasiøs blomst](https://i.washerhouse.com/images/9/2146-izyaschnyy-cvetok.jpg)
Lim den til hovedproduktet, og fest en perle i midten.
![grasiøs blomst](https://i.washerhouse.com/images/9/2147-izyaschnyy-cvetok.jpg)
Lim en strikk på baksiden av blomsten og fest den med et stykke lilla tape.
![grasiøs blomst](https://i.washerhouse.com/images/9/2148-izyaschnyy-cvetok.jpg)
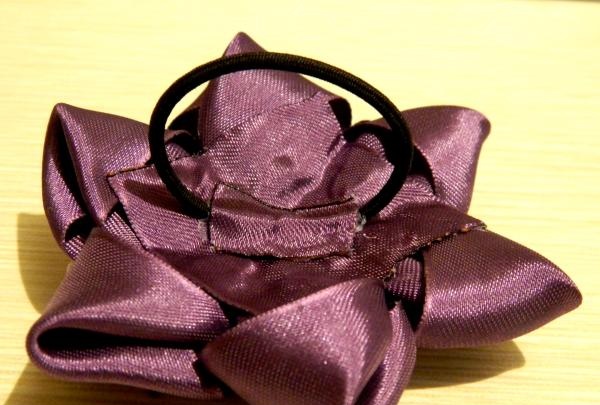
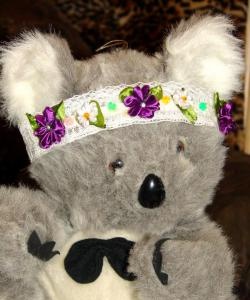
Nå er ditt stilige hårpynt endelig klart!
![grasiøs blomst](https://i.washerhouse.com/images/9/2149-izyaschnyy-cvetok.jpg)
![grasiøs blomst](https://i.washerhouse.com/images/9/2150-izyaschnyy-cvetok.jpg)