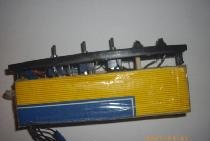
Nous aurons besoin:
interrupteur (ils doivent avoir 3 pattes et l'interrupteur doit avoir 3 positions).
interrupteur (type à clé, en option).
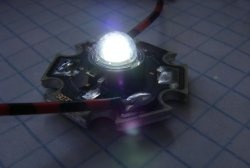
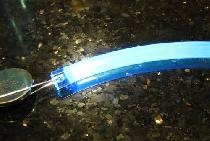
4 bleus DIRIGÉ et 5 rouges.
4 rouges DIRIGÉ .
11 résistances 750 Ohm.
Fils.
Gaine thermorétractable ou super colle.
Fer à souder et accessoires.
Bouchon facial.
3 répartiteurs d'alimentation.


Caractéristiques LED:
Tension = 1,5 V, Courant = 0,015 A.
À partir de là, nous calculons la résistance requise pour le 12 V entrant :
R = (12 V - 1,5 V) / 0,015 A = 700 Ohms
ou la valeur la plus proche pouvant être atteinte, 750 ohms
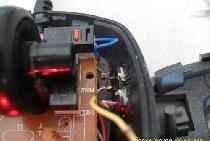
Commençons, prenons la prise avant....

.... et percez des trous pour les interrupteurs et les LED.
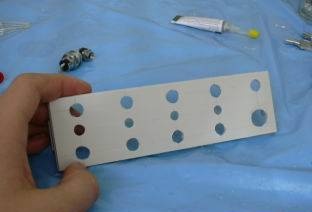
Et on visse tout ça dans un bouchon.

Maintenant, nous retournons tout cela de l'autre côté, il est préférable de serrer le bouchon dans un étau, sinon il rampera sur la table pendant le soudage.

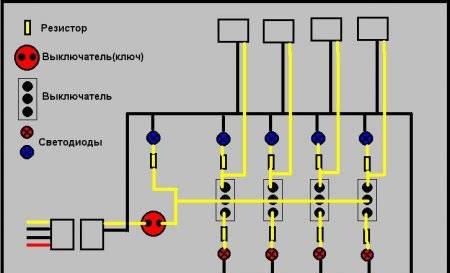
Nous soudons tout approximativement selon ce schéma, ou selon vos besoins.
Finalement:

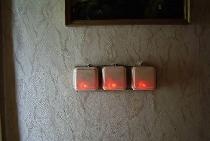
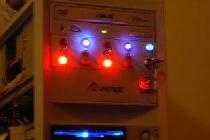
Nous vérifions le fonctionnement - lorsque l'interrupteur est retiré de la position neutre, une LED doit s'allumer.


Nous l'intégrons dans le corps.Et on gère ce qu'on veut :-))

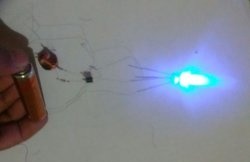
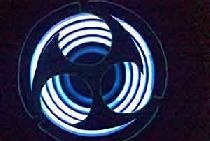
Deuxième option : Vous pouvez vous contenter d'une rangée de LED et d'interrupteurs sans position neutre :

Voici le schéma :

Emploi:

Tous !