Today we will look at how you can make a wonderful applique from ordinary paper napkins, which are found in every home. What you end up with will surprise both you and the person to whom you will give it. This is an amazing and bright volumetric applique that you can quickly make together with a child aged three years and older.
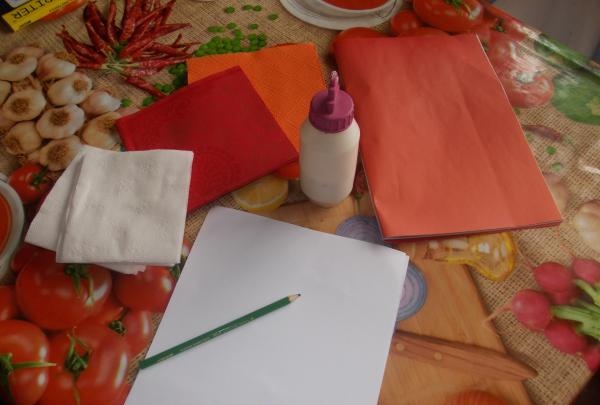
To make an applique we will need: a thick sheet of white A4 paper, pencils, several packs of multi-colored napkins, scissors, PVA glue, a small saucer for glue, colored paper, and a little imagination and imagination.
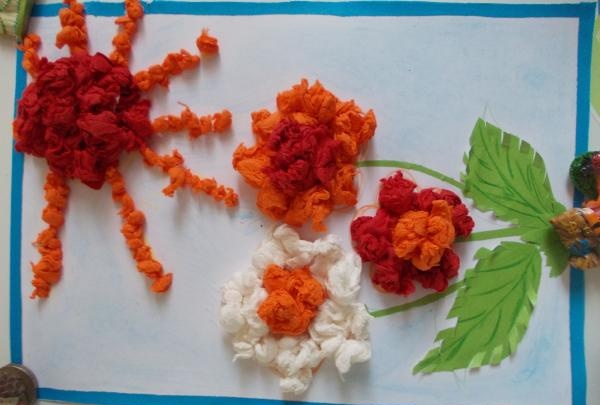
The first step is to decide what we will do. We decided to make a festive bouquet and bright sunshine against the background of flowers. Therefore, first we draw the contours of these objects on paper.
It should be remembered that this technology does not allow drawing small details, so draw large outlines of objects.
In our drawing we depicted flowers and the sun.

The second step is to prepare the applique balls. To do this, we tear the napkin into eight pieces and roll the resulting pieces into balls. This is a very simple and fun activity that young children really enjoy. We prepare balls of different colors and sizes, and put them in a prepared container.

Then the fun begins; we start gluing the balls onto the prepared sketch according to a well-thought-out color scheme.

To do this, we dip the ball into a saucer with glue and press it to our sketch. Next, we systematically paste the balls over the entire surface in one row.

We decided to make the sun and the center of the flowers three-dimensional. To do this, we wait a little while the first layer of balls dries and glue the second and third layers on top of it until we get the shape we need.

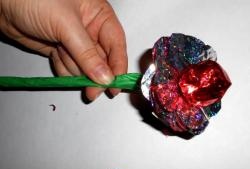
Now all that remains is to cut out the stems and leaves for the bouquet from colored paper and glue them to the planned location.


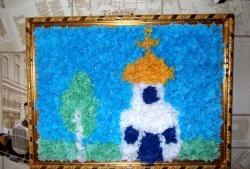
We decided to make a frame from colored paper and a blue background from blue pencil lead shavings.

Glue the frame and rub the pencil.

All is ready. All you have to do is wait about twenty minutes for everything to dry thoroughly.
It took us forty minutes to complete the entire application and the result is an excellent and bright gift!