![Now it has become convenient to work with a simple modification of the grinder](https://i.washerhouse.com/uploads/posts/2020-07/1594191528_1-0-08-36-282.jpg)
Materials:
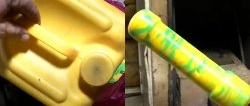
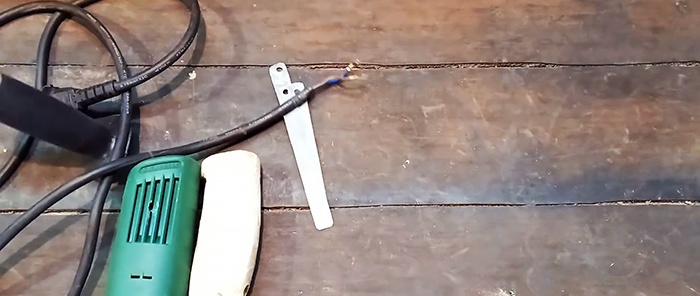
- wooden blank for the handle;
- thin sheet metal;
- clamps with worm clamp – 2 pcs.;
- wood screws.
Handle manufacturing and installation process
![Now it has become convenient to work with a simple modification of the grinder](https://i.washerhouse.com/uploads/posts/2020-07/1594191450_1-0-01-02-381.jpg)
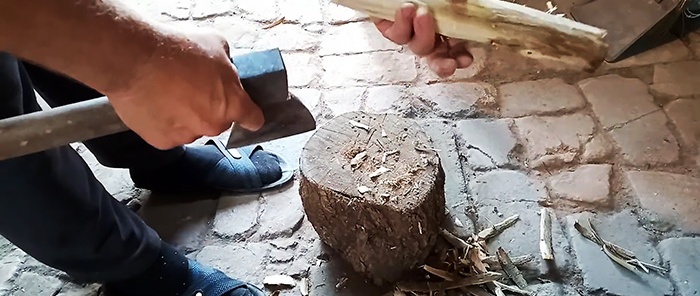
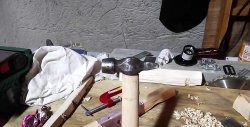
Their wood requires a handle to be cut for installation at the end of the grinder body. It can be made from timber or logs. Its shape should resemble the handle of a cleaver.
![Now it has become convenient to work with a simple modification of the grinder](https://i.washerhouse.com/uploads/posts/2020-07/1594191544_1-0-02-24-453.jpg)
![Now it has become convenient to work with a simple modification of the grinder](https://i.washerhouse.com/uploads/posts/2020-07/1594191535_1-0-02-56-471.jpg)
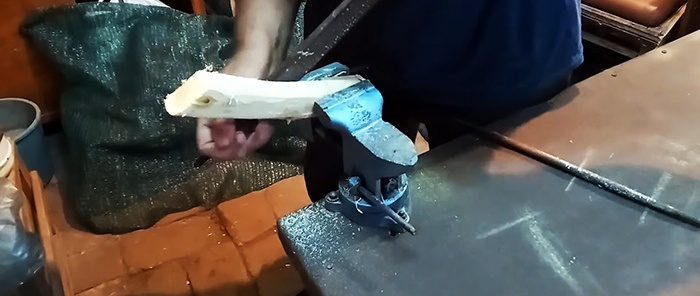
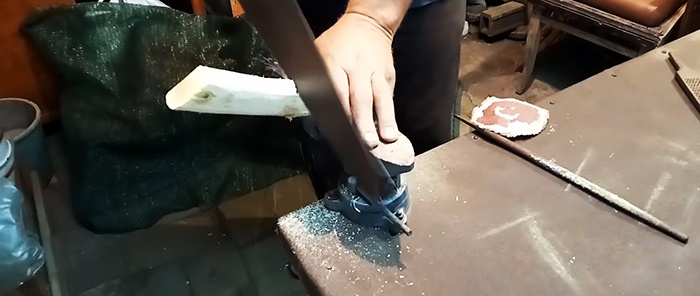
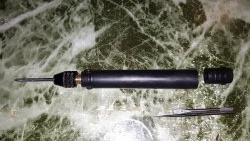
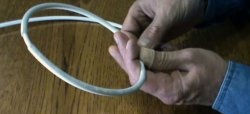
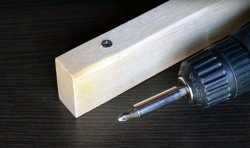
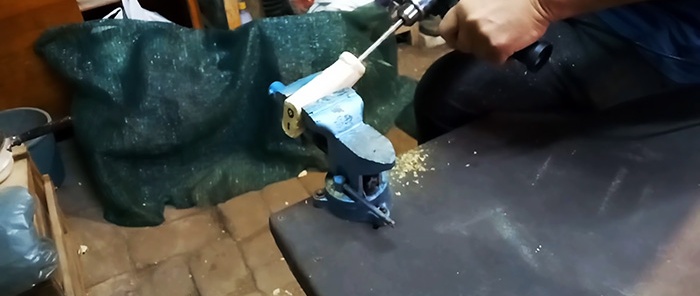
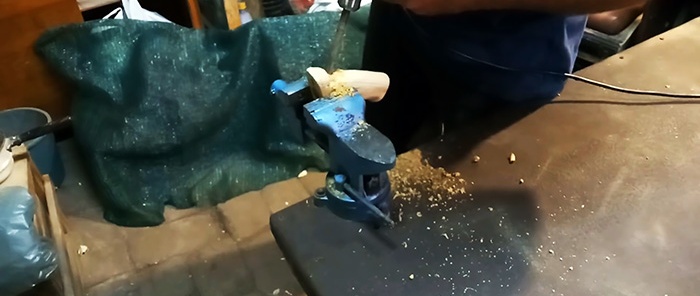
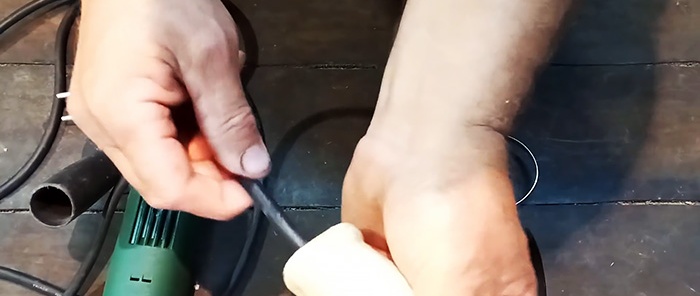
Having given the handle a convenient shape, you need to drill it from the end to the diameter of the power cord.
![Now it has become convenient to work with a simple modification of the grinder](https://i.washerhouse.com/uploads/posts/2020-07/1594191475_1-0-03-34-580.jpg)
![Now it has become convenient to work with a simple modification of the grinder](https://i.washerhouse.com/uploads/posts/2020-07/1594191503_1-0-04-27-966.jpg)
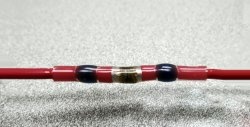
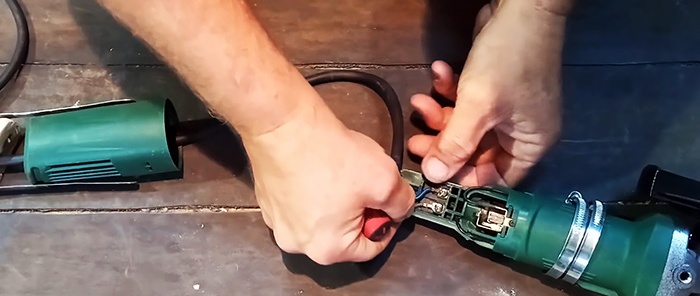
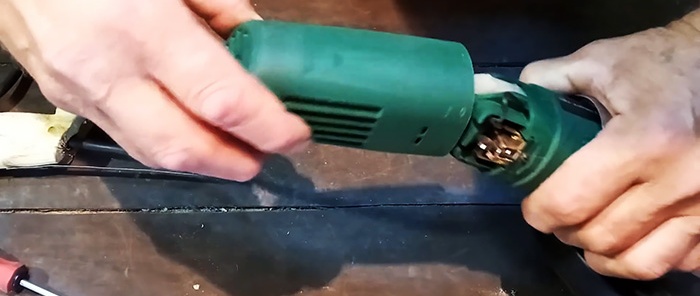
The back cover is removed from the angle grinder body and the wire and plug are disconnected.
![Now it has become convenient to work with a simple modification of the grinder](https://i.washerhouse.com/uploads/posts/2020-07/1594191447_1-0-05-20-383.jpg)
You need to wind it through a homemade handle, then remove the cover and screw it back to the terminals.
![Now it has become convenient to work with a simple modification of the grinder](https://i.washerhouse.com/uploads/posts/2020-07/1594191511_1-0-06-03-528.jpg)
![Now it has become convenient to work with a simple modification of the grinder](https://i.washerhouse.com/uploads/posts/2020-07/1594191537_1-0-06-28-154.jpg)
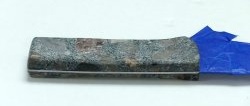
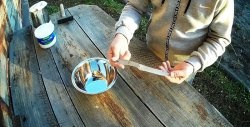
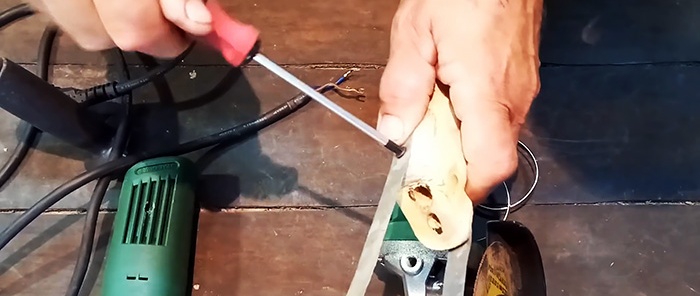
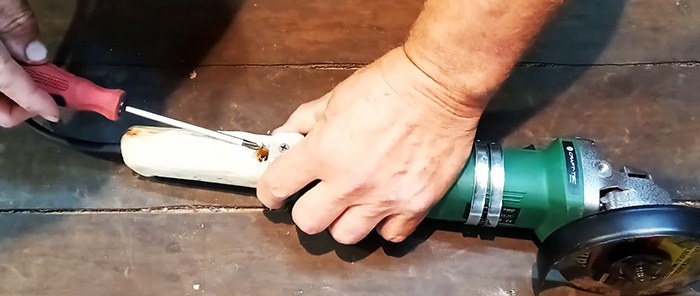
2 strips are cut out of tin and screwed to the handle with self-tapping screws at the top and bottom.
![Now it has become convenient to work with a simple modification of the grinder](https://i.washerhouse.com/uploads/posts/2020-07/1594191502_1-0-05-47-512.jpg)
The removed cover is installed back on the body of the angle grinder.
![Now it has become convenient to work with a simple modification of the grinder](https://i.washerhouse.com/uploads/posts/2020-07/1594191477_1-0-06-43-969.jpg)
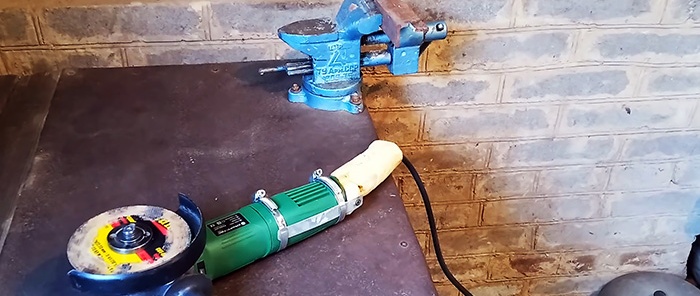
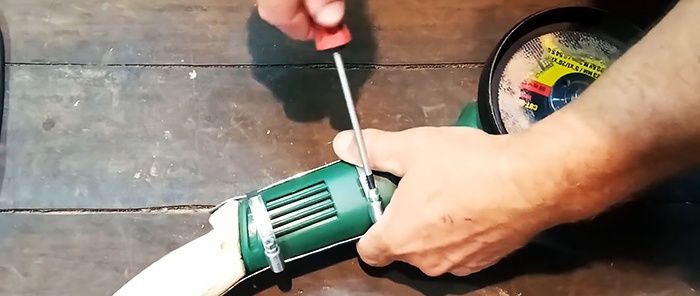
Then the handle is screwed to it with a short self-tapping screw. Next, it is fixed to the body of the angle grinder by the strips with two clamps.
![Now it has become convenient to work with a simple modification of the grinder](https://i.washerhouse.com/uploads/posts/2020-07/1594191524_1-0-07-04-209.jpg)
![Now it has become convenient to work with a simple modification of the grinder](https://i.washerhouse.com/uploads/posts/2020-07/1594191501_1-0-07-14-533.jpg)
![Now it has become convenient to work with a simple modification of the grinder](https://i.washerhouse.com/uploads/posts/2020-07/1594191485_1-0-07-43-429.jpg)
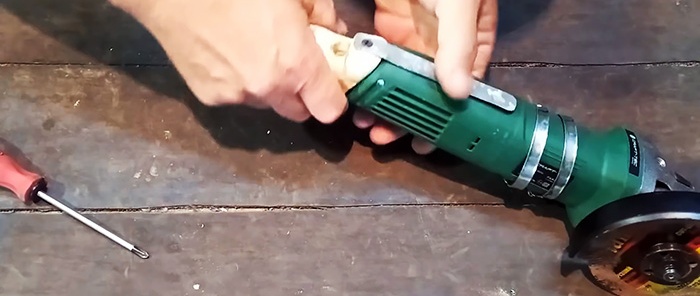
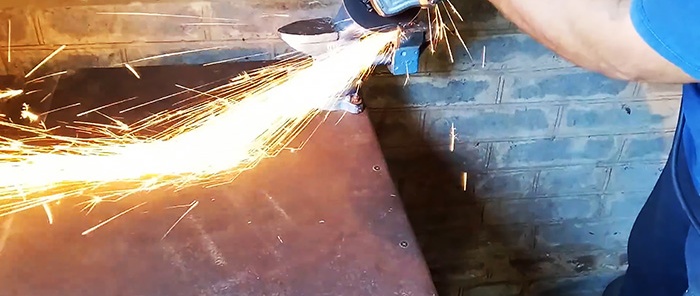
As a result, the handle receives a fairly rigid fixation, and the tool can be used for its intended purpose.
![Now it has become convenient to work with a simple modification of the grinder](https://i.washerhouse.com/uploads/posts/2020-07/1594191484_1-0-08-15-927.jpg)
![Now it has become convenient to work with a simple modification of the grinder](https://i.washerhouse.com/uploads/posts/2020-07/1594191528_1-0-08-36-282.jpg)