Do it yourself
Life hacks, master classes, useful tips, recipes.
home » Useful and interesting » Do-it-yourself restoration of electric motor armature commutator plates
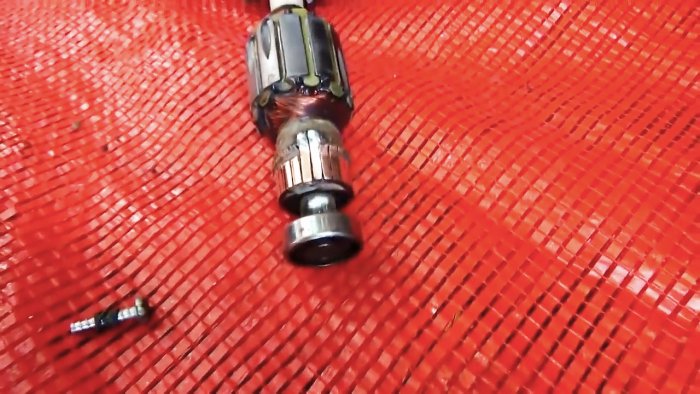
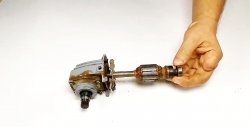
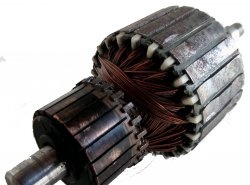
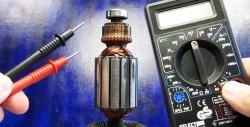
In fact, all power tools and household appliances are driven by electric motors, the basis of which is an armature (rotor) consisting of a winding and contact plates.
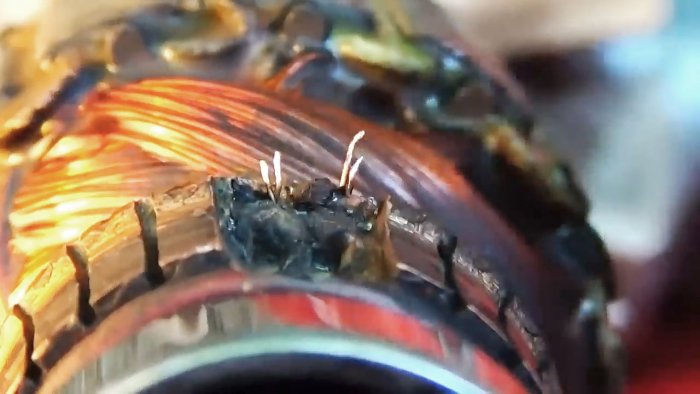
If the drive stops working, then if the winding is working properly, the reason may be in the plates. One or two of them may simply tear off. However, this is not a reason to buy a new expensive engine. You can restore contact plates from scrap materials and literally “on your knees”.
Do-it-yourself restoration of electric motor armature commutator plates

Will need


To put the anchor in order in case of such a breakdown, we should prepare the following materials:
  • a piece of copper wire;
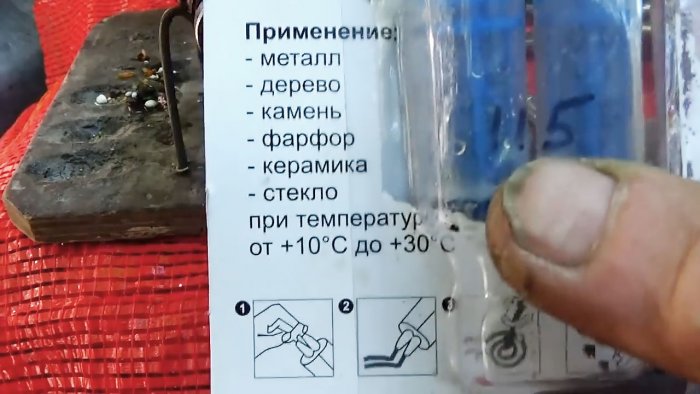
  • universal epoxy glue brand EDP;
  • aluminum wire;
  • wooden block.

Without a lathe, we will need many tools and accessories: a knife and a brush, pliers and a screwdriver, a hammer and an anvil, a file, sandpaper and a needle, a drill and a soldering iron, a vice and a punch, a caliper and a pencil.

The procedure for restoring armature collector plates


First, we put the bases of the flying plates in order. To do this, use a brush to remove small particles and dust from the recess in the collector. Then, using a knife, we align the places for the new plates in length, width and depth. At the same time, try not to damage the ends of the windings that go to the missing plates.
Do-it-yourself restoration of electric motor armature commutator plates

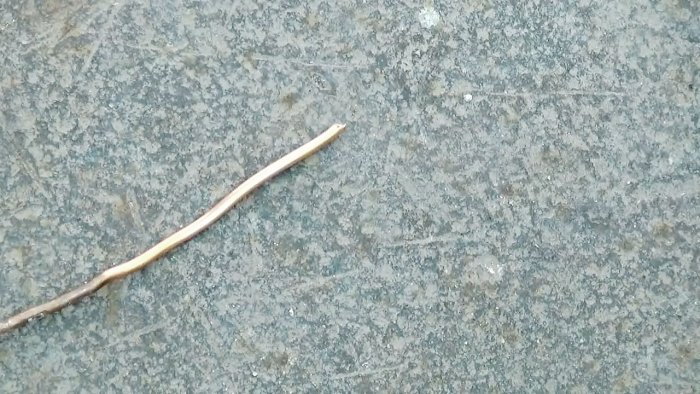
We cut the outer insulation of a two-core copper wire with a knife, bite off one of them and pull the core out of the inner insulation with pliers.
Do-it-yourself restoration of electric motor armature commutator plates

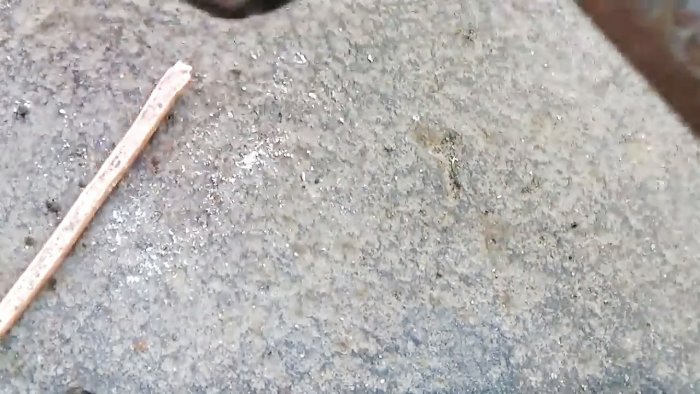
Flatten the copper wire to form two plates using a hammer and anvil.
Do-it-yourself restoration of electric motor armature commutator plates

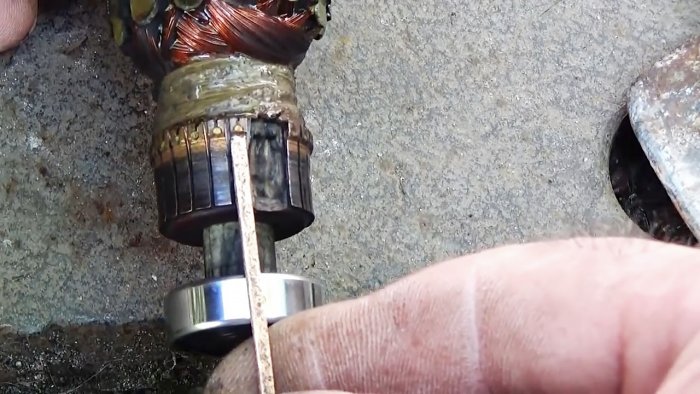
At the same time, from time to time we compare the workpiece with the intact plates on the armature commutator so that the width of the workpiece does not turn out to be larger.
Do-it-yourself restoration of electric motor armature commutator plates

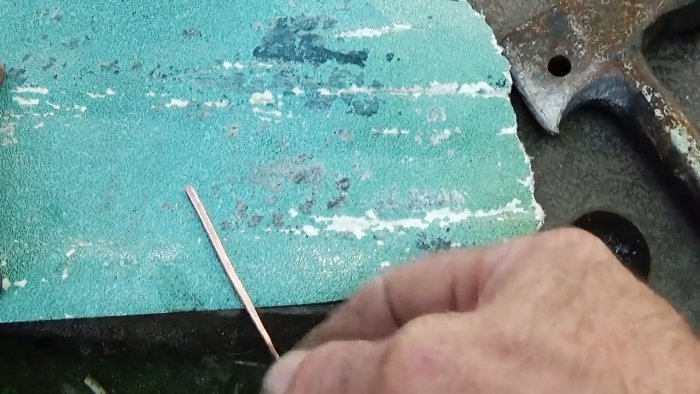
Having received approximately the required cross-section of copper wire, we bring it to the required size with coarse sandpaper P80, evenly processing each side, and also checking with whole plates.
Do-it-yourself restoration of electric motor armature commutator plates

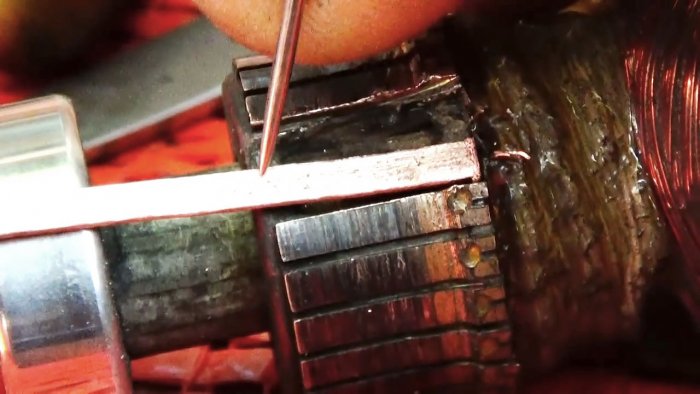
We form the end of the plate blank with a disk rotated by a grinder. We place the workpiece in its place, and, focusing on the adjacent whole plate, mark the length with a pencil.
Do-it-yourself restoration of electric motor armature commutator plates

We cut along the mark and break off the plate blank with pliers. We clamp it in a vice and make a shallow cut in the top center with a knife and hammer.
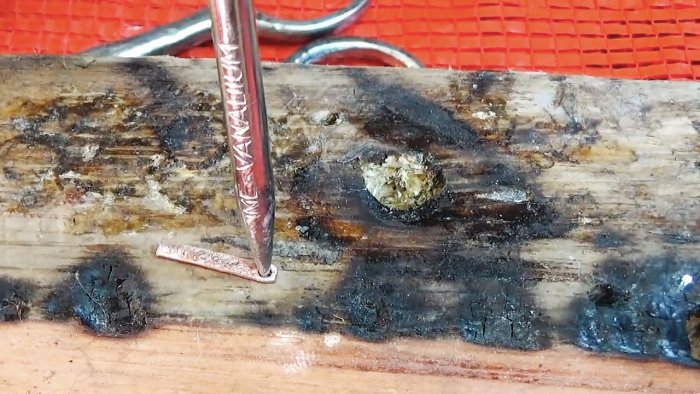
We place the workpiece on a wooden beam and use a punch and a hammer to make a hole at the base of the slot, which we grind with a sewing needle.
Do-it-yourself restoration of electric motor armature commutator plates

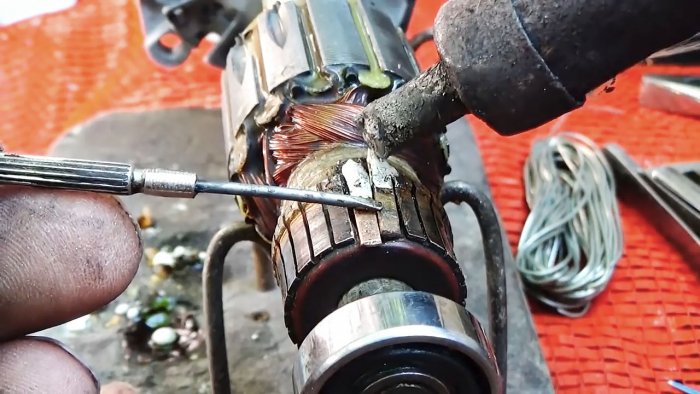
We clean the treated area with sandpaper. We put the homemade plates in their places and solder the ends of the corresponding windings to them.
Do-it-yourself restoration of electric motor armature commutator plates

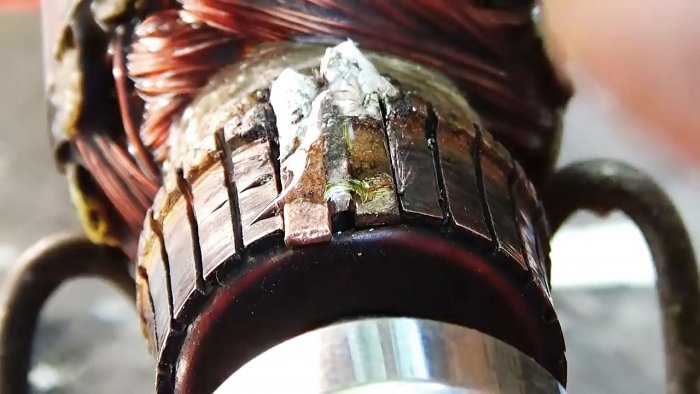
Mix two-part epoxy glue according to the instructions and apply it to the plates with the tip of a flat-head screwdriver so that it gets into the gaps between the plates.
Do-it-yourself restoration of electric motor armature commutator plates

Do-it-yourself restoration of electric motor armature commutator plates

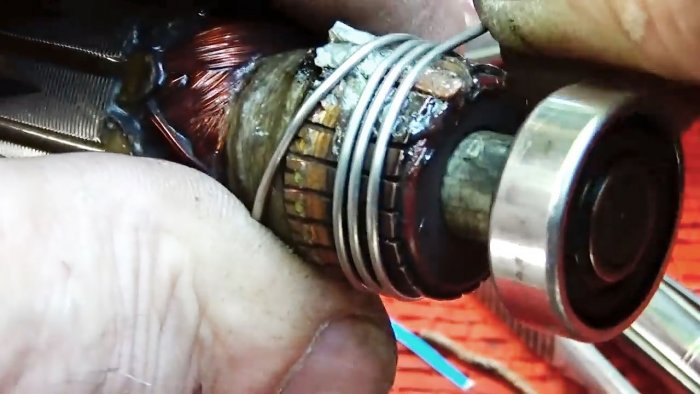
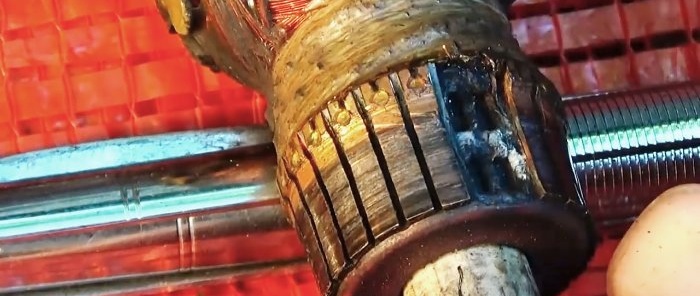
We wrap the collector with the glued plates several times with aluminum wire, creating tension and twisting the ends together.
Do-it-yourself restoration of electric motor armature commutator plates

Leave everything alone for the time specified in the instructions.
Do-it-yourself restoration of electric motor armature commutator plates

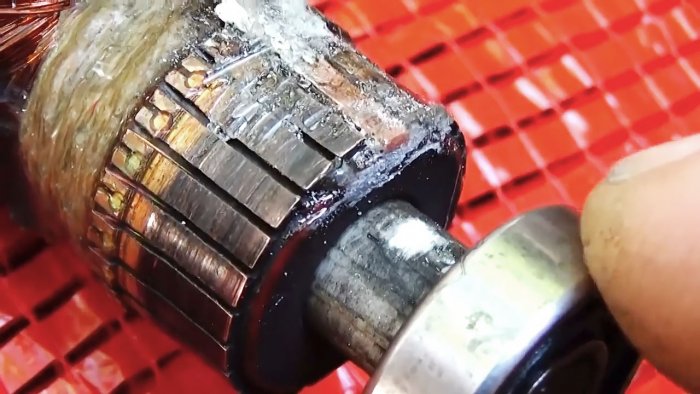
After this, unwind the wire and remove it. But a more reliable fastening of the lamellas would be to install two fiberglass bands impregnated with hot-melt adhesive.
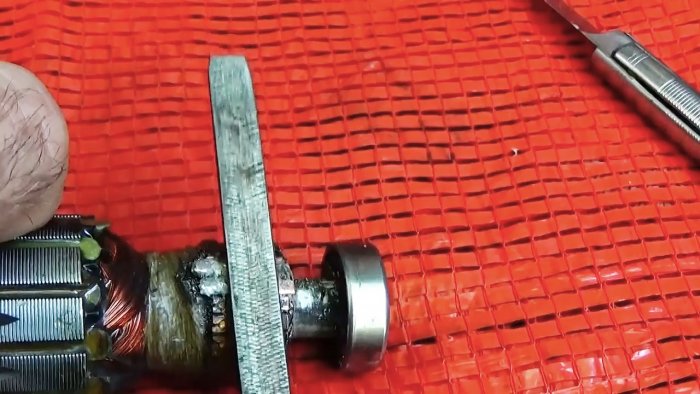
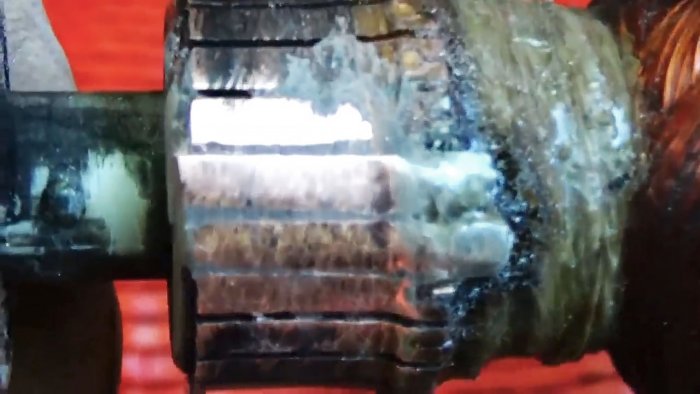
Use a knife to remove the epoxy resin from the surface of the lamellas, since it is a dielectric. Then we process the lamellas with a metal file until they have a copper shine.
Do-it-yourself restoration of electric motor armature commutator plates

Do-it-yourself restoration of electric motor armature commutator plates

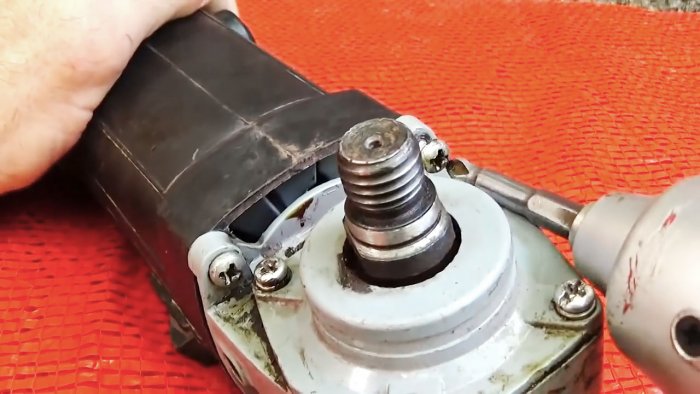
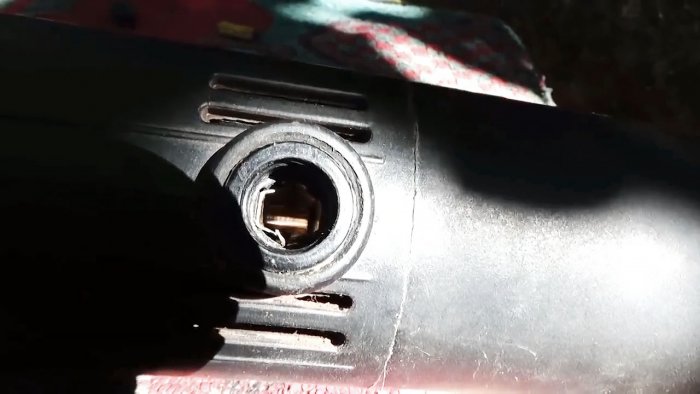
Since there is no lathe, to machine the commutator with new lamellas, we return the armature to its place and unscrew the brushes.
Do-it-yourself restoration of electric motor armature commutator plates

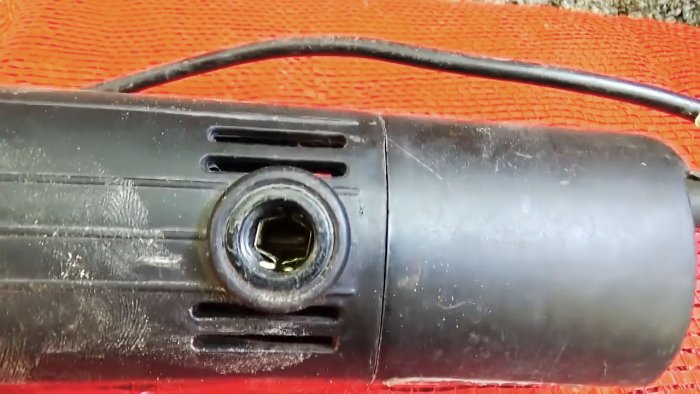
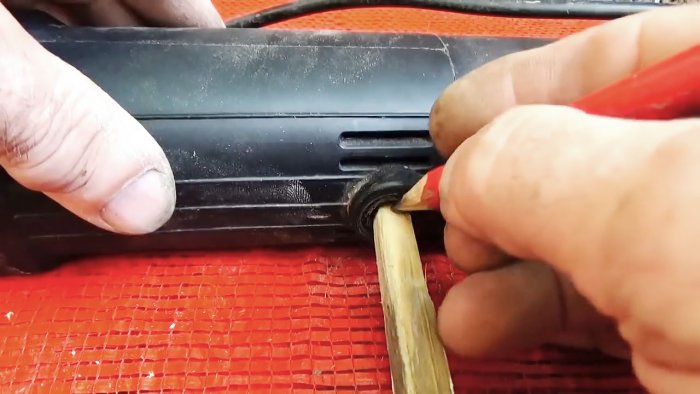
We measure the diameter of the hole for the brushes with a caliper and use a knife to plan out a suitable rod from wood and bring it to the desired size with emery cloth.
Do-it-yourself restoration of electric motor armature commutator plates

Do-it-yourself restoration of electric motor armature commutator plates

By rotating the tool by the spindle, you can see the rotation of the commutator through the hole for the brushes. We use this effect to polish the contact plates.
We insert a wooden rod into the hole until it stops at the manifold. Make a mark on the rod at the top of the hole and pull it out. We apply the brush stopper to the mark and reduce the cutting area by its height.
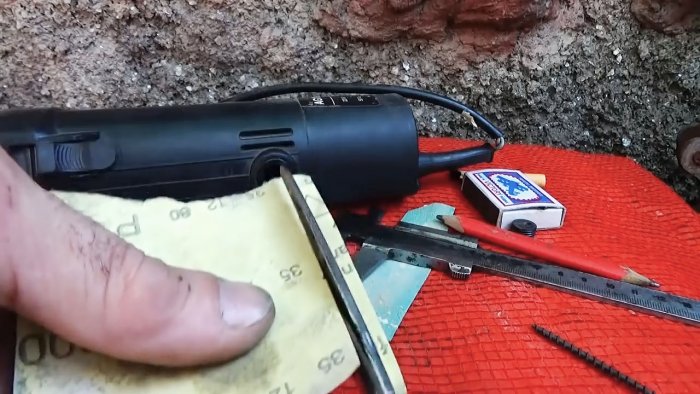
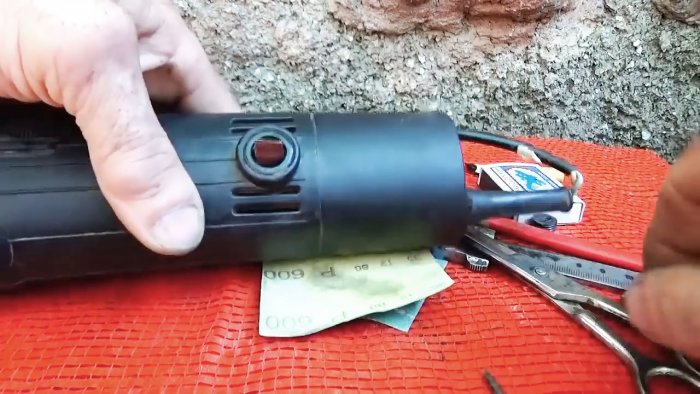
We insert a wooden spike into the hole and make sure that the plug can be screwed in. After this, we cut off a narrow strip of fine P600 sandpaper, wrap it around the tenon and reinsert it into the hole until it stops at the manifold.
Do-it-yourself restoration of electric motor armature commutator plates

Do-it-yourself restoration of electric motor armature commutator plates

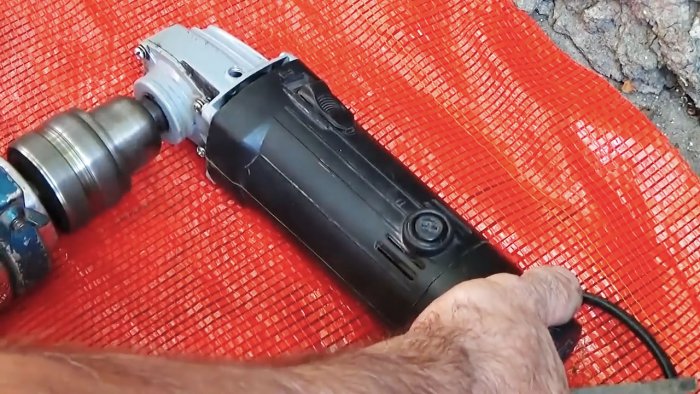
We tighten the tenon with a plug and rotate the spindle by hand. If there is not much resistance, connect a working drill to the spindle and turn it on.
Do-it-yourself restoration of electric motor armature commutator plates

We repeat the procedure several times, replacing the worn sandpaper with new one, while constantly tightening the plug. As a result, the new plates will be equal in height to the rest and the anchor will again become serviceable.
Do-it-yourself restoration of electric motor armature commutator plates

To make sure of this, unscrew the plug, pull out the spike with sandpaper, turn off the power drill and, turning the spindle by hand, look at the commutator. If the shine of all plates is the same, then this is an indicator of uniform grinding.
Do-it-yourself restoration of electric motor armature commutator plates

Watch the video


come back
Comment
  • bowtiesmilelaughingblushsmileyrelaxed relaxedsmirk
    heart_eyeskissing_heartkissing_closed_eyesflushedrelievedsatisfiedgrin
    winkstuck_out_tongue_winking_eyestuck_out_tongue_closed_eyesgrinningkissingstuck_out_tonguesleeping
    worriedfrowninganguishedopen_mouthgrimacingconfusedhushed
    expressionlessunamusedsweat_smilesweatdisappointed_relievedwearypassive
    disappointedconfoundedfearfulcold_sweatperseverecrysob
    joyastonishedscreamtired_faceangryragetriumph
    sleepyyummasksunglassesdizzy_faceimpsmiling_imp
    neutral_faceno_mouthinnocent
3+three=
Comments (10)
  1. Well
    #1 Well Guests 26 September 2019 13:00
    3
    Come on. More cuts need to be made between the contacts! And everything is great!
  2. Guest Alexey
    #2 Guest Alexey Guests September 27, 2019 06:16
    11
    This method will only work on low speed and low voltage motors. The plates are not actually flat. They go deep and have protrusions there that hold them together with glue. At high speeds (in grinders, milling cutters, even drills), no glue can resist centrifugal force. It won't work for long. I tried it.
  3. Guest Roma
    #3 Guest Roma Guests 27 September 2019 22:45
    4
    The lamellas heat up to 100 degrees - and work normally, but in this case the glue will soften. And the centrifugal force will do its job
  4. Alex
    #4 Alex Guests 28 September 2019 17:18
    2
    Glue must be used BF-2 - such as the scoop version (they have already launched production in our time) - it must be dried and then calcined a little - it holds at 120 C. And yes, fix it with a bandage around the edges.
    1. hohom
      #5 hohom Guests 22 November 2019 23:13
      2
      And she tried the dead number with sher varnish
  5. Guest Mikhail
    #6 Guest Mikhail Guests 18 October 2019 14:26
    7
    I am engaged in repairing household appliances. I can say from personal experience that today the technology for manufacturing devices is quite complex and repairing it on the knee at home will only lead to a short distance from a fatal outcome. You cannot repair something that cannot be repaired. I doubt that at home it is possible to well balance an armature that rotates at a speed of 10,000-40,000 rpm. Let’s say you glued the lamella well, but soldering the windings with solder?!?!?! This is game! If you don't believe me, try it. I tried it about 15 years ago. Already at medium speeds, the solder comes off the copper, and in pieces, that is, the connection breaks not due to poor tinning, but due to the fragility of the alloy. Please note that the manufacturer does not solder or weld, but presses the connection.
    My advice. If you are repairing, then replace the entire unit, this will save money, time and nerves. Also, do not try to change bearings in vacuum cleaners! It’s like a drug, you try it once and you’ll have to change it once every 2-3 months, since high-speed high-quality bearings cannot be found, and if found, repair is not advisable.
    Good luck to all
  6. hohom
    #7 hohom Guests 22 November 2019 22:43
    3
    After reading about epoxy, I immediately went to the comments. The brushes do not maintain the temperature of the spark; I tried several times to restore the broken (burnt) insulation between the lamellas. Epoxy does not burn immediately, but it does not burn for more than 30 minutes.Yes, I cleaned the burners between the lamellas with a scraper and alcohol and acetone, but it didn’t help.
  7. Guest Evgeniy
    #8 Guest Evgeniy Guests July 18, 2020 11:06
    7
    Maybe you need to think about why they came out? I had a similar problem, I noticed that the brushes on the drill were sparking. I took it apart and found that two lamellas were protruding a little. I took it to a turner, sharpened it, polished the commutator, cleaned the gaps between the lamellas, in general everything was perfect. I reassembled it, inserted new brushes, turned on the drill, it worked, but a spark was constantly burning around the commutator. I took it apart, the same lamellas darkened and again got out. Conclusion: interturn short circuit, strong heating of the lamellas, destruction of the commutator. I installed a new anchor, as the grandmothers whispered. The brushes don't burn, the drill works normally. So don't bother, this sticker won't help.
  8. Oleg
    #9 Oleg Guests 28 September 2023 16:01
    2
    Only Evgeniy is right.
  9. Alex
    #10 Alex Guests November 26, 2023 10:10
    1
    Epoxy doesn't hold, I just tried it, everything fell out, don't waste time, change the whole anchor.

Unusual flower glowing in the dark | Do it yourself

Hunting fishing tourism survival | Page 2 | Do it yourself

Pranks and jokes | Page 2 | Do it yourself

Effective budget fertilizer for seedlings based on onion skins with your own hands

«Do it yourself - with your own hands» - a site of interesting homemade products made from scrap materials and items at home. Step-by-step master classes with photos and descriptions, technologies, life hacks - everything a real master or just a craftsman needs for needlework. Crafts of any complexity, a large selection of directions and ideas for creativity.

We recommend reading

Washing machine error codes