Will need
- Scissors.
- Pliers.
- File or needle file.
- Stationery knife.
- Secondary glue.
- Insulating tape.
- A piece of plastic 2x10x10 millimeters.
- Boring machine, with a 2mm drill and cutting disc.
- Mini jack 3.5 mm plug.
- Micro usb plug.

Making plugs
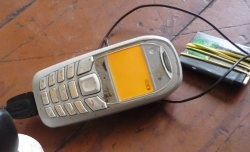
I will be making plugs for my phone, and therefore I took plugs that fit the connectors for this model.
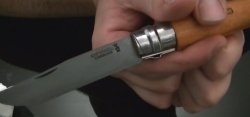
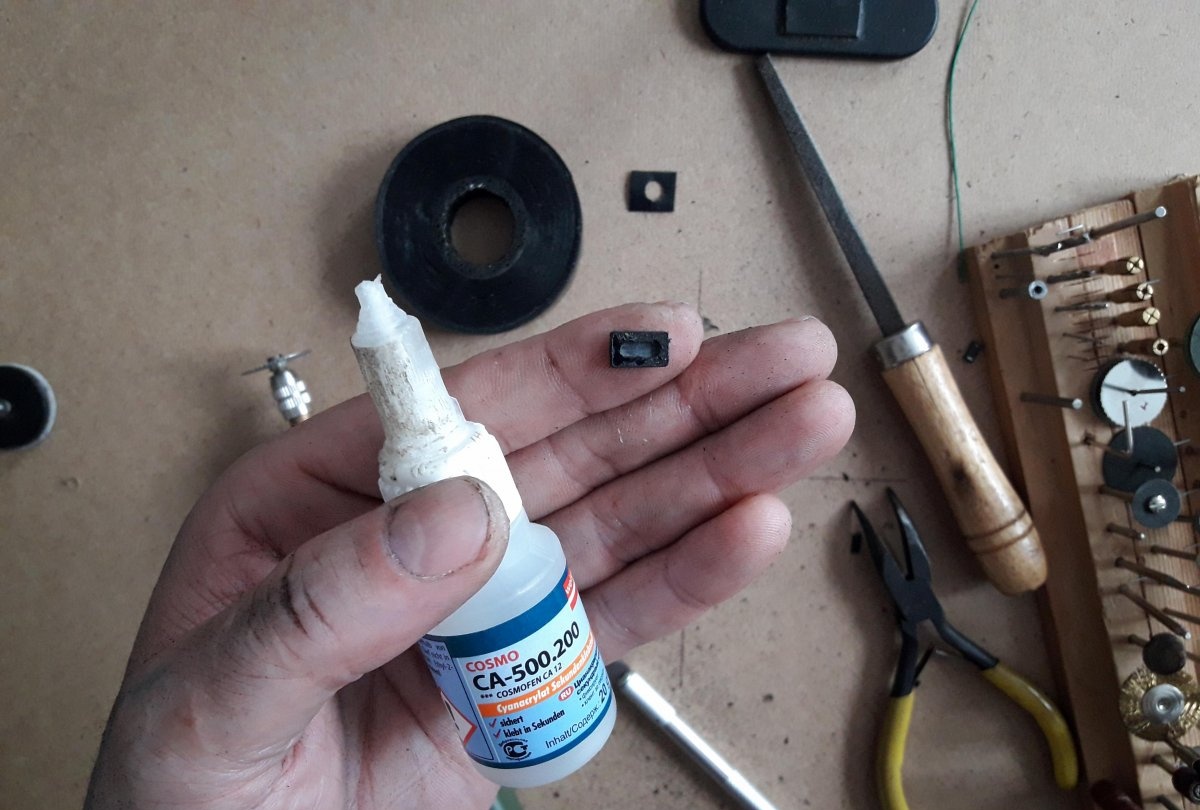
The headphone jack is the same for all, but the charging connectors may differ, so before manufacturing you should make sure that the plug fits the connector. So, first you need to remove the brass plug itself from the rubber shell. To do this, we will use a technical scalpel (or a stationery knife) to make cuts along the entire length of the shell. Then, using pliers, tear off the sheath from the plug.


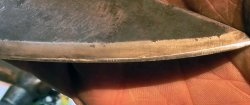
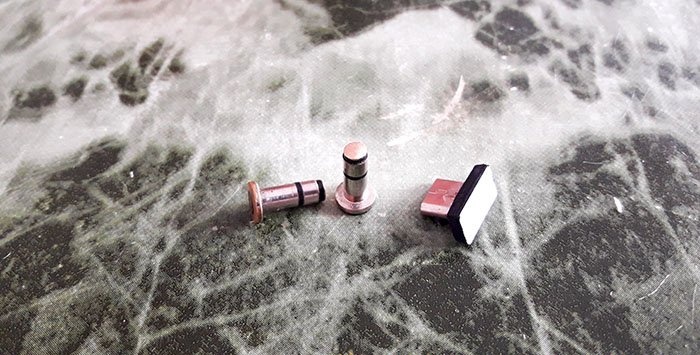
At the base of the plug there is a thickening, something like a brass skirt or ring. We need to cut off all the roots of the plug with a machine, flush with this very ring. Like this:


It is also necessary to cut off the top, in the thinnest place:


When you remove the “root” of the plug, it may separate into separate parts, this can be seen in the video:

It's not scary; Everything fits perfectly into place with just a few seconds of glue. Next, you should sand the sawn-off top and spine with sandpaper. Then you need to insulate the spine - apply a drop of instant glue to it, and stick a piece of insulating tape on it. Next, carefully separate the excess areas of the insulating tape with a scalpel.


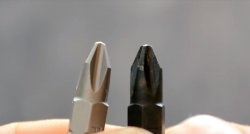
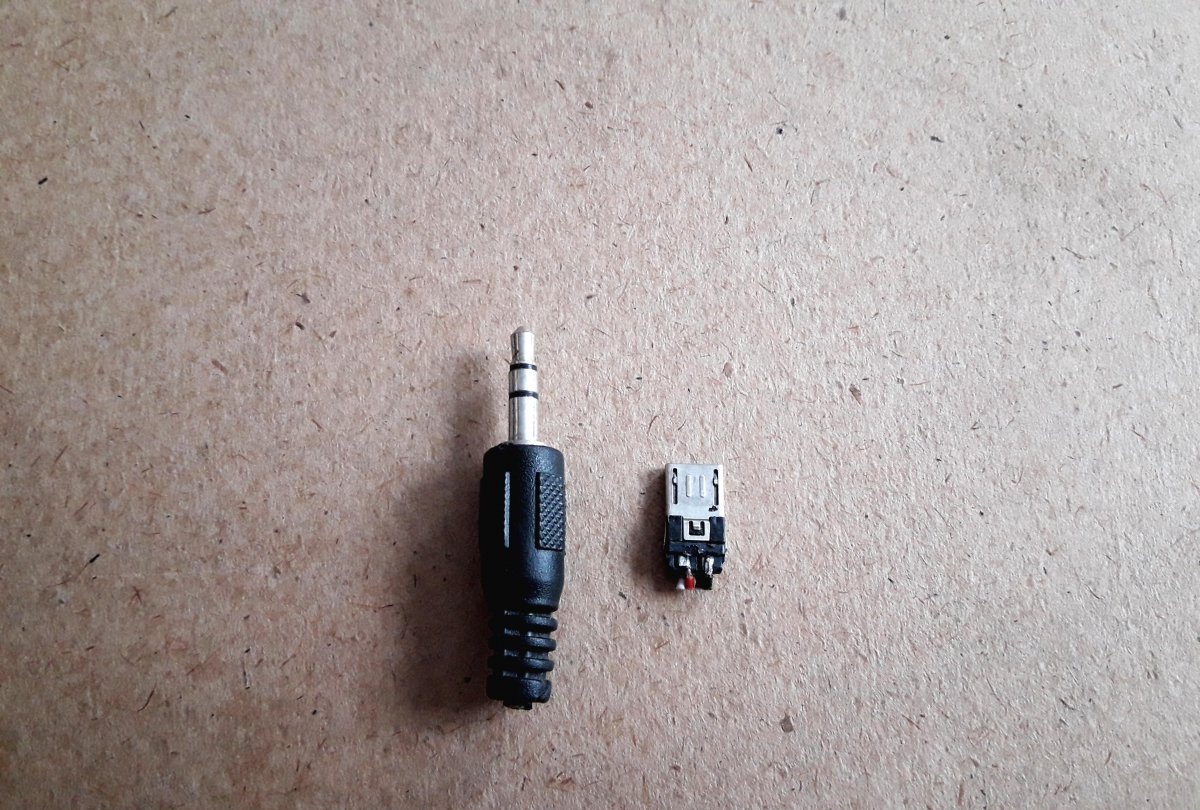
At this point, the plug for the headphone jack is ready. Now let's make a plug for the charging connector. The principle of action for making this plug is not very different from the first option - we plug the plug into the connector, measure the required length, and cut off the excess bur with a machine.


Don’t forget to remove all thin brass contacts from the segment. There should be four of them there.Of course, we will isolate the cut off area, but just in case, it is better to remove the contacts. Then there is a small catch: having measured the length of the plug we need, we will not have any protrusions on it, by which we can later remove it from the connector, if necessary. Therefore, you should saw off the plug 1 millimeter longer. This will be needed when we glue the plug to the plastic base. Making a base takes 10 minutes! To do this, in a piece of plastic 2 mm thick, use a drill (or thin cutter) to make a groove for the thickness and width of the plug. One millimeter deep.


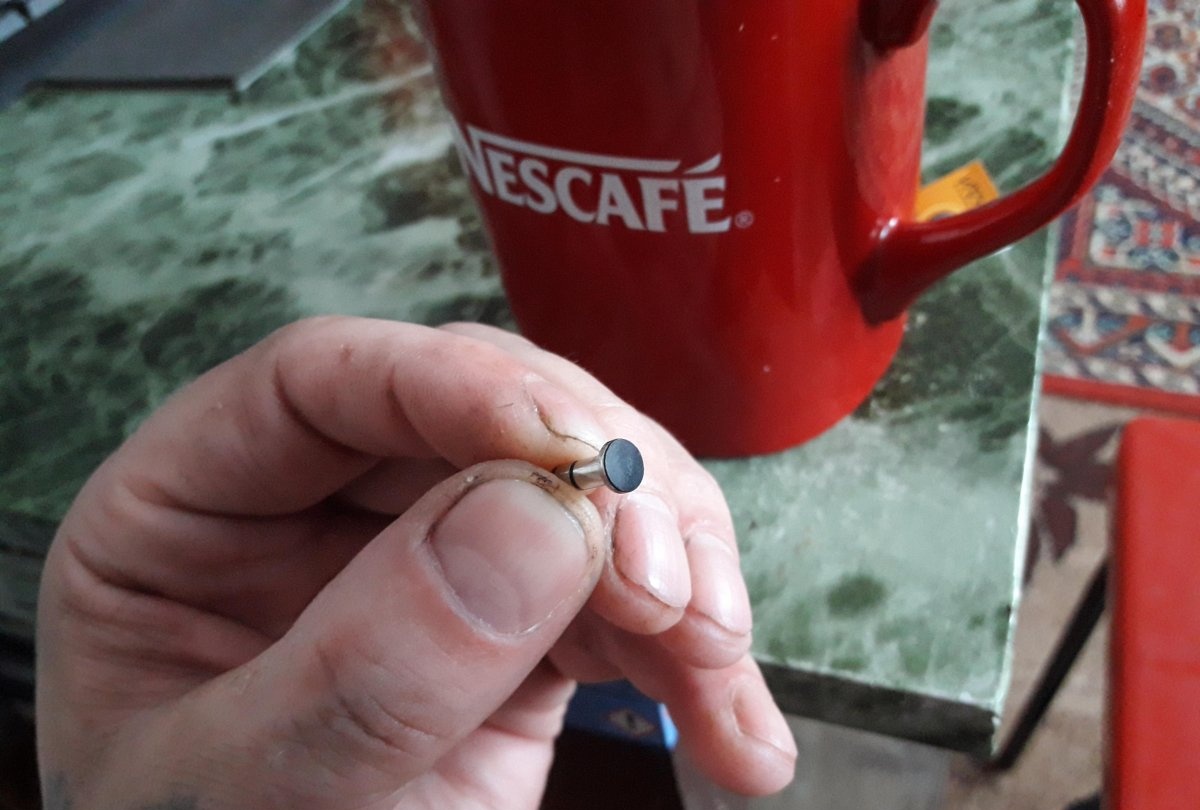
We will place that extra millimeter of plug length in this groove. Next, we cut the edges of the base to the parameters you need and process them with a file.


Now, using a second of glue, install a piece of the plug into the groove of the base.

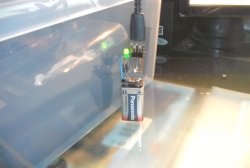
There you go. We install plugs in the connectors and use them with pleasure.

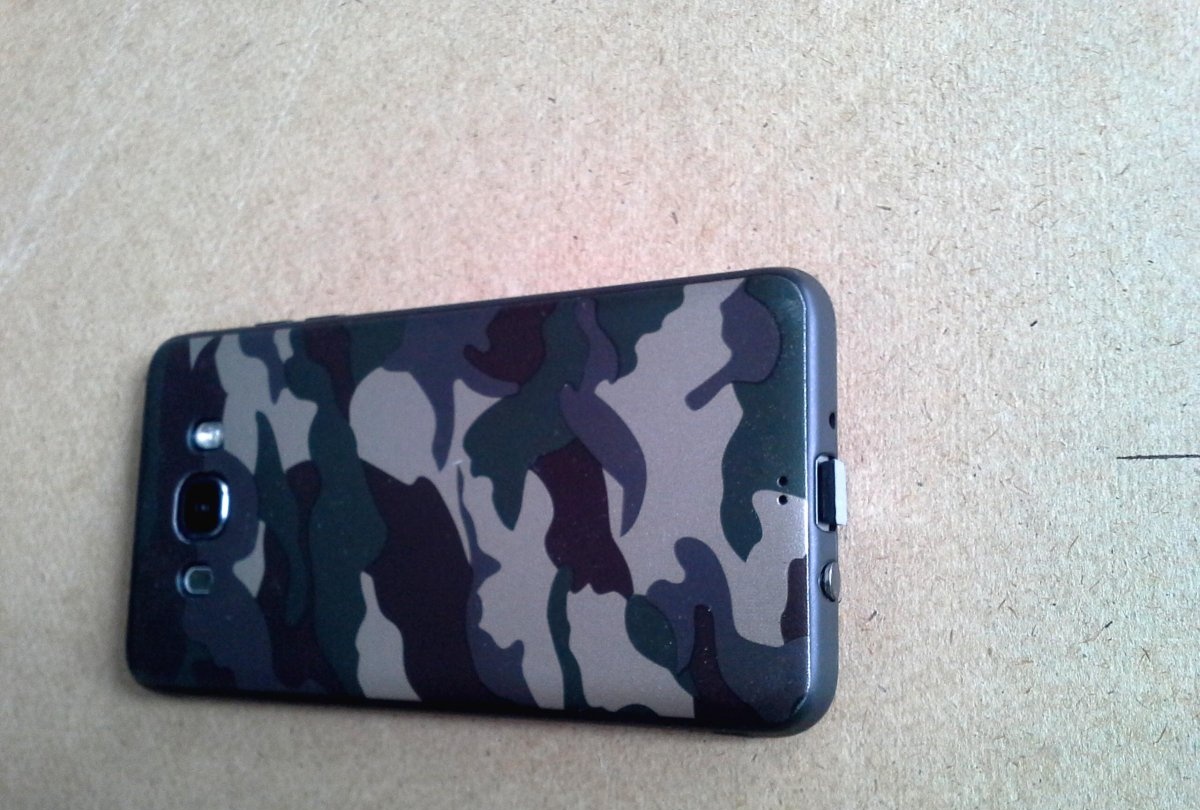
As you can see in the video, the phone does not react to the plugs in any way - nothing is displayed in the quick access panel. Of course, these plugs may not be as effective against water as silicone ones, but they will perfectly protect the connectors from dust and debris. This is quite enough to protect your phone from damage. In addition, they are much more durable than silicone ones.