![Refinement of the charger](https://i.washerhouse.com/uploads/posts/2018-07/1532940296_1.jpg)
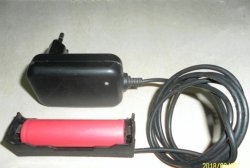
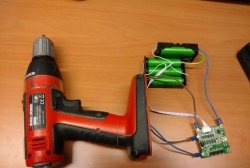
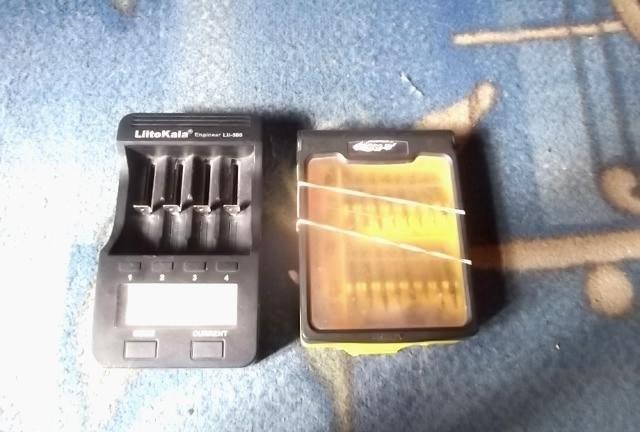
The background is what prompted me to finalize it. I once bought myself such a charger, and I liked it, but the problem was that it died after a year, I used it without turning it off, and it measured the capacity for this year to be approximately 2000 cans of 18650 li-ion. Afterwards I tried to fix it, but it didn’t work for more than a week. Accordingly, I spat on it and bought a new one of the same kind, and unsoldered the old one into a box. And in this article, I decided to complete it with a new charger, so that it would not break for a long time.
We are finalizing the charger
Let's begin!
![Refinement of the charger](https://i.washerhouse.com/uploads/posts/2018-07/1532940241_2.jpg)
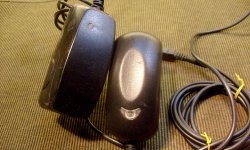
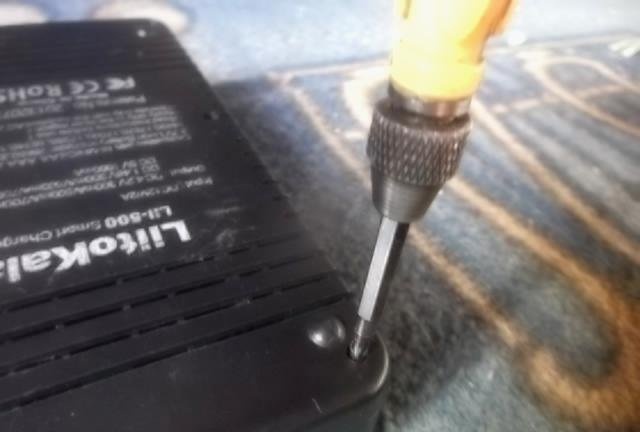
First of all, we unscrew the case, there are 6 screws on the litocal and they are on the bottom.
![Refinement of the charger](https://i.washerhouse.com/uploads/posts/2018-07/1532940209_3.jpg)
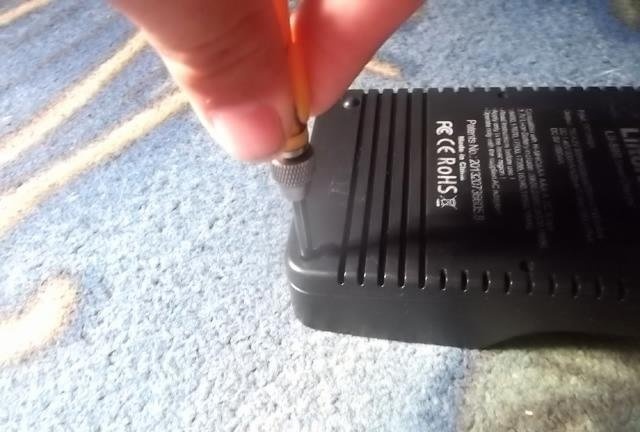
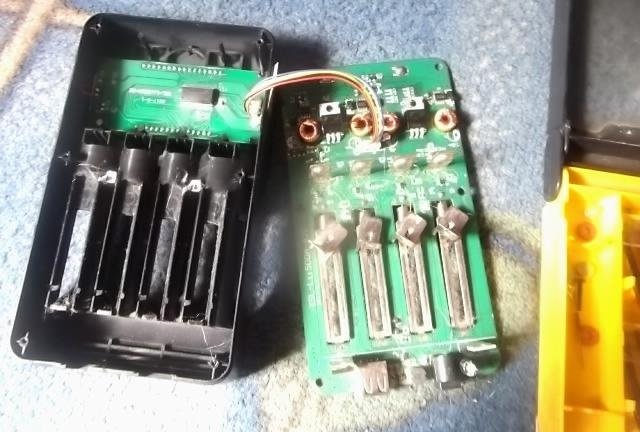
Remove the cover from this device.
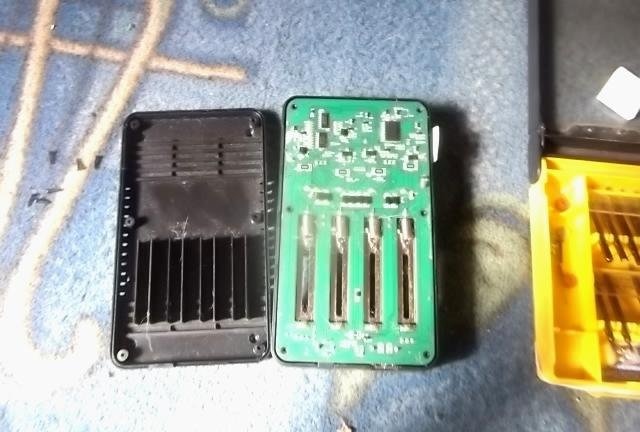
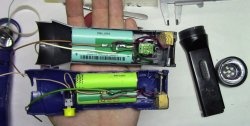
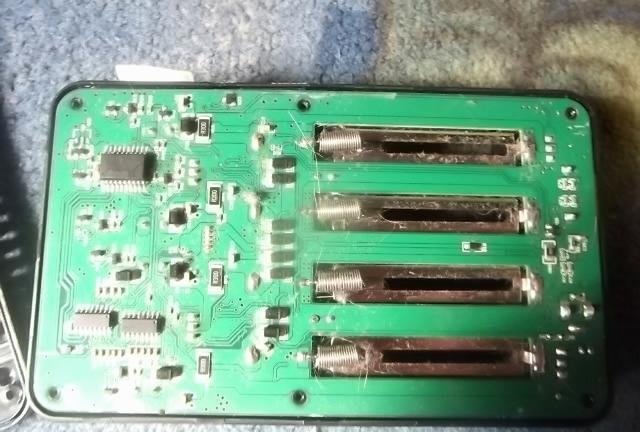
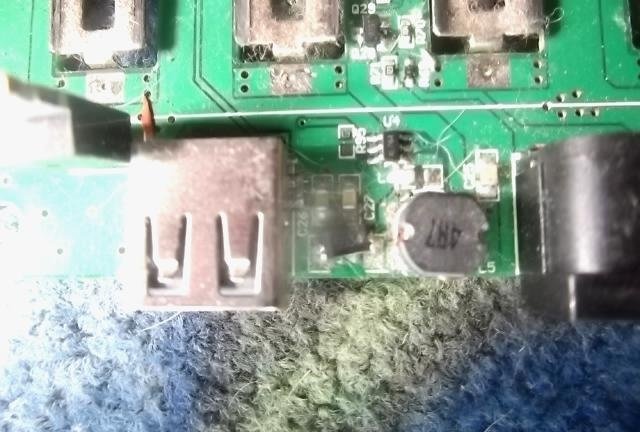
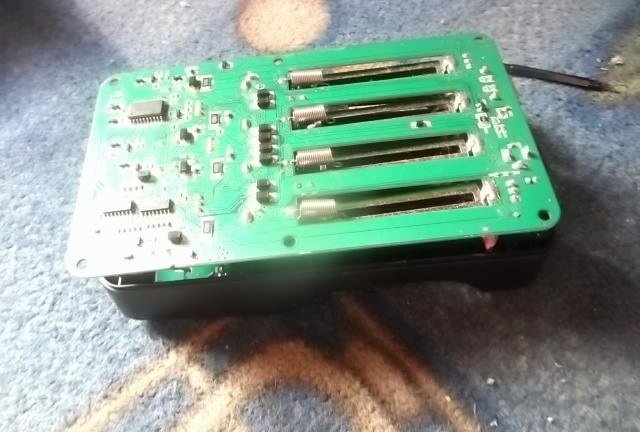
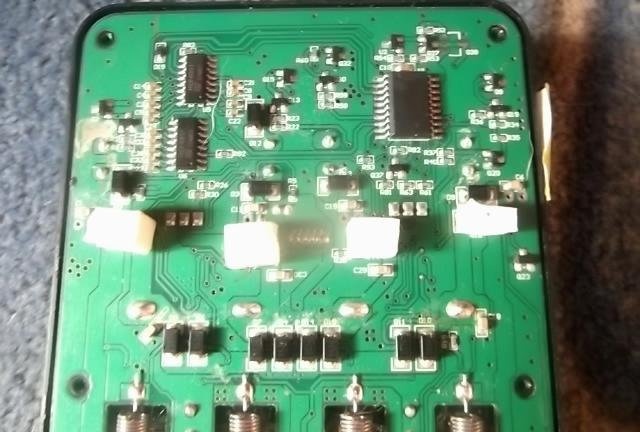
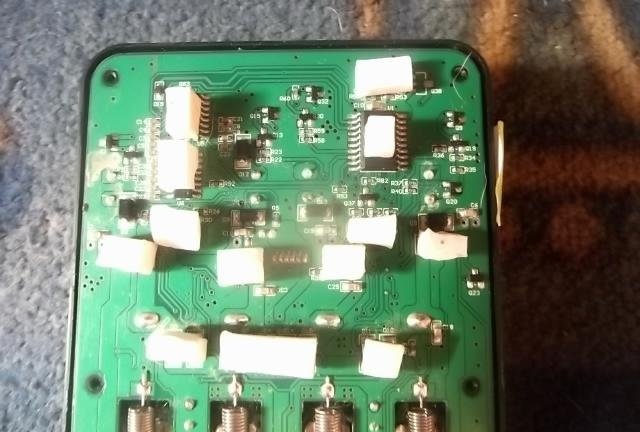
![Refinement of the charger](https://i.washerhouse.com/uploads/posts/2018-07/1532940209_4.jpg)
And what do we see?
![Refinement of the charger](https://i.washerhouse.com/uploads/posts/2018-07/1532940263_5.jpg)
![Refinement of the charger](https://i.washerhouse.com/uploads/posts/2018-07/1532940242_6.jpg)
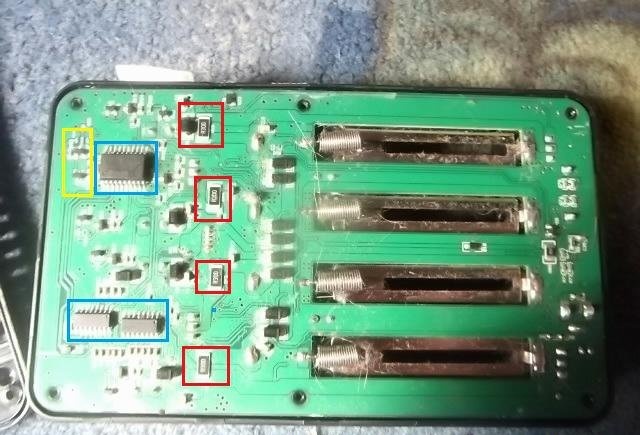
I marked in red the resistors that consume battery power when discharged, in blue the logic, the processor and two more small microcircuits, I still didn’t understand what kind of microcircuits they were, in yellow I marked the processor’s power circuit.
![Refinement of the charger](https://i.washerhouse.com/uploads/posts/2018-07/1532940208_7.jpg)
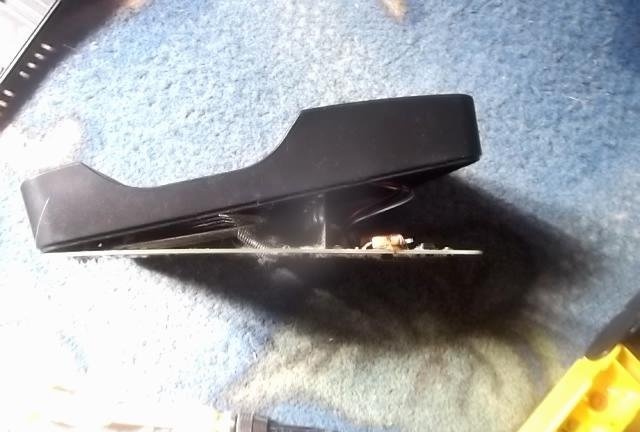
Let's continue the disassembly. We take out the board.
![Refinement of the charger](https://i.washerhouse.com/uploads/posts/2018-07/1532940226_8.jpg)
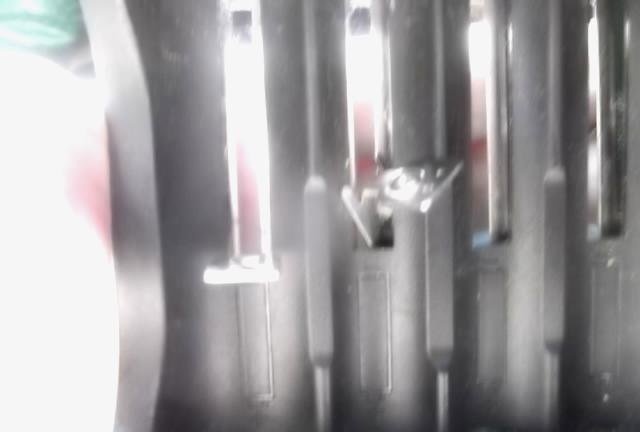
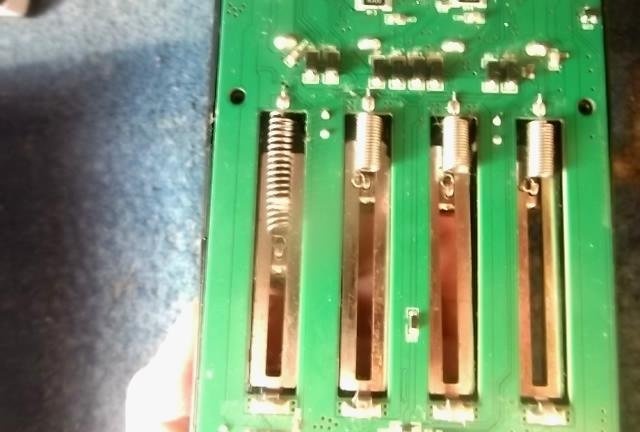
The board rests against the contacts, so we pull them out. Turn the contacts sideways as shown in the photo. Be careful, do not bend the fastener with the letter G under any circumstances on the contact - since I already broke 1 on the old litocal which was the first.
![Refinement of the charger](https://i.washerhouse.com/uploads/posts/2018-07/1532940221_9.jpg)
Hurray, we pulled it out!
Now you need to disconnect the connector from the screen.
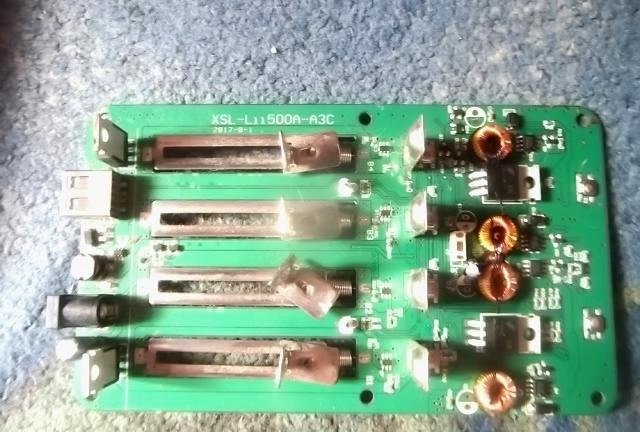
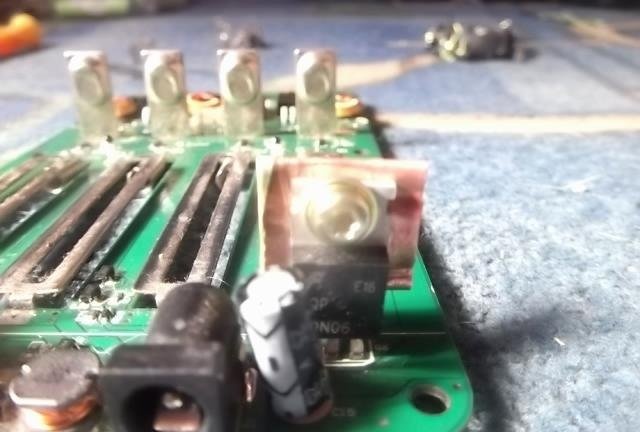
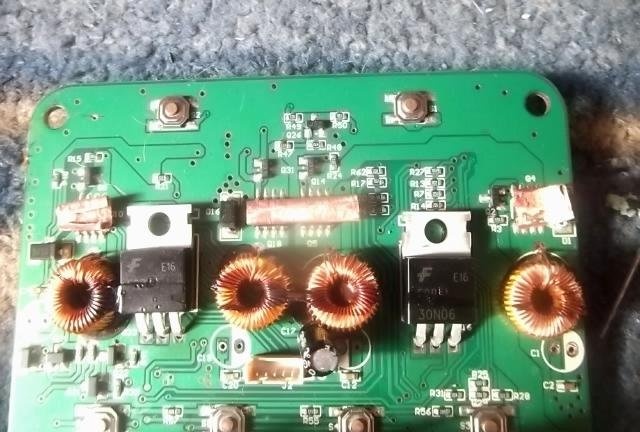
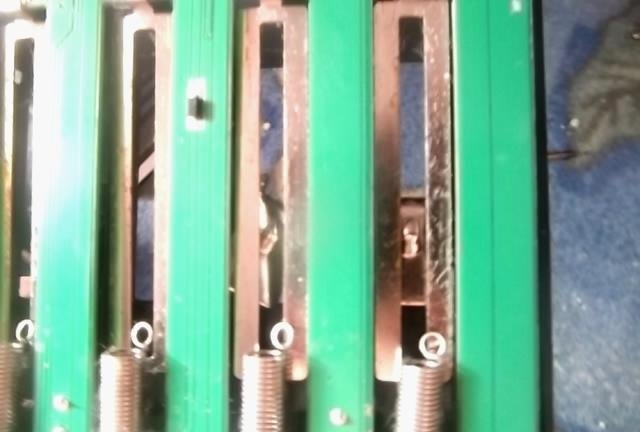
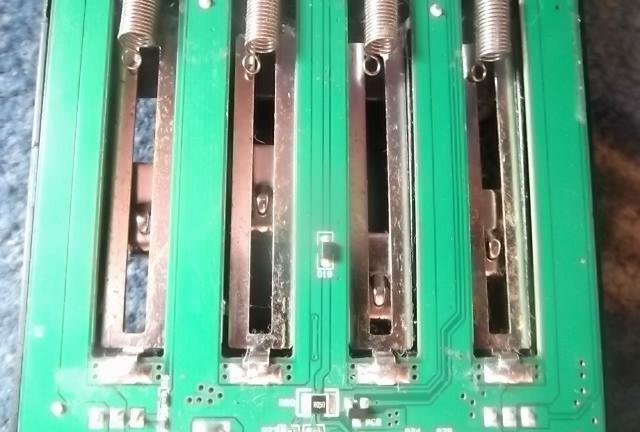
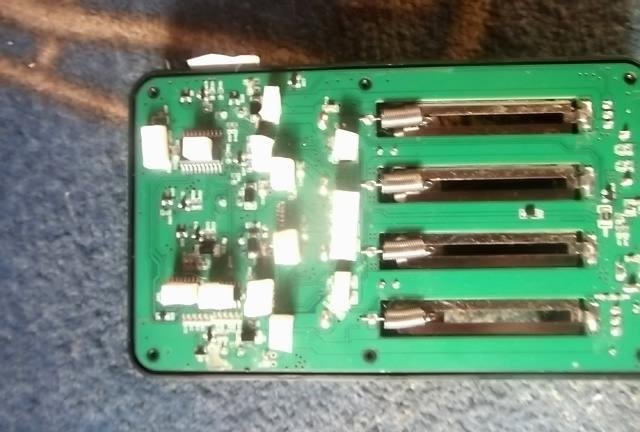
![Refinement of the charger](https://i.washerhouse.com/uploads/posts/2018-07/1532940243_10.jpg)
So we see:
![Refinement of the charger](https://i.washerhouse.com/uploads/posts/2018-07/1532940224_11.jpg)
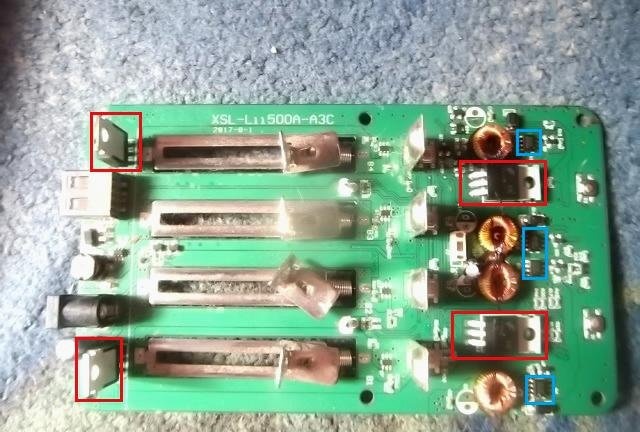
The red ones are the mofettes responsible for the discharge and the blue ones are responsible for the charge.
Also, on my copy of the charger, I noticed a very crookedly soldered diode, and this is how it was from the factory.
![Refinement of the charger](https://i.washerhouse.com/uploads/posts/2018-07/1532940268_12.jpg)
Let's move on to the finalization itself!
![Refinement of the charger](https://i.washerhouse.com/uploads/posts/2018-07/1532940277_13.jpg)
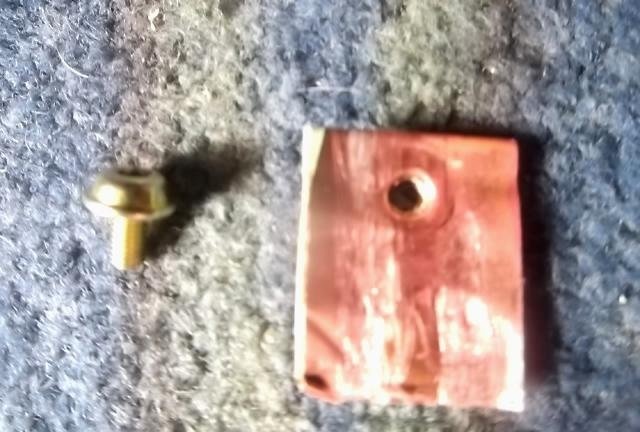
First of all, we cut small radiators; you can also supply ready-made radiators, but I don’t have them, so I made them from a piece of copper busbar of the ATX power supply transformer.
![Refinement of the charger](https://i.washerhouse.com/uploads/posts/2018-07/1532940306_14.jpg)
We screw them on.
![Refinement of the charger](https://i.washerhouse.com/uploads/posts/2018-07/1532940288_15.jpg)
We do the same with the second one.
![Refinement of the charger](https://i.washerhouse.com/uploads/posts/2018-07/1532940284_16.jpg)
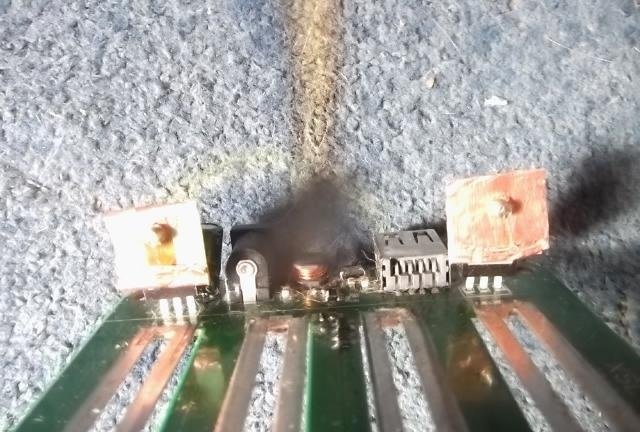
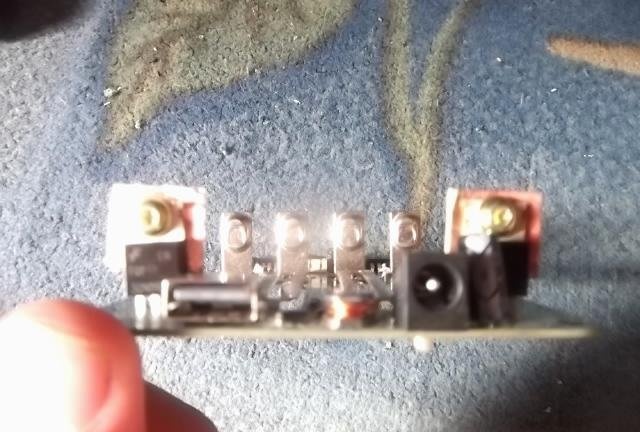
This is what it looks like for me.
![Refinement of the charger](https://i.washerhouse.com/uploads/posts/2018-07/1532940248_17.jpg)
The camera can't get focus. We take a copper plate, cut it out as in the photo and glue it with second glue.
![Refinement of the charger](https://i.washerhouse.com/uploads/posts/2018-07/1532940232_18.jpg)
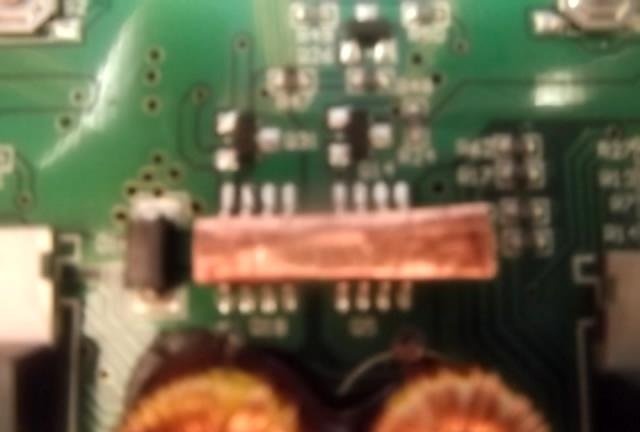
Charge transistors in the middle.
![Refinement of the charger](https://i.washerhouse.com/uploads/posts/2018-07/1532940262_19.jpg)
We also cut out and glue onto the side charge transistors of slots 1 and 4
![Refinement of the charger](https://i.washerhouse.com/uploads/posts/2018-07/1532940280_20.jpg)
After the glue of the radiators has dried, we begin to assemble.
![Refinement of the charger](https://i.washerhouse.com/uploads/posts/2018-07/1532940256_21.jpg)
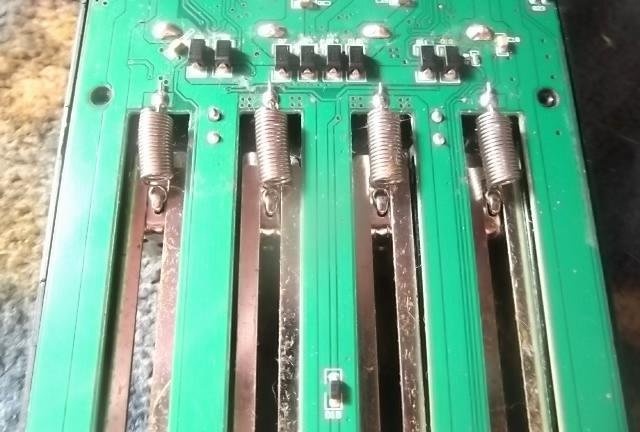
We put the contacts sideways in place and this is much more difficult than removing them.
![Refinement of the charger](https://i.washerhouse.com/uploads/posts/2018-07/1532940227_22.jpg)
We cling to the springs.
![Refinement of the charger](https://i.washerhouse.com/uploads/posts/2018-07/1532940254_23.jpg)
![Refinement of the charger](https://i.washerhouse.com/uploads/posts/2018-07/1532940251_24.jpg)
To do this, we hook the spring with our fingernail and pull it down; it won’t work on the first try, but it will work on the 6th or 7th try.
![Refinement of the charger](https://i.washerhouse.com/uploads/posts/2018-07/1532940218_25.jpg)
![Refinement of the charger](https://i.washerhouse.com/uploads/posts/2018-07/1532940306_26.jpg)
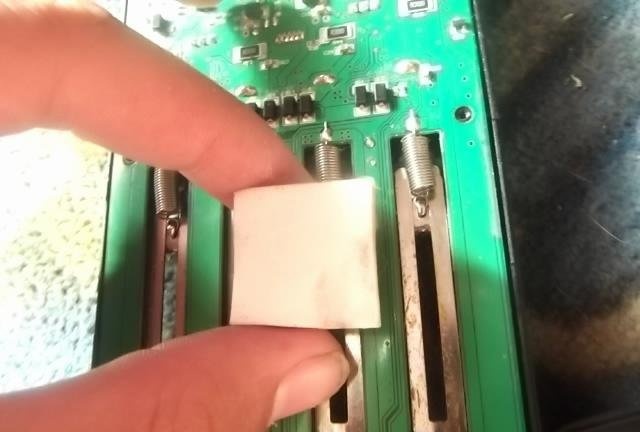
Now let's take some thermal gum.
![Refinement of the charger](https://i.washerhouse.com/uploads/posts/2018-07/1532940225_27.jpg)
The mode is divided into pieces and first of all we put it on the resistors, since they get very hot.
![Refinement of the charger](https://i.washerhouse.com/uploads/posts/2018-07/1532940266_28.jpg)
We put the rest as here. But this is optional since everything else heats up less.
![Refinement of the charger](https://i.washerhouse.com/uploads/posts/2018-07/1532940312_29.jpg)
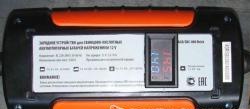
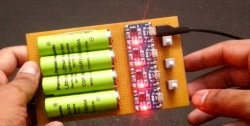
Now let's assemble this device.
![Refinement of the charger](https://i.washerhouse.com/uploads/posts/2018-07/1532940313_30.jpg)
![Refinement of the charger](https://i.washerhouse.com/uploads/posts/2018-07/1532940224_31.jpg)
Ready!
![Refinement of the charger](https://i.washerhouse.com/uploads/posts/2018-07/1532940225_32.jpg)
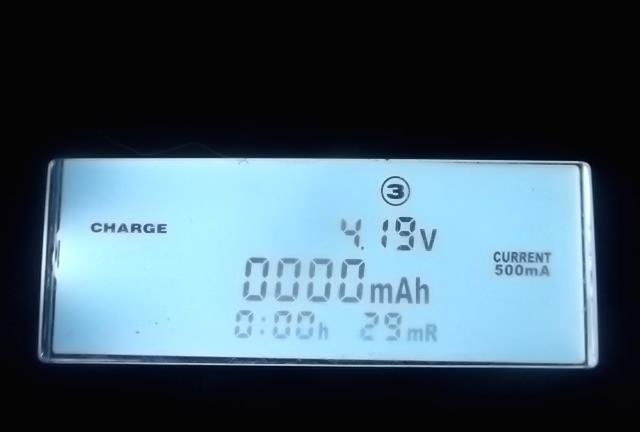
Now let's check for functionality. Everything worked for me on the first try.