For work I used the following materials:
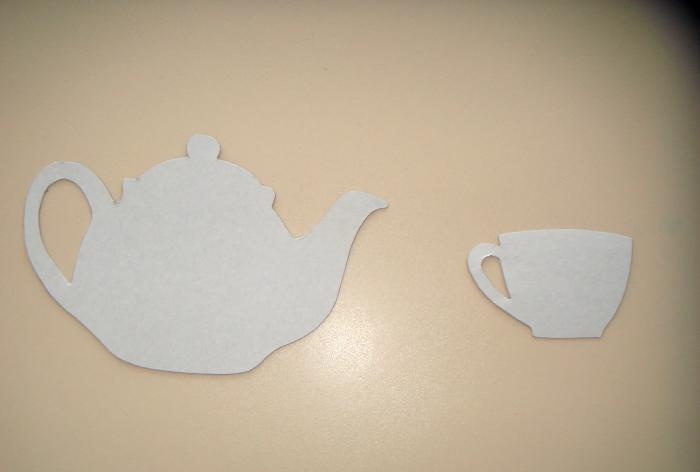
- image of a teapot and cup;
- Paris-themed wrapping paper;
- 3 sheets of cardboard;
- glue stick;
- scissors;
- glue gun;
- handle;
- strips for quilling;
- openwork flowers of white and pink shades.
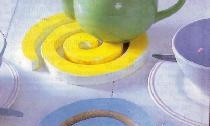
First I prepared the stencils. On a sheet of white cardboard I drew a teapot with a lid and a miniature cup. I cut out their silhouettes, and I ended up with two stencils for subsequent work.
Then I selected wrapping paper in a subdued shade with a romantic image of Provence. I chose this color because I have a light pink tea set with delicate flowers.
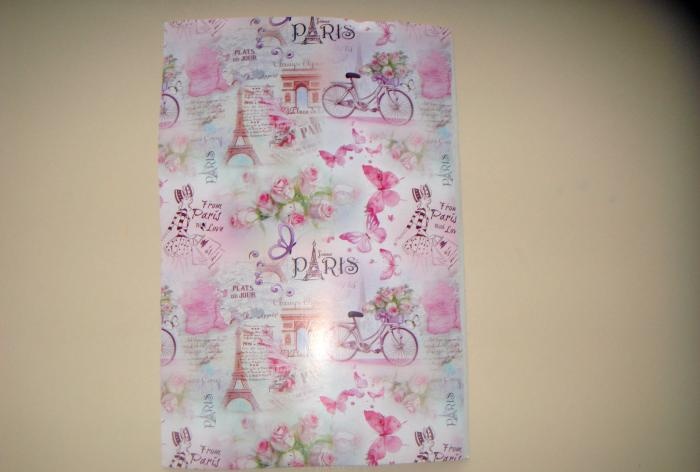
I covered 2 sheets of cardboard with wrapping paper using a regular glue stick. This essential tool allows you to quickly and evenly glue thin wrapping paper to thick cardboard.
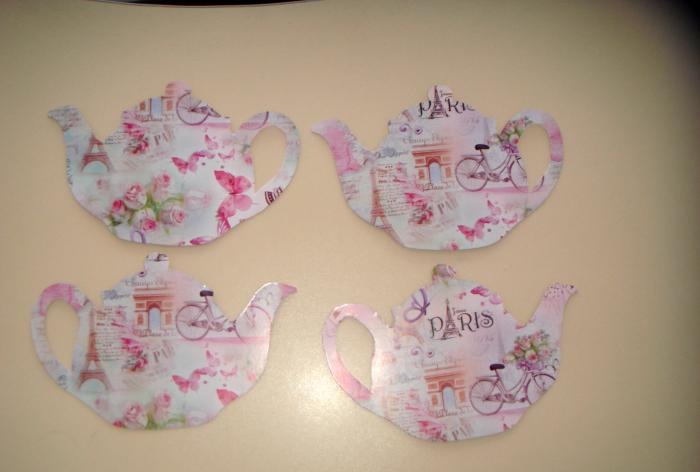
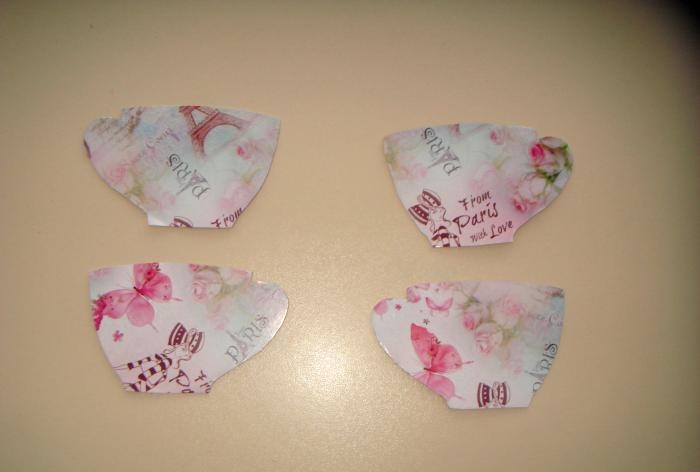
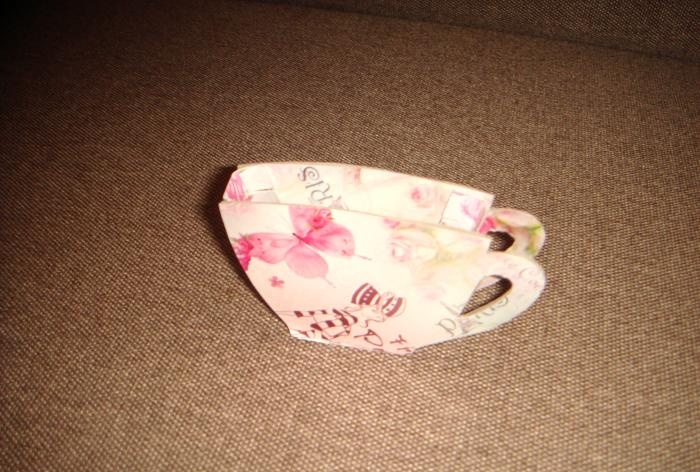
On the white side of the cardboard I stenciled 4 images of a teapot and 4 images of a cup.

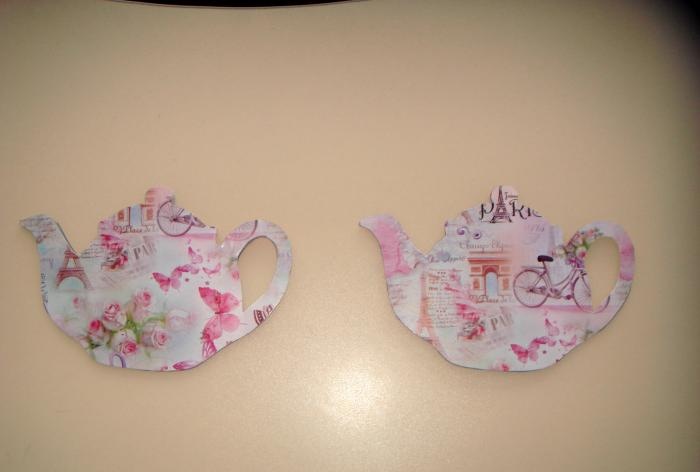
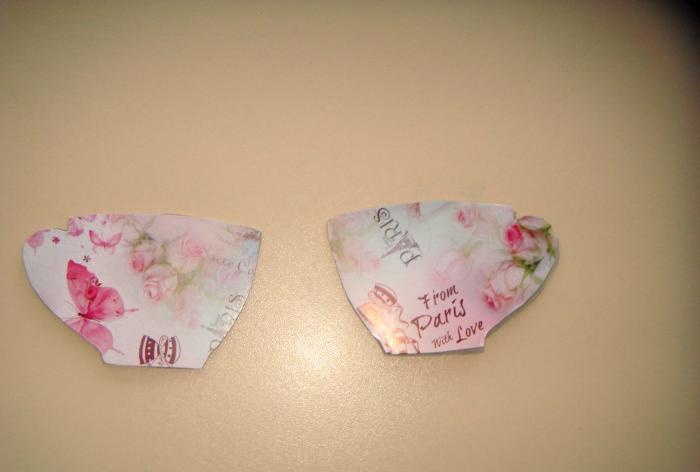
Then I cut out all 4 teapots and glued together 2 symmetrical parts. This is necessary not only to make the structure more stable, but also to ensure that the pattern appears on both sides.
I did the same manipulations with the details of the cups.
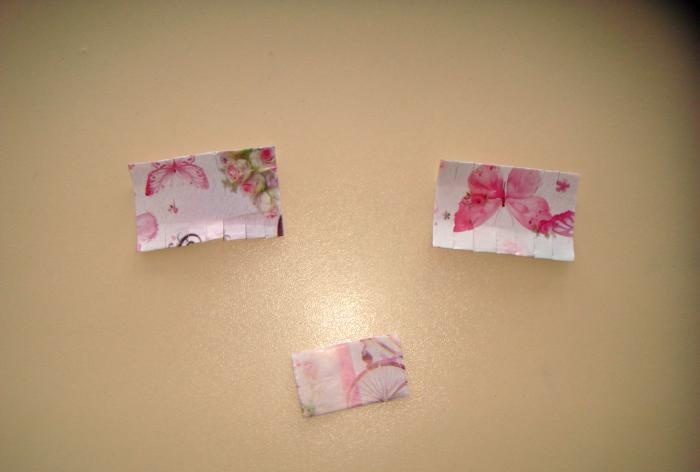
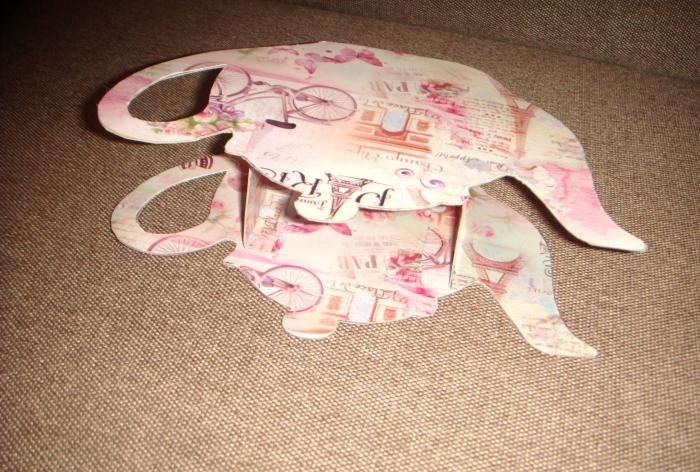
Then I prepared rectangles that would become the side walls and bottom of the dish.
For a teapot you need 3 parts measuring 7 x 6 cm, and for a cup 2 parts measuring 5 x 2.5 cm (side walls) and 1 part 3 x 2.5 cm (bottom).
I made cuts on the paired blanks along which the parts will be attached to the side walls.
Now all that remains is to collect all the preparations.
For this I used a glue gun. With its help, I connected all the parts of the cup, and the result was such an interesting craft. I will give advice to those who want to do something similar: try to glue the side parts symmetrically.
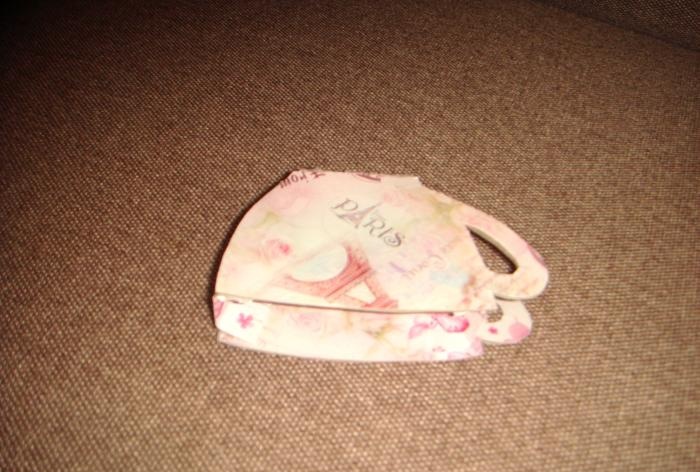
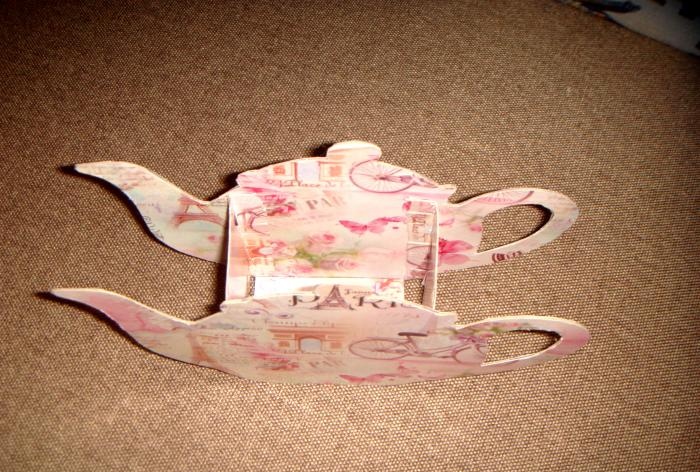
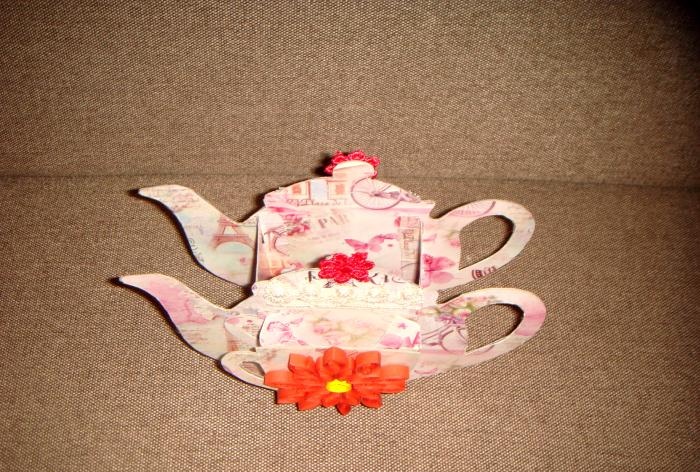
And this is a type of teapot.
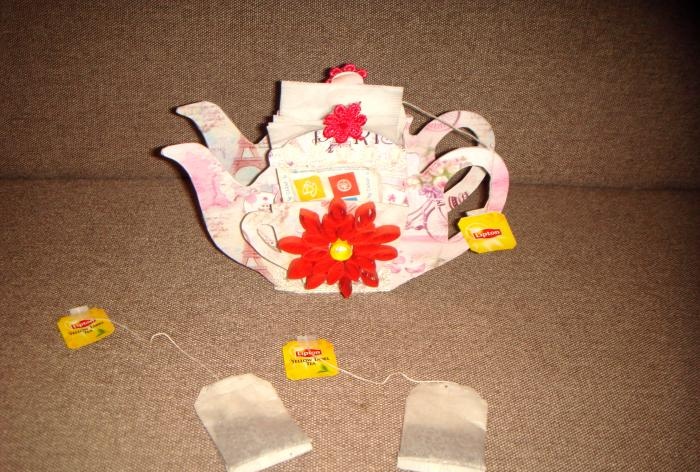
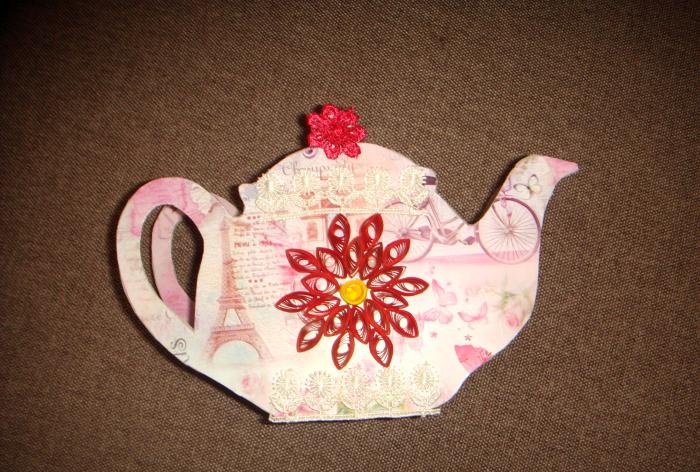
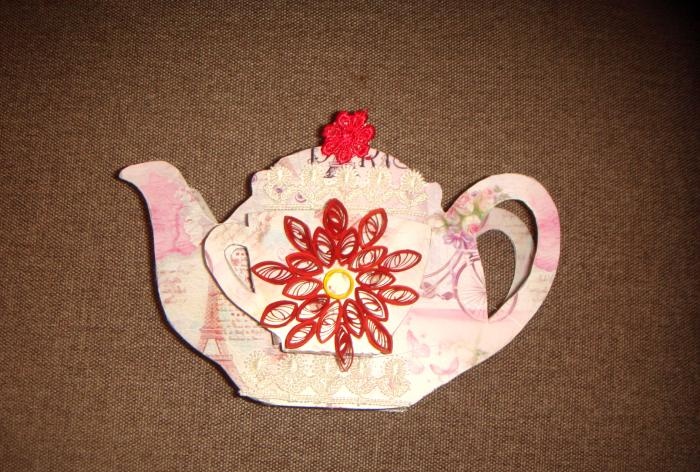
Final stage - decor products. I formed different openwork flowers from quilling strips.
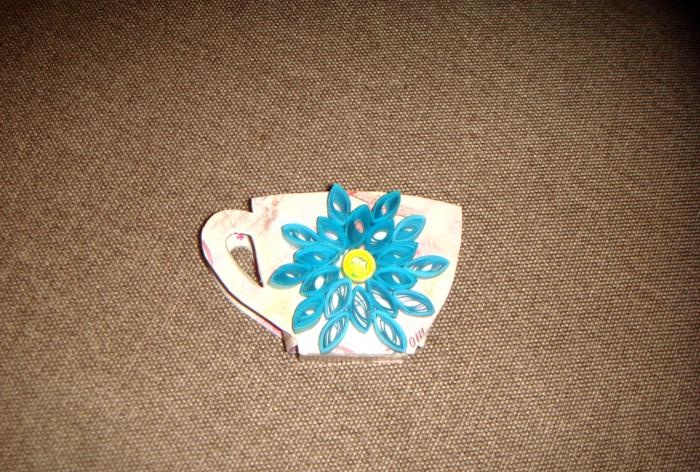
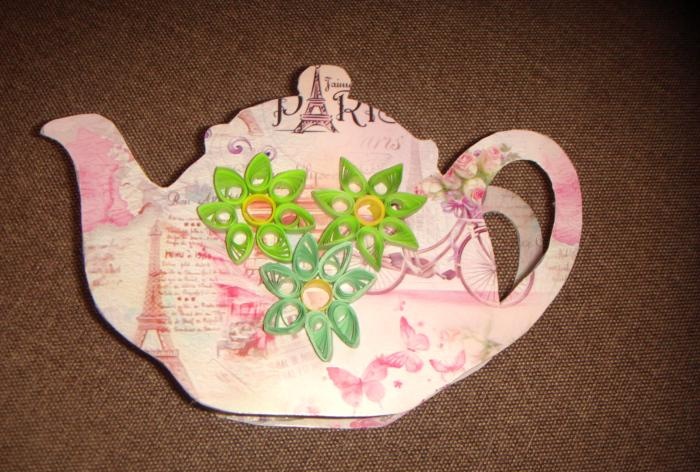
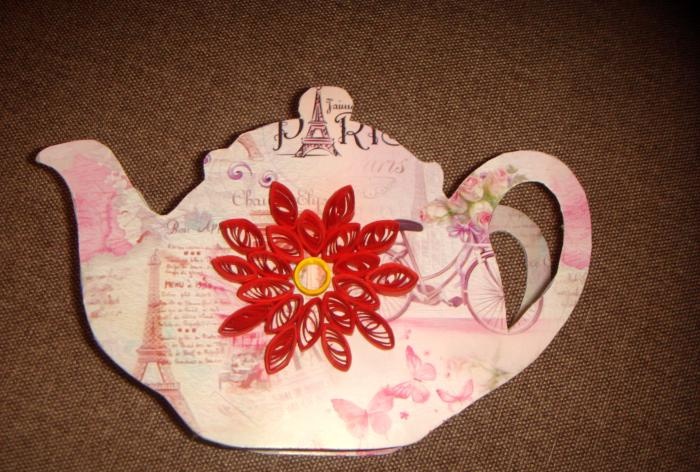
Red flowers suited perfectly. I glued them one by one to the side walls of the teapot and cup. I also used white and pink openwork flowers.
I glued the cup to the center of the teapot.
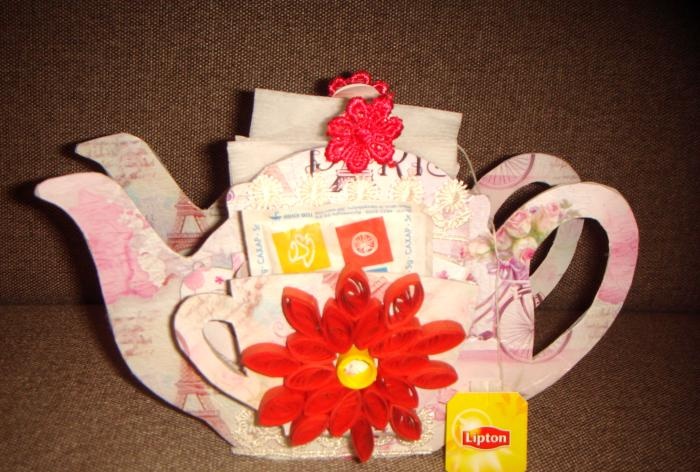
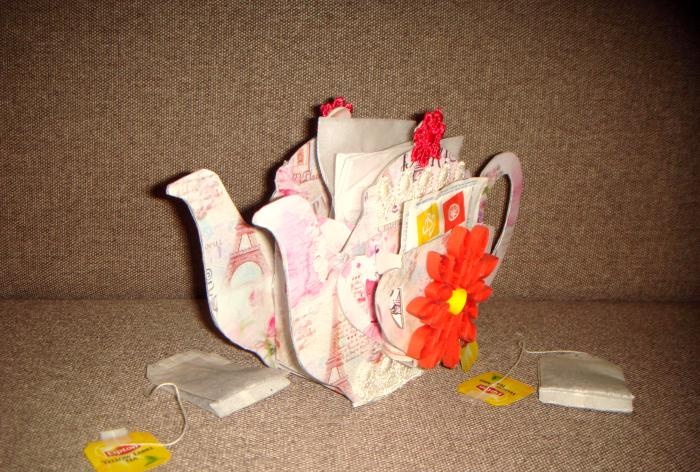
My stand is ready. It has 2 pockets (large and small), it is stable and very beautiful.
The holes are convenient for placing tea and sugar bags.
If there is a coffee lover in the family, then you can serve coffee sticks in a small pocket.
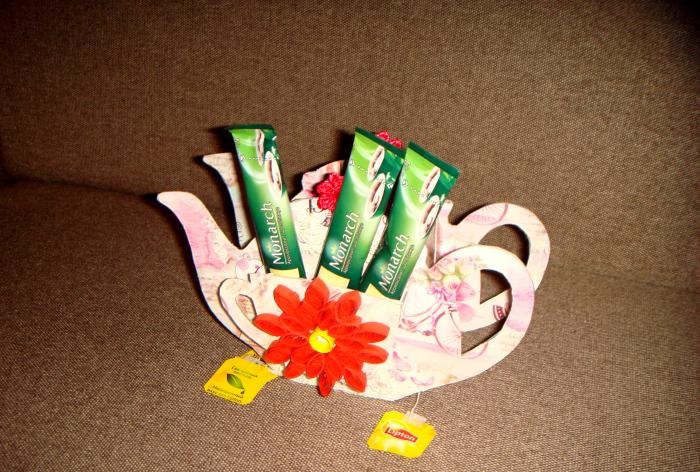
This is such a great stand for tea bags I got.
She looks simply amazing. I lay out different bags of tea and coffee, and my girlfriends choose a drink according to their preference. Thanks to this idea, table setting during tea drinking is always neat and elegant. I'm quite happy with my job.
By the way, you can make a napkin stand using the same principle.