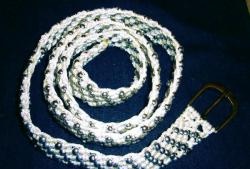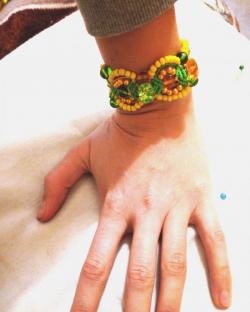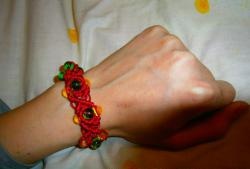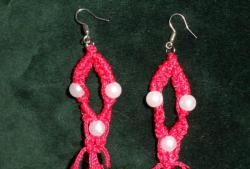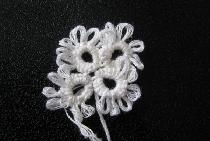
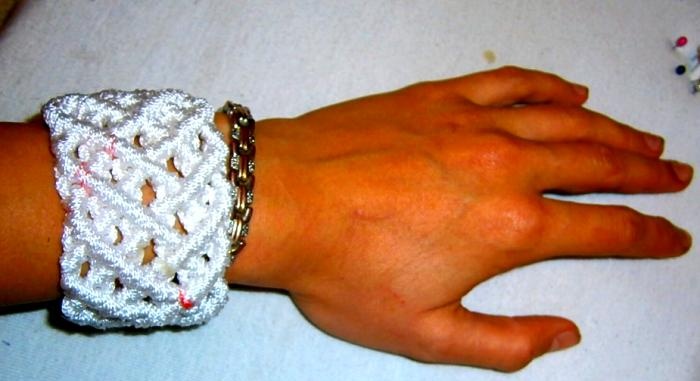
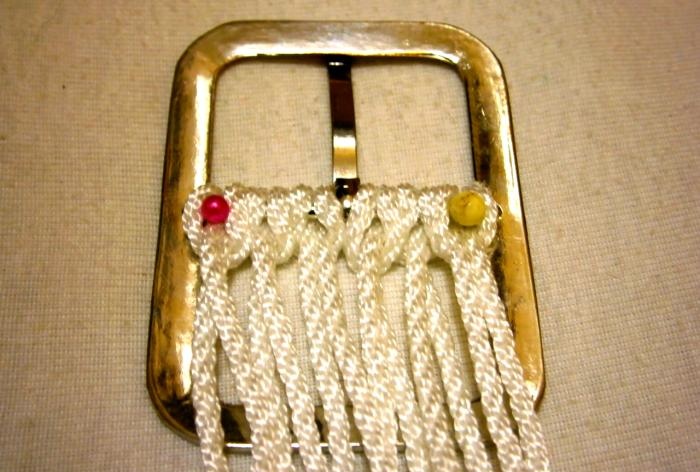
As can be seen from the photo, this belt (or belt) can also act as a tie and bracelet if the diameter of the threads is reduced. But this master class is specifically about the belt, since it is easier to show the weaving pattern on large threads.

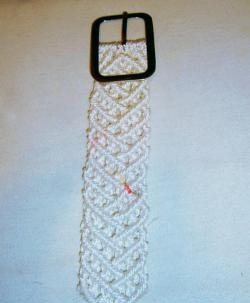
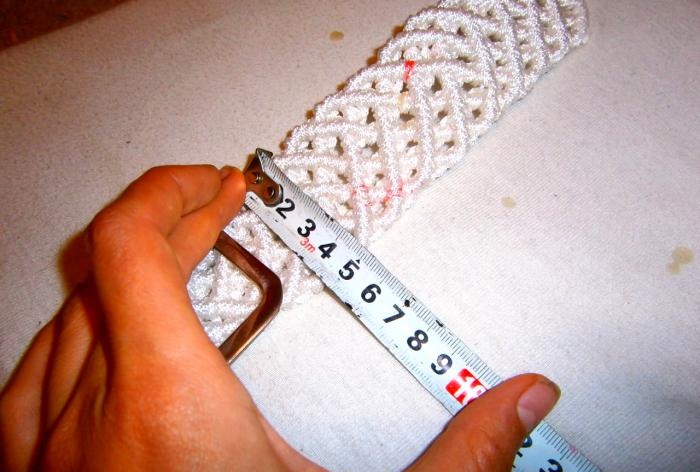
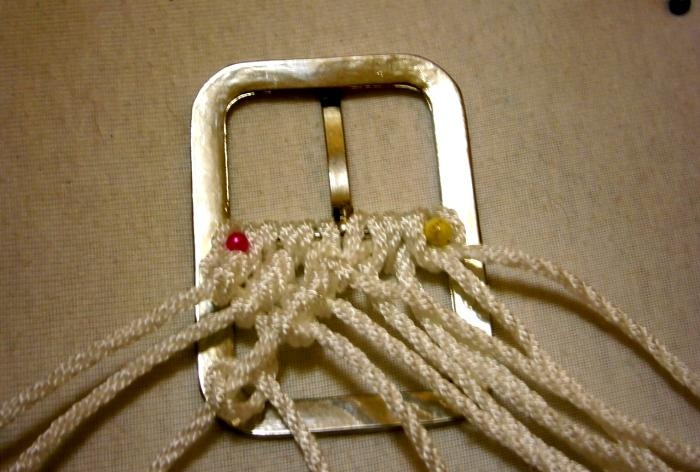
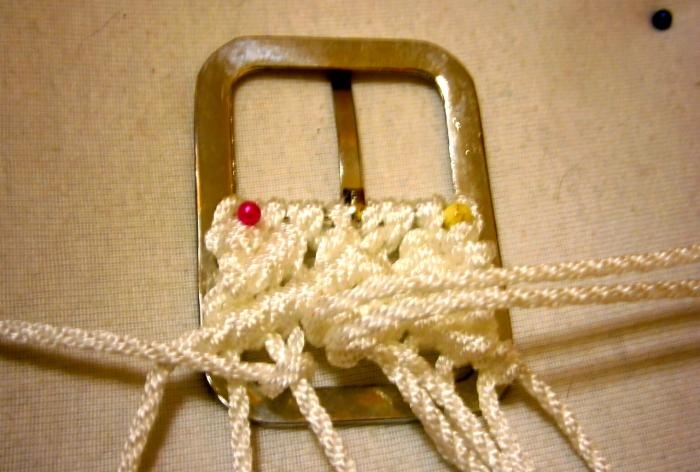
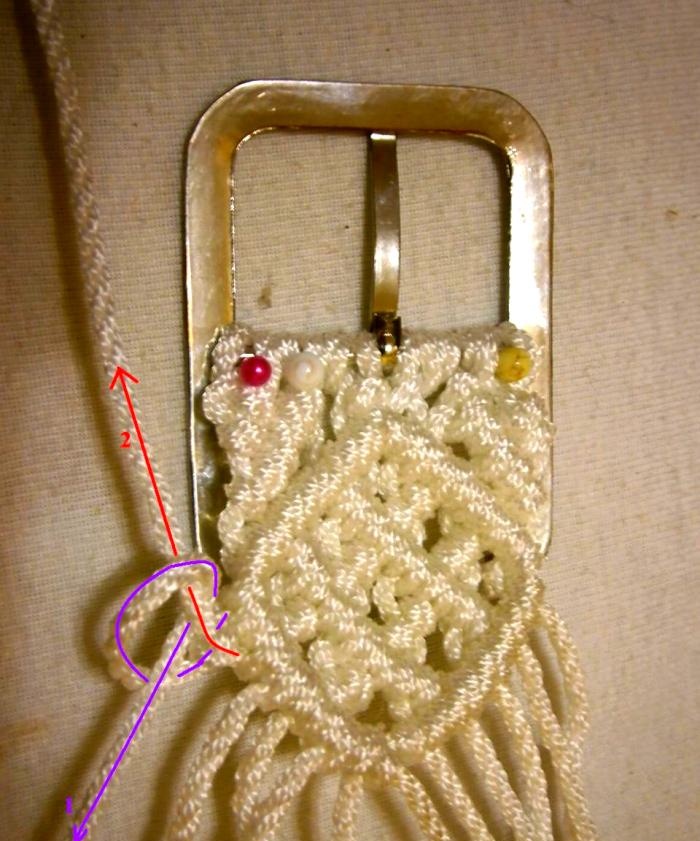
1. So, you need to take a cord with a diameter of 2.5 mm, 6 pieces of 2 m each (then you can solder another 5 m - in total you will need 7 m * 6 = 42 m or 3.5 skeins) and hang it on the belt buckle. The buckle must be at least 5 cm on the inside, since the width of the belt will be 5 cm.
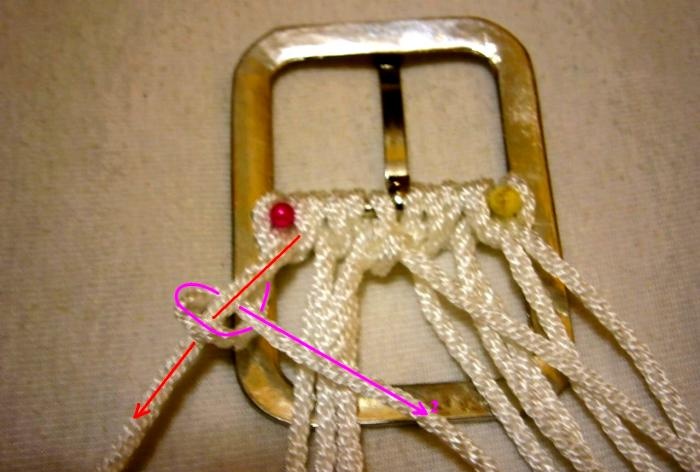
2. Cross the two middle threads (rep knot)
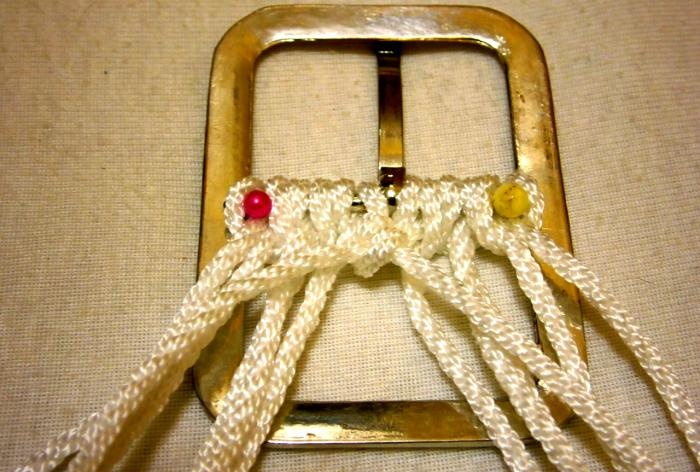
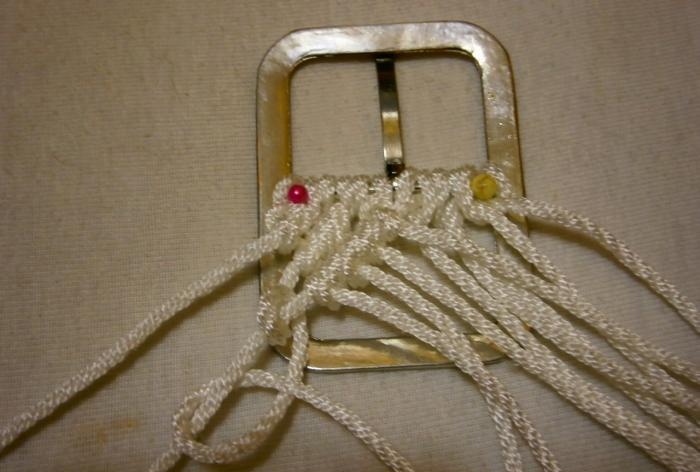
3.Now we hang 1 tatting knot on the 2nd thread, which consists of 2 actions, as can be seen in the photo
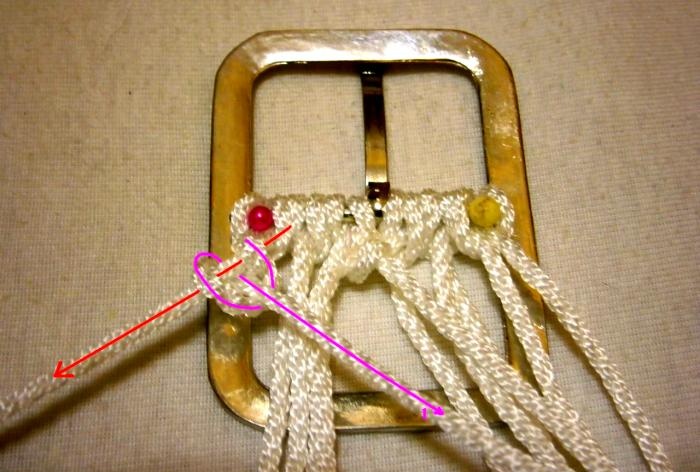
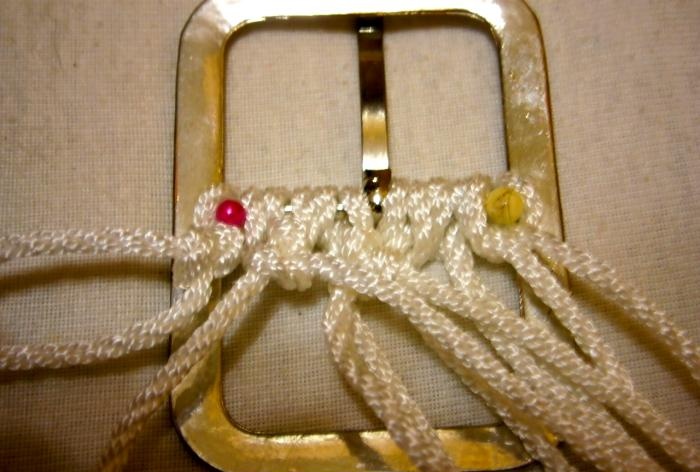
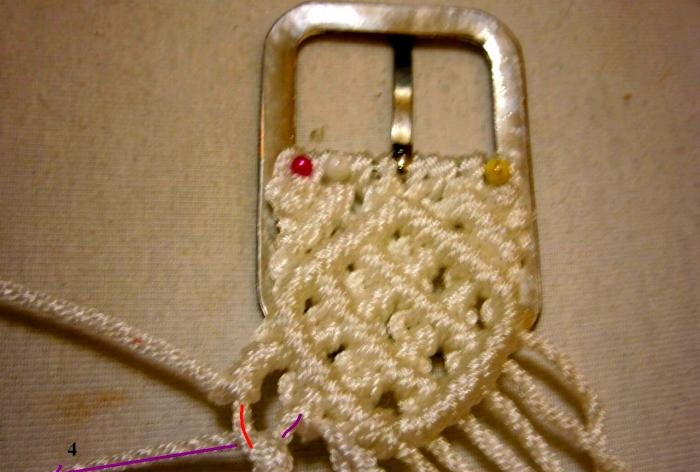
4. Then we hang 3 tatting knots on the 4th thread: in the photo you can see that the 1st knot is made with the 3rd thread, and then the 2nd is made with the 2nd thread, and the 3rd with the 1st thread.
The photo shows the 1st and 2nd knot (since it can be hung at the end, when we complete our diagonal knot, consisting of tatting knots).
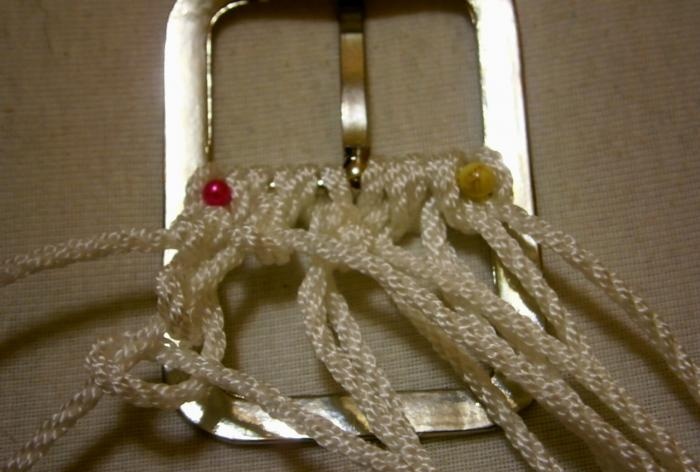
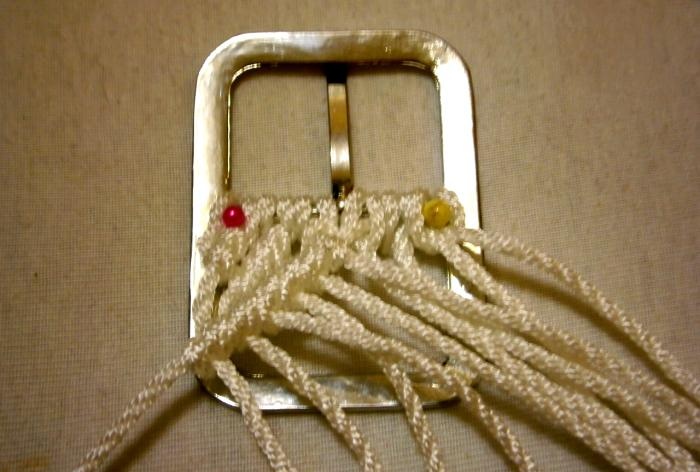
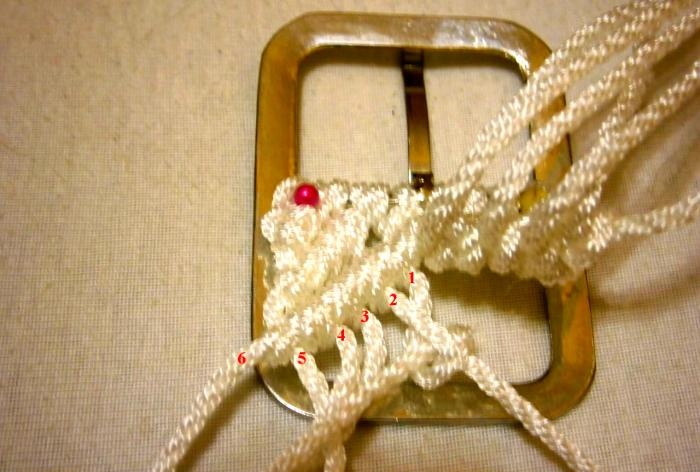
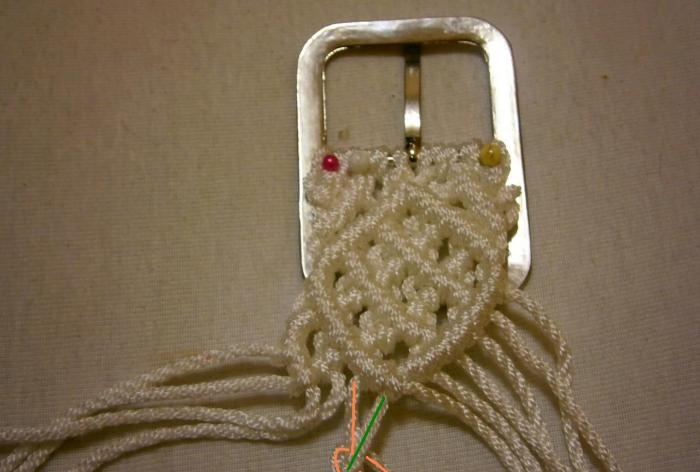
5. Then 5 tatting knots are hung on the 6th thread:
1st knot - 5th thread; 2nd knot - 4th thread; 3rd knot - 3rd thread.
The photo shows the 1st, 3rd, 4th, 5th - the last node, respectively.
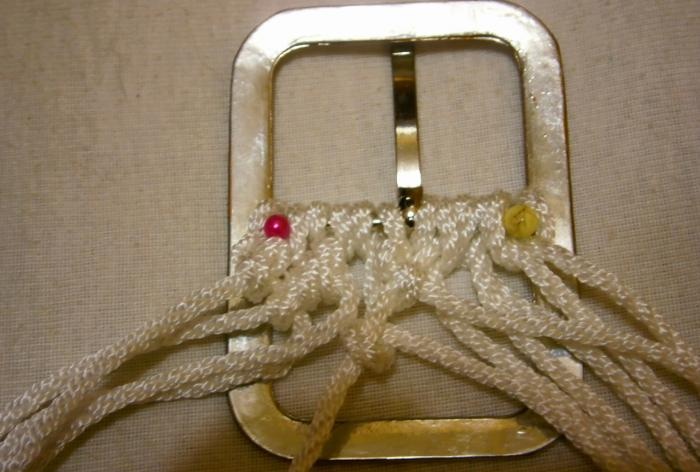
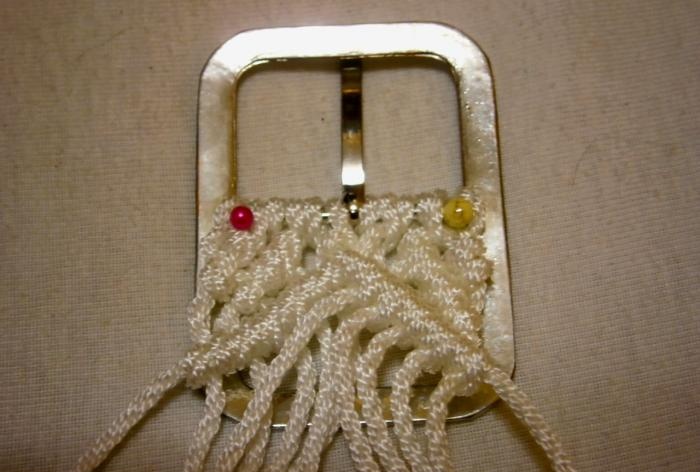
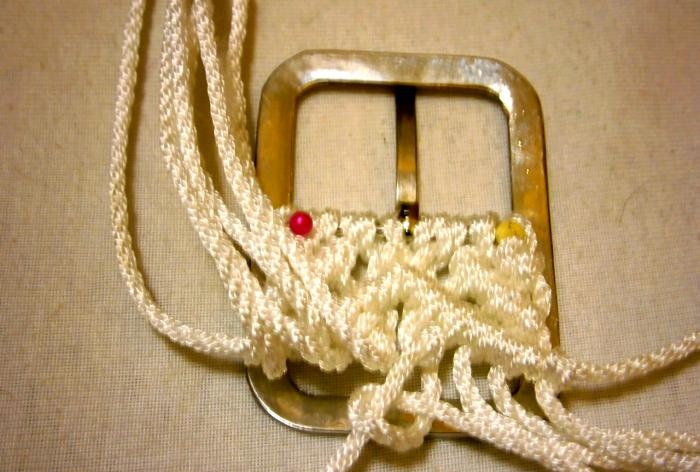
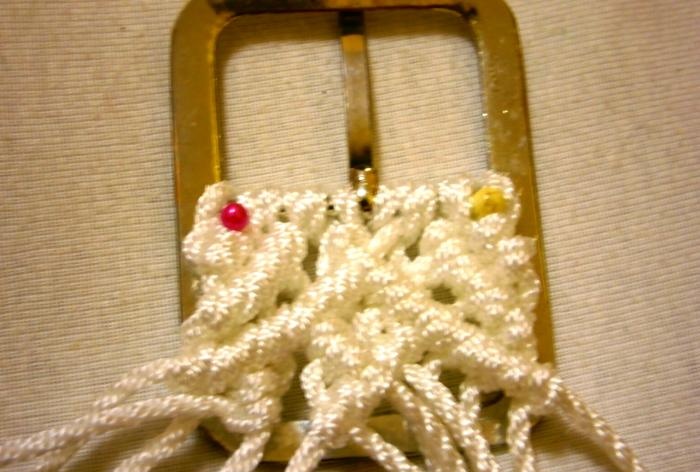
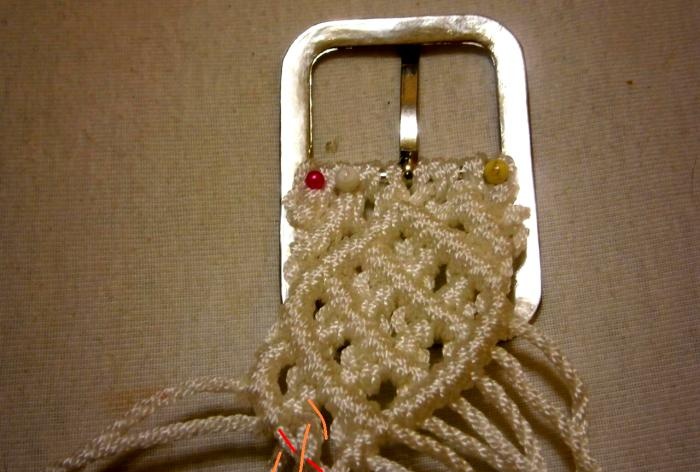
6. Photo 014 shows that the left side of our diagonal knot is now open. In the same way we open its right side. This is what should happen.
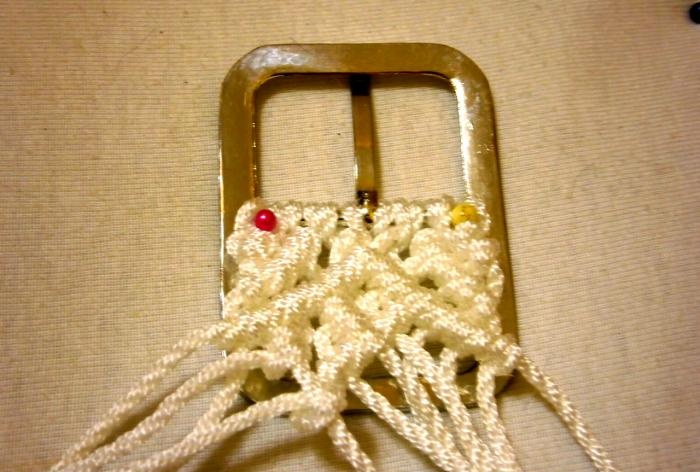
7. So, we see that on the left on the 6th thread our 5 threads are hung. We begin to form our chess mesh: on the 2nd thread we form a rep knot with the 1st thread.
8. On the right side - everything is the same, but in a mirror image, therefore I will call the knot - tatting. We hang this knot on the 2nd thread with the 1st thread.

9. Cross the 2 threads with a rep knot in the middle.
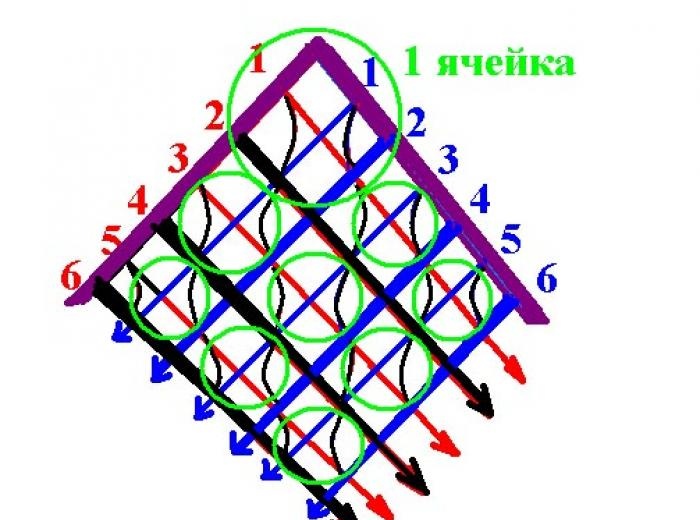
10. Thus, the 1st cell of our grid was formed. Using the same principle, we weave the remaining 8 cells according to this pattern.
11. That is, we form the 2nd cell (on the left): on the 4th thread we put a knot with the 3rd thread (red color in the diagram)
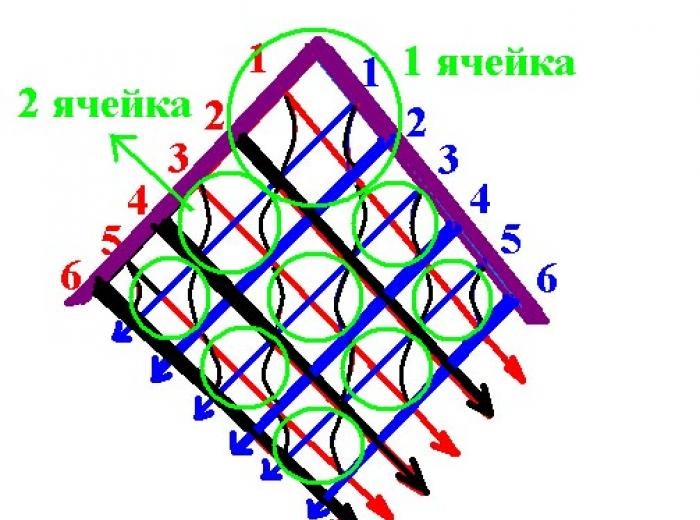
12. And on the 2nd thread we put the 1st (blue color)
13. And we connect the threads closer to the middle with a rep knot
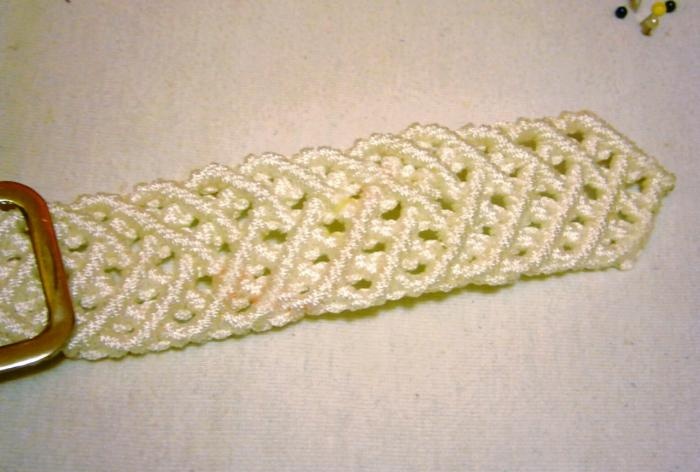
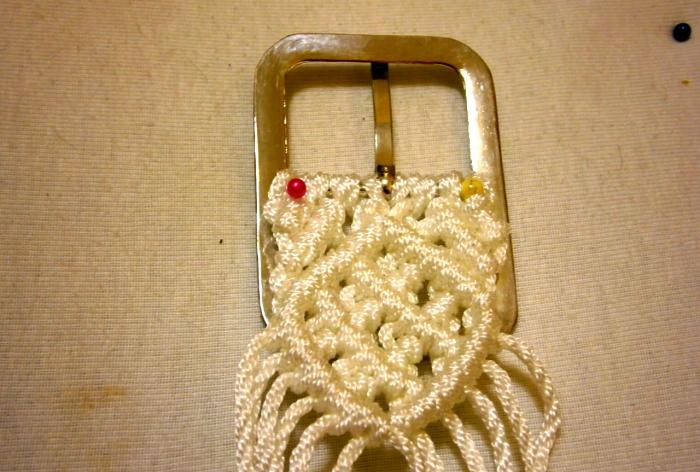
14. This is what the chess grid should end up like:
15. Now let's start weaving rows of belt. As you can see, there were 6 threads on the left and right. Take the 2nd thread and pull it up. Throw a tatting knot over it with the 1st thread.
16. Then we bend our 2nd thread down and put a knot on it with the same 1st thread - but no longer tatting, but a rep knot!

17. Accordingly, we put a tatting knot on the 4th thread with the 3rd thread
18. We connect the 2nd and 4th threads with a rep knot
18. We put a tatting knot on the 6th thread with the 5th thread.
19. We complete the formation of the row on the left: we put the 5th thread on the 2nd thread.
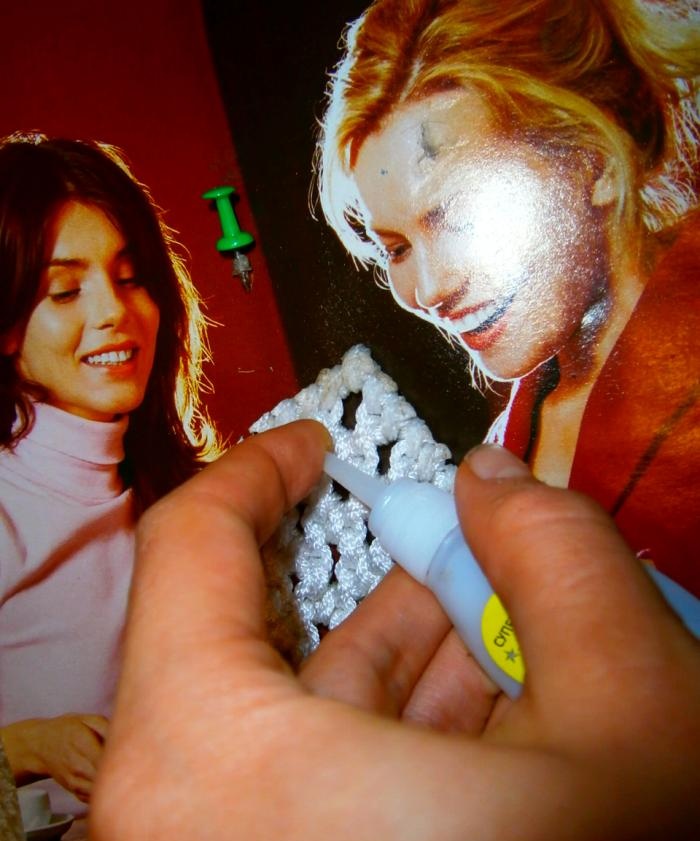
20. On the right we form the same row, but we also put the 6th thread on the 2nd thread. At the end of the weaving, the ends of the rows need to be dipped with Secunda superglue and cut off.