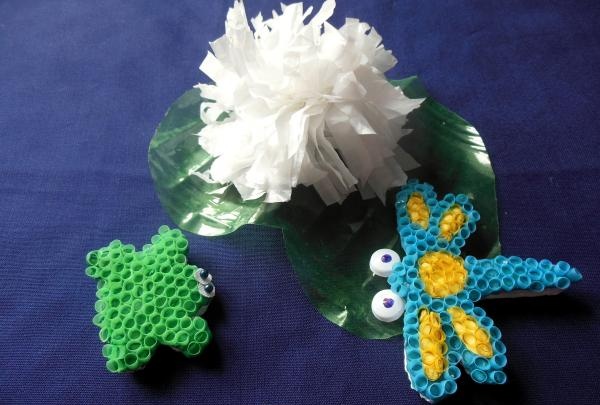
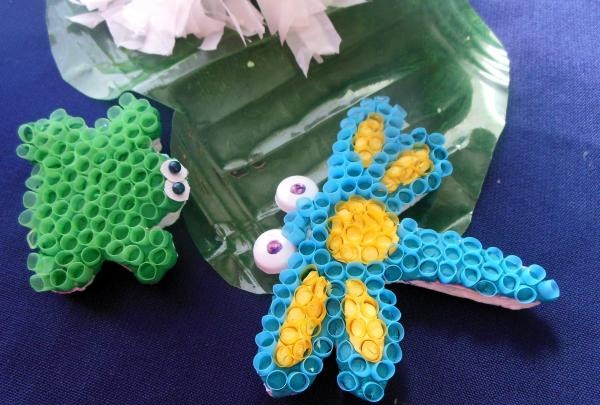
Creating decorative elements to decorate a plot of land is a very interesting activity; doing this all year round will not work. The closeness to nature and the feeling that you are making your contribution to improving the environment simply cannot but rejoice. And most importantly, the most interesting things can be created even from waste material. This cute water lily, big-eyed dragonfly, and funny little frog are made just like that!
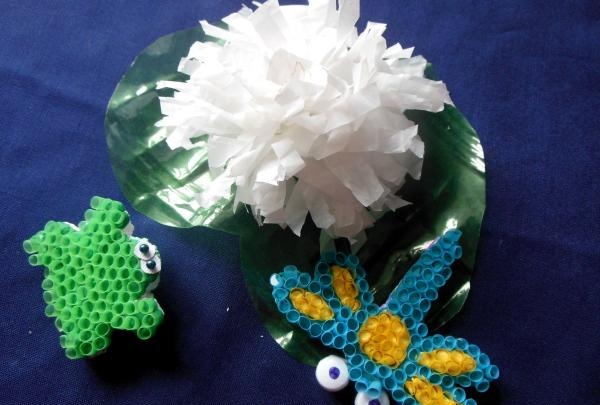
In addition to their bright and colorful appearance, these “residents” also float perfectly on the water.Airy foam and lightweight plastic will not allow this composition to sink, which will make your stream, bets or pool even more interesting.
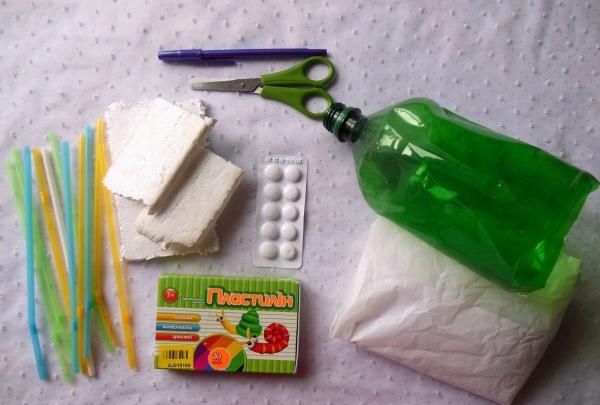
So, to create something like this crafts Let's prepare the following:
- a small piece of foam;
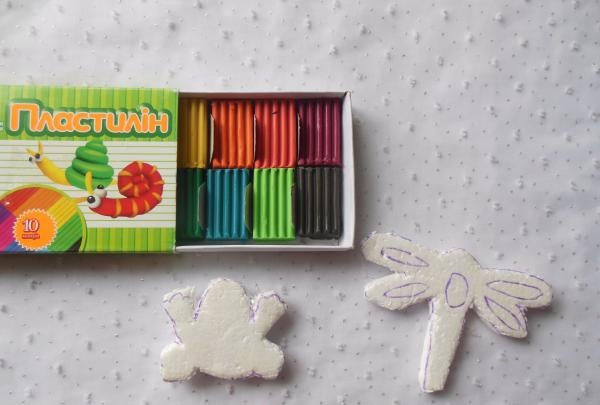
- soft plasticine;
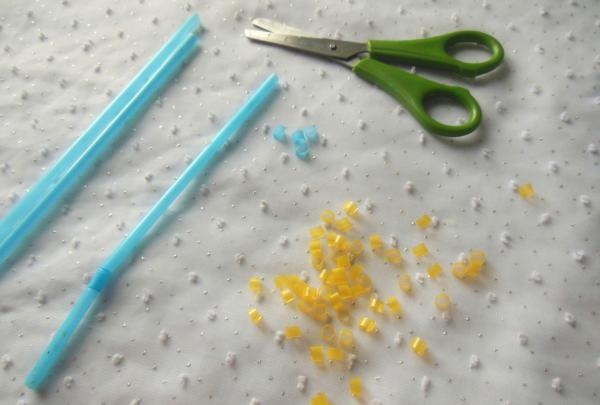
- colorful straws for cocktails;
- white blister packs for tablets;
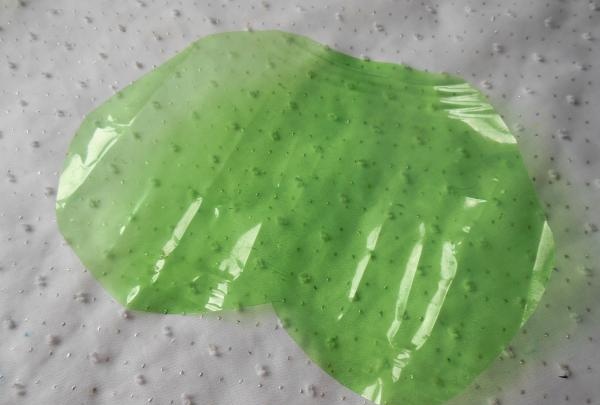
- the middle part of a large green bottle;
- white bag or oilcloth;
- scissors;
- ballpoint pen.
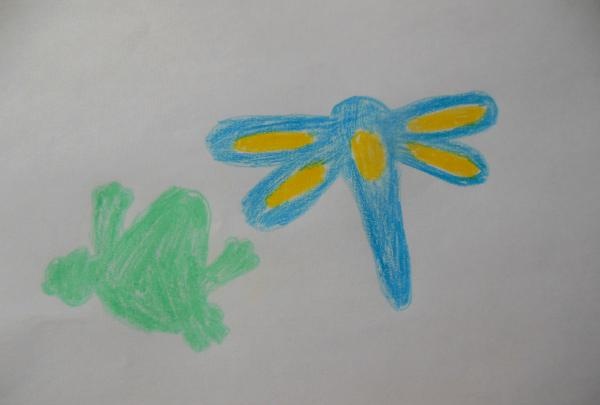
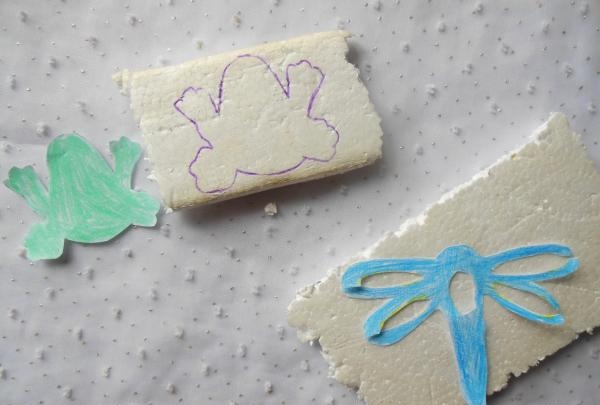
We draw the silhouettes of a dragonfly and a frog with colored pencils on paper and cut them out.
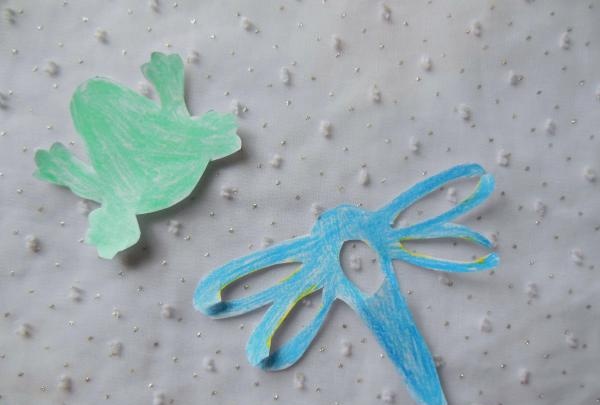
Then we trace each one with a pen on the foam and carefully cut it out too.
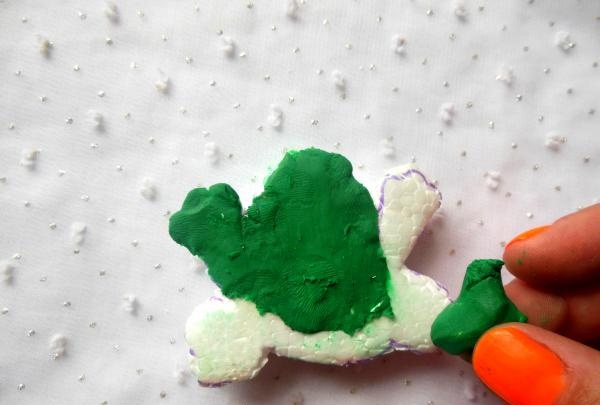
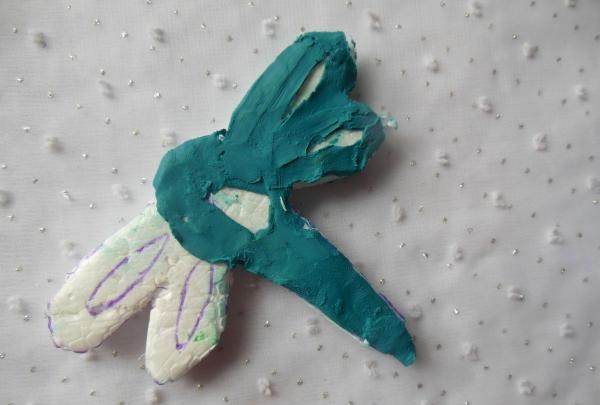
Now we completely cover these figures with a thin layer of plasticine, evenly distributing it over the entire surface of the foam parts.
Dragonfly combines two colors at once, so this must be taken into account when applying a sticky base.
Due to the fact that plasticine is soft, it is absorbed quite quickly and even stains your hands a little. Therefore, before starting to work with a different color, you should always wash your hands thoroughly.
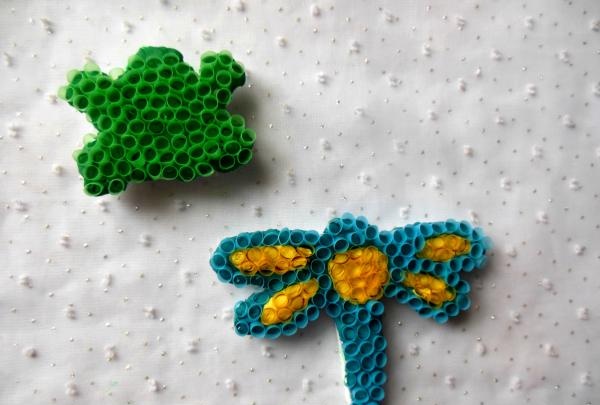
After the bases are “painted” we proceed to decorate them. We cut many small circles from the tubes, which we will later attach on top of the plasticine itself.
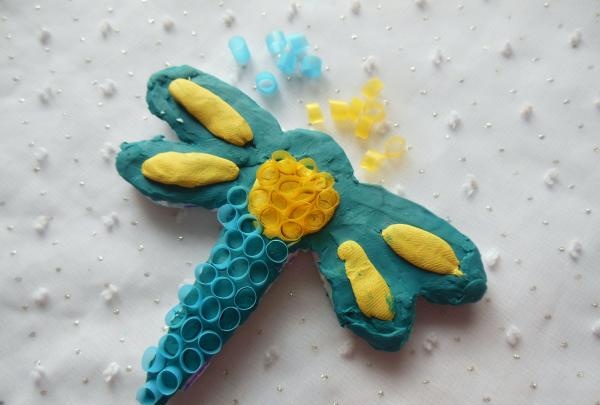
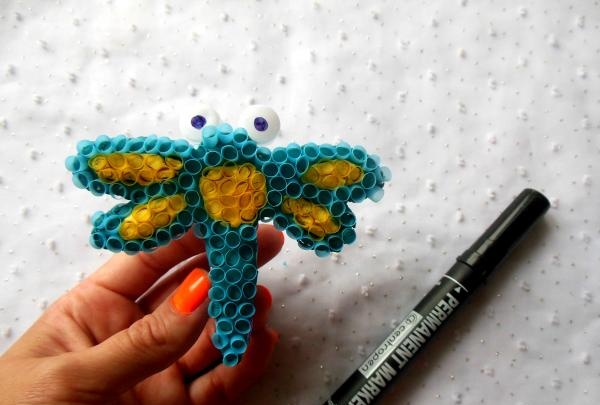
Each part of the dragonfly’s body and wings corresponds to a specific color of the tube.

And the frog just needs to be covered with continuous rows of green scraps.
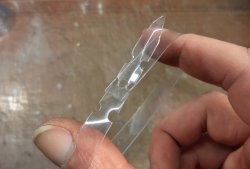
We cut out the insect's eyes from the blister pack, leaving on one side of each circle an oblong strip with a pointed end.
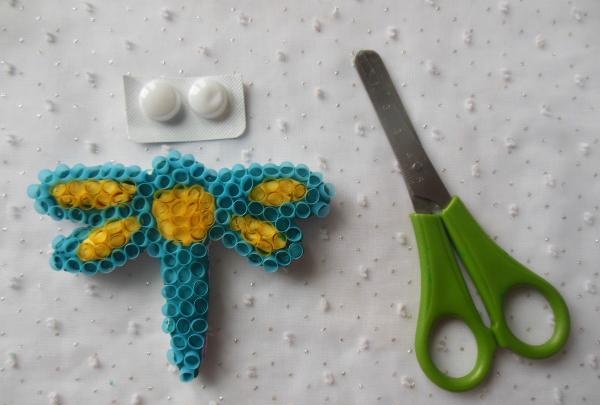
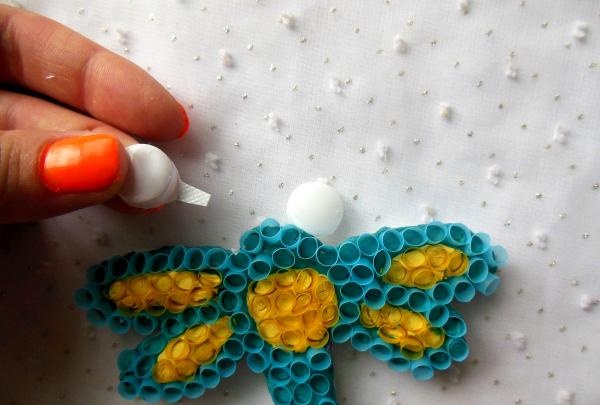
Then we string these ends onto the dragonfly, deepening them all the way. We draw the pupils with a black marker, nail polish or iodine solution.
The little frog should have his eyes cut out smaller. It would be better to pin them with regular stationery pins.This way they will not only be firmly fixed, but will also look very original.

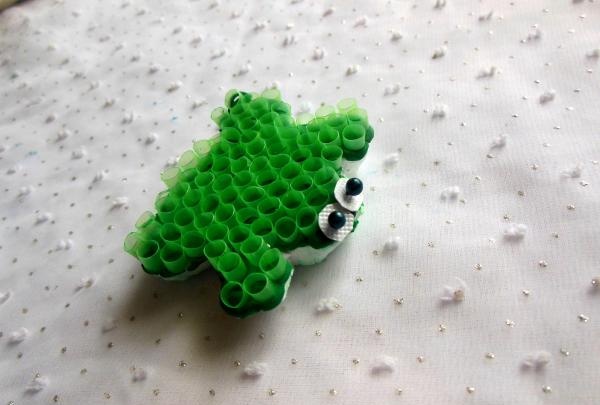
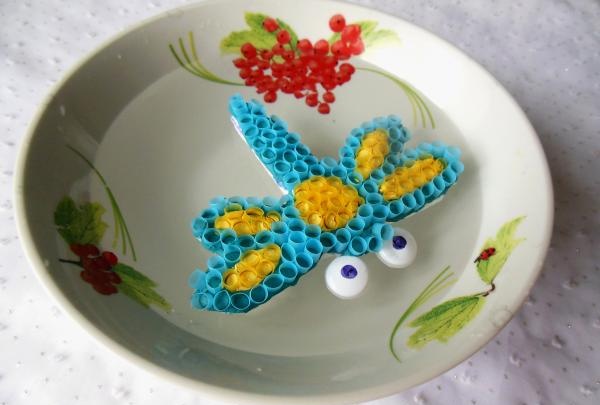
Finally, the first residents of your pond are ready! As you can see, they can swim excellently and repel water quite well (plasticine and tubes do not get wet at all).
All that remains is to make a flower. We cut out a single piece of plastic for our water lily, and simply cut the oilcloth into wide strips.
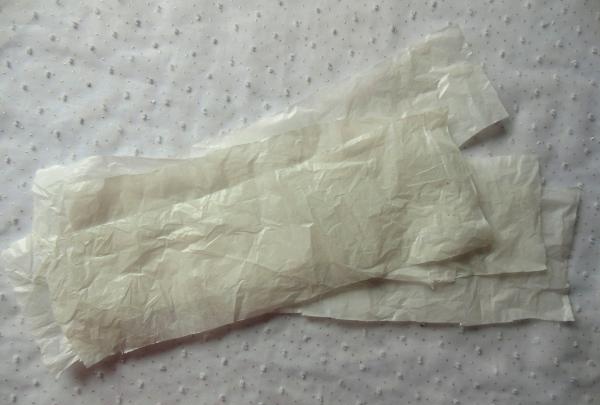
On white oilcloth blanks we make narrow cuts, leaving the lower edge of the oilcloth intact. This way we will get many thin petals.
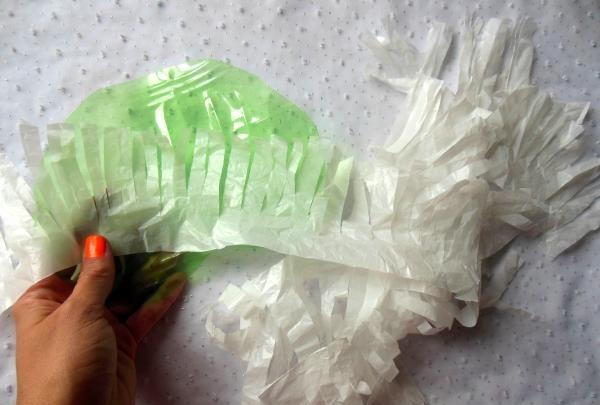
Then we twist all these parts into a roll and stitch them from the bottom with a needle and thread. At the end, carefully straighten the flower and place it on a green leaf.
Now the composition is completely completed!