So, in order to make a cute bunny with blue ears with your own hands, take the following:
- a piece of white artificial fabric with pile;
- thread, scissors and needle;
- glue and beads for eyes;
- filler;
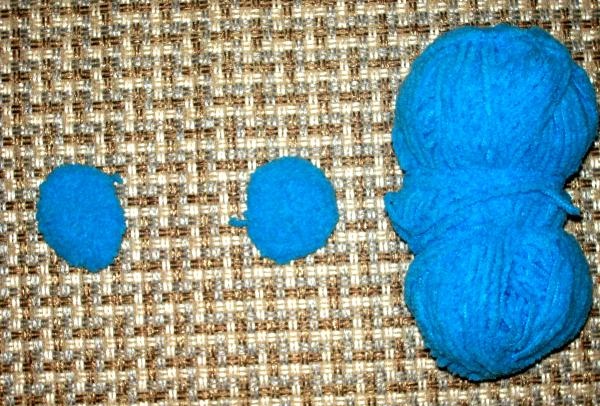
- some blue yarn.
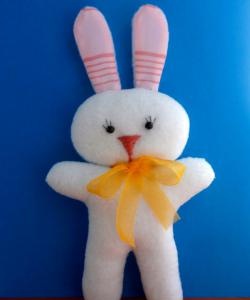
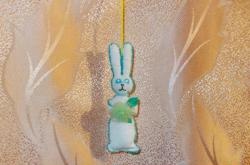
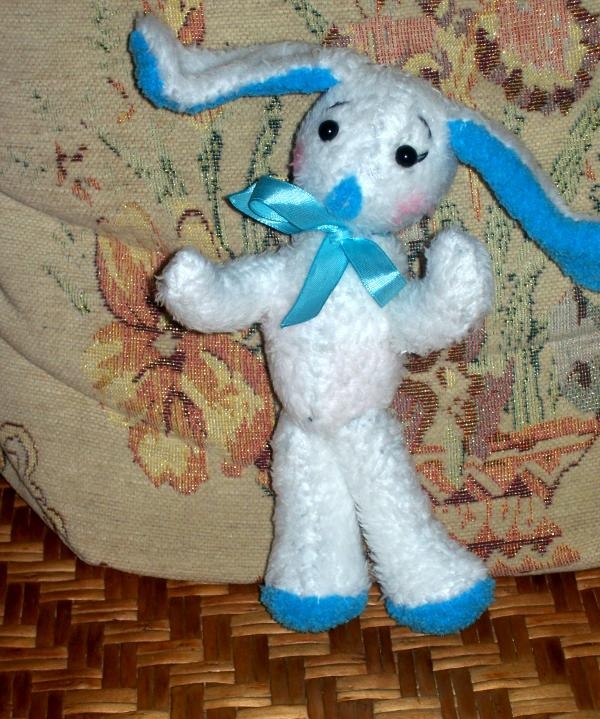
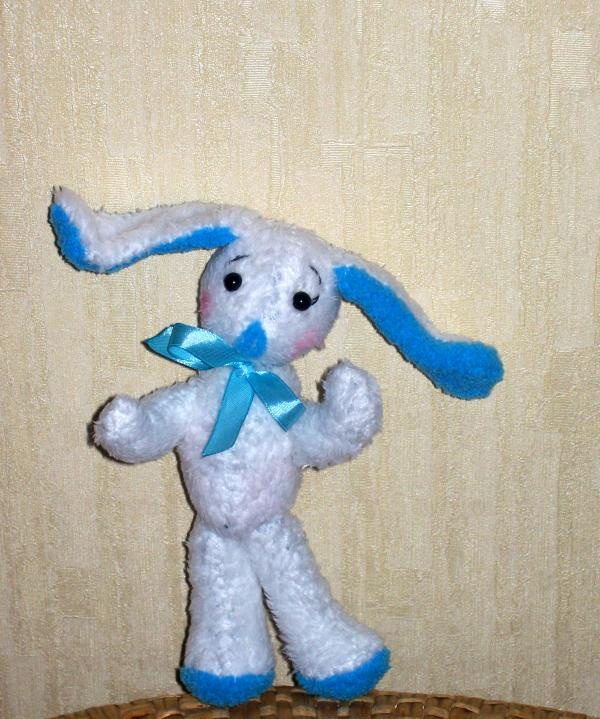
Let's look at the upcoming work step by step. But first, let’s admire the finished bunny.
Stage one: head
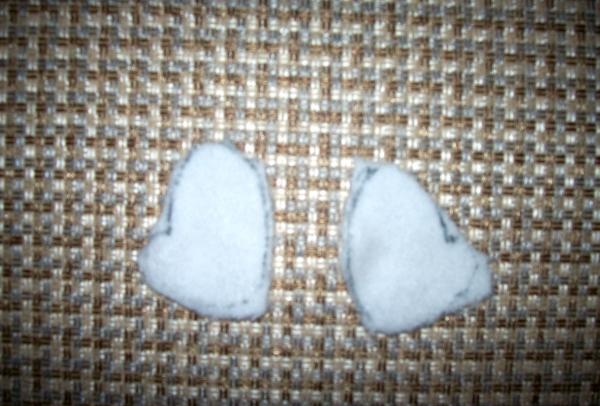
Our bunny's head will be made from 4 parts: two front and two back.
In front of us in the picture are the front details.
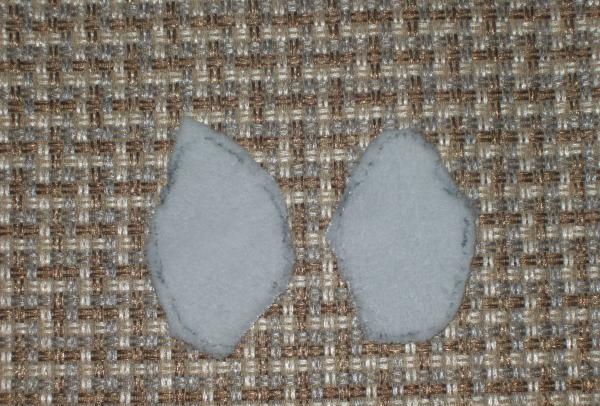
And these are the occipital details.
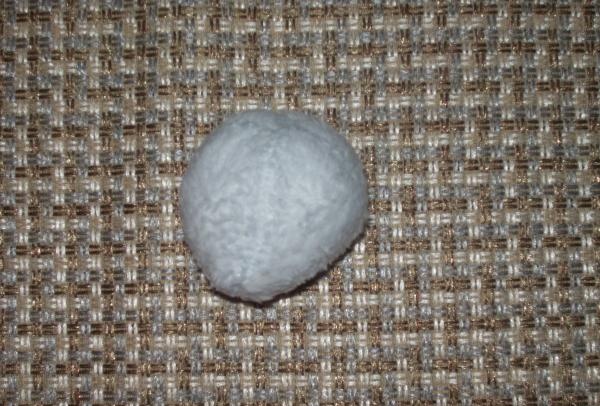
We cut out the pattern from paper, place it on the fabric, trace it and then cut it out. Then we sew together: first the front parts, and then the back parts.
Then we fill the head with holofiber and sew the bottom hole.
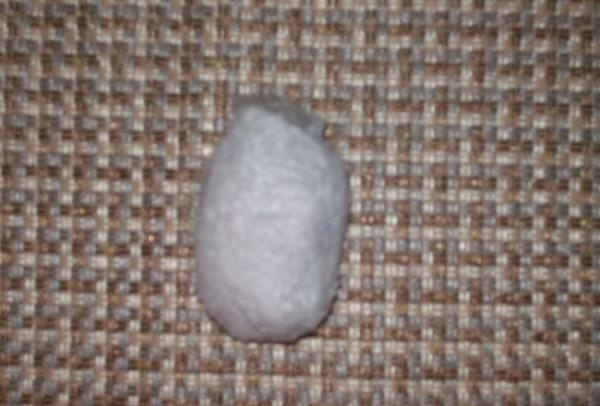
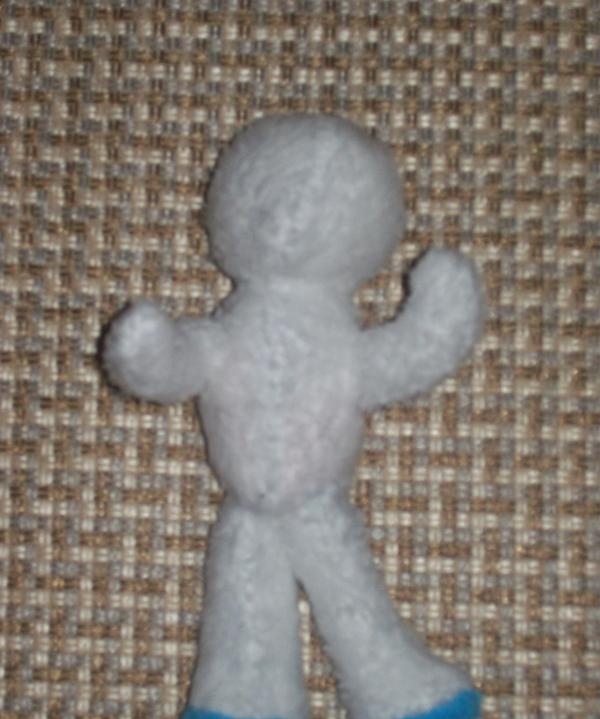
Stage two: body
The body is made of two parts. These parts are sewn together, the body is stuffed with filler and the following is obtained.
Then the head is sewn to our body.

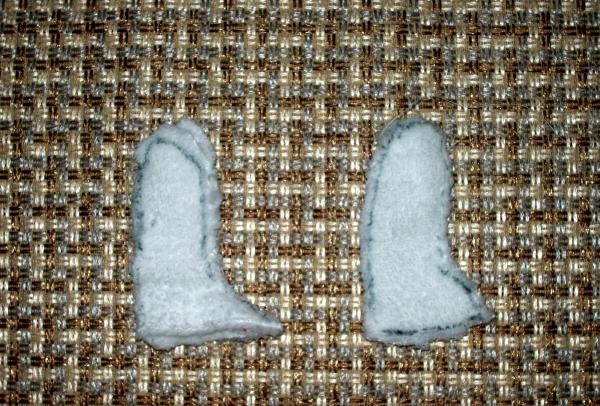
Now let's start making the bunny's limbs. First the front legs are made. To make them, two parts are sewn together and filled with holofiber.

Then the leg parts are cut out of the fabric (4 parts, two for each leg). These details are shown in the figure.
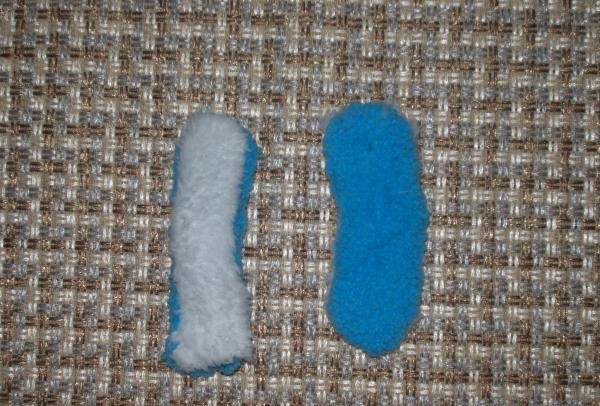
Now we need to take blue threads to tie the lower part of our bunny's foot. These feet are shown in the picture.
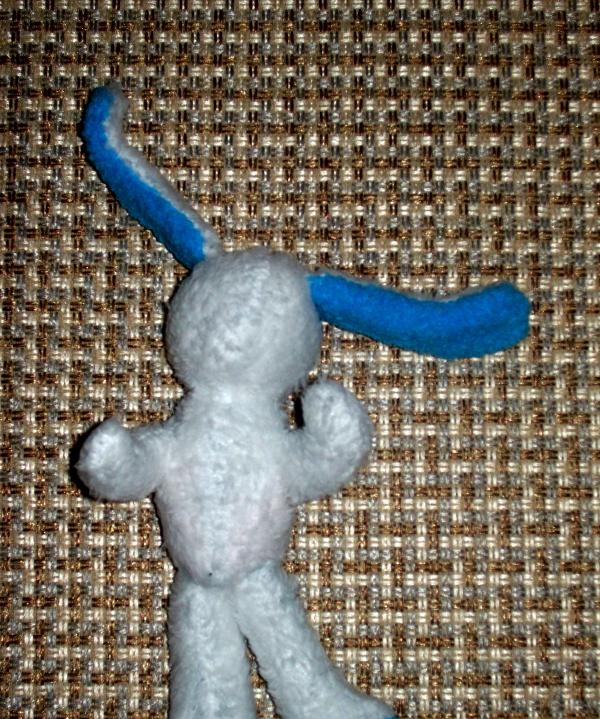
Ears are the main decoration of our little cutie. Therefore, to make them, we take white fabric and threads to knit the inside of the ear.
Stage five: sewing the parts
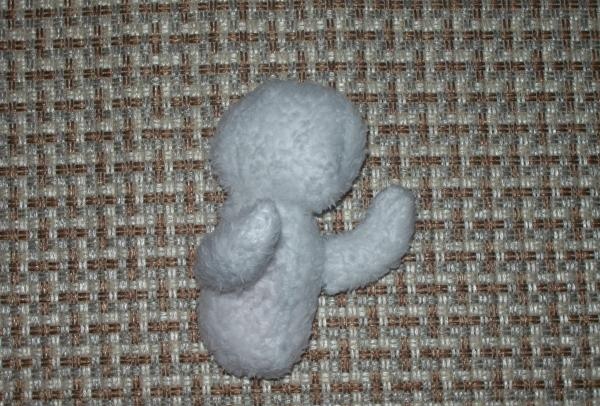
Let's start stitching our product. First we sew the arms to the body, as shown in the figure.
The bunny is almost ready, all that remains is to sew on the beautiful and long ears, which is what we are doing.
And now the only thing left to do is glue black eyes to the face of our animal, embroider his nose with blue threads and also tie a blue bow.
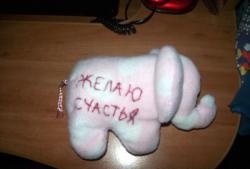
Look, isn’t our baby turned out good?!

But here he is just on a different background.
You can successfully make the same cute animal for your child. Go for it!