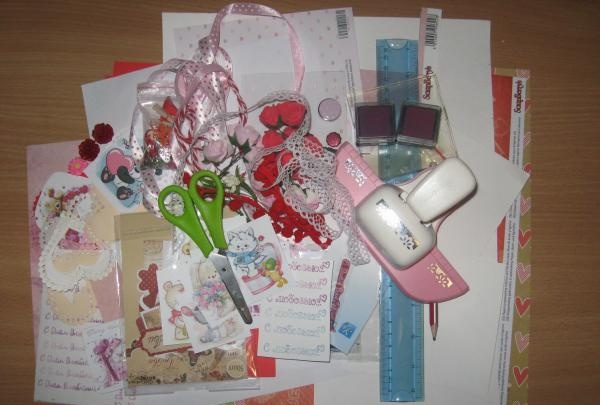
For this master class we will need to take:
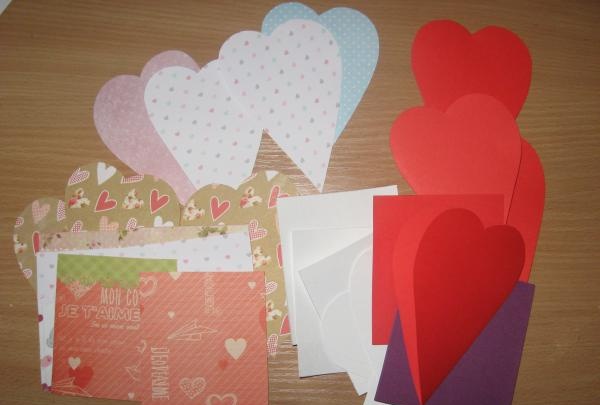
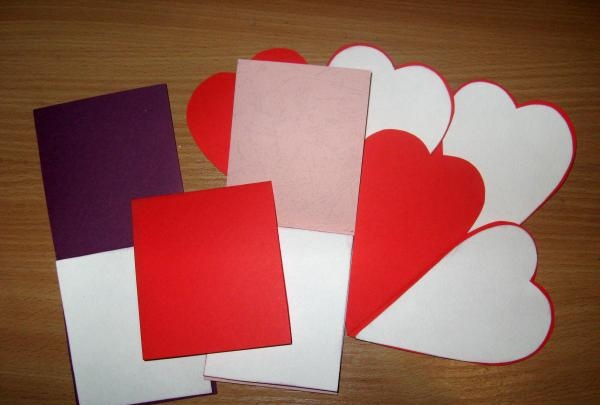
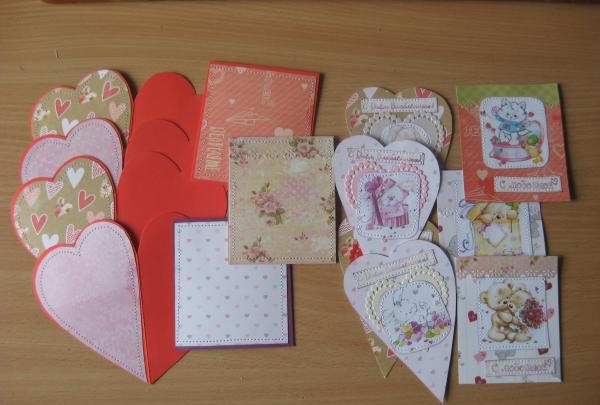
• Three ready-made blanks measuring 9*10 cm in pink, purple and red;
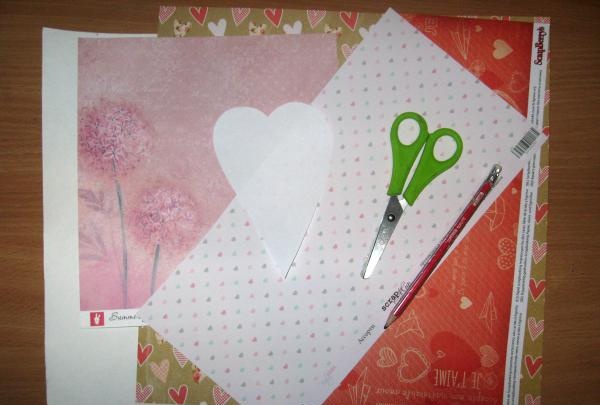
• Two sheets of red cardboard A4 format;
• Elongated heart template;
• Paper for scrapbooking with flowers, hearts, inscriptions in soft pink, pink and red-brown;
• Cutting out pink, red and white hearts;
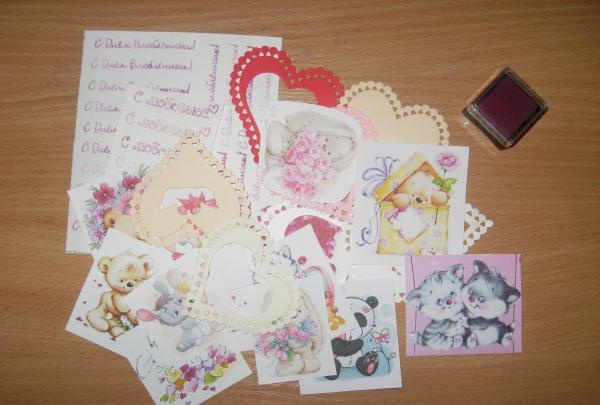
• Pictures with different animals with congratulations and bouquets of flowers;
• Acrylic stamps “Happy Valentine’s Day” and “With Love”;
• Burgundy ink pillow;
• Curb hole punch;
• Watercolor paper;
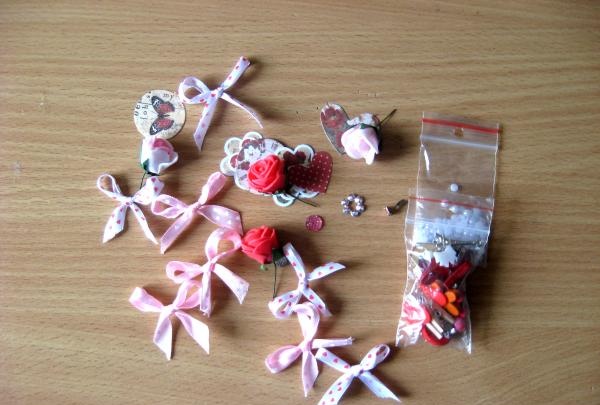
• Satin ribbons 12 mm wide, pink and white, with colored hearts;
• Red, light pink and white-pink latex roses;
• Die-cut flowers and hearts;
• Cabochons made of silver and pink rhinestones;
• Pearl white half beads;
• Small polymer flowers;
• Large stamens in sugar are pink, orange and purple;
• Scissors, glue stick, ruler, double-sided tape, pencil, heat gun.

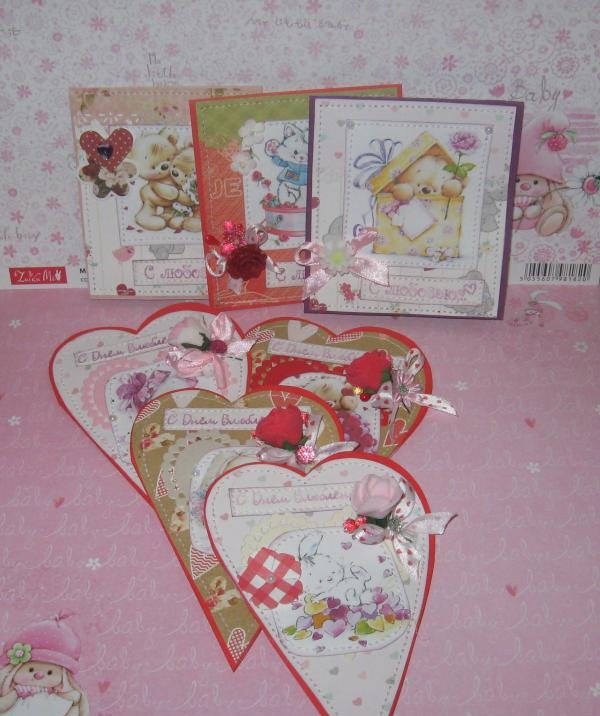
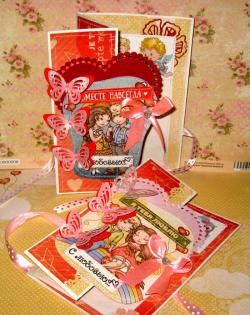
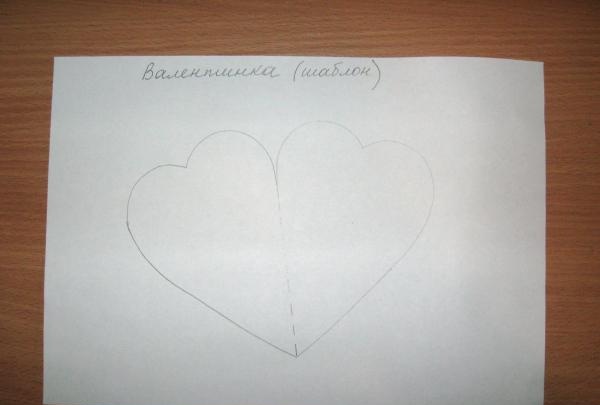
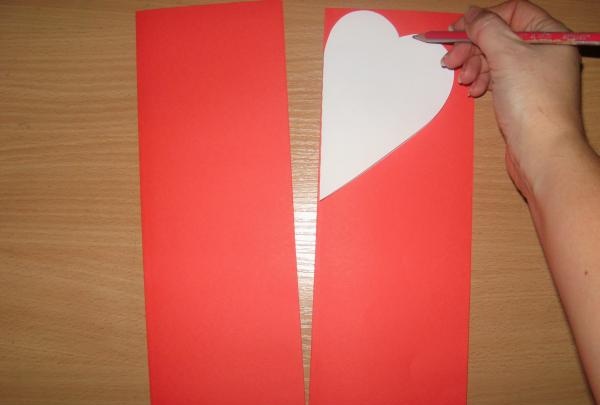
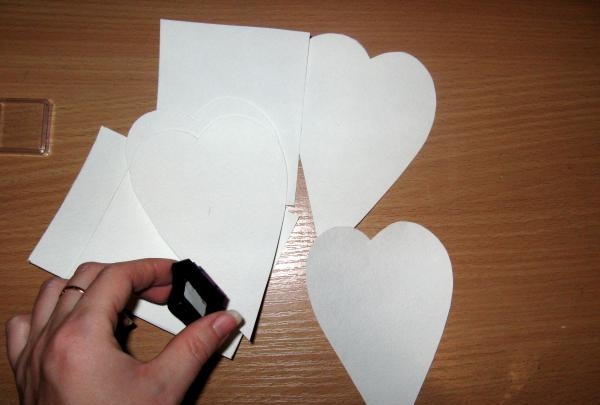
We put the finished blanks aside, and we need to cut out the base blanks in the shape of hearts. We take a heart template, only a convex, elongated one, such as in the photo. All our valentines will be double, opening, so this is the template.
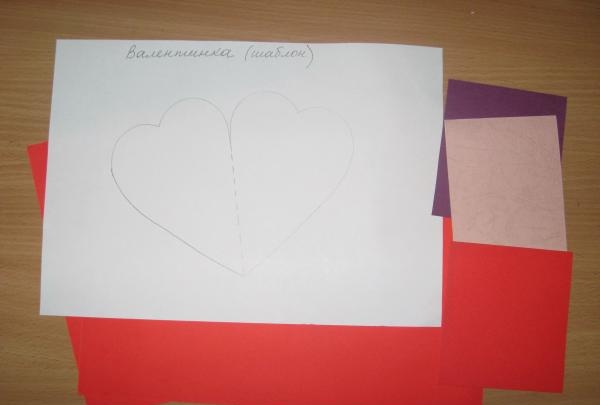
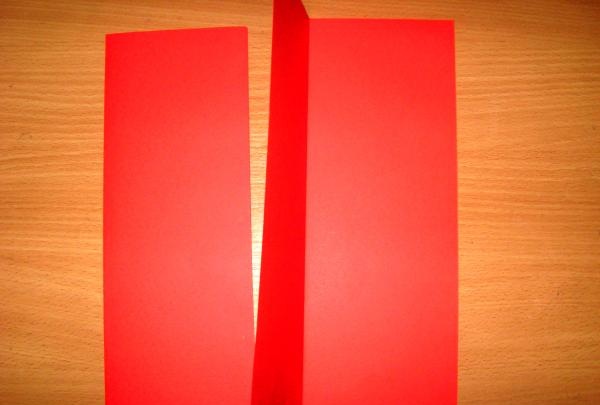
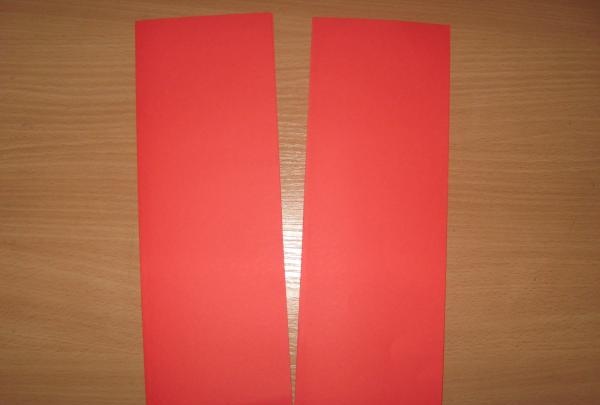
Cut out the entire template. Fold sheets of red cardboard in half lengthwise.
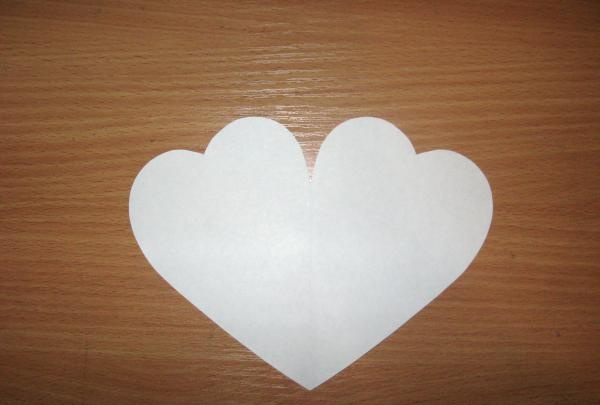
We also fold the template in half and in this form apply it to the cardboard and trace it. It turns out two blanks from each sheet.
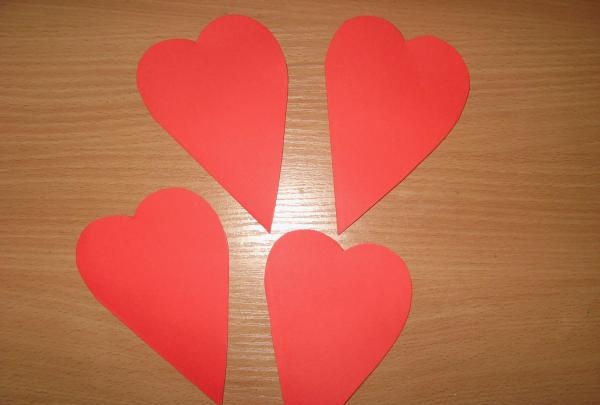
We cut out these four heart blanks.

Now each Valentine will be covered on both sides with scrap paper, and a watercolor blank will be inserted inside for the inscription. We cut our template in half and cut it off a little, 2 mm, along the edges. Cut out eight hearts and six rectangles from scrap paper. We also cut out four hearts and three rectangles from watercolor paper.
Blanks made from watercolors need to be tinted along the edges with a pad of ink. Glue the watercolor parts inside each valentine using double-sided tape.
Now we need to stamp the inscriptions on watercolor paper and cut out the pictures. We also tint everything with a pad.First we glue the hearts from the cutting, with pictures and inscriptions on them.
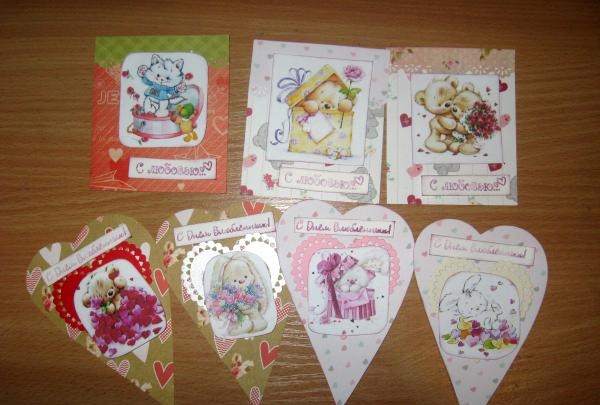
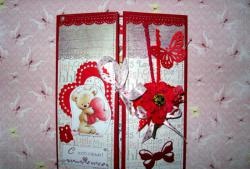
Using a sewing machine, we sew everything on each valentine and now glue the prepared scrap blanks to the bases of the valentines on the front and back. Glue it with a glue stick.
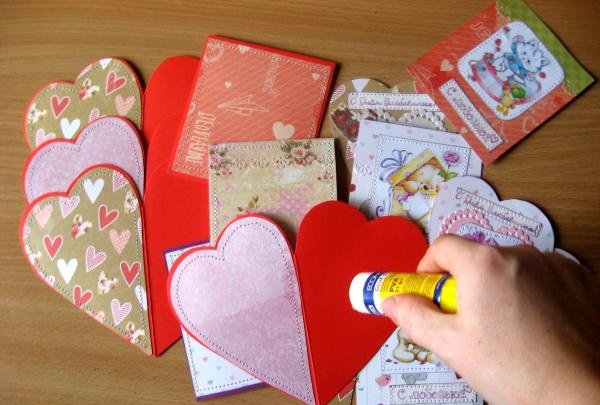
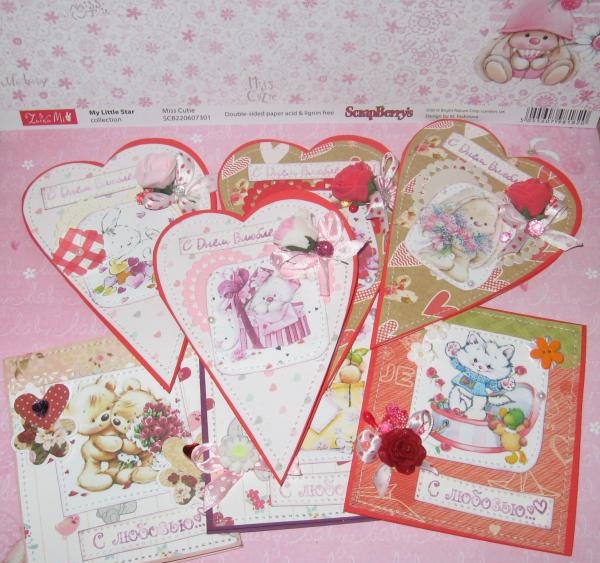
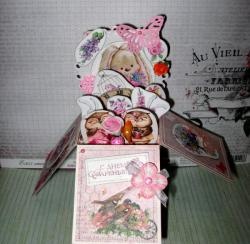
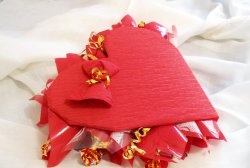
We sew each valentine along the edges. Now all that remains is to decorate. We tie different bows, take die-cuts, flowers and cabochons.
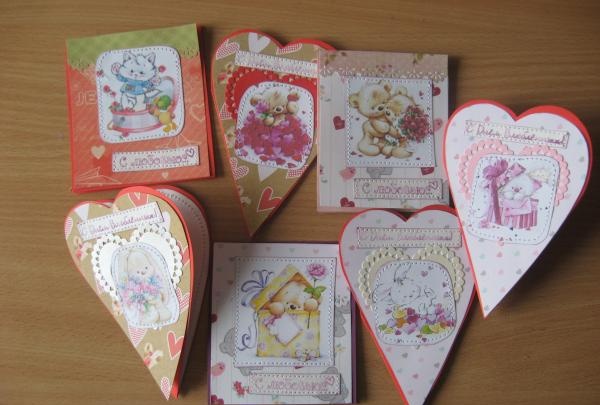
And we glue on each one decor, as you like best. All is ready! It turned out not difficult, and very beautiful!