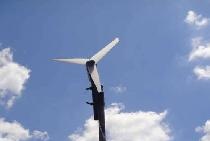
Windmill from a cooler more of a toy than a real one. It produces 1.5 - 2 volts in a breeze of 4 km/h and at a current of 20 mA, which is quite enough to charge one battery. But you can do more than one, so there is still a prospect. . .

And so let's go!
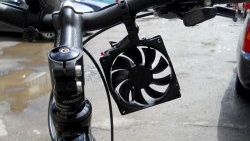
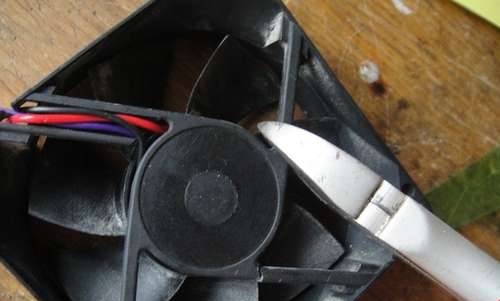
Let's take a standard cooler from a computer:

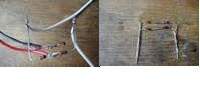
We need to disassemble it and connect the wires directly to the coils and remove the Hall sensor, which looks like a transistor with 4 terminals, we don’t need it. In principle, you can do without this, because the cooler can already work as a generator, but if this is not done, there will be very little energy.

We connect by connecting all the coils in series for a single-phase generator, or in a triangle for a three-phase generator, whatever you like.

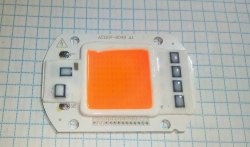
Next we will need rectifier diodes, any will do. I think that you can easily assemble a rectifier circuit from them. If not, then look at past publications about a generator for a windmill, there is such a scheme.

We collect
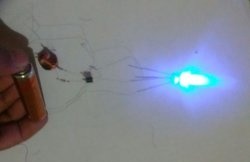
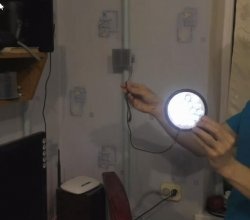
Connecting Light-emitting diode to the exit and blow on the cooler. Light-emitting diode lights up - everything is fine!

Then we need to cut off the blades and base from the cooler. We don't need them anymore.
Let's cut it off.

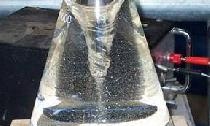
Making new blades.Take a thick-walled plastic bottle.

And cut out the blades from it. Here I think there is no need to explain anything - you will figure out what and how much. I got three blades.

Glue the blades with super glue.


Next, take a wooden strip and drill a hole, then you will understand why.

And at the other end of the slot for the CD it will serve as a weather vane.

And this is the foundation in the ground for stability.

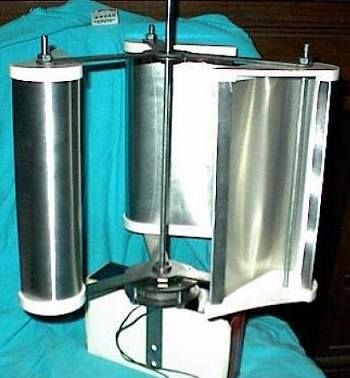
Check out the work and the assembled structure in the video:
Good luck !!!