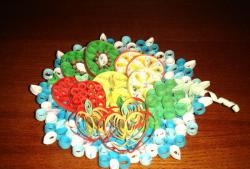
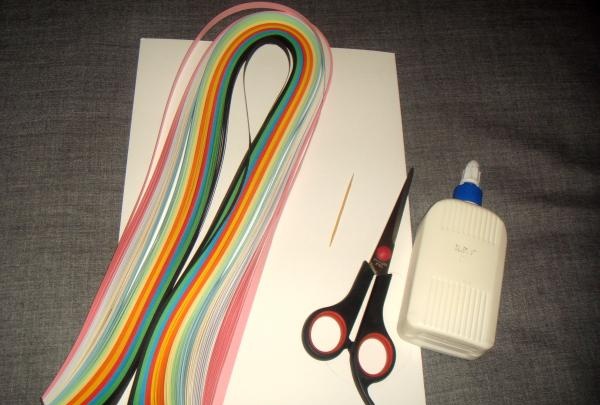
To make such a picture you will need the following components:
- a set of stripes for quilling (green, black, pink, red - the desired colors);
- white thick cardboard (1 sheet);
- small toothpick;
- scissors;
- a little PVA glue.
![tree in love](https://i.washerhouse.com/images/14/643-vlyublennoe-derevo.jpg)
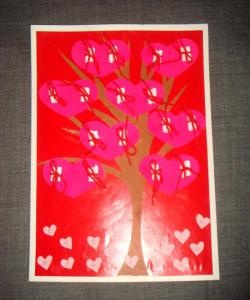
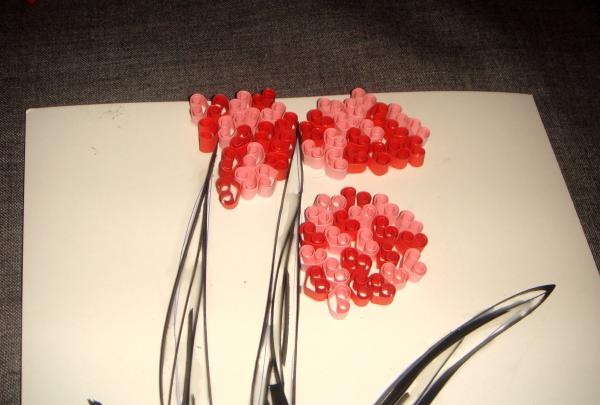
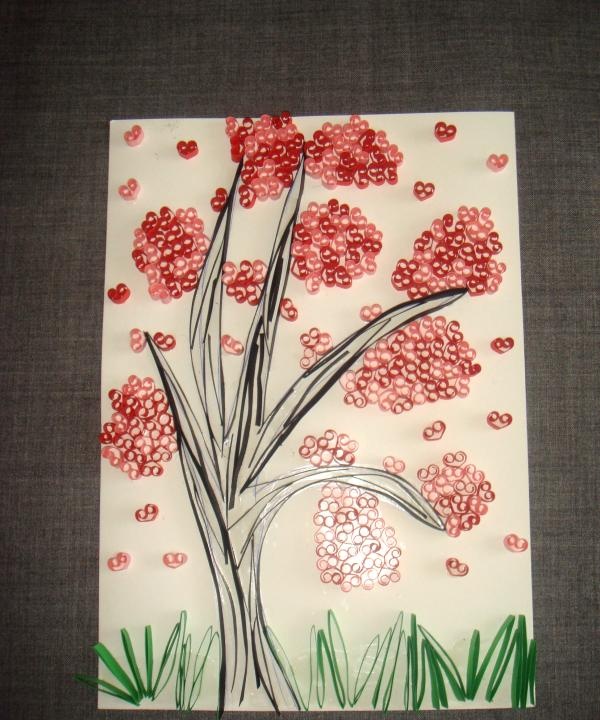
First, I’ll tell you about making the basic quilling elements called “hearts.”
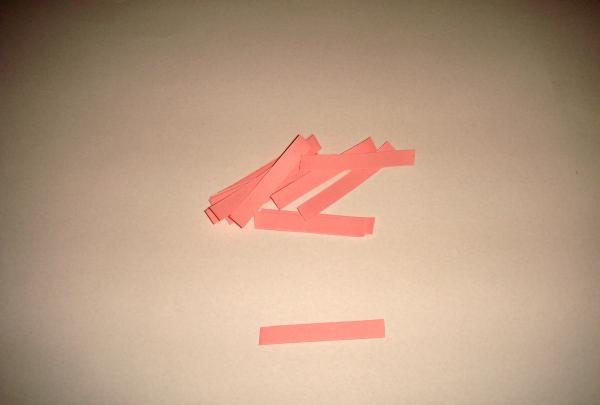
I cut the long strip into 4.5 cm long pieces.
![tree in love](https://i.washerhouse.com/images/14/644-vlyublennoe-derevo.jpg)
![tree in love](https://i.washerhouse.com/images/14/645-vlyublennoe-derevo.jpg)
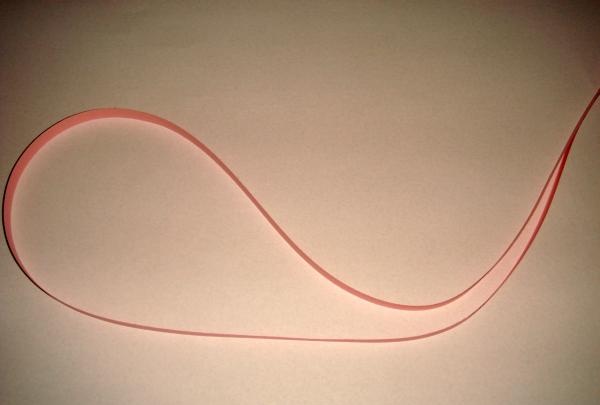
Now take a short strip and fold it in half.
![tree in love](https://i.washerhouse.com/images/14/646-vlyublennoe-derevo.jpg)
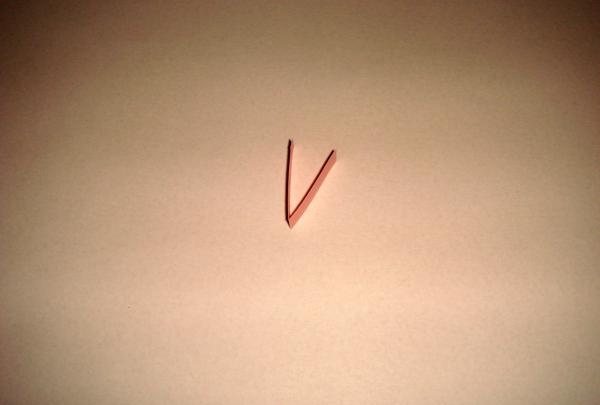
Using a toothpick, twist the spiral inside the fold line.
![tree in love](https://i.washerhouse.com/images/14/647-vlyublennoe-derevo.jpg)
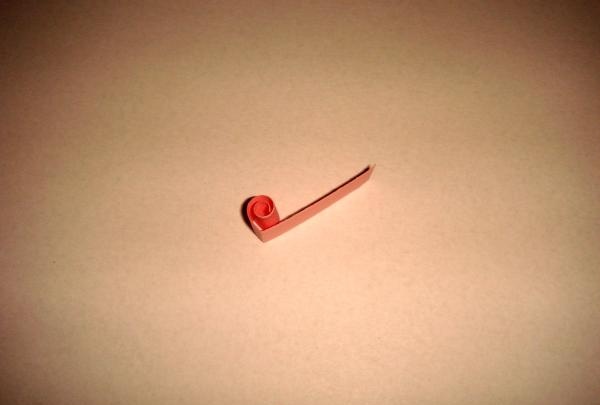
Exactly the same on the other side!
The result is an open “heart” element.
![tree in love](https://i.washerhouse.com/images/14/648-vlyublennoe-derevo.jpg)
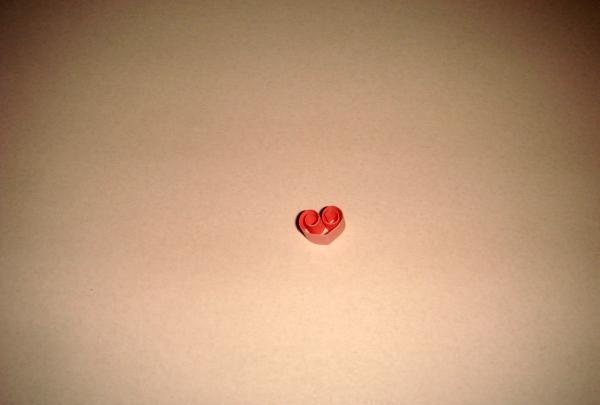
So we gradually form each strip.
![tree in love](https://i.washerhouse.com/images/14/649-vlyublennoe-derevo.jpg)
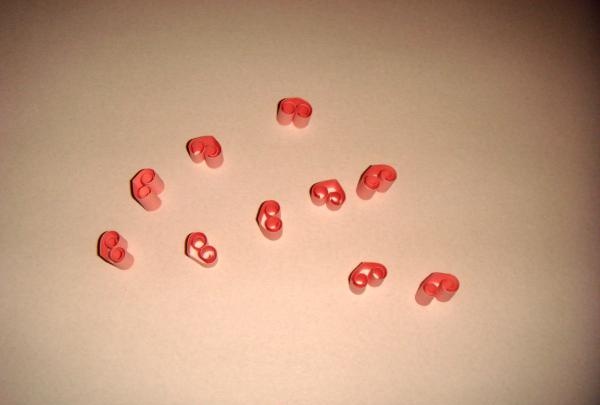
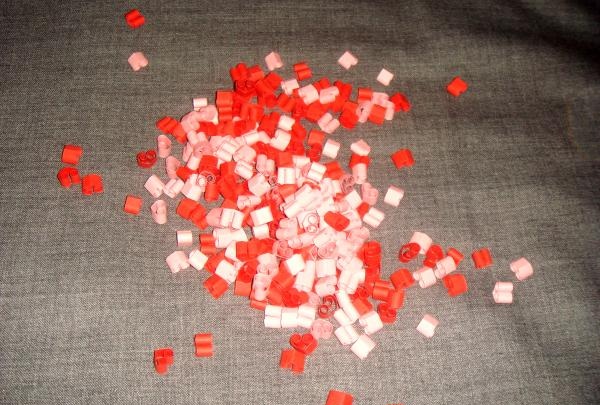
We need both pink and red blanks.
![tree in love](https://i.washerhouse.com/images/14/650-vlyublennoe-derevo.jpg)
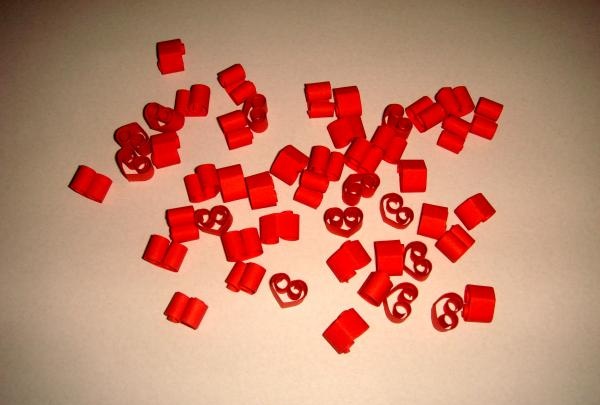
The more little hearts you form, the brighter your tree will be.
![tree in love](https://i.washerhouse.com/images/14/651-vlyublennoe-derevo.jpg)
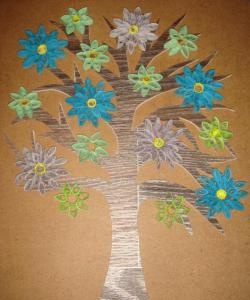
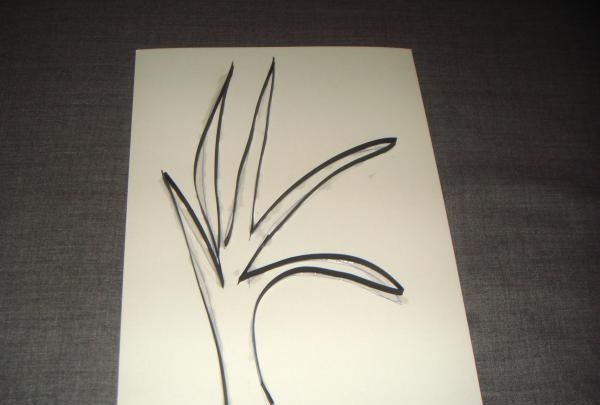
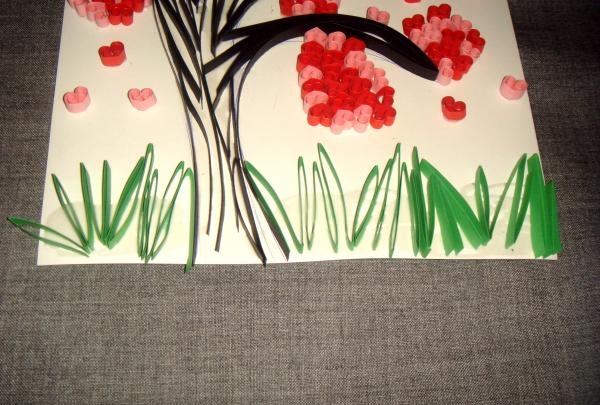
Then I started making the wood. I drew a trunk with branches on a sheet of white cardboard.
![tree in love](https://i.washerhouse.com/images/14/652-vlyublennoe-derevo.jpg)
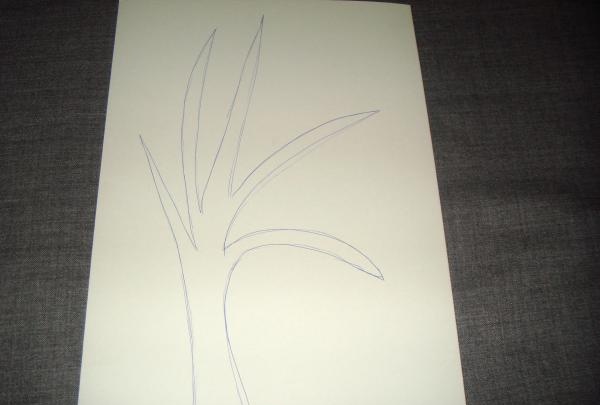
I applied PVA glue to the graphic design and glued the black stripes on the end side.
![tree in love](https://i.washerhouse.com/images/14/653-vlyublennoe-derevo.jpg)
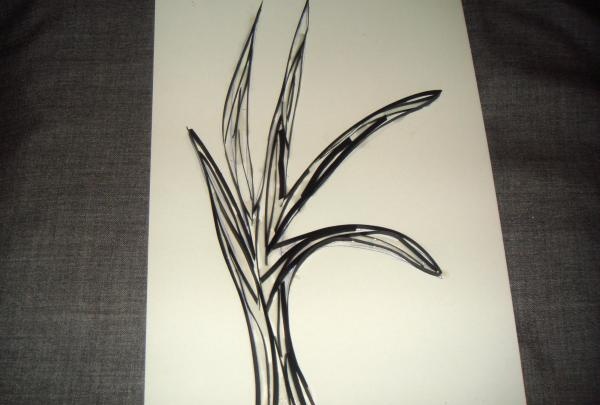
Then I filled the internal space of the image.
![tree in love](https://i.washerhouse.com/images/14/654-vlyublennoe-derevo.jpg)
Then I moved on to collecting small elements and forming the crown of the tree. I glued multi-colored hearts in a chaotic order near the branches.
![tree in love](https://i.washerhouse.com/images/14/655-vlyublennoe-derevo.jpg)
A fierce crown came out.
![tree in love](https://i.washerhouse.com/images/14/656-vlyublennoe-derevo.jpg)
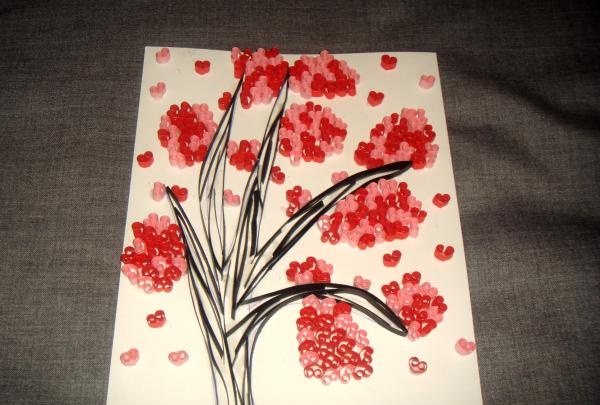
I also decided to make weed. I folded the green stripes like an accordion.
![tree in love](https://i.washerhouse.com/images/14/657-vlyublennoe-derevo.jpg)
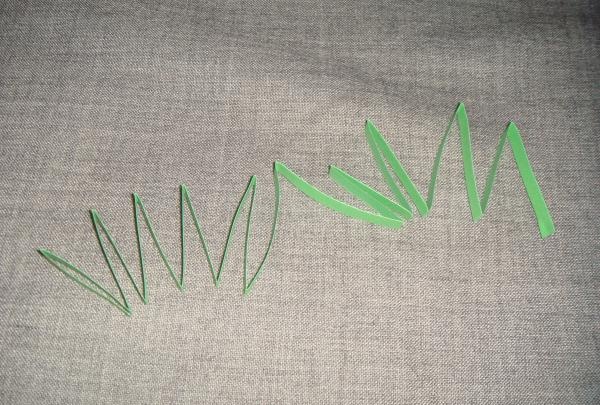
And glued it near the roots of the tree.
![tree in love](https://i.washerhouse.com/images/14/658-vlyublennoe-derevo.jpg)
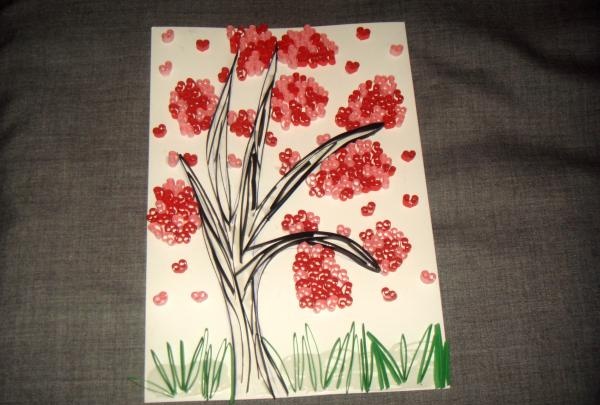
This is the job. I left it overnight for the glue to dry.
![tree in love](https://i.washerhouse.com/images/14/659-vlyublennoe-derevo.jpg)
And this is a finished three-dimensional panel called “Tree in Love.”
![tree in love](https://i.washerhouse.com/images/14/660-vlyublennoe-derevo.jpg)
![tree in love](https://i.washerhouse.com/images/14/661-vlyublennoe-derevo.jpg)
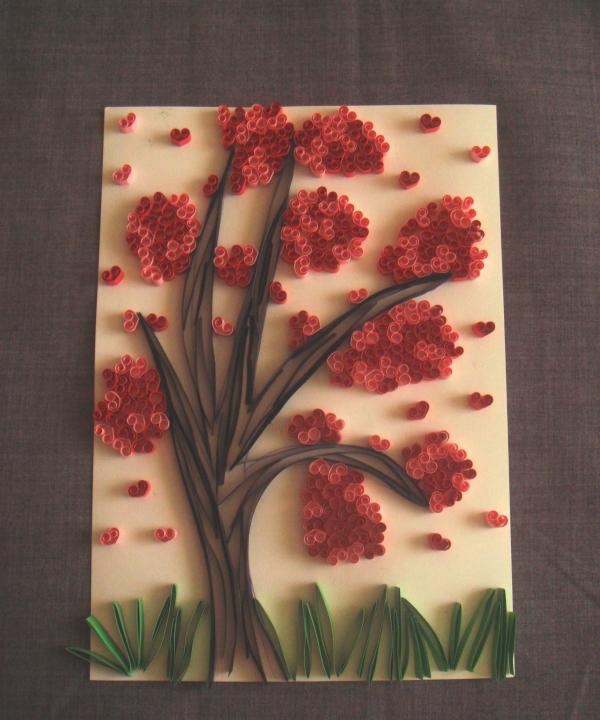
All that remains is to write warm wishes on the back side and you can give it to your husband on St. Valentine’s Day. Valentina.