Another interesting point is the unusual method of work in their manufacture. Once you start creating your little wonderful masterpiece, you will certainly appreciate how exciting and interesting it is to scorch organza on a candle!
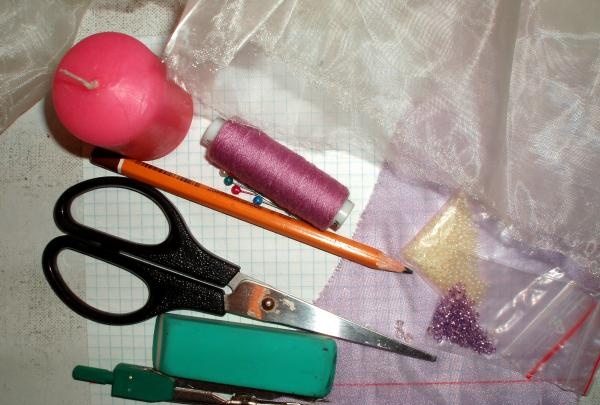
You will need:
- candle and matches;
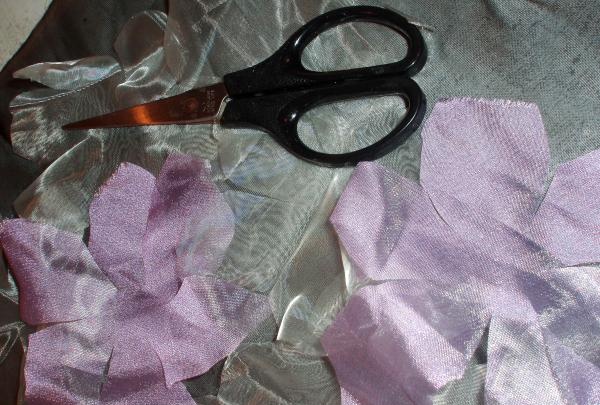
- scissors, pins, needle and thread;
- a simple pencil, possibly also a compass, ruler and eraser for creating a pattern;
- a piece of checkered paper;
- organza scraps;
- beads, beads, pearls or sequins depending on your imagination.
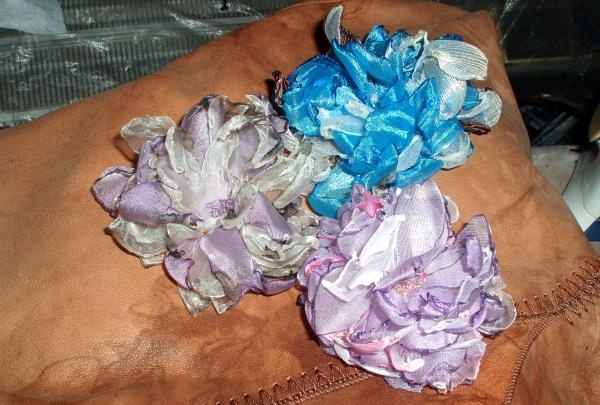
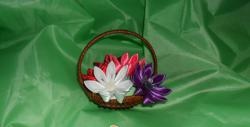
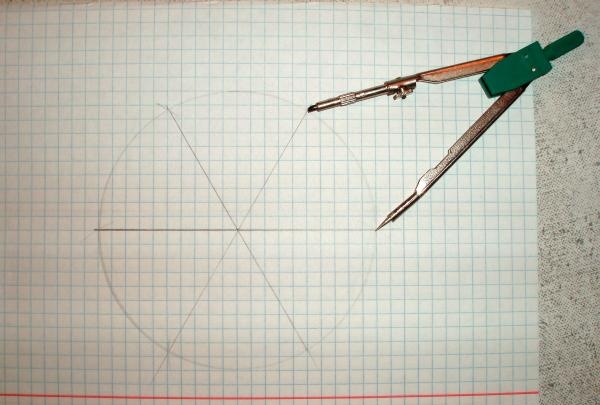
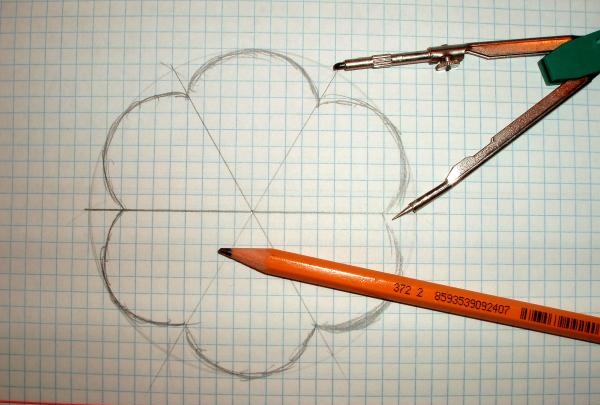
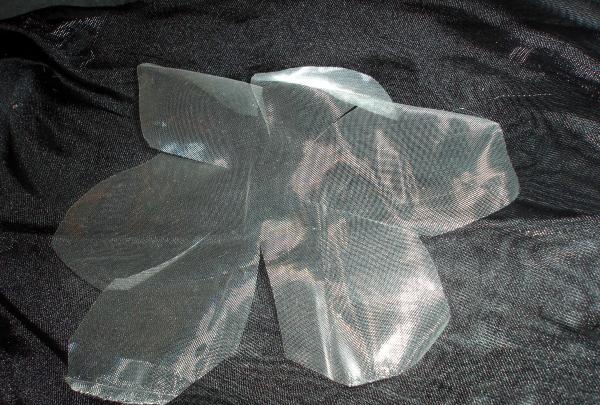
First, on checkered paper, draw a flower with a diameter of about 12 cm with 5 or 6 equal petals. If you want the result to be a water lily, make 4 round petals, and if you want a chrysanthemum, make 12 oblong petals. But starting with a chrysanthemum using this technique is not the best idea, because in order to singe 12 thin petals, you must already have at least a little skill and experience. The most optimal is 6 petals. Subsequently, you can vary the number and shape of the petals, as well as the diameter of the entire rosette.
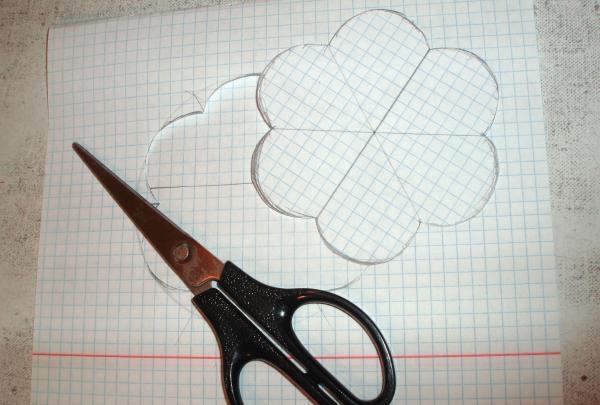
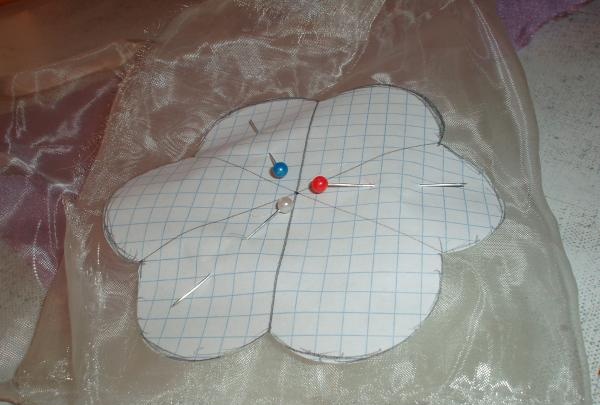
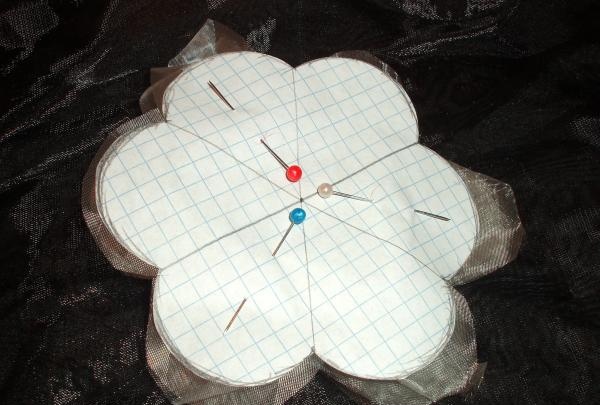
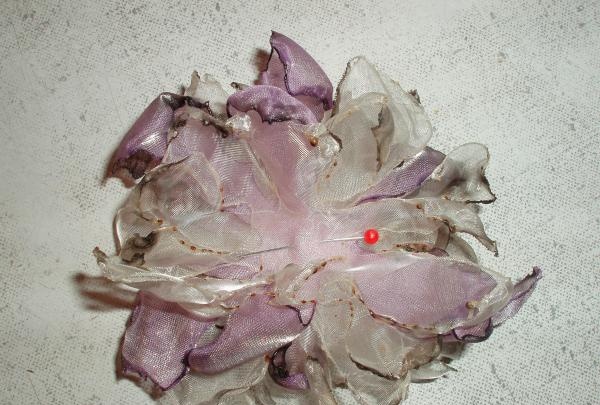
Then we cut out the paper pattern. We fold the organza into 4 layers and, placing the pattern on top, pin everything together using pins. Now roughly cut out the flower along the contour. Organza is a difficult material, its layers slide and shift all the time, but this should not upset you at all at this stage. Anyway, the final shape of the flower is given not by scissors, but by the light of a candle. Therefore, if your petals are uneven, crooked and unequal, this will only make the flower look more alive and natural. In each blank, we cut the petals towards the middle, leaving an uncut area right in the middle with a diameter of about 1 cm. In total, you need to cut 8-12 blanks from the fabric.
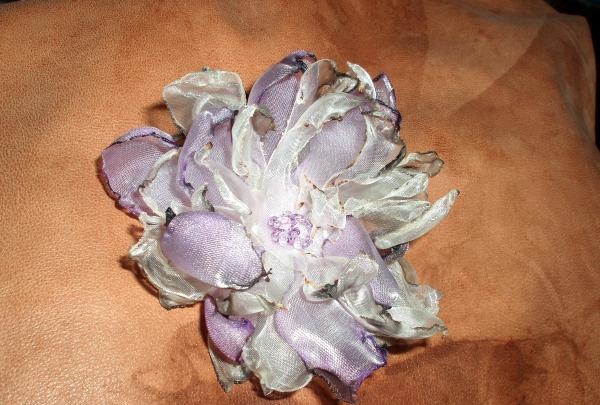
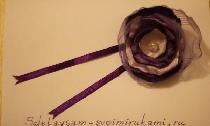
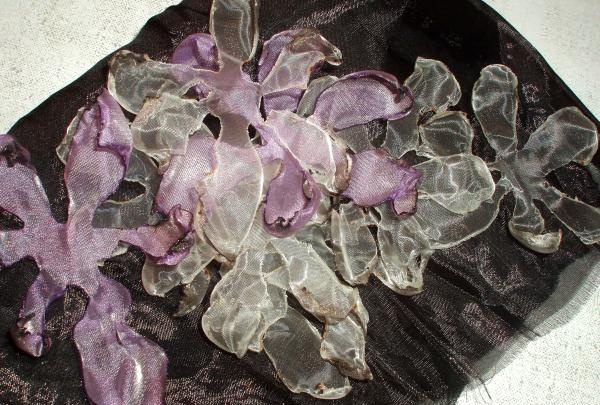
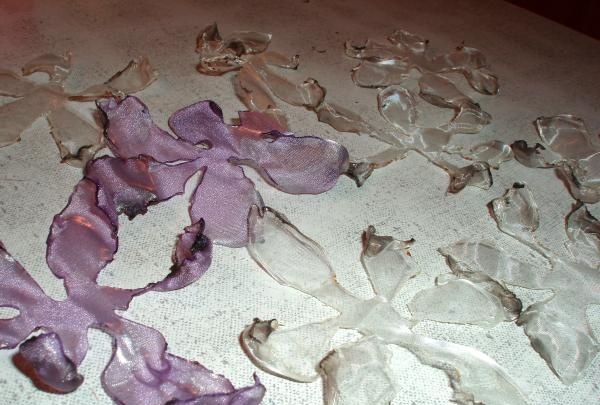
Now let's begin the most exciting stage of making a flower. Light a candle and begin to carefully work on the edges of each piece. We take one piece and singe its edges in the flame. Organza is a synthetic material, and simply bringing the edge of the flower to a distance of 2-3 cm from the side of the flame is enough for the cut to melt. To make the form more alive, you need to bring it not only to the side of the flame, but also above it.The secret is that when you hold the cut above the flame 5-6 cm above the candle, it not only melts, but also bends beautifully, acquiring fancy wavy curves of the edges. Here you need to be very careful not to singe your fingers and not to burn, or rather, not to melt the entire workpiece completely. The petals will be unequal, with different curves and different lengths. This is fine. The melted edges, as a rule, turn out darker than the tone of the fabric, especially if the candle smokes during operation.

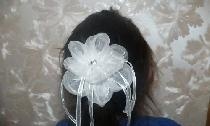
After all the pieces have been worked out, we begin assembling the flower.
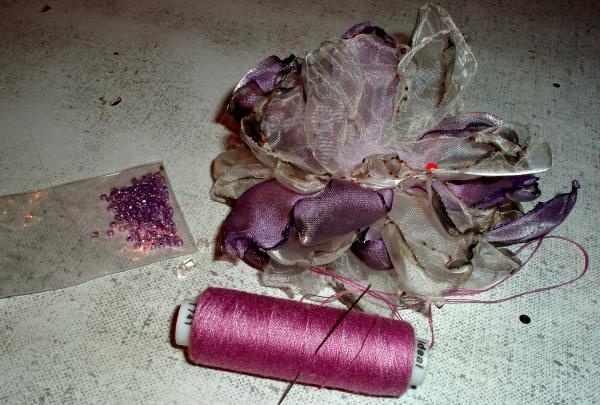
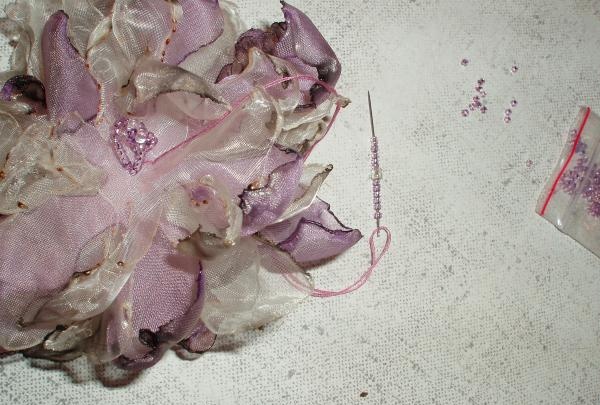

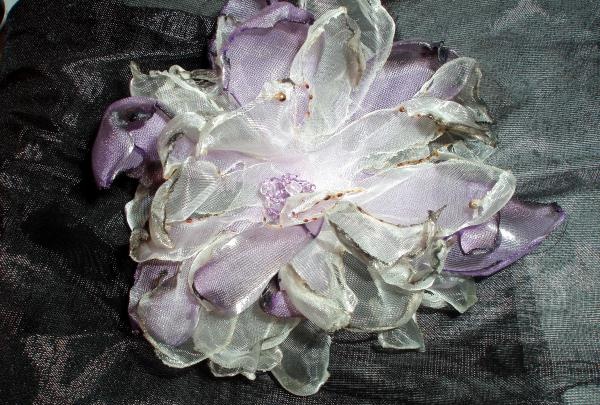
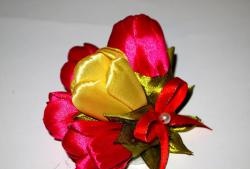
We assemble all the blanks together in the desired order and secure the middle with a pin. We thread the needle with a thread that matches the beads. First, we firmly fasten all layers of organza with a few stitches and secure the thread on the wrong side. Then we bring the thread to the front side again and sew beads on top of the stitches. You can not just sew on beads and pearls, but string them in the form of stamens, loops, etc., as your experience and imagination tell you. At the end, bring the thread back to the other side and fasten again. Your little textile masterpiece is ready!