To complete the postcard you need to prepare:
1. A4 cardboard in rich green color;
2. Designer green cardboard with any pattern;
3. Glue, scissors, pencil, quilling tool, tweezers;
4. Quilling paper - red, black, white.
We bend the green A4 cardboard in half, gently pressing it on the bend. This will be the basis for the card.
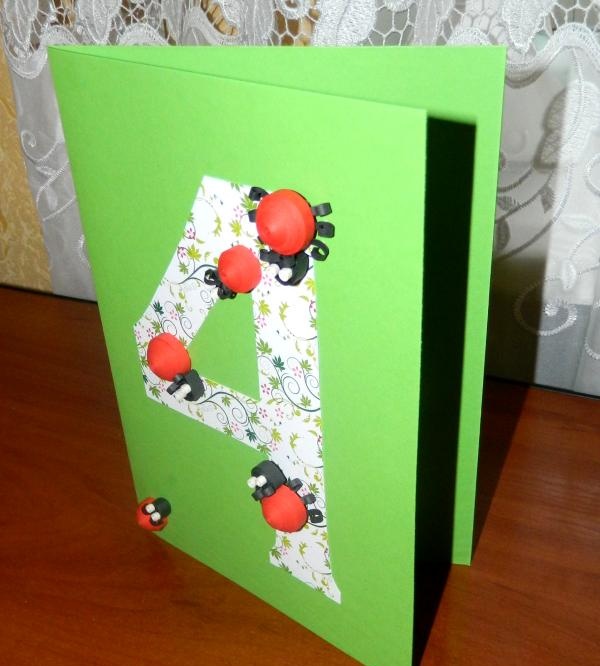
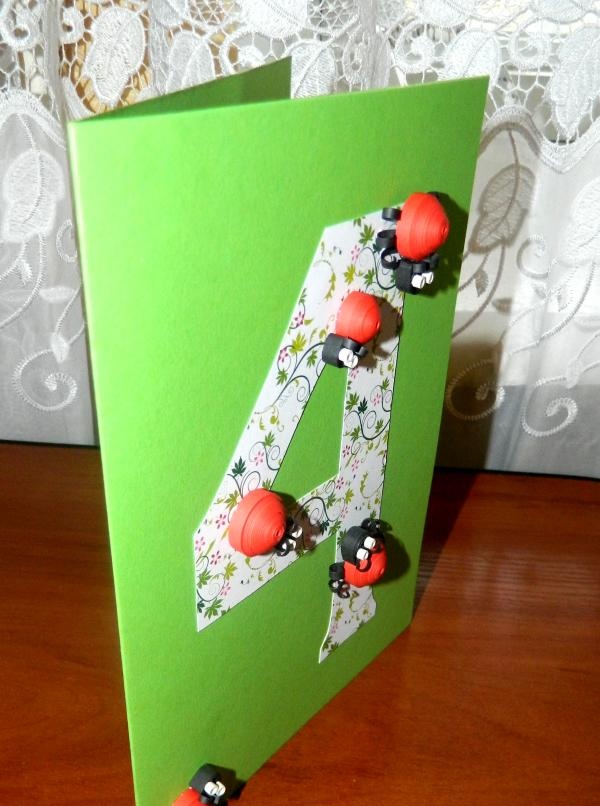
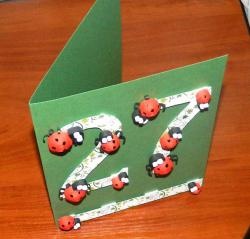
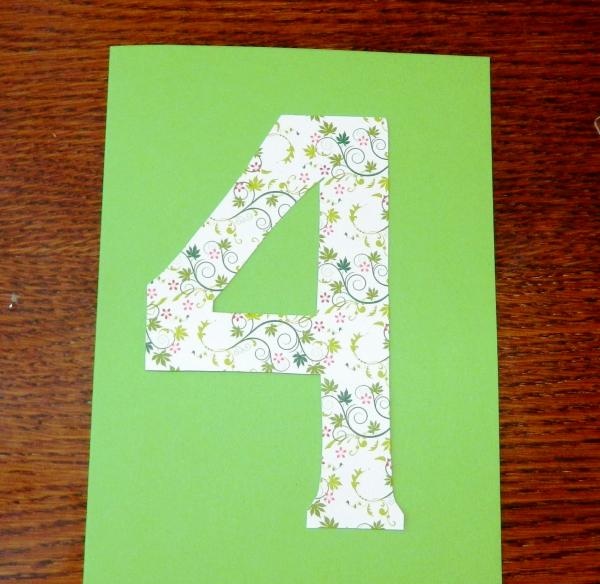
You need to cut out the number 4 from designer cardboard. To do this, on the back side of the cardboard you need to draw the outlines of the number “inside out” with a simple pencil, so that when cutting out on a colored area, you get the number 4. Then carefully cut out the element and attach it to the green base using glue.
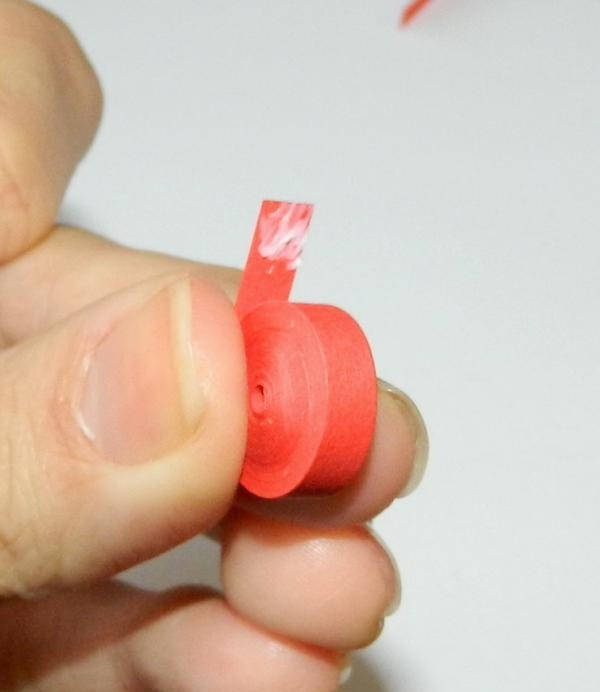
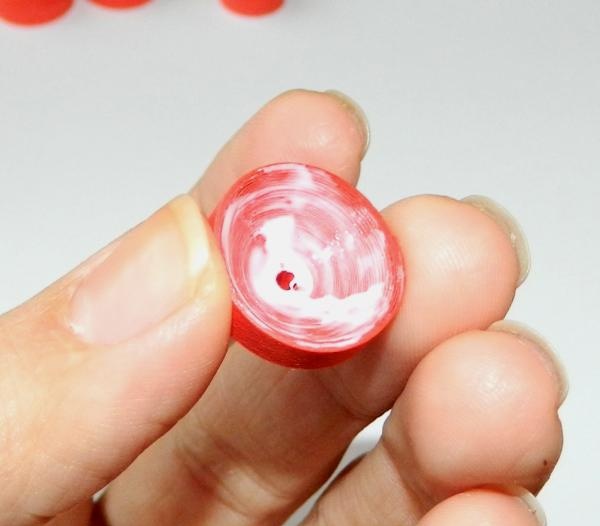
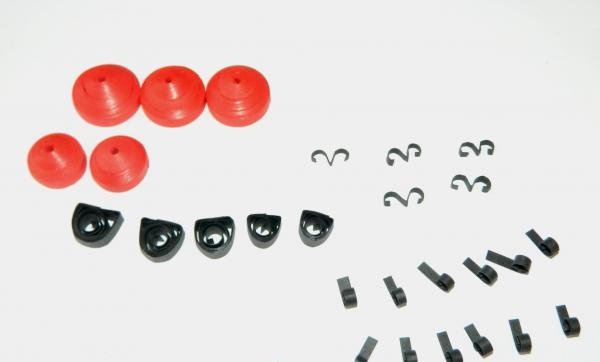
Take red quilling paper, connect two 40 cm long strips with glue. Form a tight roll with a quilling tool.
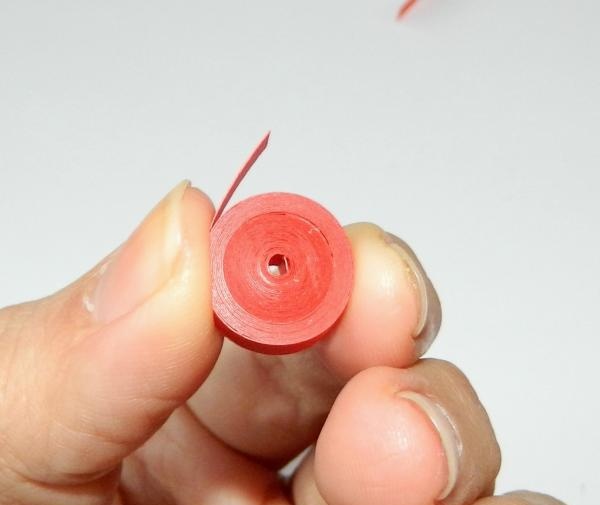
Apply glue to the edge and secure it.
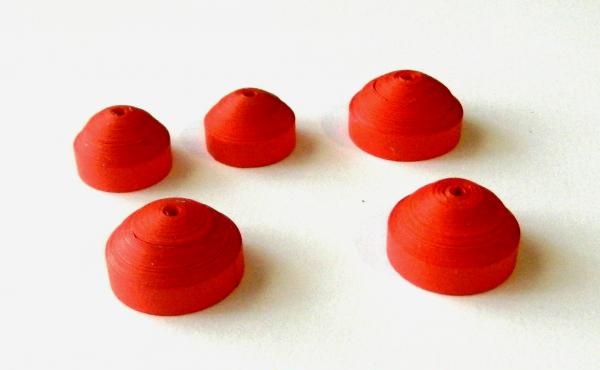
Give the resulting roll a semicircular shape, gently pressing it with your finger on one side. This creates a “shell” for the ladybug. We fix the element by lubricating the inside with glue.
There should be two elements of a smaller size (out of two strips), and three elements of a larger size (out of three stripes).
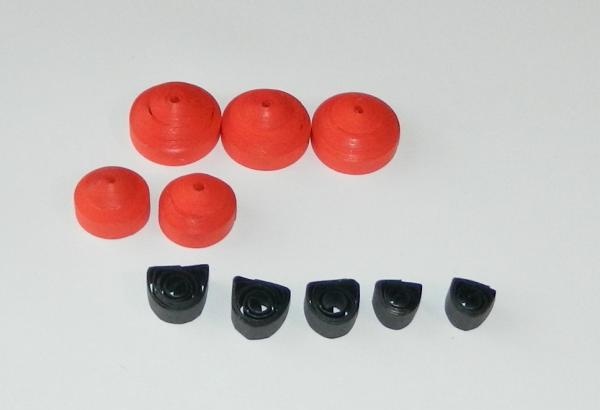
We take black quilling paper no more than 15 cm long and use a tool to form a roll.
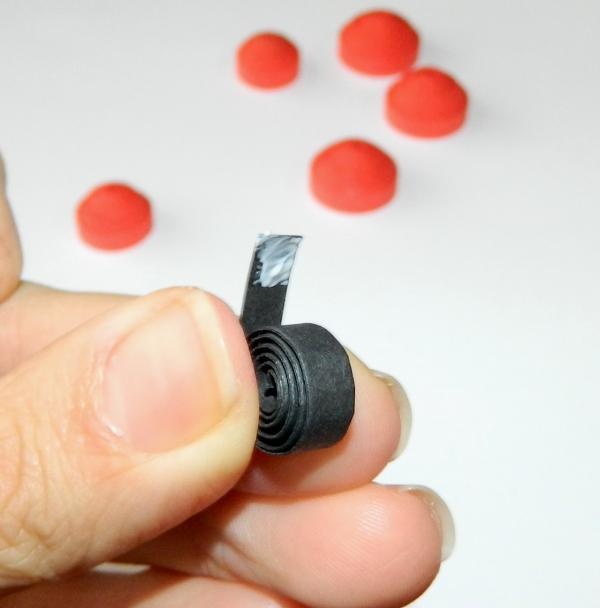
Give it a semicircular shape, as in the photo. This will be the ladybug's head.
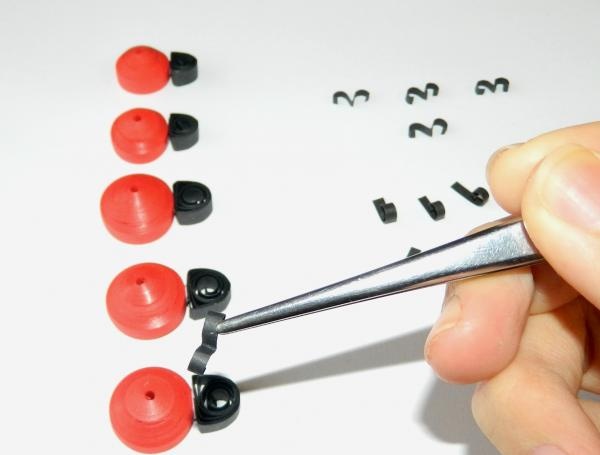
Cut a strip of black quilling paper lengthwise into two equal strips. We measure 2.5 cm and cut into 5 segments, bend each of them in half, then twist the edges with a quilling tool. This creates the “antennae” of a ladybug.
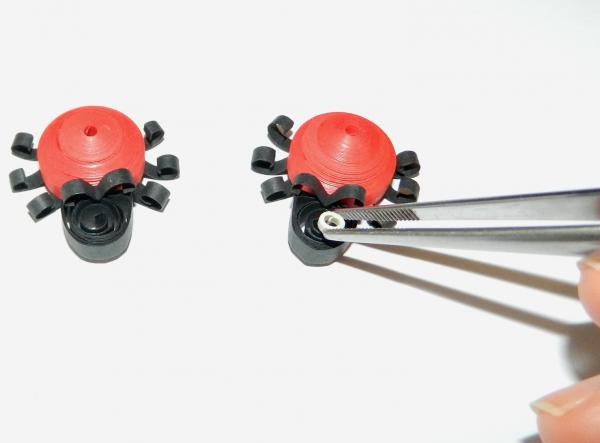
In the same way we make “legs” that are twisted only on one side. There should be 10 such elements.
Now we connect the body and head of each ladybug with glue. We attach the “antennae” to the ladybugs. It is better to do this with tweezers, since the elements are quite miniature and it will be difficult to do this with your hands.
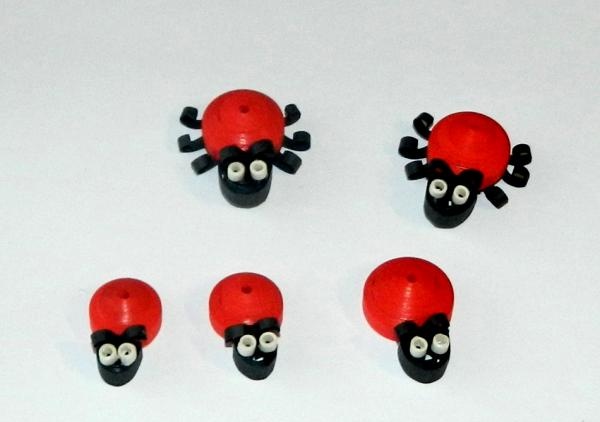
Five ladybugs are almost ready.
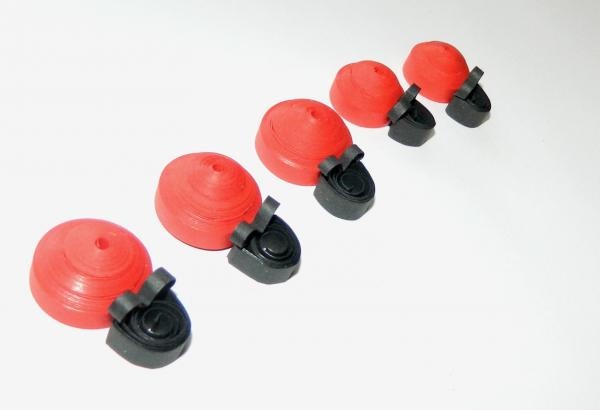
Now we attach legs to two of them, of which each should have six.
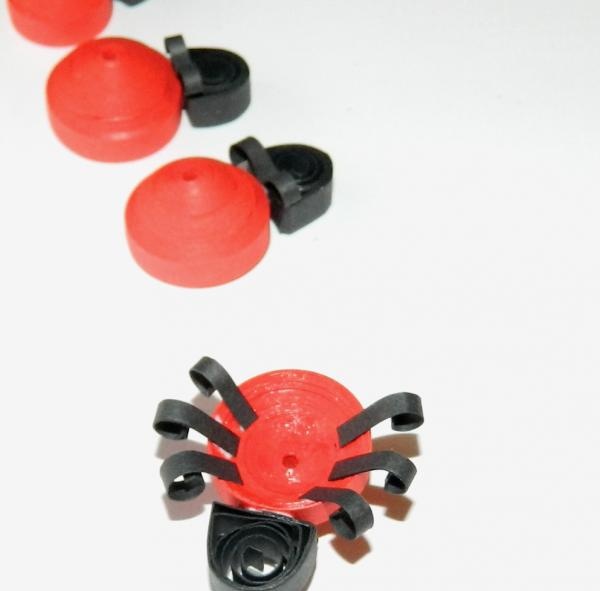
We cut the white quilling paper lengthwise, cut off pieces 3 cm long. We carefully form rolls from each piece with a quilling tool. These will be the ladybugs' eyes. We attach the eyes of each ladybug with glue.
Ladybugs are ready.
Using glue, we attach the resulting elements to the base of the postcard. You can place them randomly at your discretion on the number or area of the very base of the postcard.
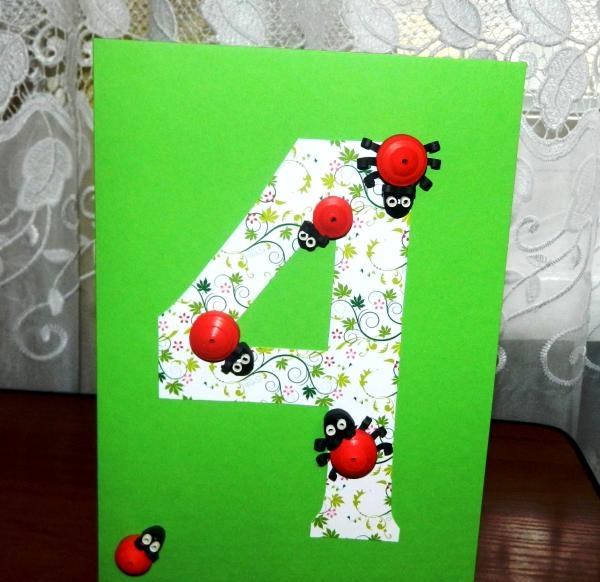
Your original, bright, colorful DIY postcard is ready!