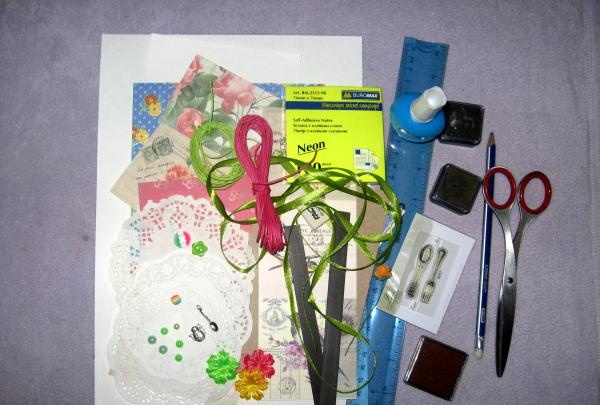
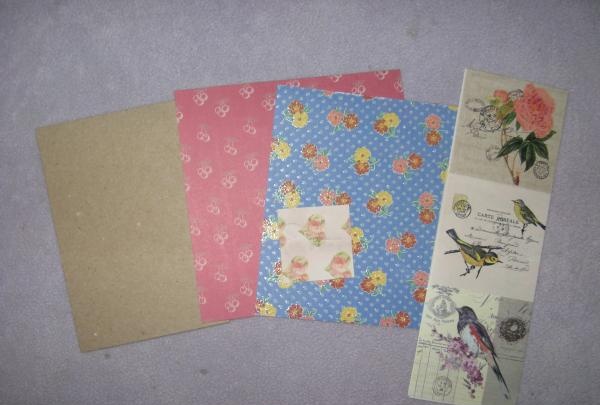
We take the following for the organizer:
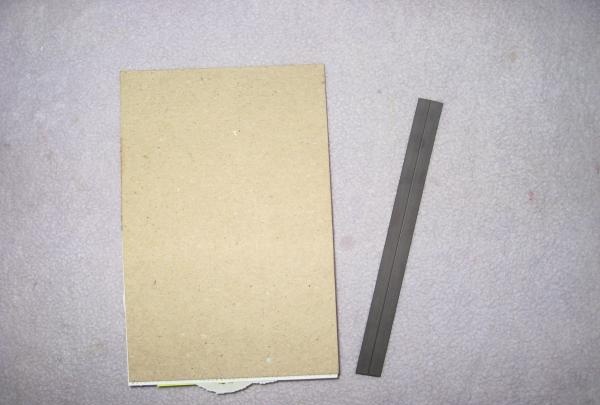
• A blank made of binding cardboard measuring 10*15 cm;
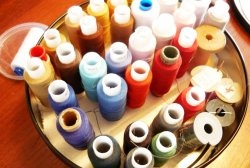
• Scrappaper with glitter size 15*15 cm, one sheet;
• Color picture on cardboard measuring 7.3*7.3 cm;
• Papers on adhesive tape;
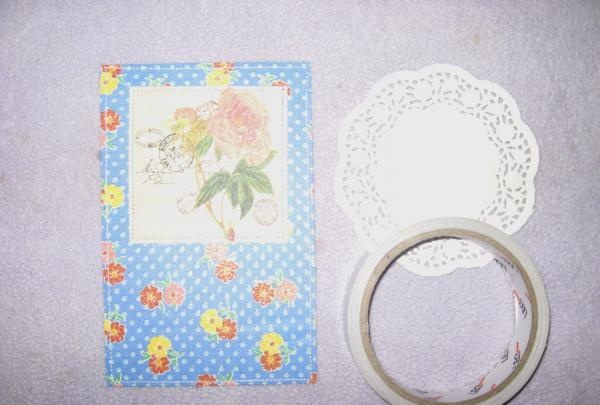
• White paper napkin;
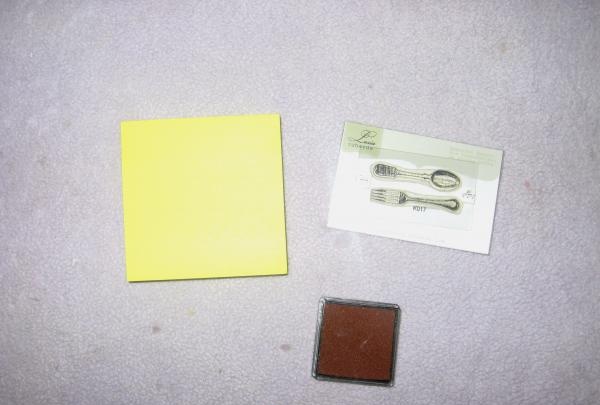
• Kitchen acrylic stamp “Spoon and Fork”;
• Brown ink;
• Rep lettuce ribbon 0.5 cm wide;
• Metal pendant teapot;
• Light green narrow satin ribbon;
• Magnetic tape;
• Bright flower;
• Waxed raspberry cord;
• Half beads and multi-colored cabochon;
• Double-sided tape;
• PVA glue;
• Pencil, ruler, scissors;
• Glue gun and machine.
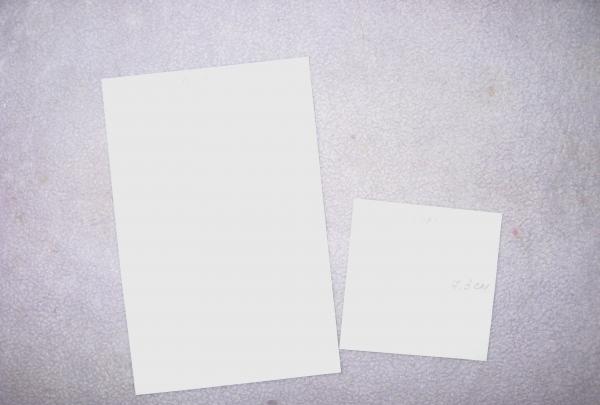
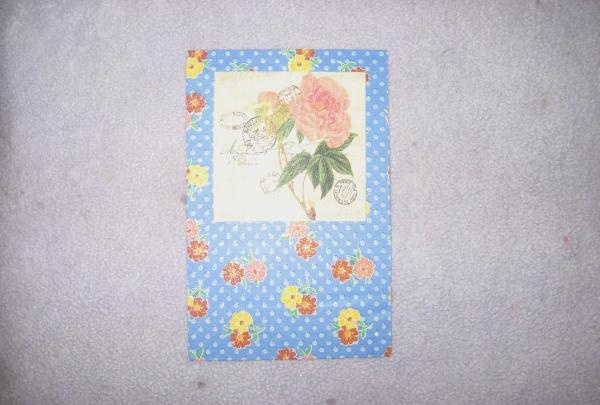
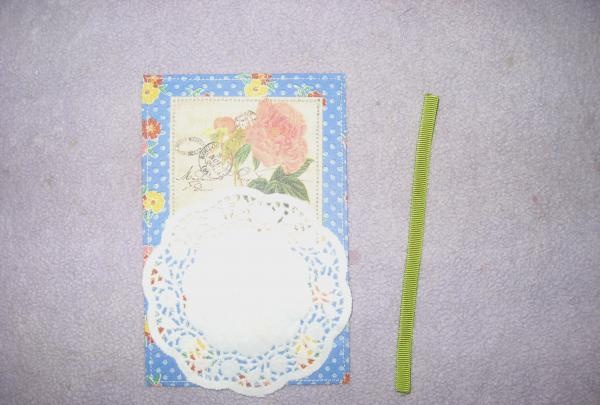
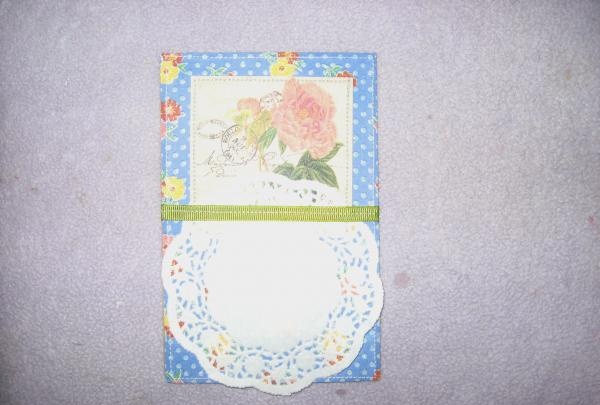
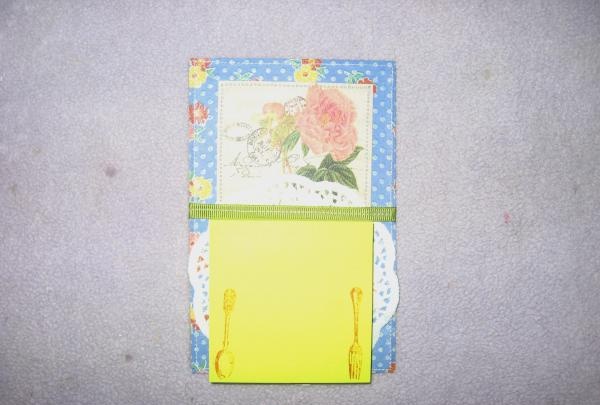
Let's make the base first. We take binding cardboard, paper and a picture.
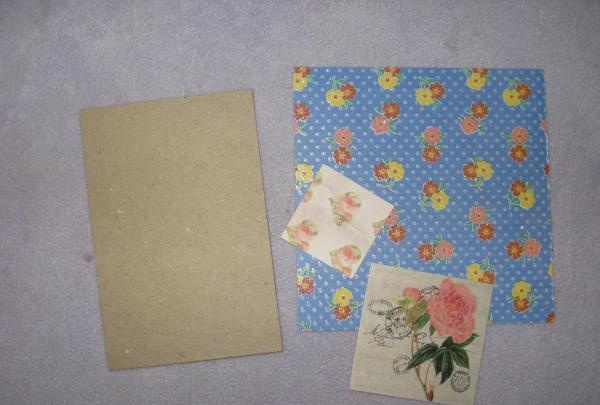
From scrap paper we measure a rectangle the size of bookbinding cardboard 10*15 cm, cut out a picture 7.3*7.3 cm.
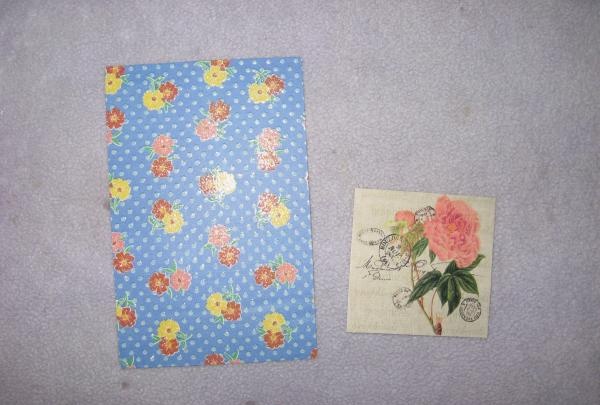
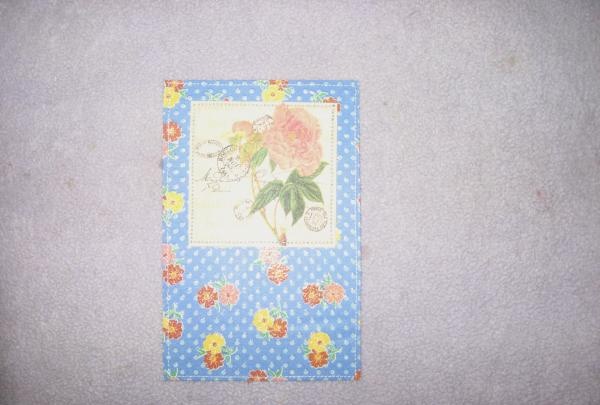
We glue the picture with a strip of tape onto scrap paper and sew it along the edge with a machine. Then we sew the paper itself along the edge.
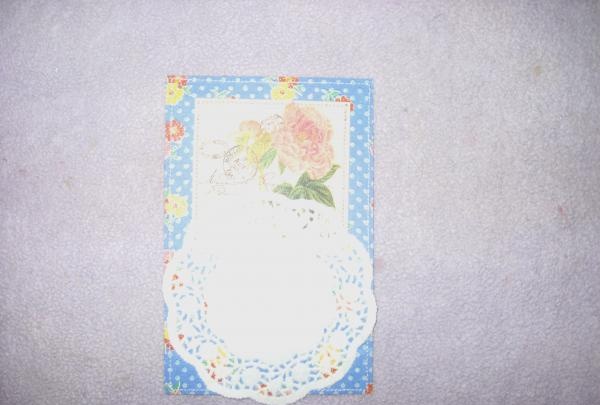
We tape a paper napkin to the bottom.
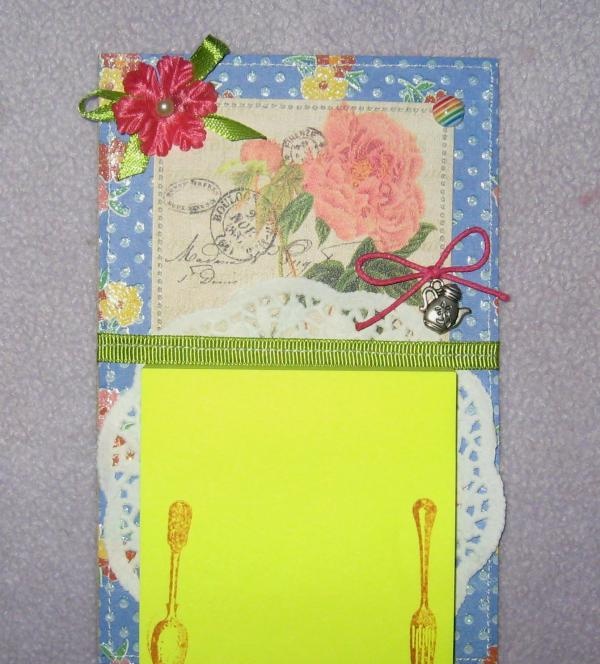
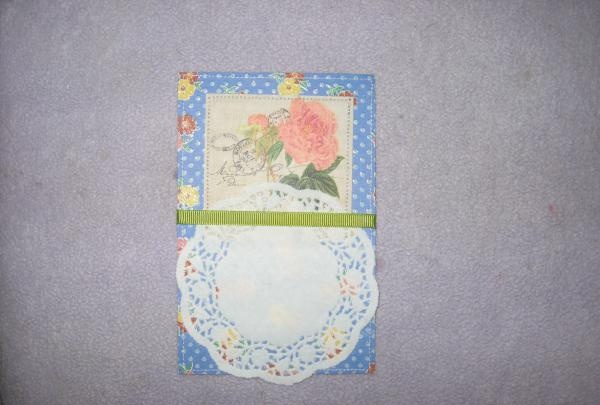
We apply a grosgrain ribbon approximately in the center, wrap it, secure it with tape and sew it on a machine.
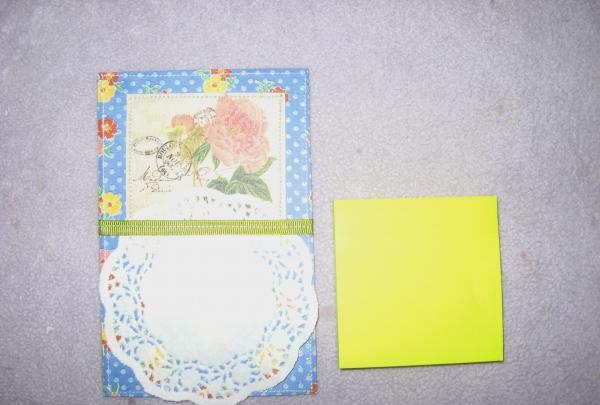
We will now glue this blank onto cardboard.
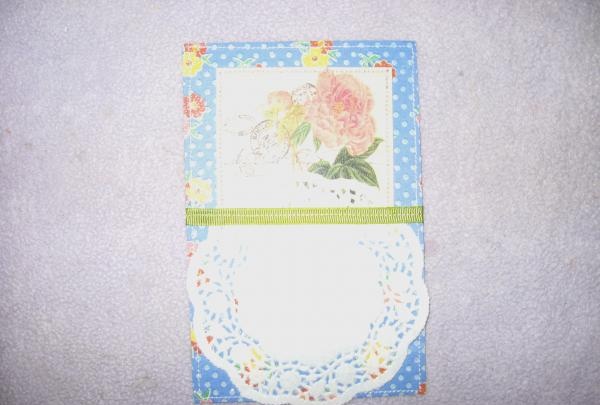

We glue strips of double-sided tape in the center, and spread them well around the edges with PVA glue.

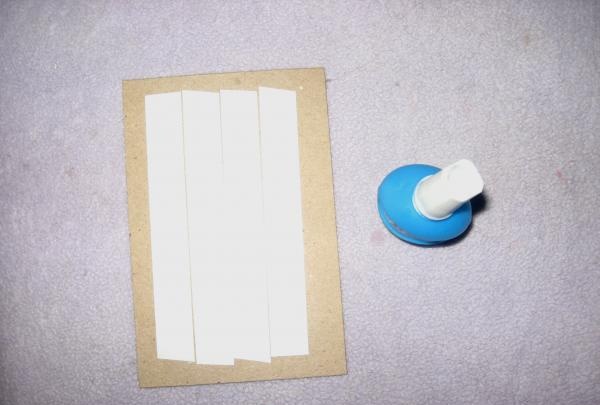
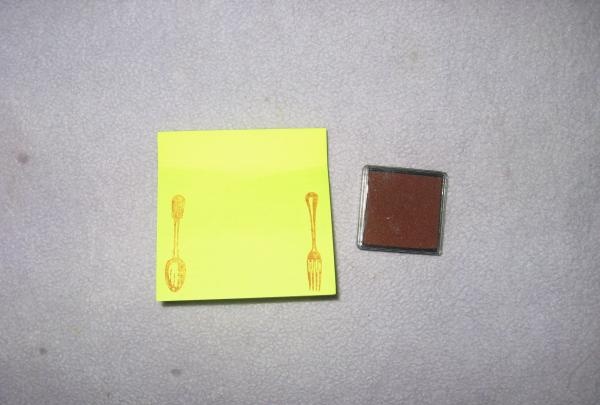
We take an acrylic stamp and make imprints with brown ink on one side of a fork, on the other side of a spoon. So we print the required number of sheets.
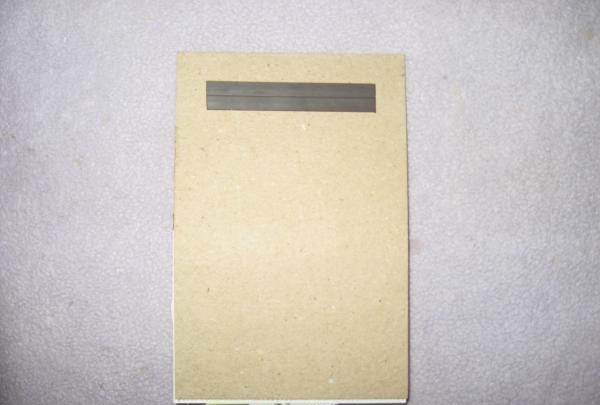
We glue the pieces of paper onto a napkin, having previously smeared the very bottom part of them with a glue gun. Turn the cardboard over and apply the desired strip of magnetic tape and cut it off.
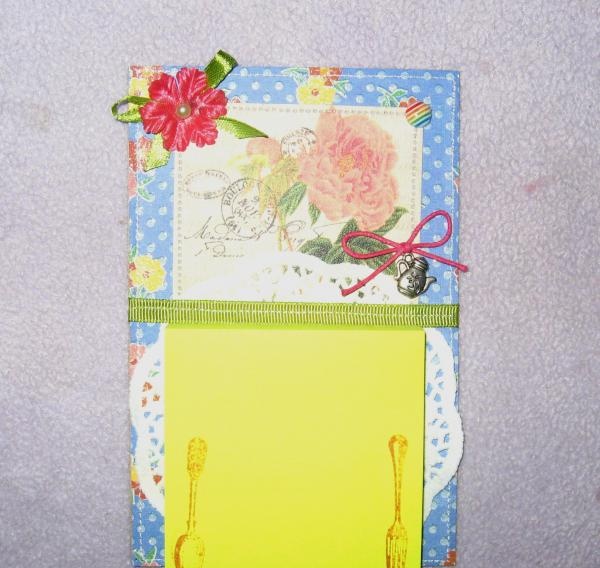
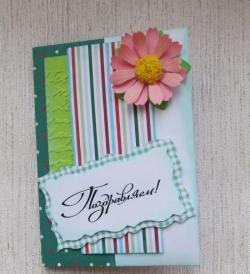
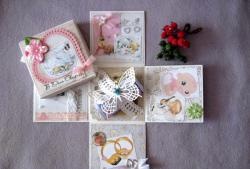
We glue the strip using a heated gun. Press well so that the glue is firmly fixed and holds the entire organizer. You need to select a good quality magnetic tape, since together with the pieces of paper the organizer turns out to be quite weighty, and you will need to fix it on the refrigerator. Let's cook now decor: We tie bows from waxed cord and satin ribbon. First we glue a satin bow in the upper left corner, then a flower and a half-bead, in the corner of the picture we glue a cabochon, and above the notes we glue a waxed bow and a teapot pendant.
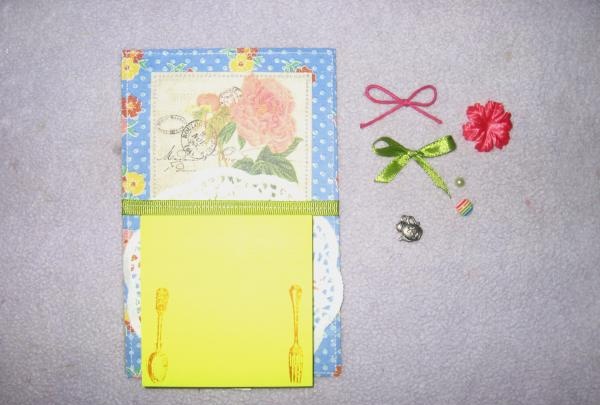
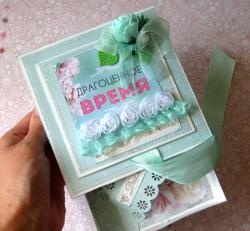
All is ready. This is how the original kitchen helper turned out. Any little thing will not pass by, you can always write it down. Also makes a good gift. Thank you all for your attention and have fun creating!