To make the “Ladybug” hairpin you need to prepare:
- scissors.
- satin ribbons in two shades: black and red.
- glue gun.
- black half beads.
- hairclip.
- thread and needle for handicrafts.
- a lighter.
Sequence of making hairpins.
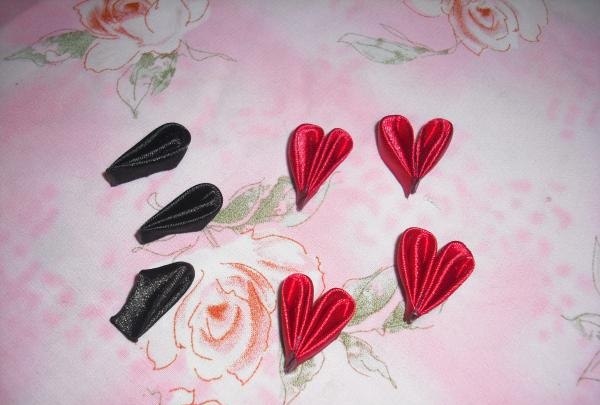
Two shades of satin ribbons must be cut into identical square pieces, the sides of which must be equal to 5 cm.
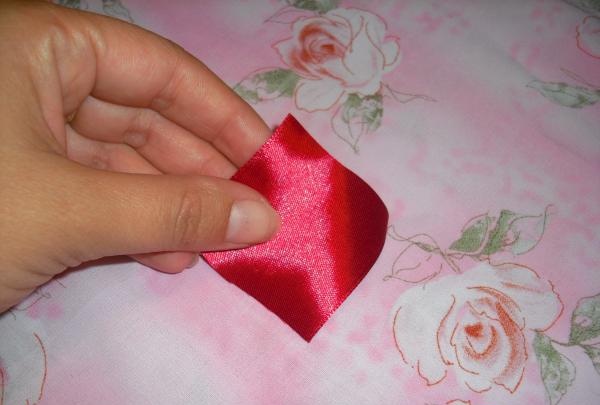
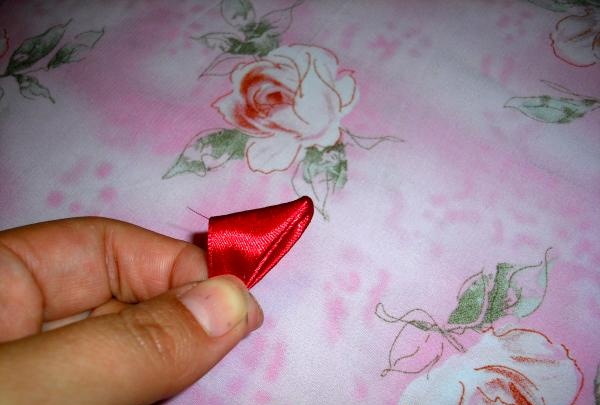
Then they need to be folded in half to form triangles.
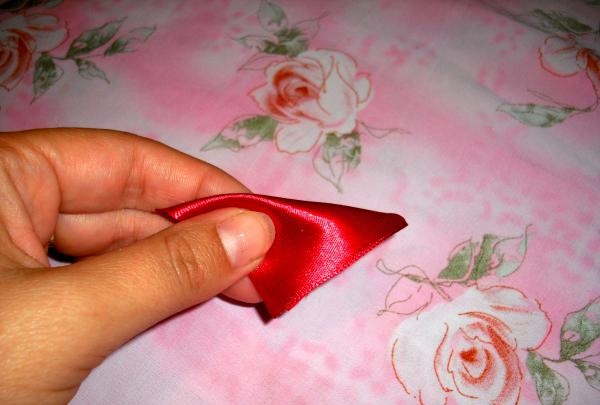
Now you need to wrap the right corners to the middle of the parts and hold them in this position.
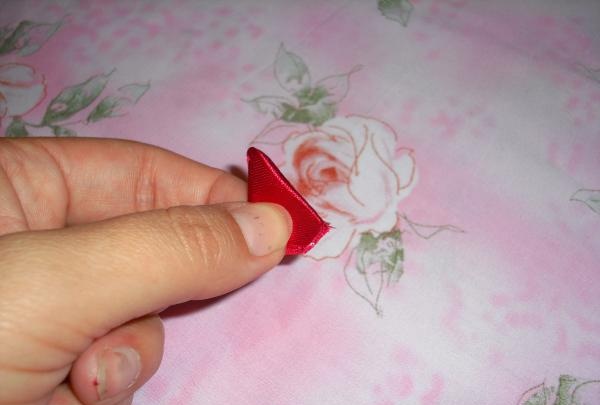
Then repeat the action, but this time from the left edges.
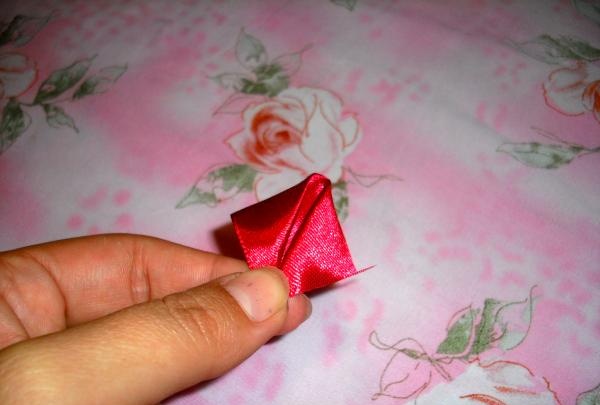
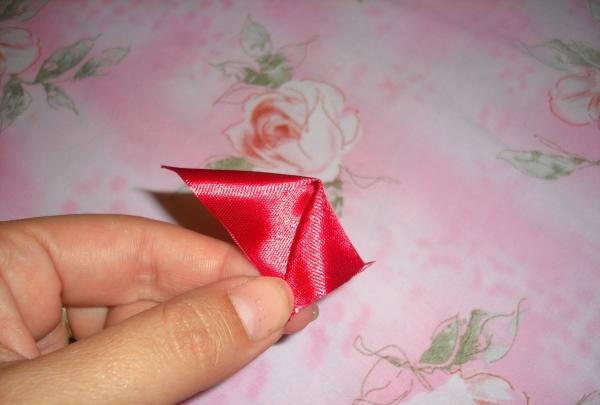
Two fold lines are gathered in the center of the workpiece. Along these folds, each piece should be folded in half.
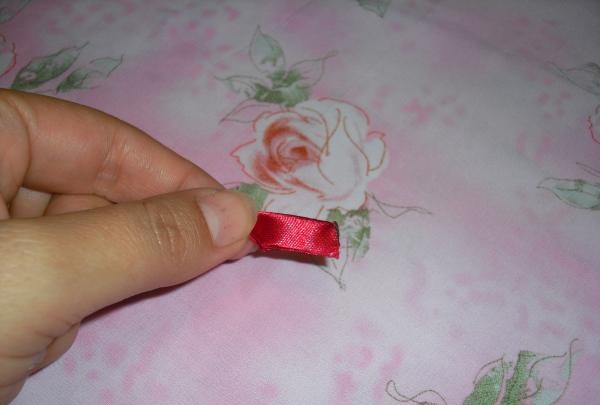
Now the thin and slightly uneven corners need to be trimmed.
Having scorched the created sections with the fire of a lighter, the remaining unprocessed edges of the parts must be aligned by cutting off all excess tape.
After this, it is necessary to singe the lower sections, but be sure to ensure that the edges of the ribbons are divided into two equal parts.
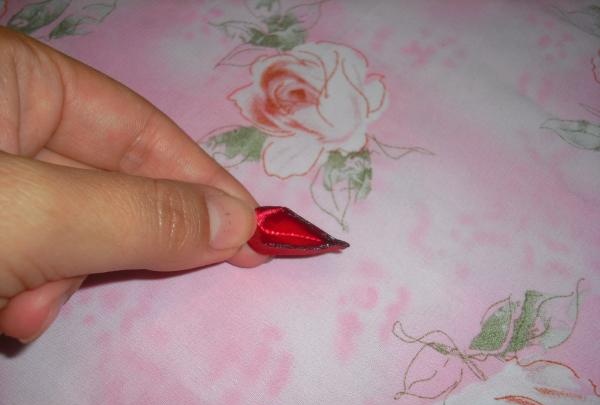
Now the parts are completely ready, all that remains is to turn them right side out.
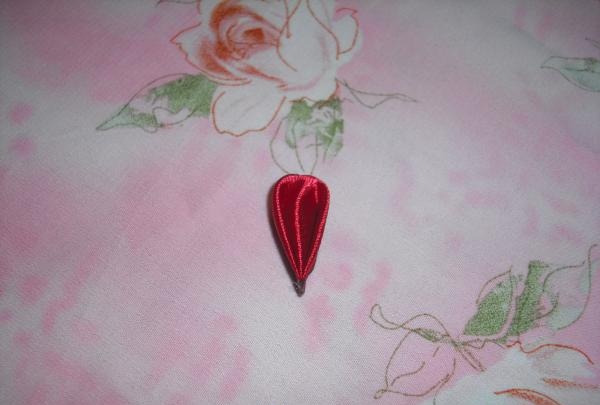
7 similar parts should be prepared in black and 26 in red.

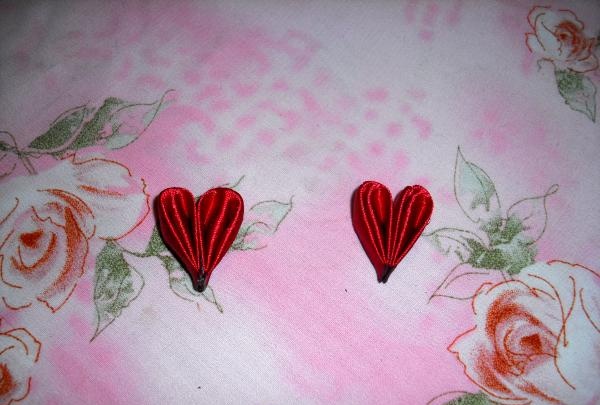
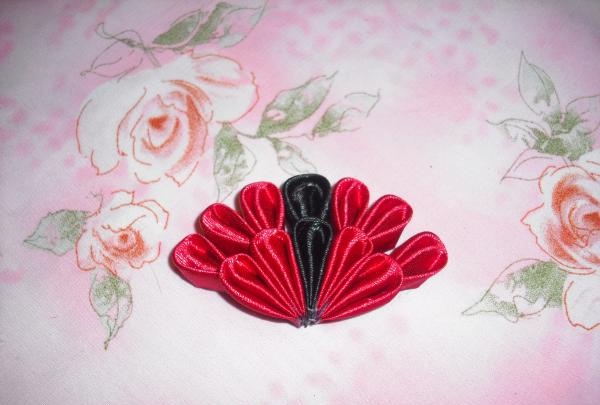
Now the 4 red parts need to be connected in pairs.
Then these double blanks should be glued to both sides of one black part.
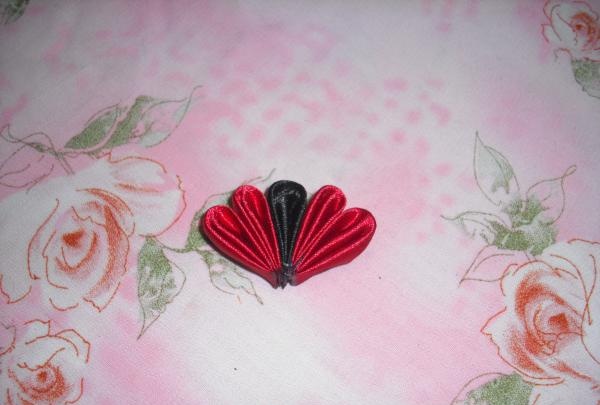
The first row of parts is ready. In the second, it is necessary to repeat the number of red and black parts and fasten them to the upper edges of the blanks of the previous row.
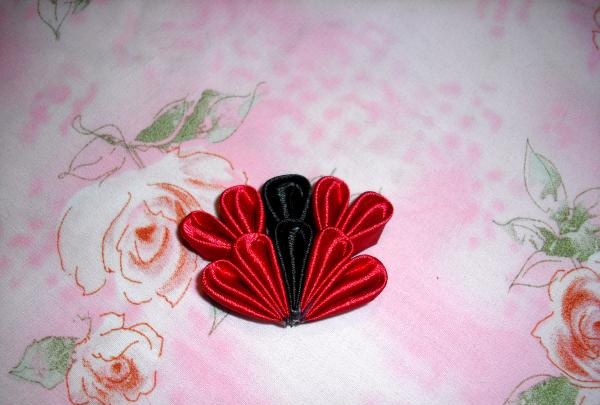
And at the edges all that remains is to add one more red blank. This will complete the second row.
For the next row you will need two black paired blanks and 4 paired red pieces.

After this, they should be attached to the top of the parts of the second row, making sure to match the colors.
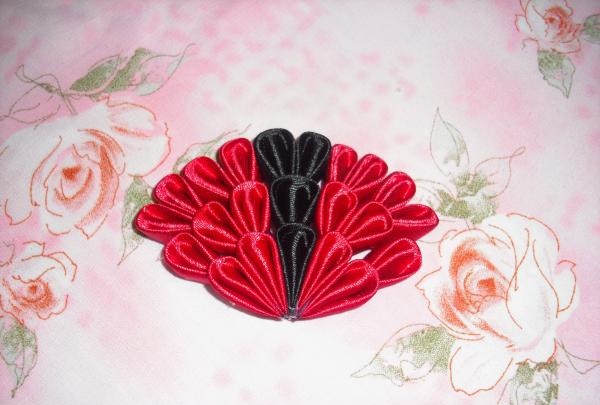
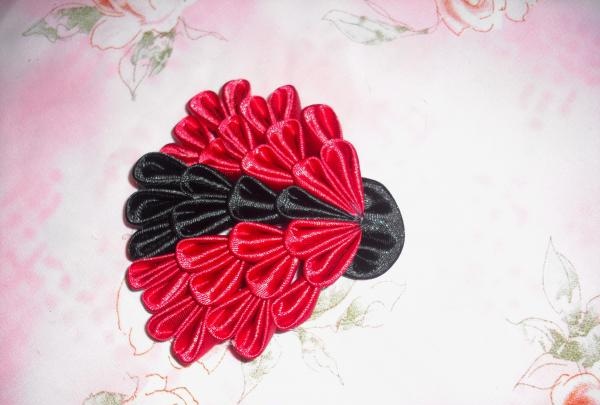
In the fourth row you will need the same number of red paired parts and three separate black pieces.
All prepared paired and single parts must be secured in accordance with the shades of the ribbons.
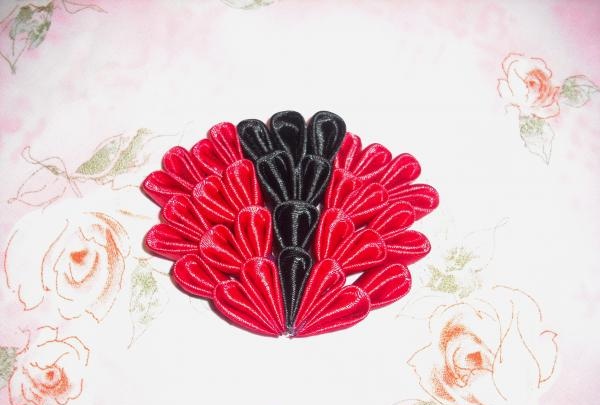
This body of the ladybug is ready, all that remains is to design the head. It is made from a square of black satin ribbon. It must be folded in half to give it a triangle shape.

Now the fold needs to be secured, to do this, using ordinary sewing threads to create small stitches, sew two layers of tape.
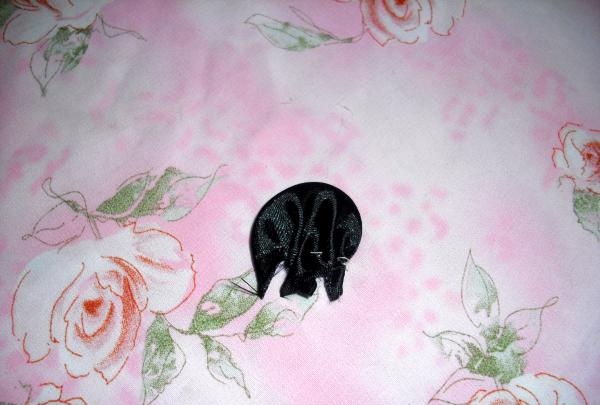
Then, without cutting the thread, gently pull the thread slightly, creating several folds. After this, having made several fastening loops, the thread can be cut.
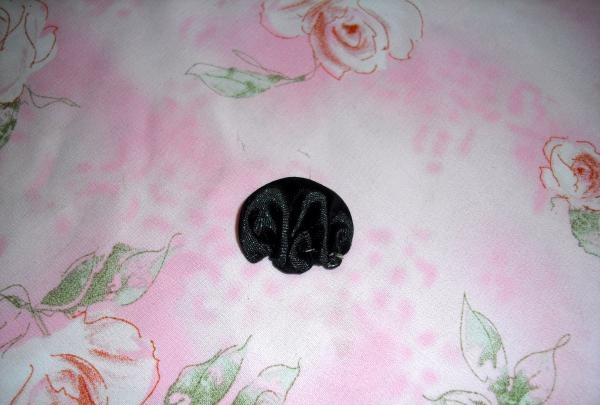
Now the sections must be carefully singed.
This turns out to be a head for decoration. It must be secured at the beginning of the first row of the ladybug body.
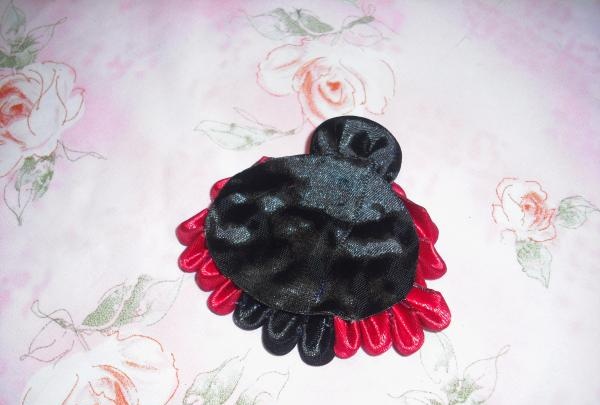
Next, you need to unfold the decoration with the bottom side and use two pieces of black tape to seal the places where all the parts are glued.
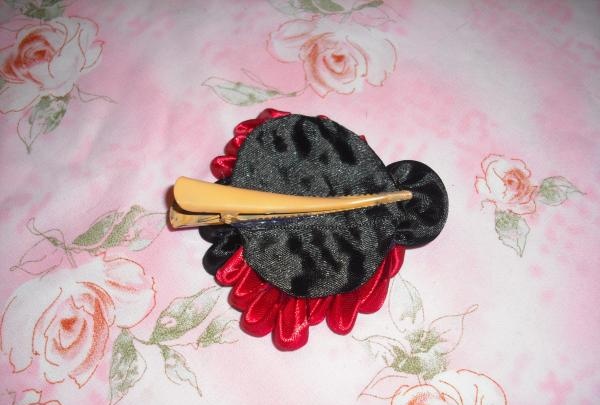
Then you need to secure the prepared hair clip in the middle of the ladybug.

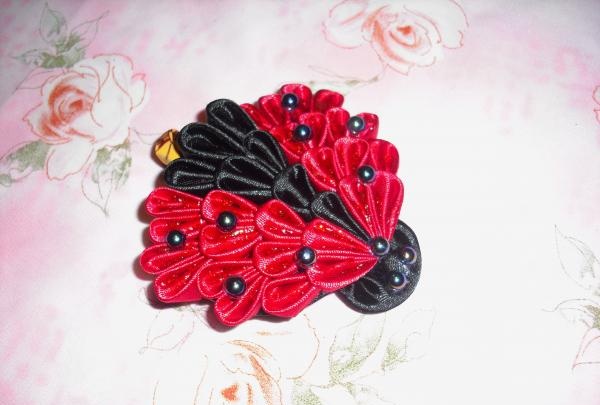
All that remains is to turn the part over and decorate it with half beads. You need to glue two beads onto the bug's head to replace the eyes. Glue 4 black half-beads onto each wing.
The “Ladybug” hairpin is ready!