To make this gum with chamomile you will need:
- a large light green hair elastic.
- scissors.
- satin ribbon in green and white shades.
- light brown beads.
- heat gun with spare rod.
- lighter.
- outline for yellow fabrics.
Sequence of making jewelry.
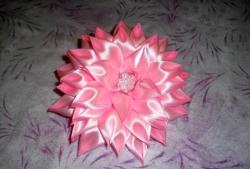
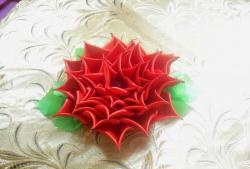
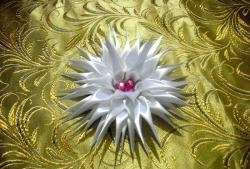
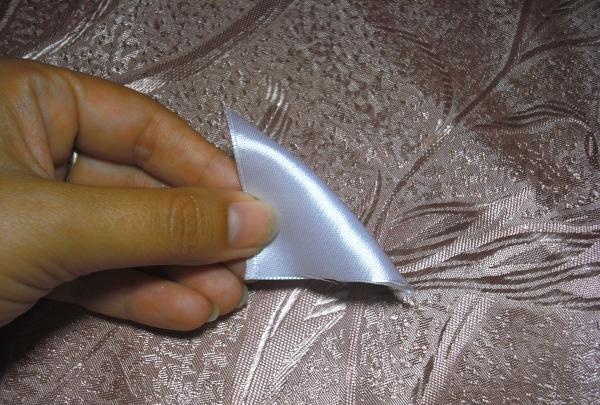
To begin, we cut strips 5 cm wide into equal square pieces. Their sides should be 5 cm each. You will need 12 such parts in white and 4 in green.
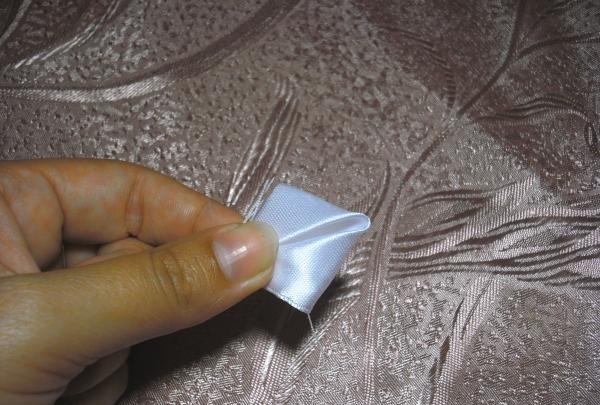
From the white parts we prepare the petals for the chamomile. To do this, we fold each white blank along its diagonal between two opposite corners, resulting in a triangle.
Now we unfold them with the long side up, for the convenience of further work.
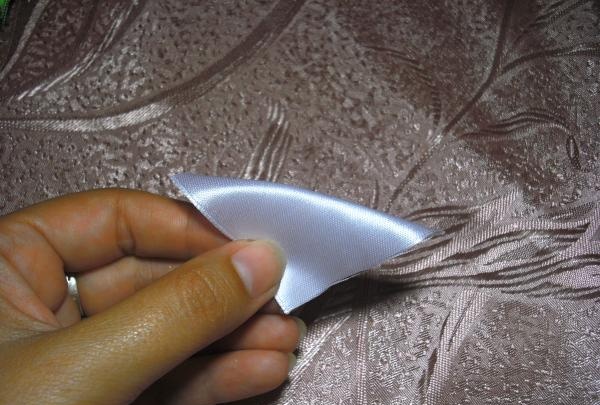
We take a sharp corner from the left edge and carefully bend it, directing it towards the center of the part, while simultaneously aligning the cuts.
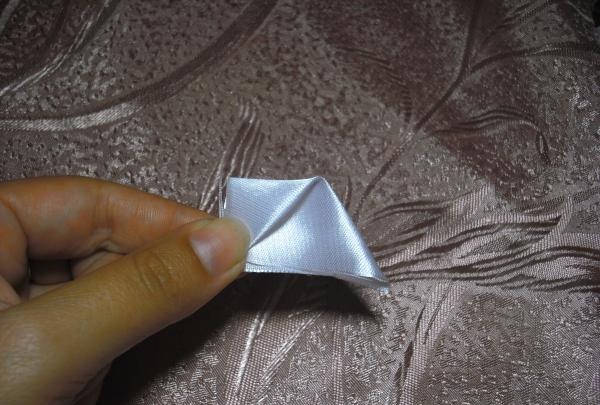
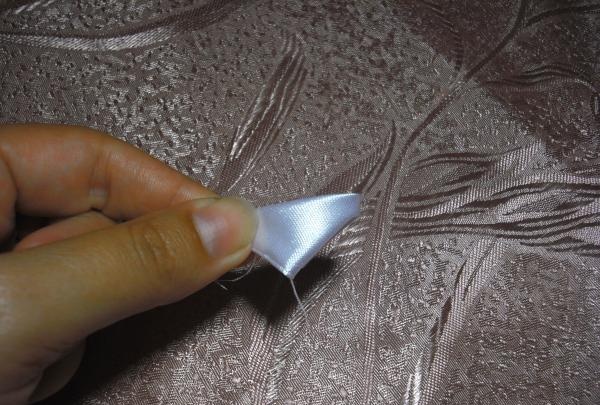
Then we repeat the action on the right side of the white parts.
In the middle of each part there were two fold lines. Now the blanks need to be folded in half along these pairs of lines.
On one side of the parts all the sharp corners are aligned, which we cut off and carefully scorch with fire.
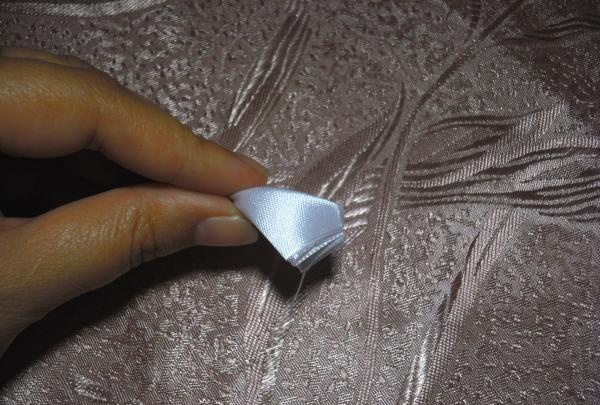
Next, we align the remaining raw cuts, cutting off their excess and singeing the edges.
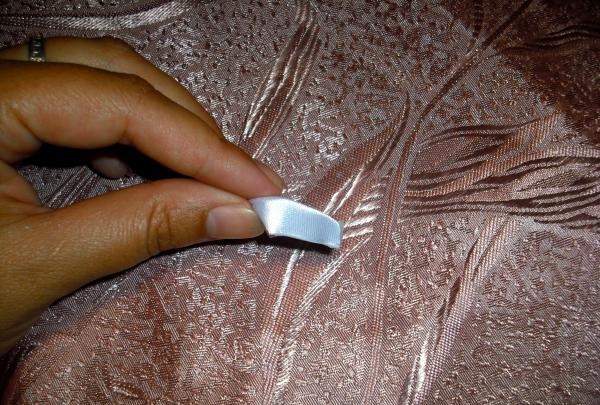
Carefully straighten the parts and get petals with a rounded edge.
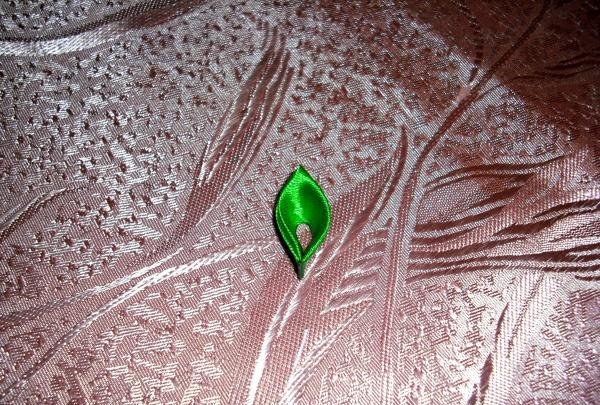
Let's start creating leaves for the chamomile. To do this, take green squares and bend them in half, forming a regular triangle.
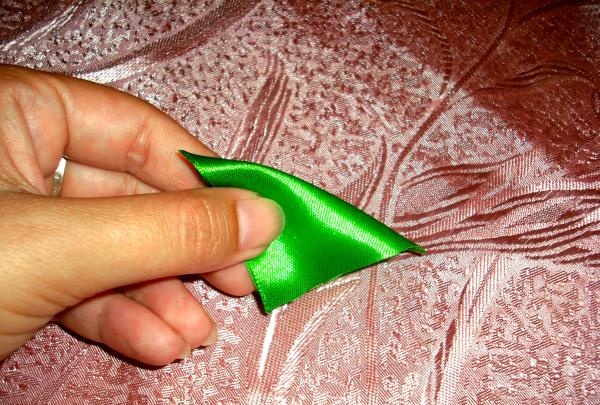
Then we fold each piece in half twice more, forming multi-layered triangular parts.
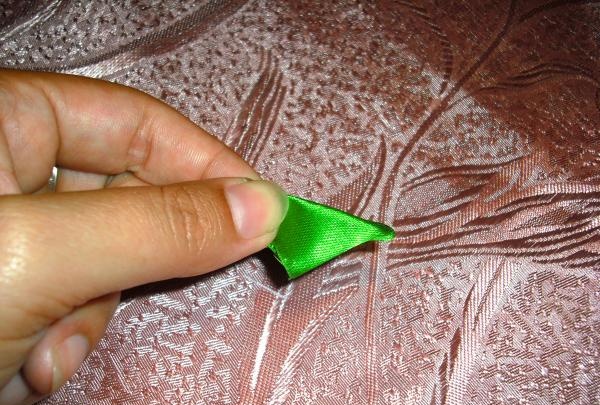
We cut off thin, uneven corners, immediately burning new cuts with fire.

We trim the excess length of the remaining sections, immediately singeing them, forming the length of the leaves.
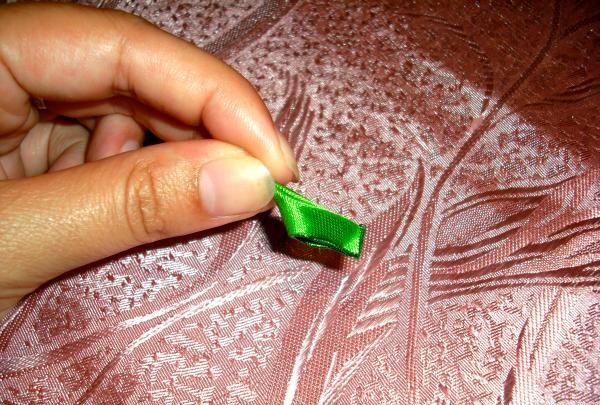
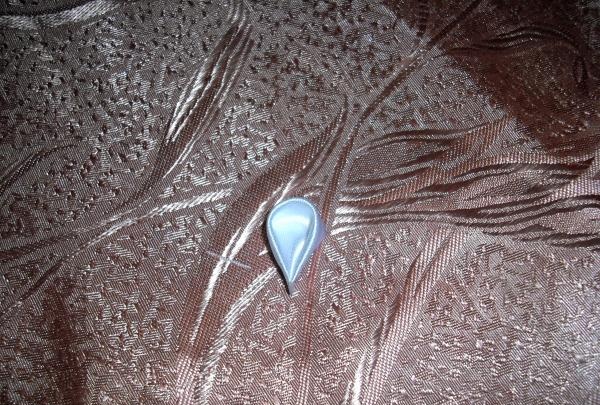
As a result of these actions, we get these green chamomile leaves.
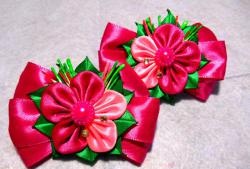
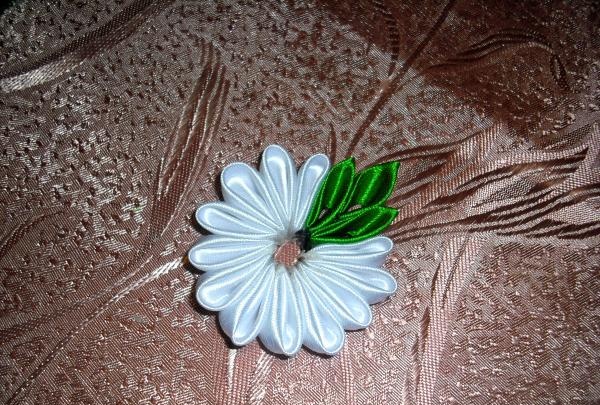
Now we assemble the flower and glue all the parts with hot glue. We collect all 12 white petals and three green leaves in a small circle.
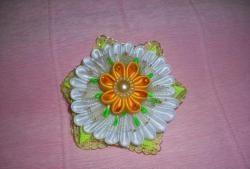
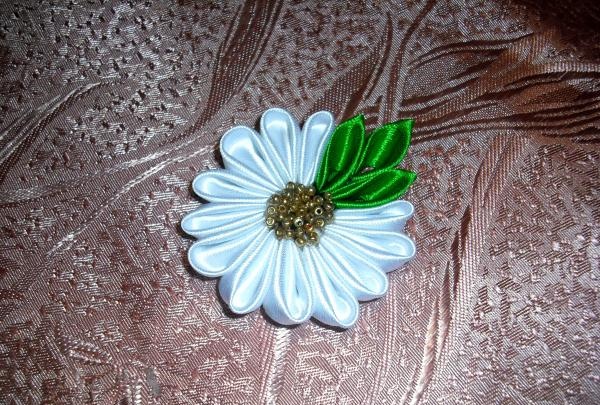
Carefully fill the resulting void in the middle with glue, trying not to stain the petals, and cover it with light brown beads.
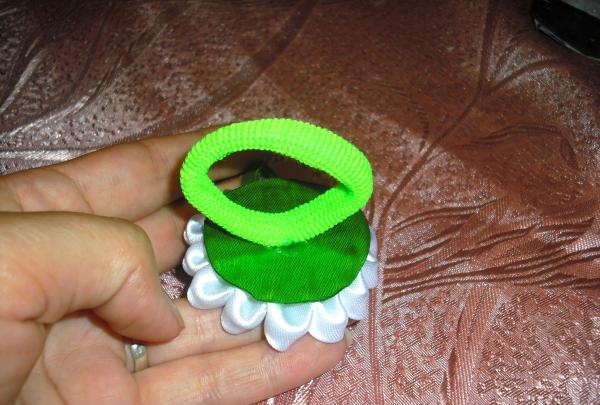
After waiting for the glue to dry, turn the chamomile over. From the remaining green square, cut out an even circle and burn the cut so that the fabric does not fray. Then we lubricate the part with glue and attach it to the bottom of the chamomile, simultaneously covering all the lower edges of the petals.
All that remains is to secure a hair tie in the center of the daisy.
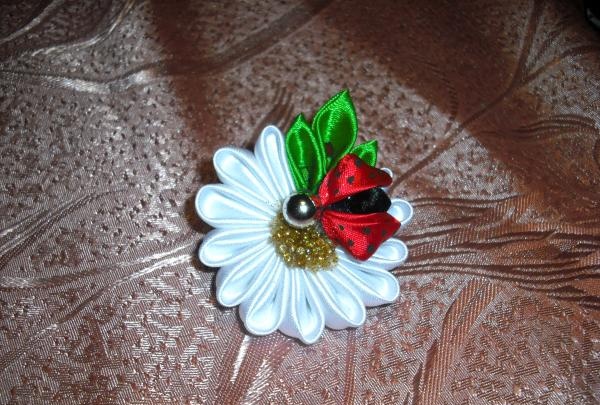
Using a contour with yellow sparkles, draw a straight line around the middle of the beaded daisy. We complement the flower with a small ladybug.
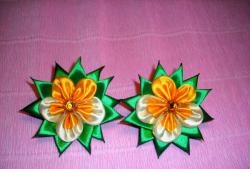
The decoration is ready!