You can easily find a replacement for expensive scrap paper from the store. Let's look at some interesting options for turning simple sheets of paper into colorful and interesting backgrounds for decorating postcards, albums, smashbooks and art books. And we will need the simplest materials that are on everyone’s table.
Option #1.
What do we need?
- Photograph or printed picture (preferably in light colors)
- A small piece of cardboard (6x6 cm will be enough)
- Black gel pen
- Scissors.
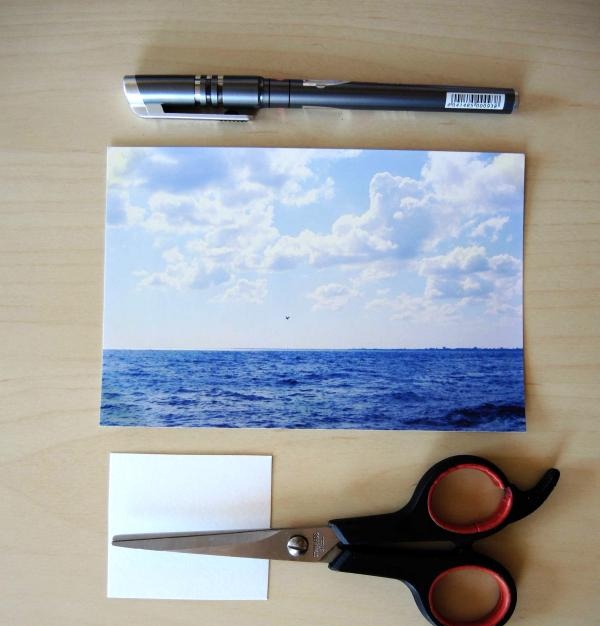
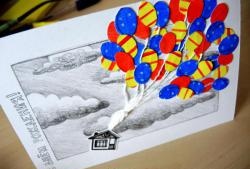
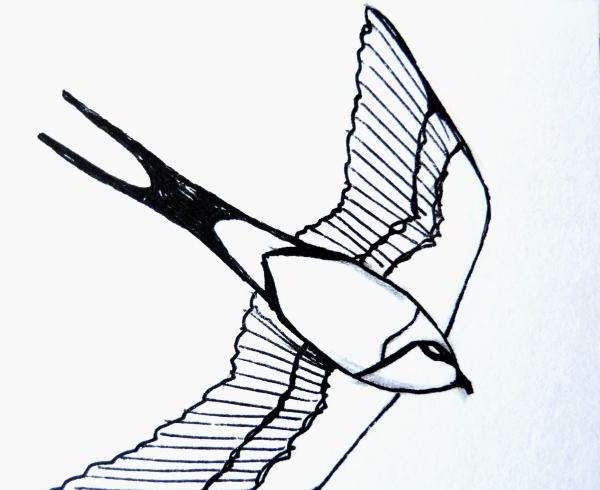
First of all, we'll make a template. Draw a seagull on a piece of cardboard. An alternative to this: print the picture below on a printer.
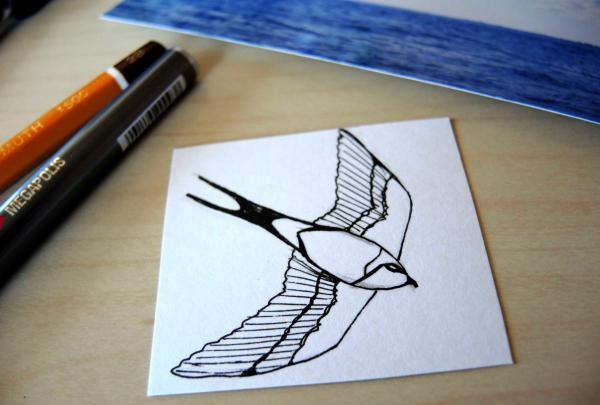
Cut out the drawn/printed bird.
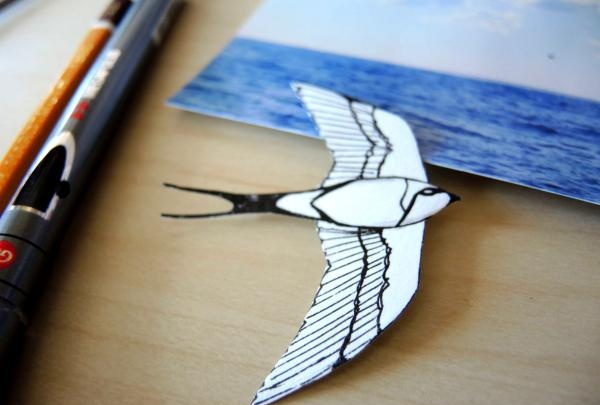
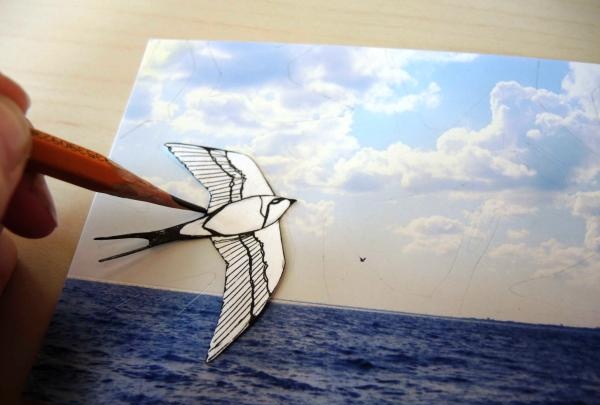
Then, attaching the template to the selected photo, we outline the silhouette of the bird with a pencil. Repeat this several times until the entire image is filled with seagulls. It's best to start with a pencil outline to mark out where the birds will be placed without accidentally placing them too far or too close.
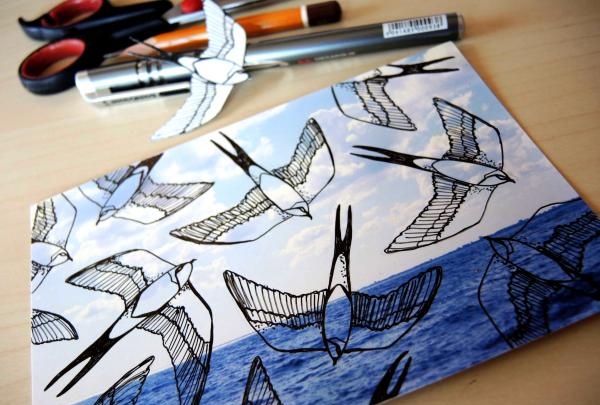
After this, we begin to draw each seagull with a gel pen.
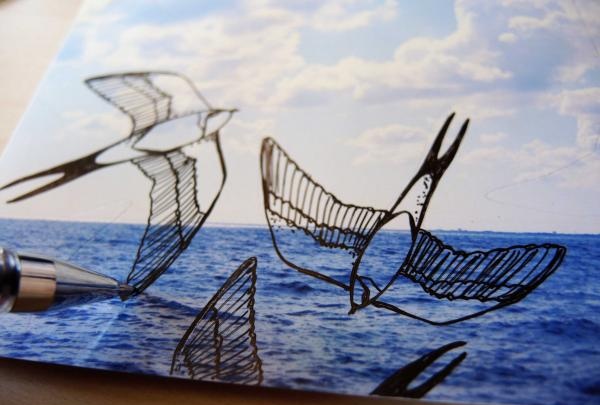
This is what ends up happening. Go ahead.
Option #2.
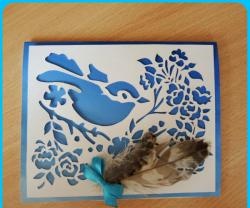
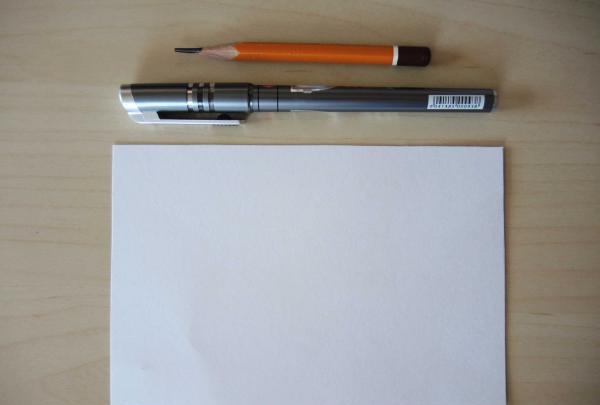
It’s even easier: you only need paper, a pencil and a black gel pen.
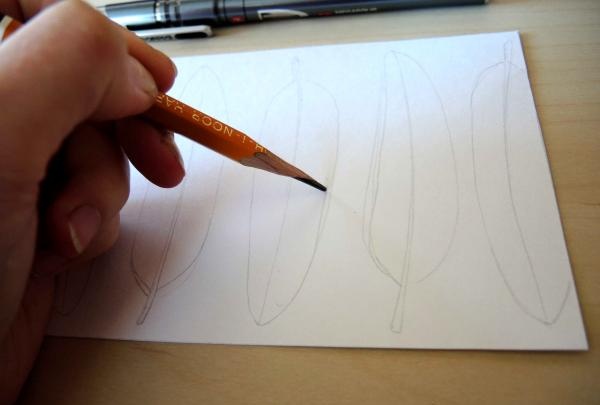
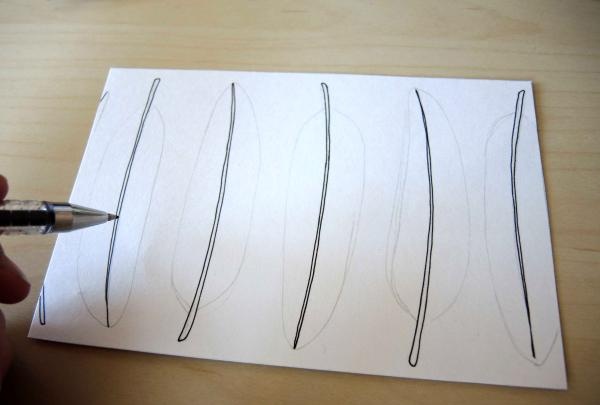
Using a simple pencil we draw feathers, as in the photo. Remember: these are just sketches, pencil lines will be erased, so there is no point in carefully drawing out each of them, again, just outline the future location of the subject.
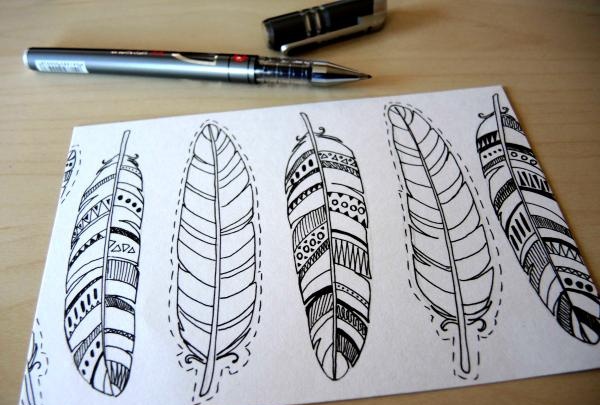
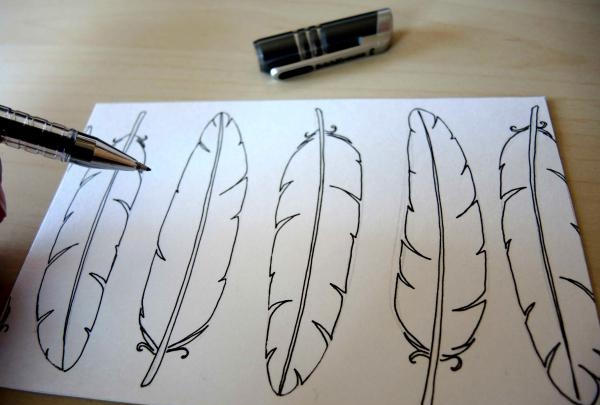
When you're done, move on to the gel pen. Draw the “shaft” of the feather.
Then the silhouette of a feather.
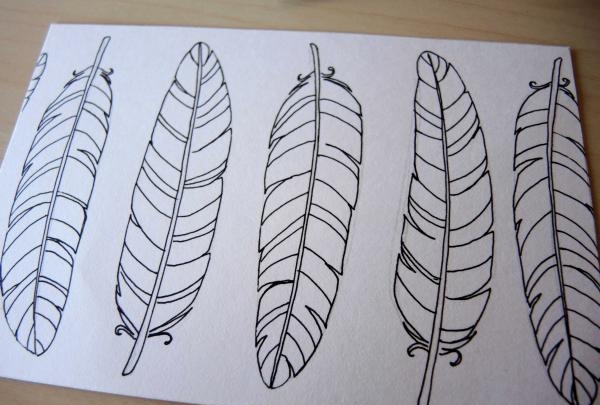
Then add cross lines.
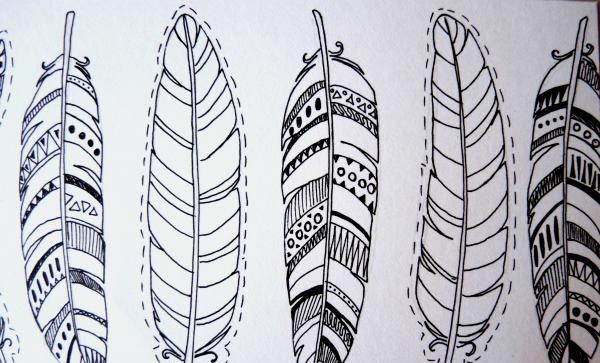
Fill some of them with small patterns, you can also outline the feathers with a dotted line.
Ready!
Option #3.
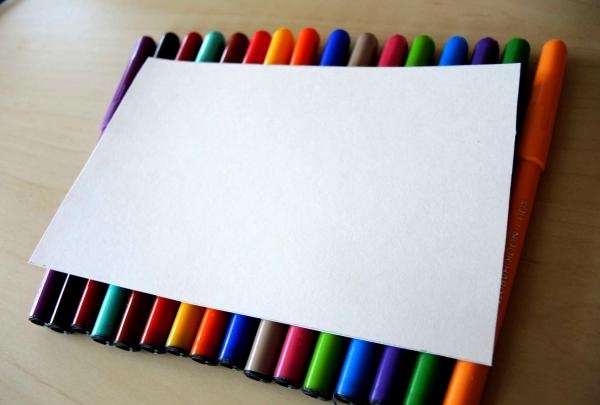
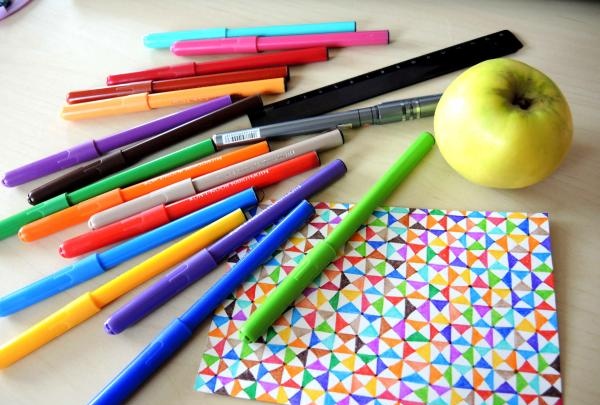
Again, a simple set: felt-tip pens (or markers), a simple pencil and a sheet of paper.
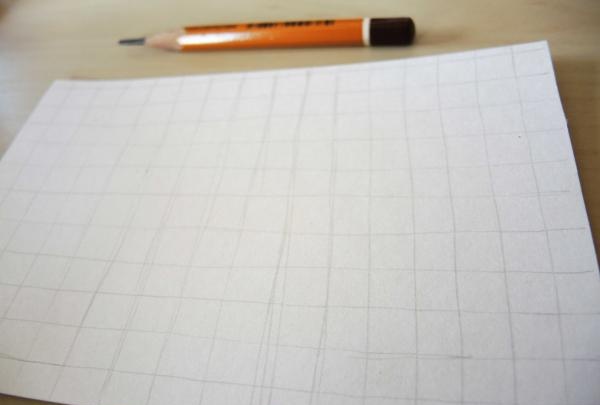
Draw the entire sheet into small squares or a grid - whichever you prefer. You can also draw by hand.
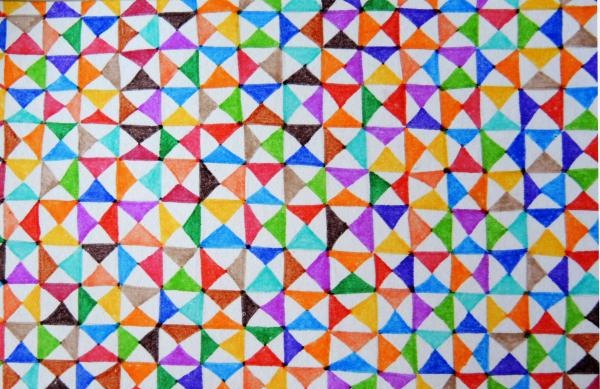
Now the job is for the patient ones: draw and paint a lot of small triangles in these cells.
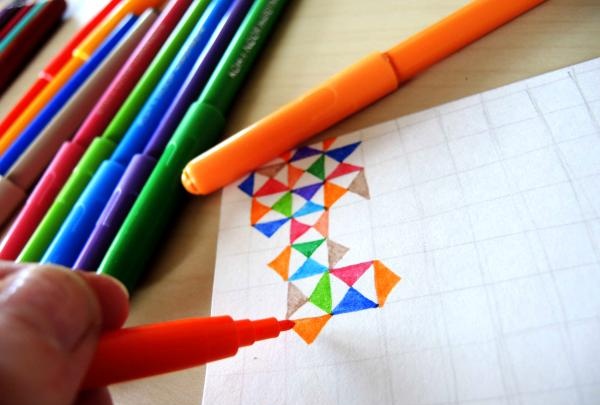
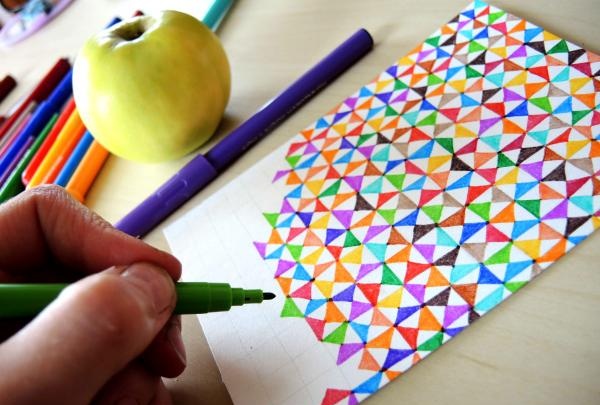
It's painstaking, but the result is worth it!
Further.
Option number 4.
Materials:
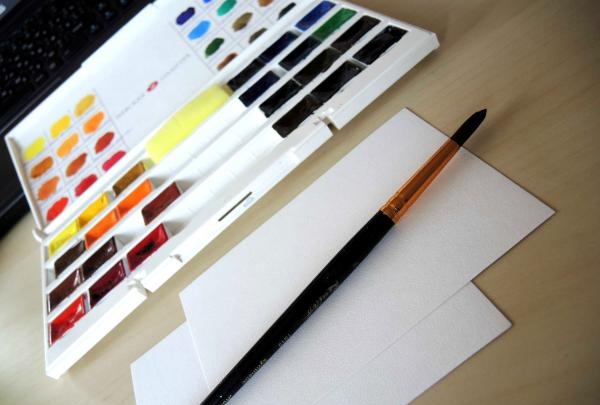
- Watercolor
- Paper
- Brush
- Jar of water
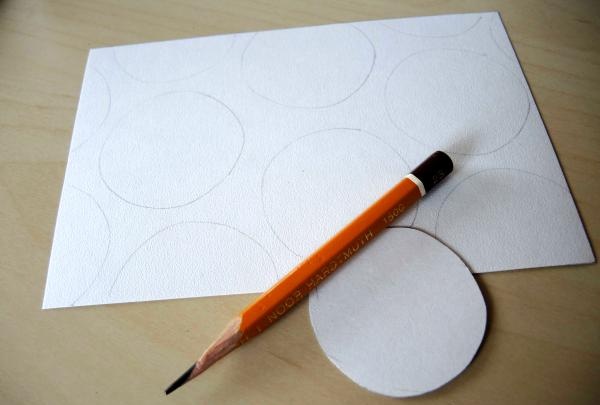
- A small piece of cardboard
- Pencil and scissors.
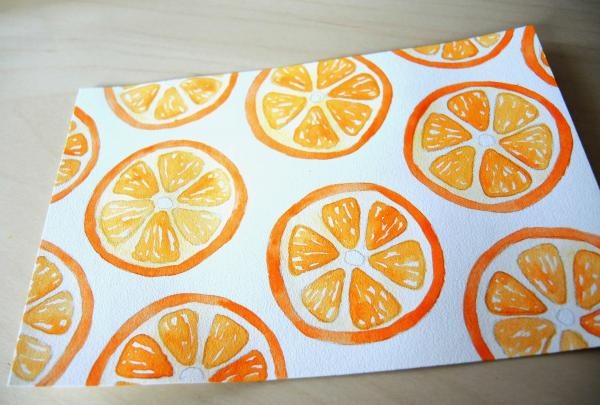
Cut out a circle from cardboard. No compasses, we draw everything by hand, as unevenness is welcome. Fill the entire sheet with circles.
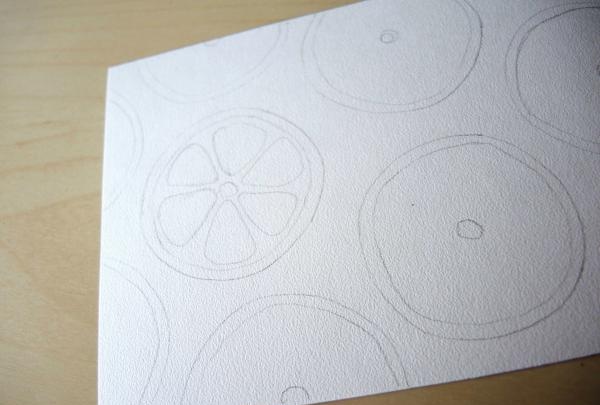
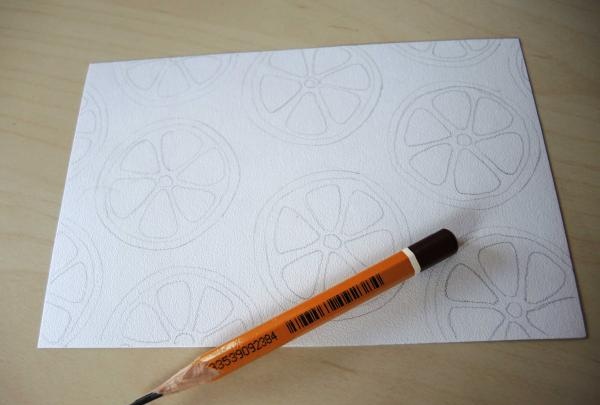
Turn the circles into orange slices.
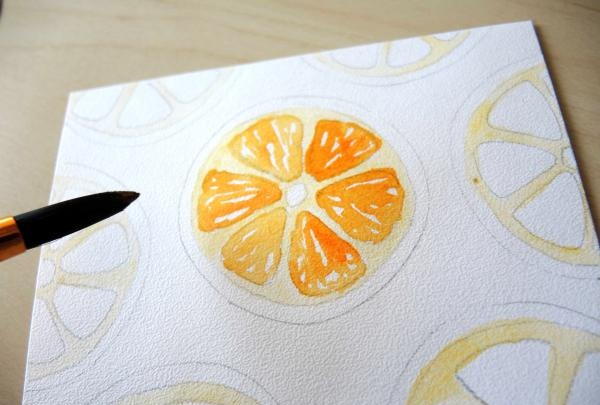
Let's move on to paints. Dip the brush into water and pick up just a little yellow paint so that the color is not very saturated. We paint over the veins.
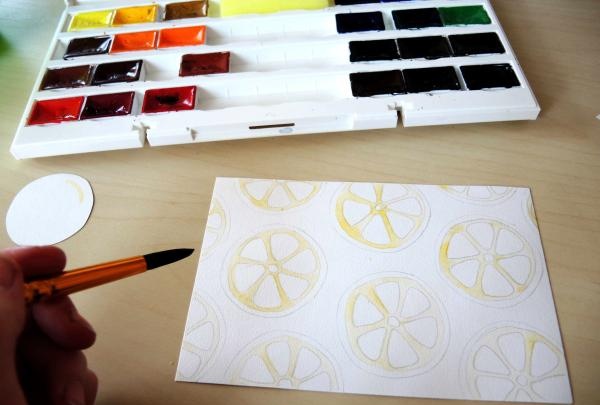
Then we take bright orange paint and paint over the edible part of the fruit, leaving small gaps.
Let's use orange paint again, but this time it should be darker. Use it to paint over the orange peel.
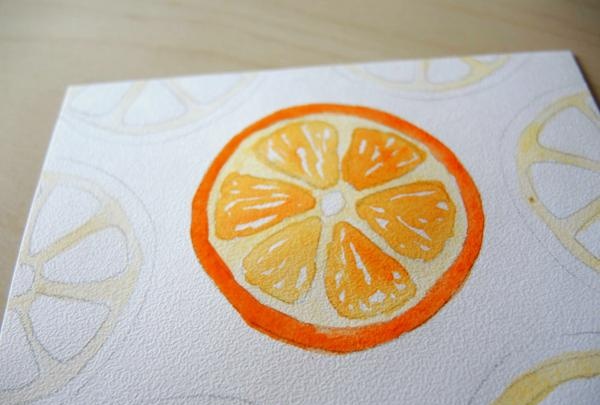
Here is the result.
Option #5.
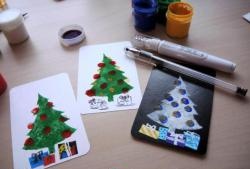
Again, you will need watercolors, paper, and a black pen.
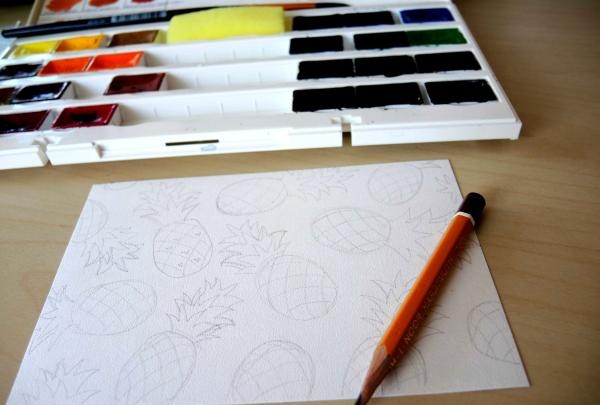
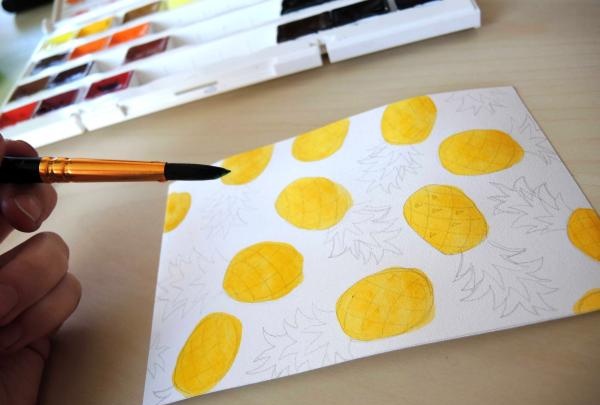
This time we will do without a template. Fill the entire sheet with pineapples drawn in pencil.
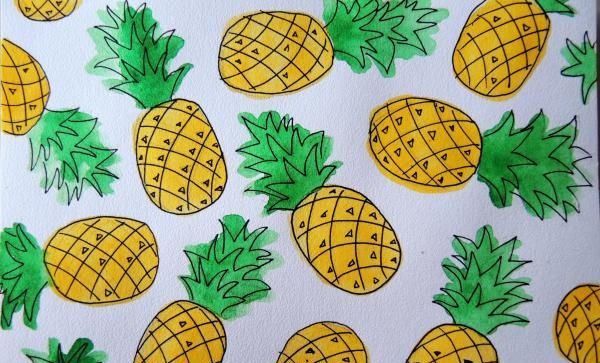
We paint the fruit with yellow paint, the leaves with green paint, all colors are bright and saturated.
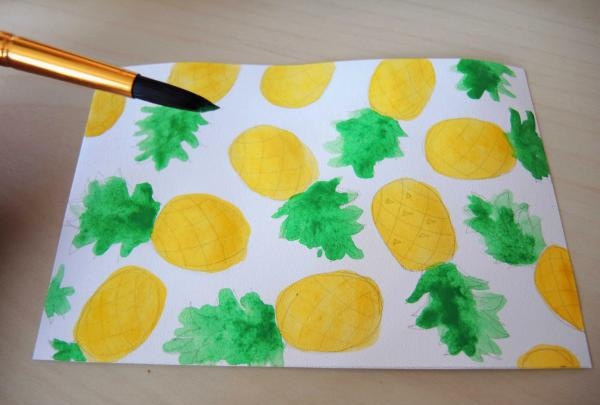
Once the paint is dry, use a black pen to outline the pineapples and add small details.
Option number 6.
On the table should be:
- Paper
- Cardboard for template
- Stationery knife
- Purple and orange markers
- Black pen and simple pencil.
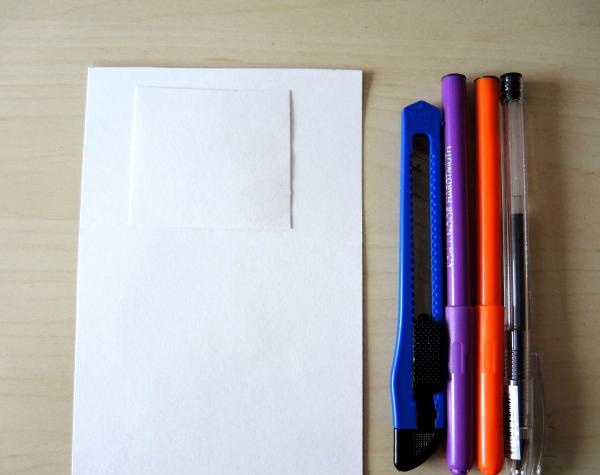
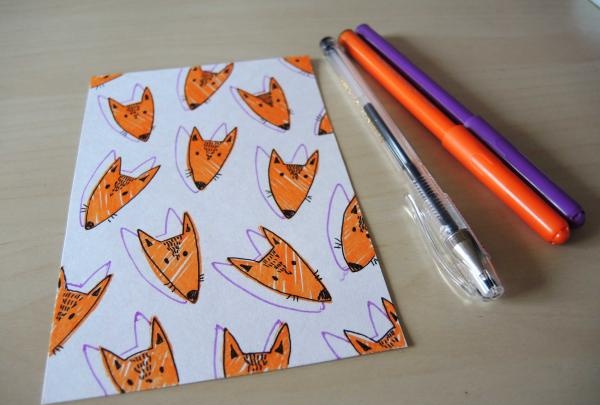
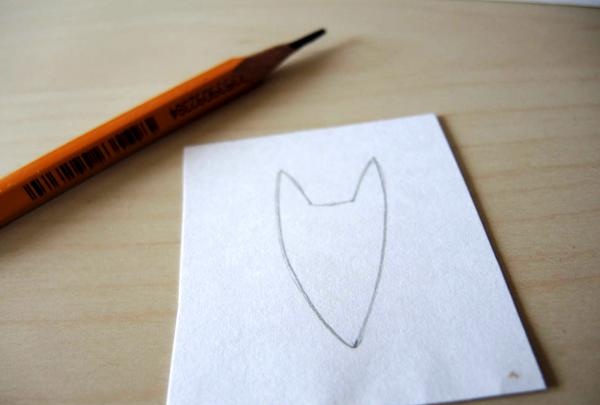
We make a template: draw a simplified face of a fox.
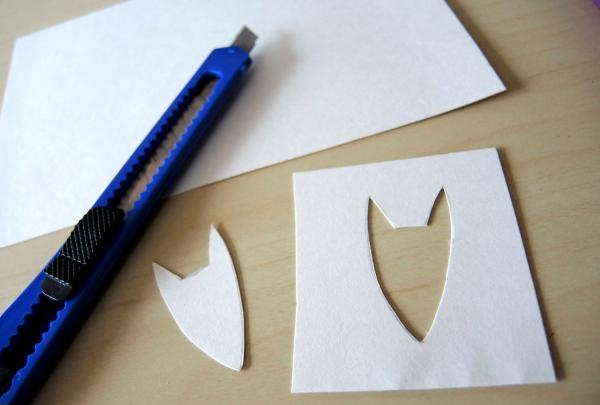
Using a stationery knife, cut it out. Both parts will be useful.
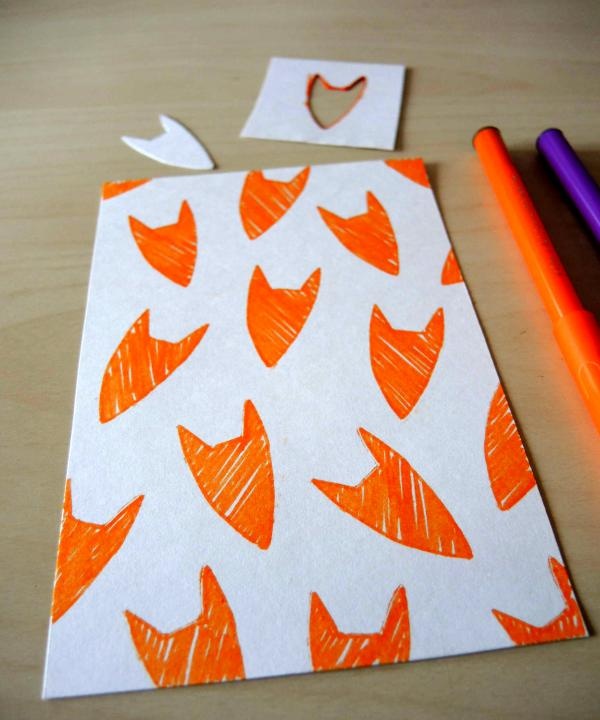
Fill the entire sheet again with the selected pattern.
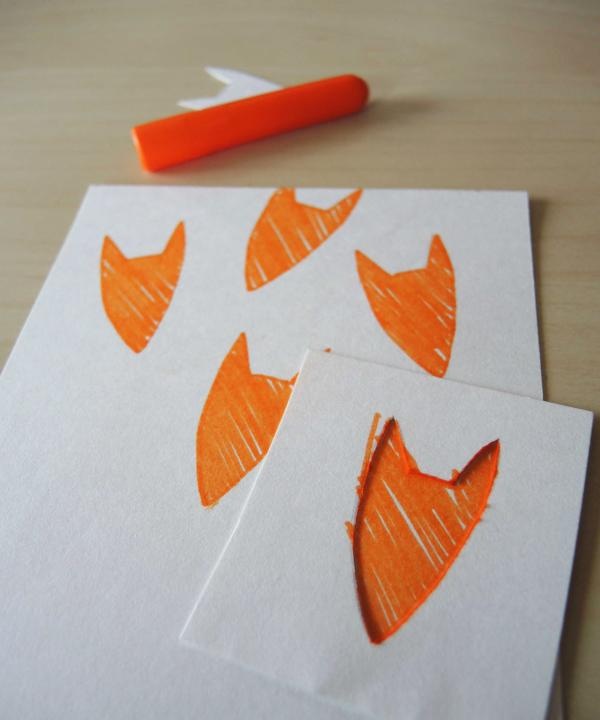
Using the second part of the template, we complete the work.
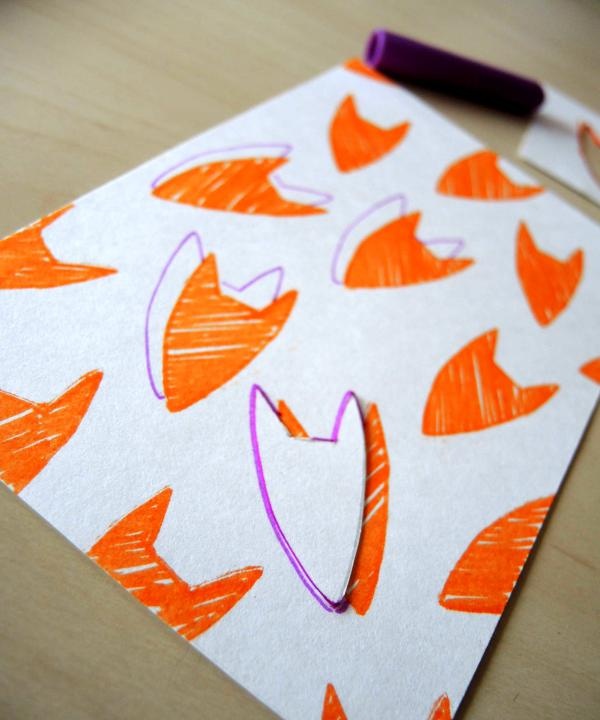
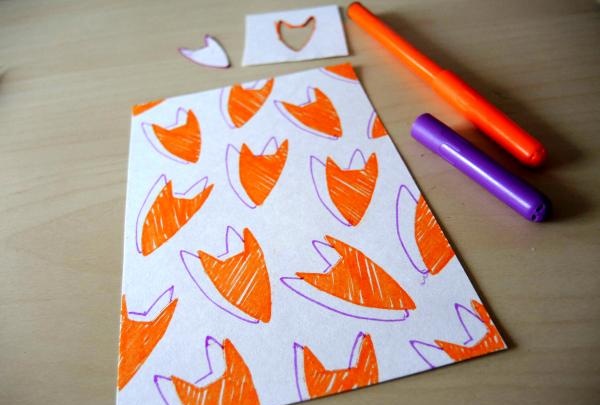
And the last thing: we draw each face with the hands.
That's all! Good luck to you!