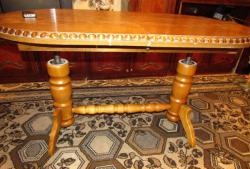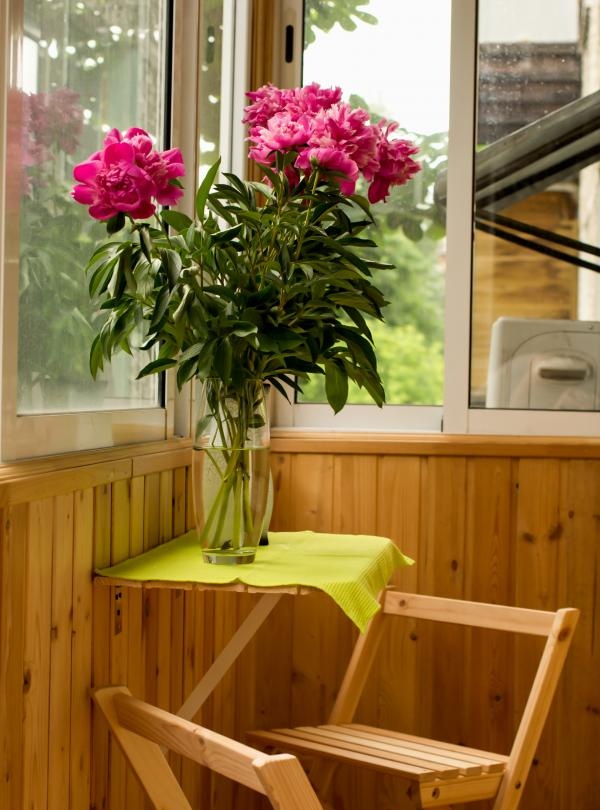
This master class is a version of the idea. It is not at all necessary to have the same available materials as given in the text; it is important to understand the mechanism for making the product. The note concerns the production of a table that is suitable in size, since the chairs were purchased in advance. This approach to the balcony space was chosen due to its small width.
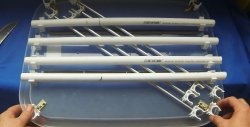
Necessary materials for making a table:
- platbands,
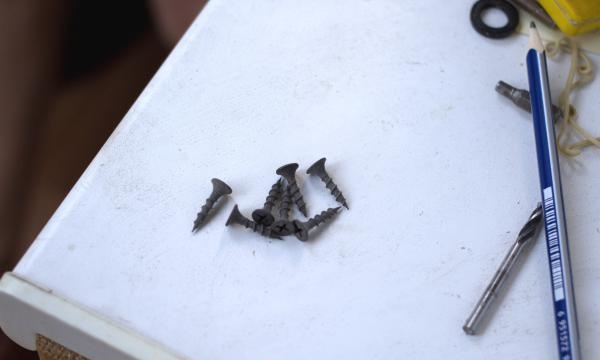
- screws,
- cross bar from mosquito net for window,
- screwdriver,
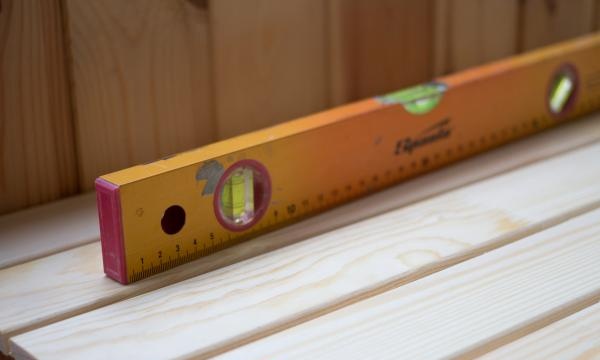
- level,
- loops,
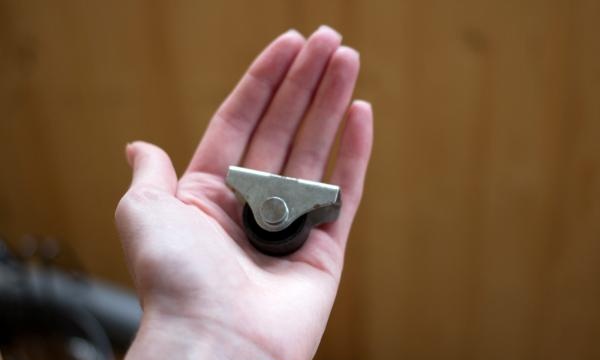
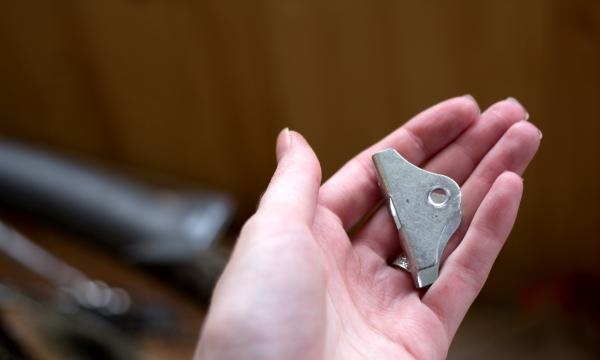
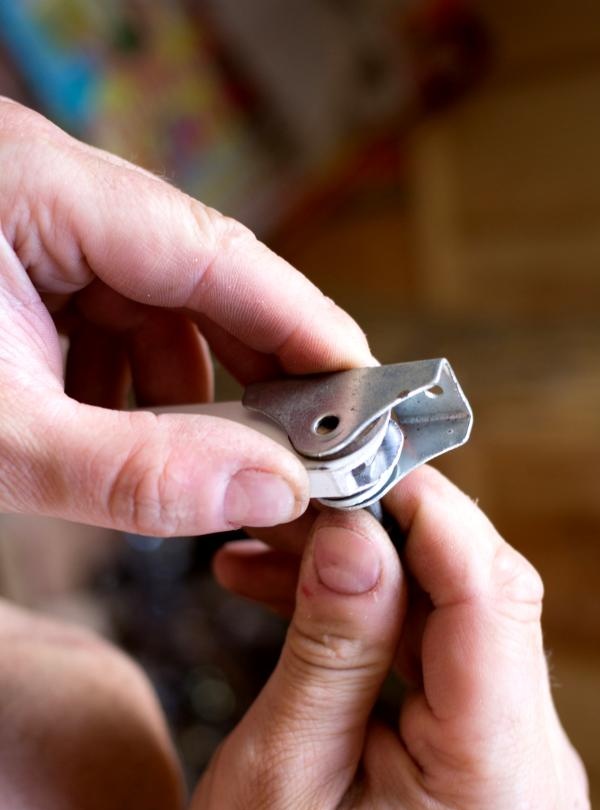
- bracket (no need for a wheel),
- washers (optional).
Manufacturing process:
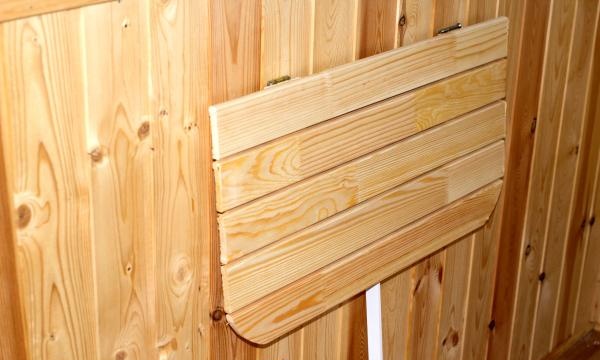
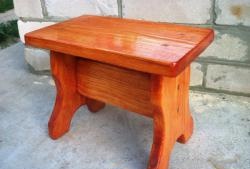
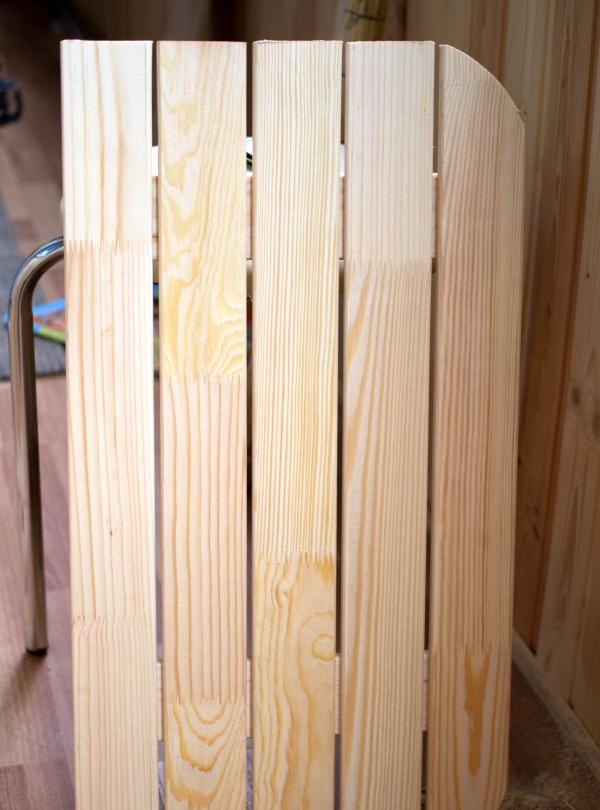
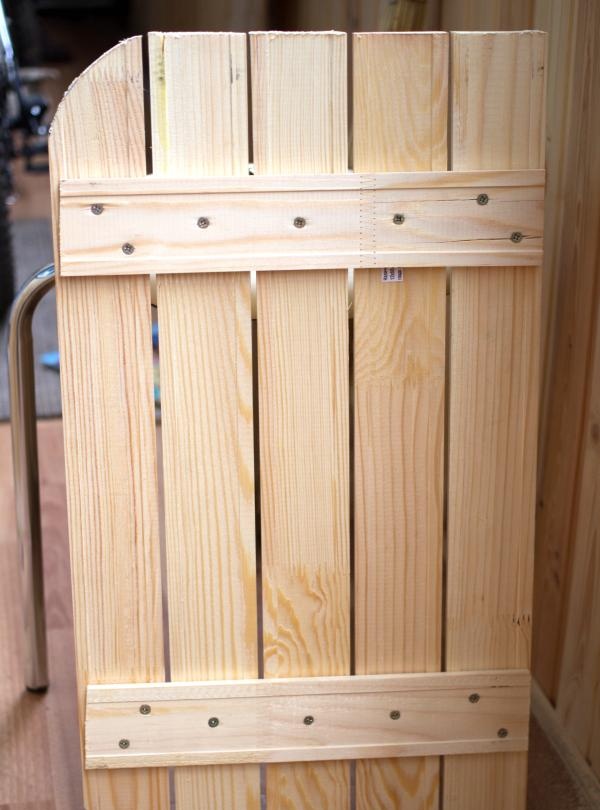
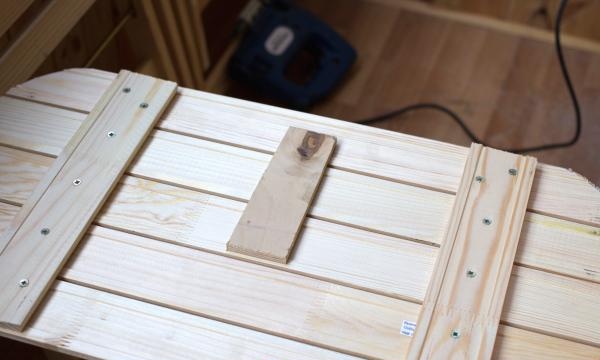
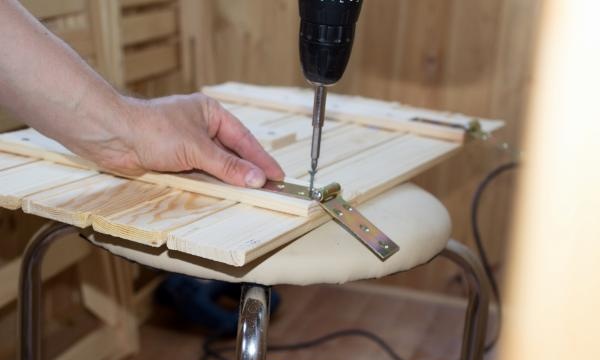
1. Assemble a table from the required number of planks, connecting it with self-tapping screws.
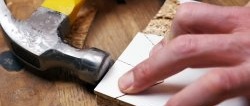
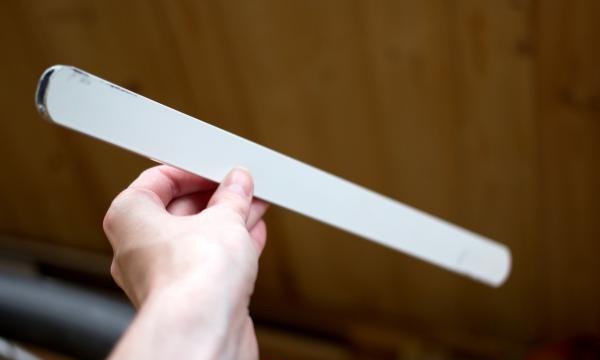
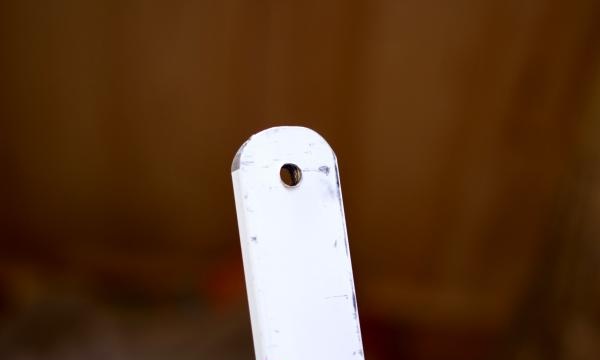
2. It is necessary to make a support for the folding table. Drill holes in the plank on both sides.
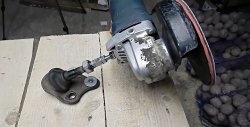
3. Remove the wheel from the bracket.
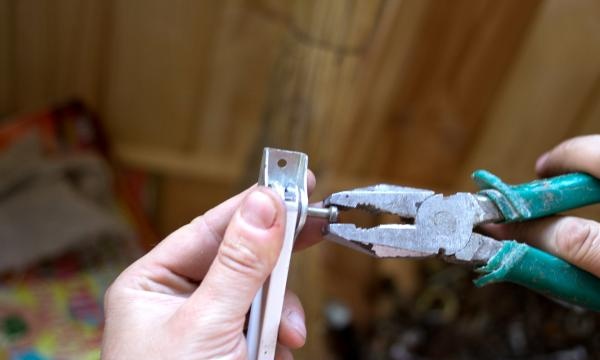
4. Connect the bracket and the bar by screwing in the self-tapping screw. For a tighter connection, washers can be used.
5. Prepare a platform for attaching the support on the inside of the table. Attach the strip with self-tapping screws.
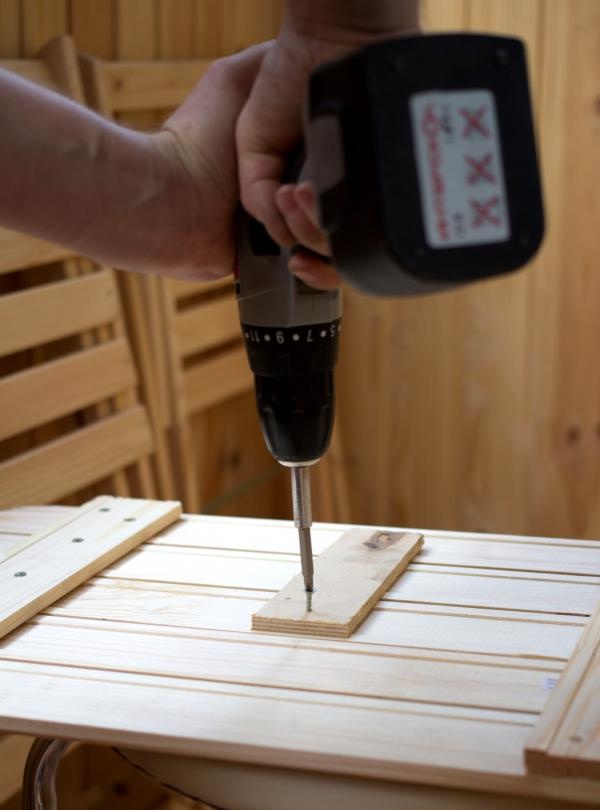
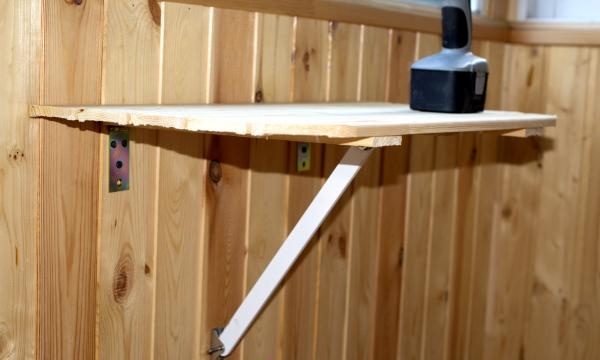
6. Using a screwdriver, secure the support to the table.
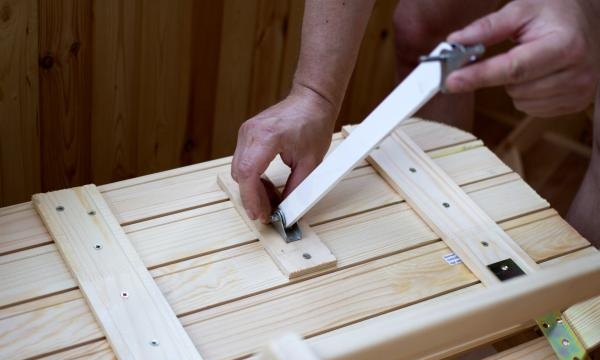
7.Secure the hinges on the inside of the table.
8. Place the future table against the wall and check its position using the level.
9. Attach the hinges to the wall.

10. Attach the bracket to secure the support.
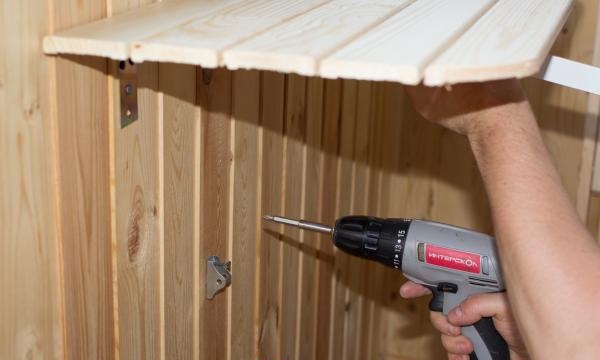
The table is ready.