You will need:
• Cardboard.
• Scissors.
• Stationery knife.
• Adhesive tape.
• PVA glue.
• Newspaper tubes.
• Stain or paint (coat the tubes).
• Acrylic or any other varnish.
• Napkin, white primer (paint) - optional.
• Round form.
• Clothes pegs.
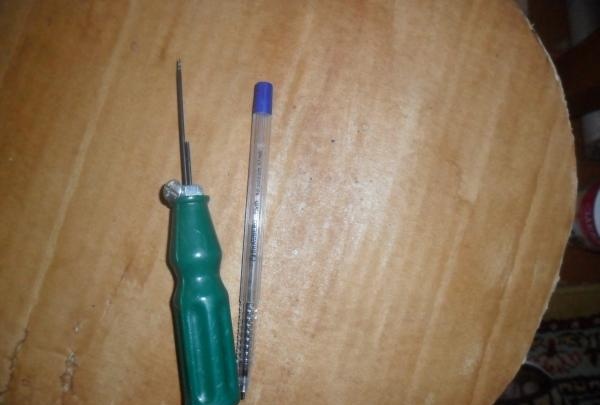
• Shiloh.
• Pen or pencil.
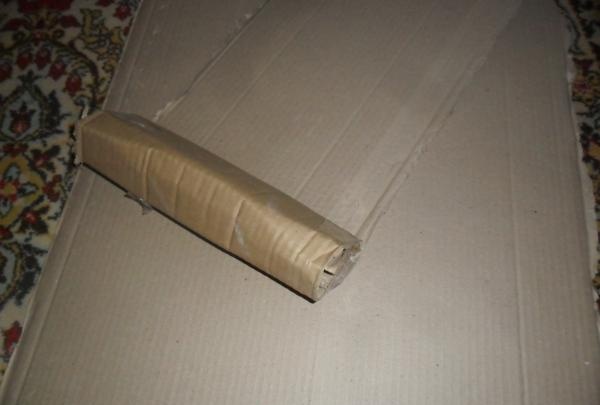
Take cardboard and cut pieces to the required height. I measured the height of the child's knee, but you can make it lower, some children like to sit on low chairs. The length of the pieces is not important.
We begin to roll the cardboard, securing it with adhesive tape as necessary so that it does not unfold later.

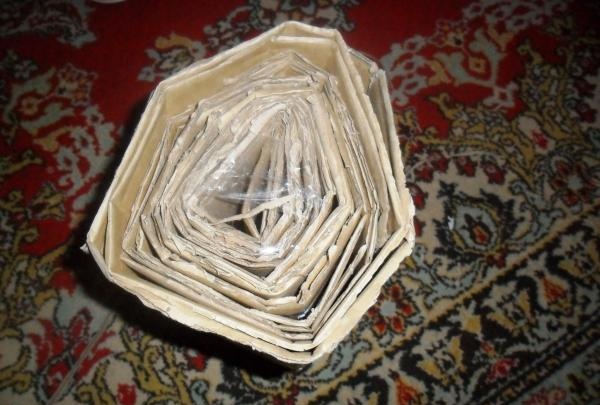
Gradually the base becomes thicker and more stable.
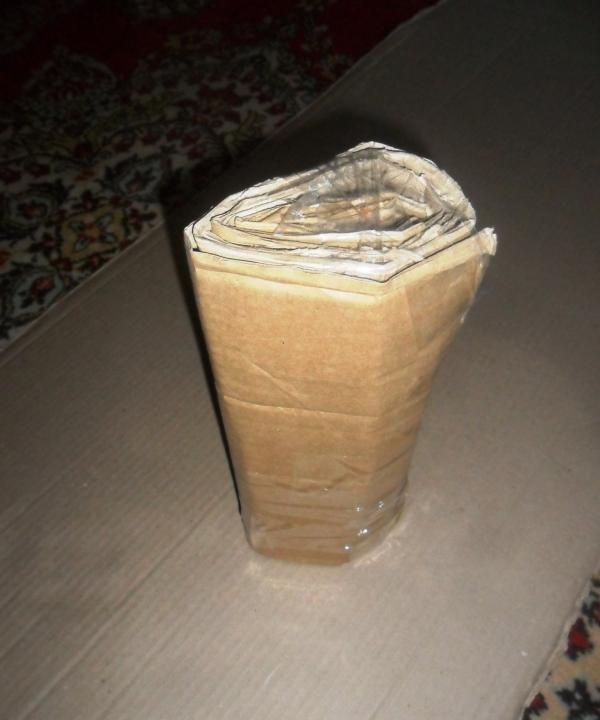
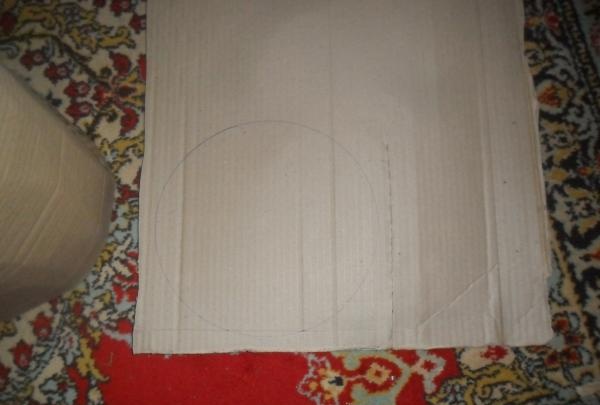
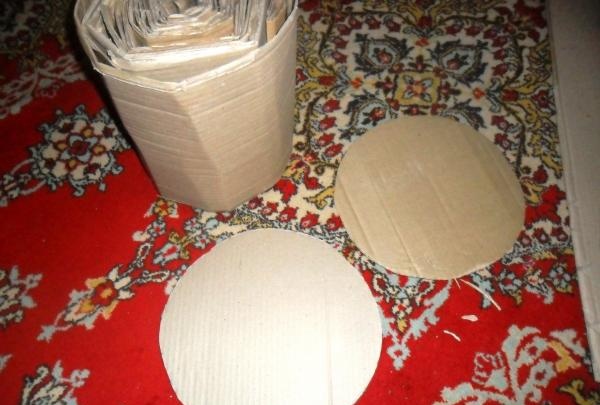
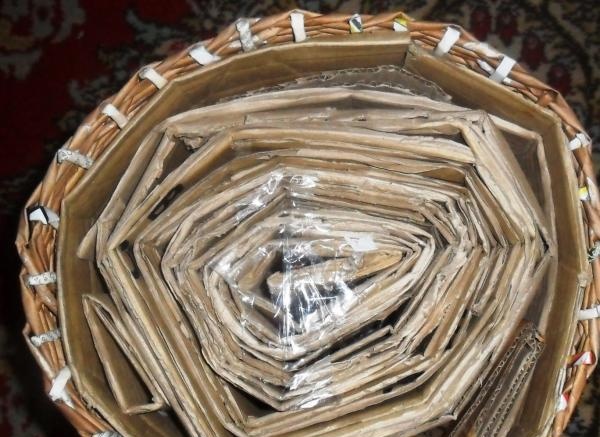
When stability is sufficient, you can cut out the bottom. We take something suitable in size (a saucepan, for example), the object should be slightly larger than the base, and use it as a mold.
You will need at least two circles of cardboard, one for the lid, the second for the bottom. If you want to make them double for greater strength, then cut four pieces.
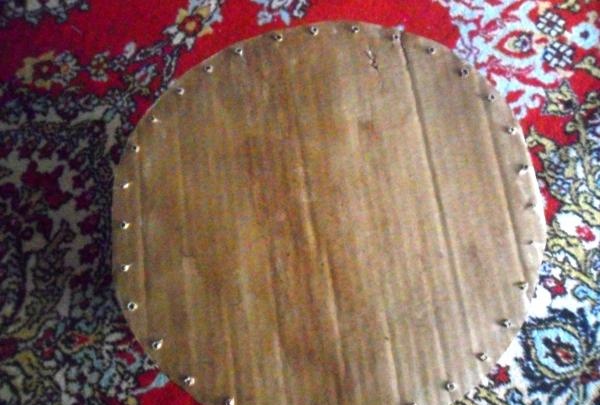
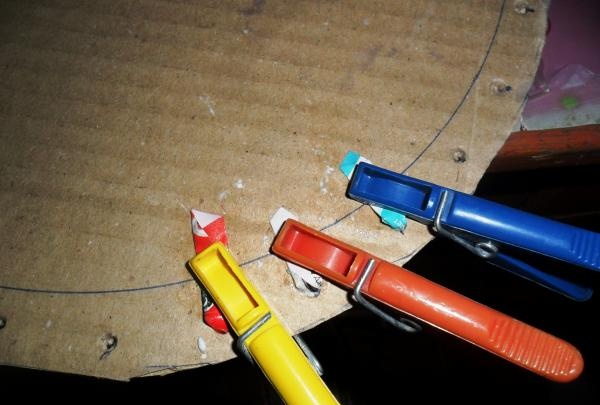
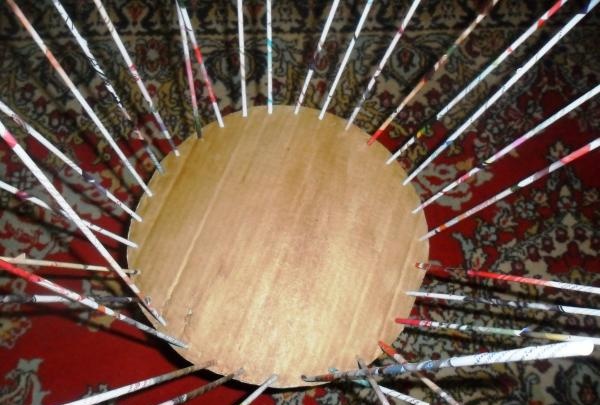
I covered the bottom with stain right away; I also painted the tubes in advance, and not after weaving. Now you need to mark the places for the racks using an awl. I step back from the edge a little, the distance between the posts is 3 cm.
I make holes with an awl at equal (approximately) intervals around the entire circumference. I didn’t try to achieve cosmic precision; the main thing was that the product should not fall to the sides.
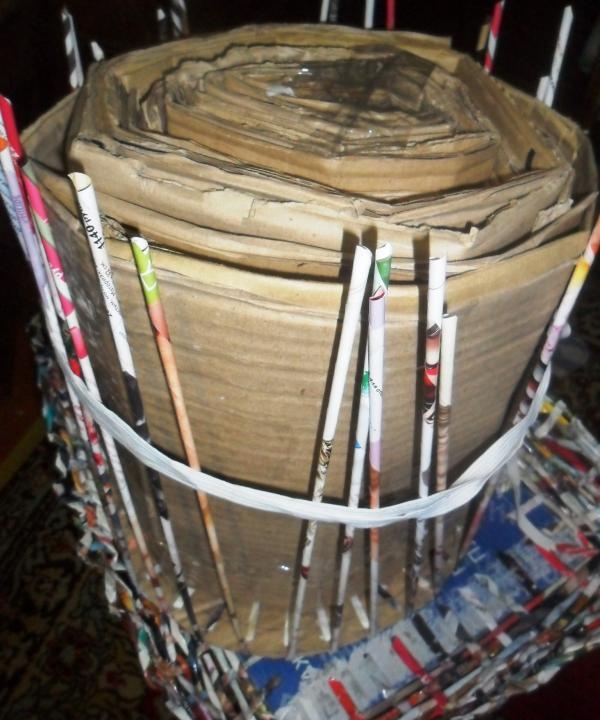
I insert the ends of the stands from newspaper tubes. I secure them with glue and clothespins, then leave them to dry for at least an hour. I made the stands long so that they were slightly higher than the ottoman. There weren't very many clothespins, so the work slowed down; we had to wait for the posts to dry before installing new ones.
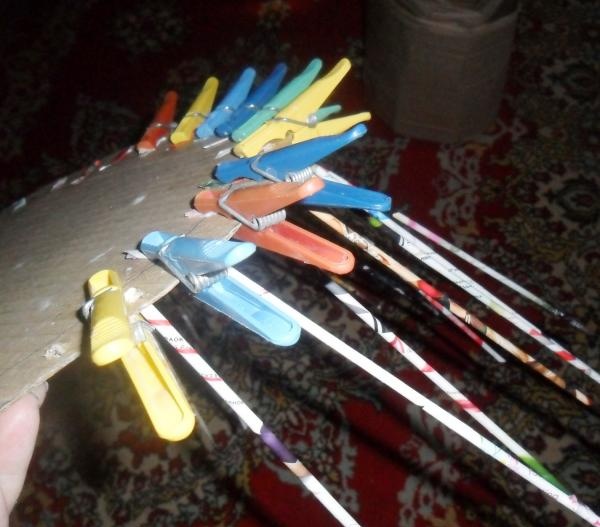

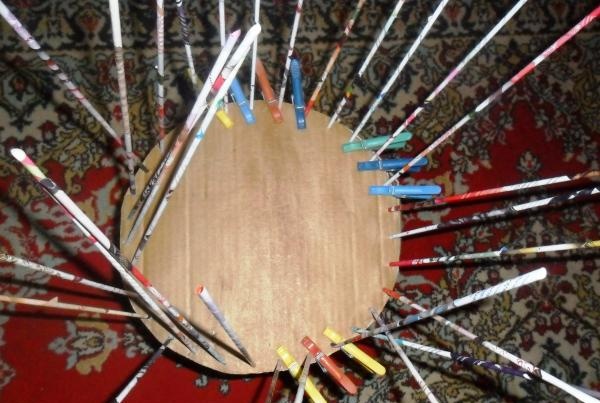
The tails can be covered by gluing fabric or a piece of cardboard of the same size on top. Since the stands are long, I secured them with a regular elastic band so that they would not fall apart. After several rows there is no need for fixation; the racks support the tubes.
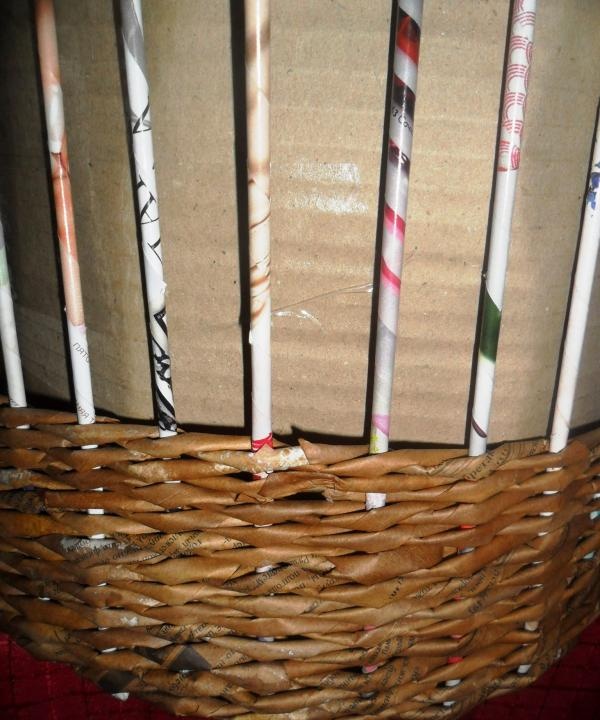
Weaving is the most common, here the main question is not complexity, but the amount of time that will be spent on the tubes (after all, you need to twist them, then paint them, dry them).
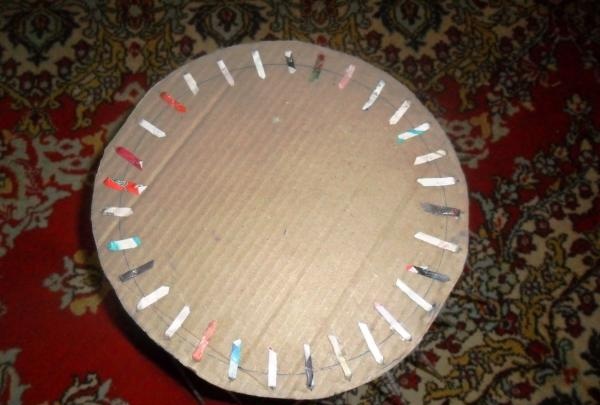
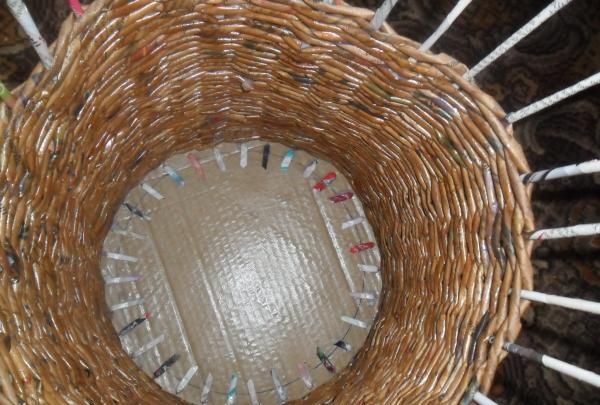
When the tubes reach the height of the base, it is time to finish weaving. But before that, I take out the base to coat the inside of the product with varnish. I use acrylic, but you can use regular one if you can stand the smell.
Filling the ends: I cut off the excess, bend it over the base, coat it with PVA glue on top.
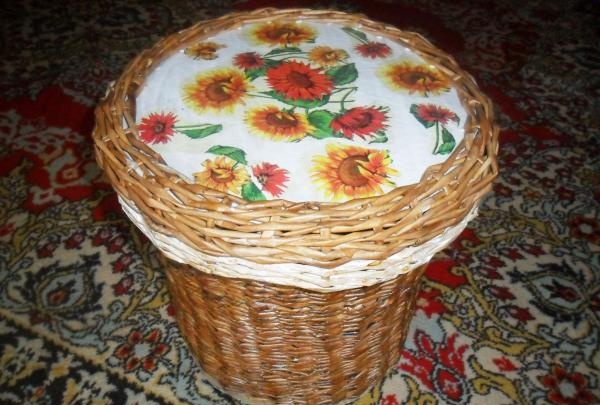
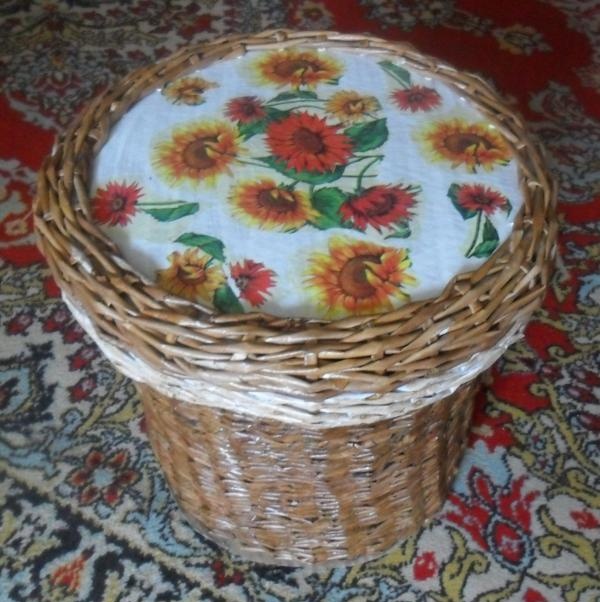
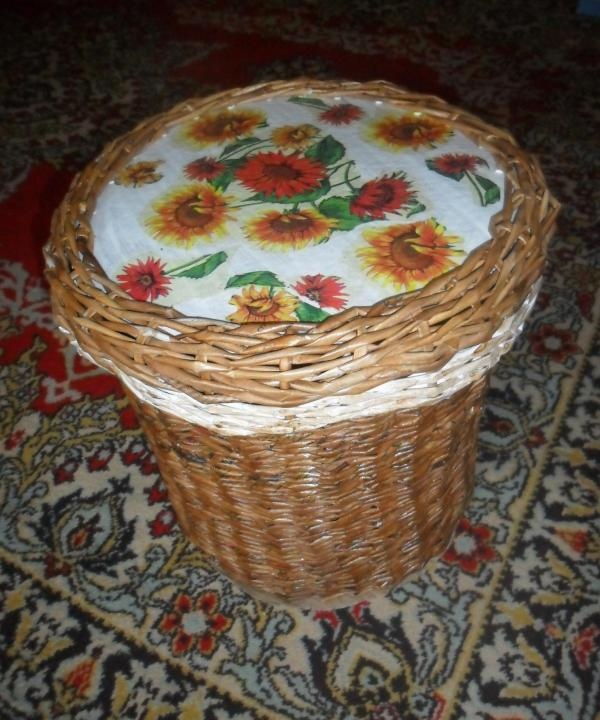
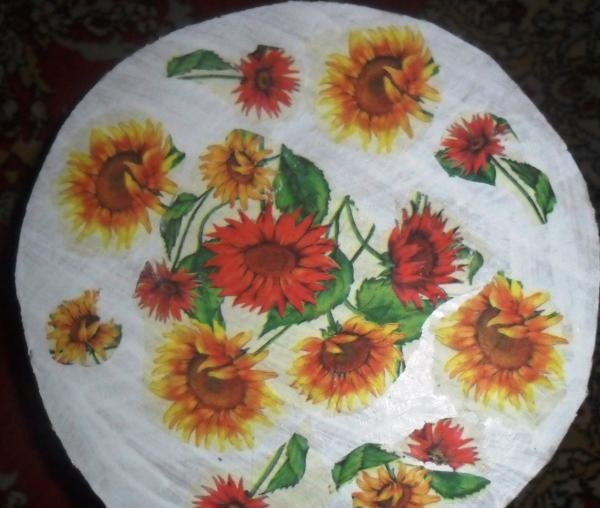
The cardboard that will serve as the lid was covered with white paint, and fragments of a napkin were glued on. You can skip this step: the top can be covered with wallpaper or fabric.
Then follow the same procedure as for the bottom: make holes, remove the tubes, secure the base with glue.
At first I wove it straight, then I raised the stands, the height of the side is arbitrary.

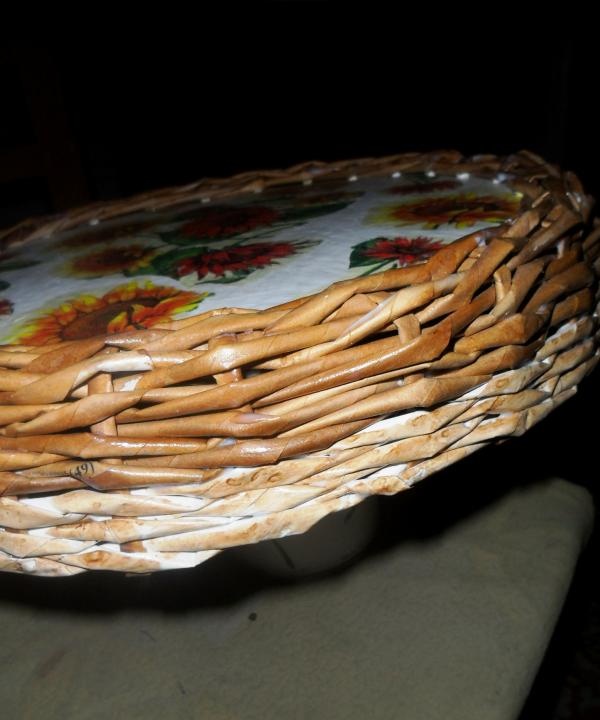
That's all, we cover the product made from newspaper tubes with acrylic varnish, this is an obligatory step that gives strength and shine.