- shaving foam (or for hair styling);
- a shallow container, such as a flat plate or tray;
- watercolor paints (pre-diluted in the palette);
- scraper, spatula or spoon;
- watercolor paper or cardboard, cut into halves or quarters;
- a glass of water.
Instructions.
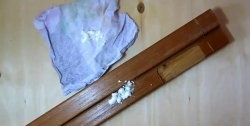
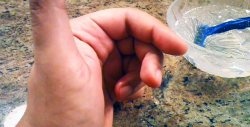
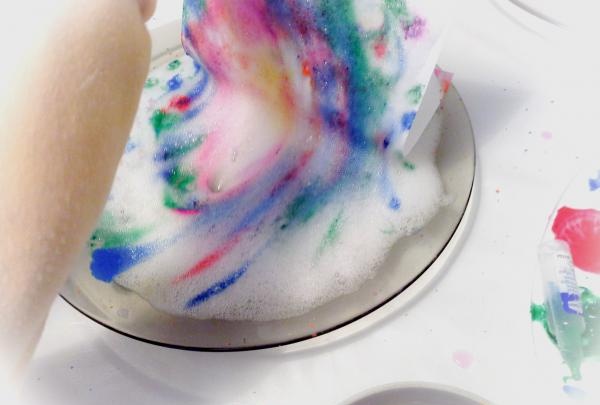
1. Squeeze the shaving foam onto a plate (if you have the strength, let the child do it himself), then level the surface a little with a spatula (or spoon, hands, etc.).

2. Use a pipette to transfer liquid watercolor paint to the surface of the foam.
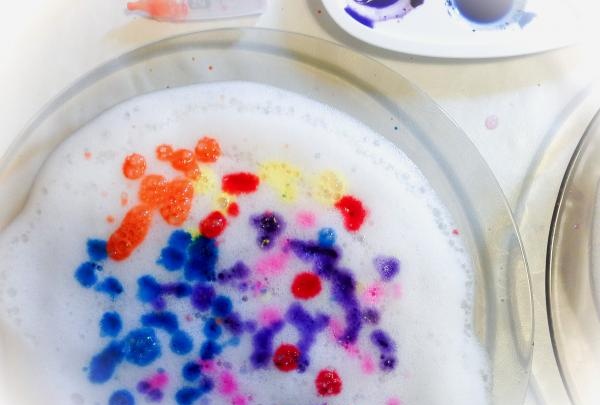
3. Mix colors to create a marble effect. You can use a stick or toothpick or the tip of a brush.
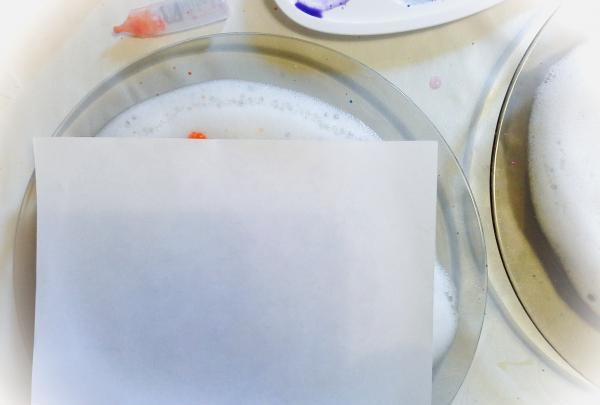
4. Place a piece of paper on the surface of the painted foam.
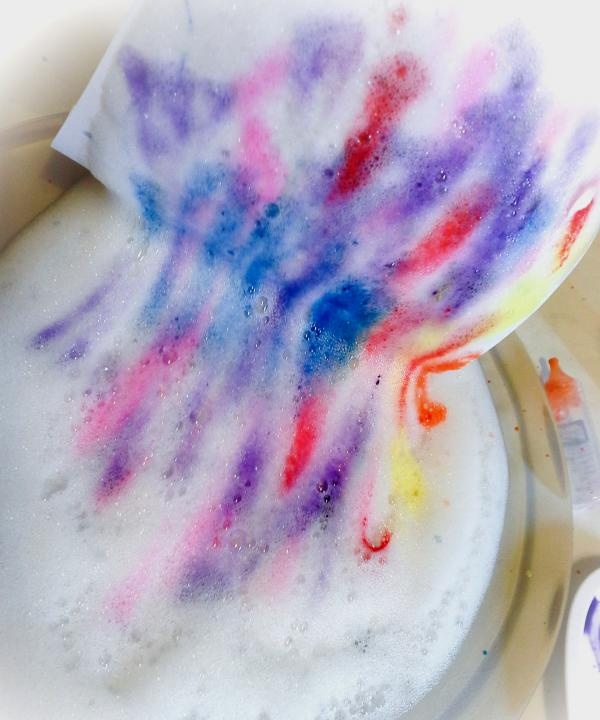
5. Raise the paper or piece of cardboard... And you get beautiful marbled paper!
Set aside to dry and repeat with new paints.
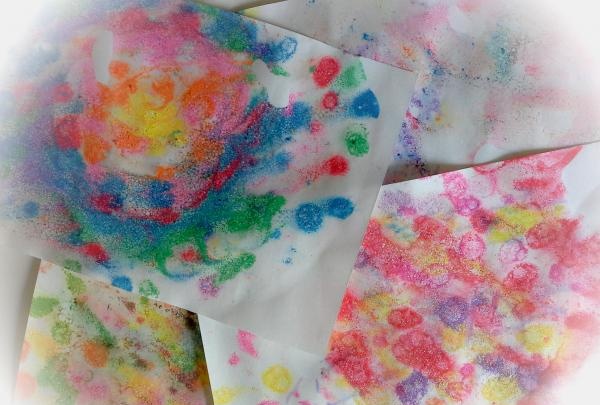
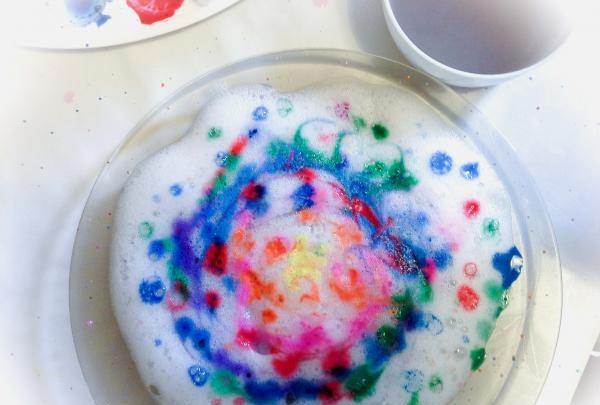
You can make multiple prints each time you add paint to the foam. If you need to start from scratch, you can either add a new layer of foam on top or smooth out the colored layer with a spatula and start over.
A word of advice: when you buy shaving cream, make sure it is foam and not gel.
You can use almost any paint, food coloring or acrylic paint for this technique.
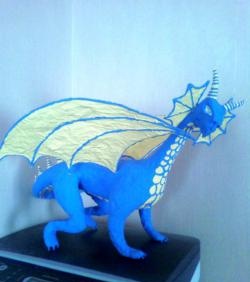
hands. The resulting drawings can be used as blanks for future crafts instead of expensive scrap paper.