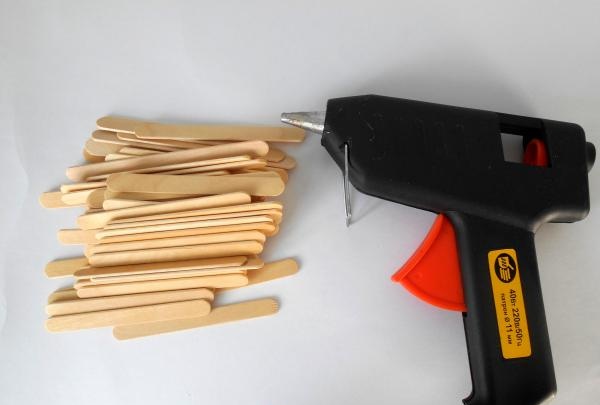
Do you think it’s difficult to get sticks or will you have to save them long and hard? This is not so, just find the nearest small store or pavilion where they sell ice cream and ask the seller for sticks. With each batch of ice cream, the manufacturer provides wooden sticks, which are simply thrown away as unnecessary.

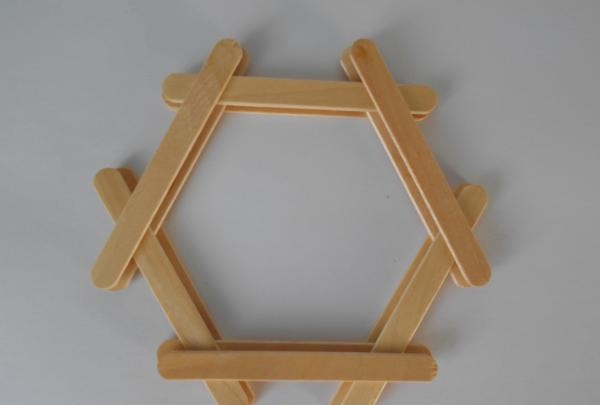
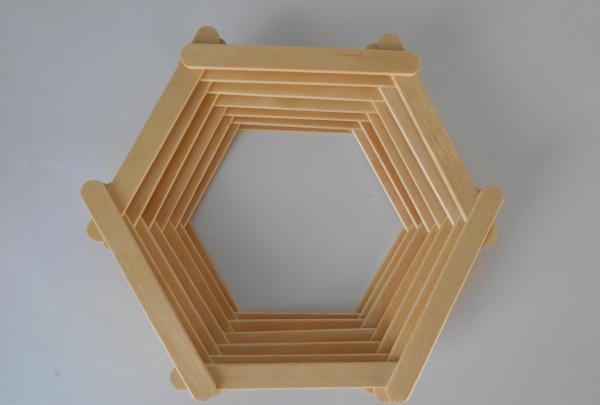
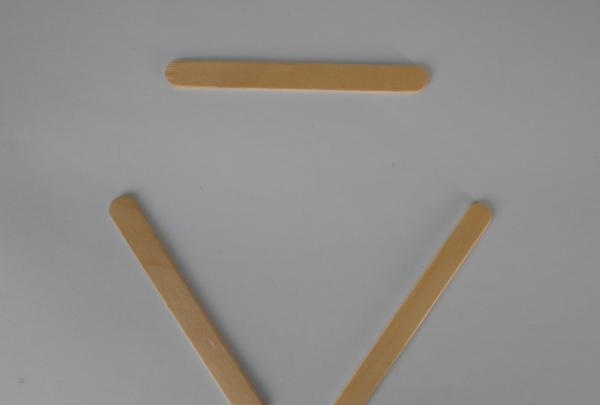
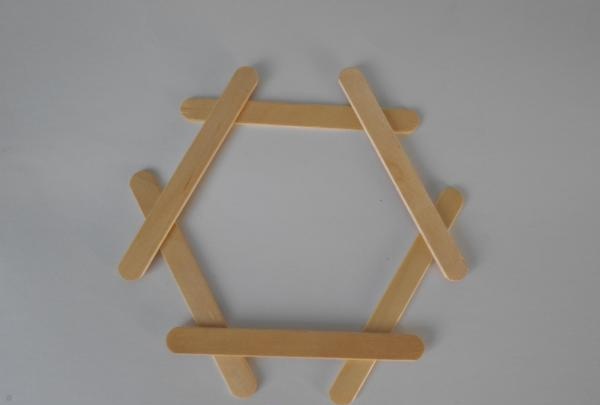
We turn on the glue gun; it is better to work with it with gloves to avoid burns. On a flat surface we lay out three sticks in the shape of a triangle, at the same distance. We lay out three more on them, roughly remembering their location, and glue them. You should end up with a hexagon. We glue three sticks, increasing the number of rows. At the same time, shifting each subsequent row by a couple of millimeters.
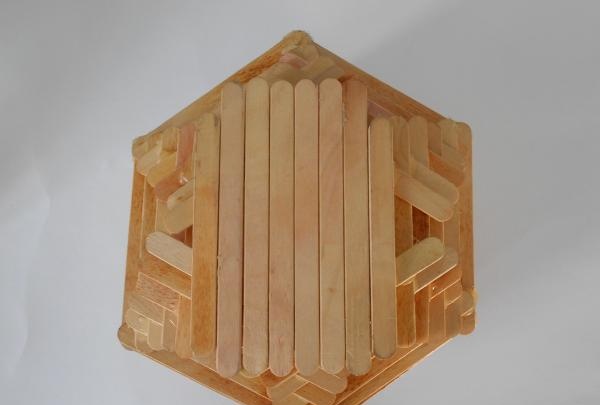
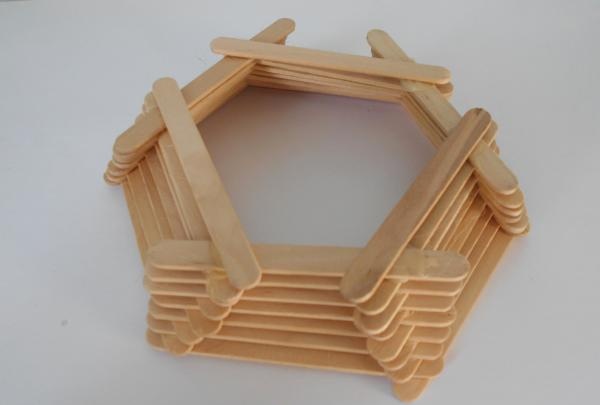
Continue until small tips remain on the sticks. Next, we will only grow the vase upwards.You can make any height, it all depends on your desire and the amount of material.
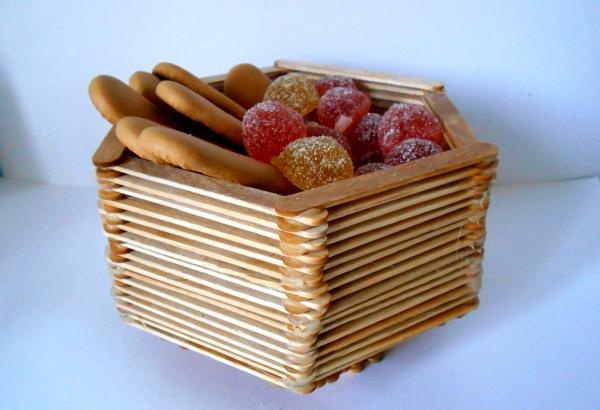
At the end of the work, the vase can be painted or varnished, an additional lid can be made or decorated.