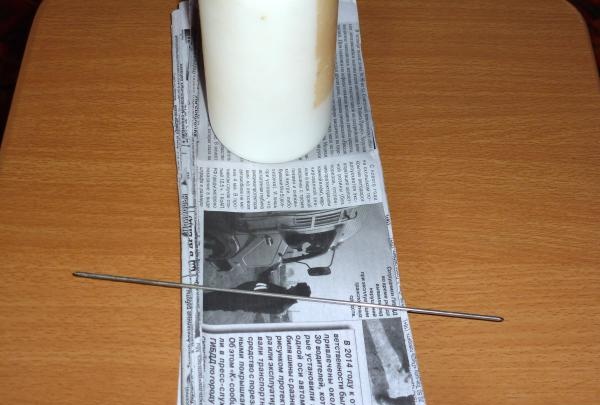
To do this I needed only three components:
- newspaper;
- PVA glue;
- spoke.
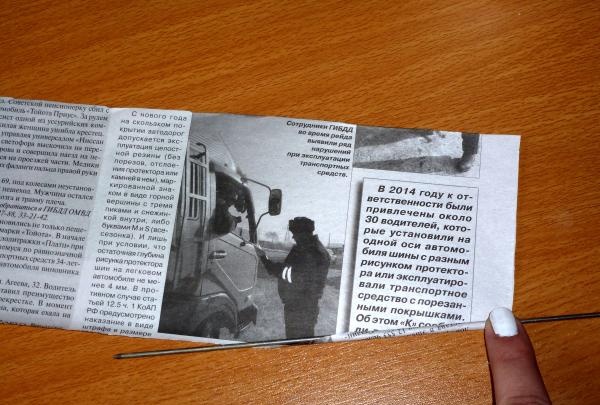
The first thing I did was cut some newspapers into strips like these.
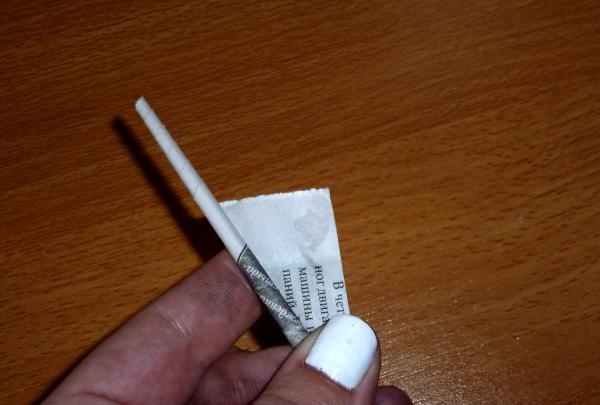
On it I will show you exactly how to twist the tubes. It is worth immediately noting the fact that for better coloring of newspaper tubes, it is better to use stripes with margins, that is, the top and bottom stripes. In this case, you need to start twisting from the printed side so that the top layer is the margin. Well, now the tube itself. We apply the knitting needle to the strip at this angle.
And we begin to wind the entire strip onto the knitting needle until a small corner remains. Apply a drop of glue to it and screw it to the end.
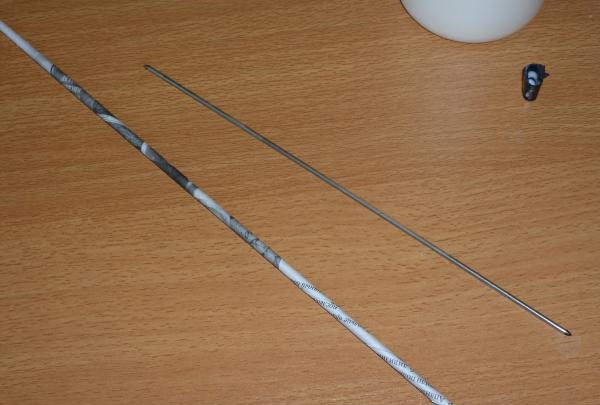
The result is this kind of “building material” for future masterpieces.
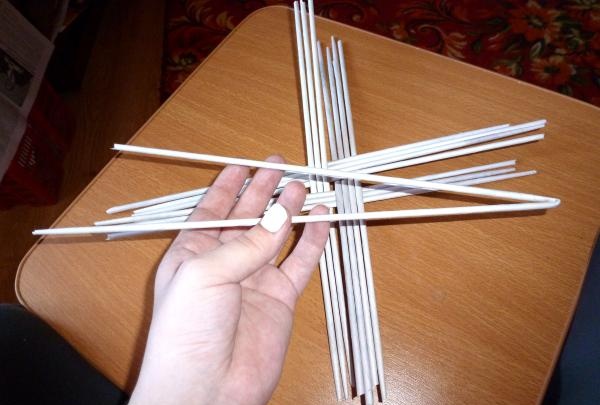
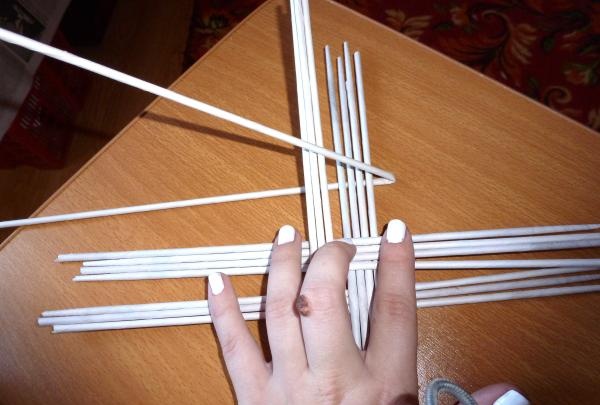
I’ll say right away that you will need a lot of these tubes, so it’s better to make them from reserve. For the bottom of my vase, I decided to use a small ornament of squares. For this I needed 14 tubes. We lay them perpendicular to each other like this.
Be sure to note the number of tubes. Somewhere there are three, and somewhere there are four. The guides are assembled, now we make the working tube. To do this, we insert two tubes into each other, fastening them with glue, and bend them in half.

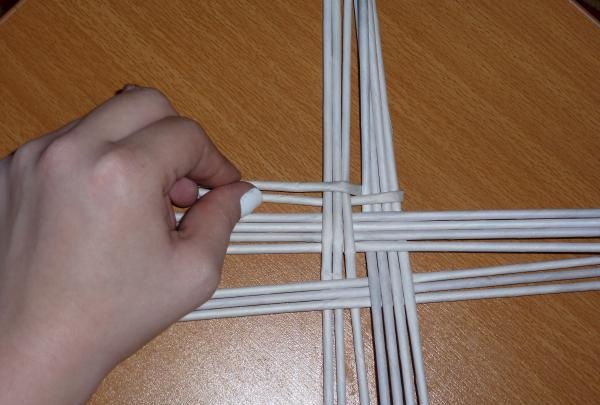
We start it first under those tubes that are below.
Then we cross the working tubes and grab the other part of the guides.
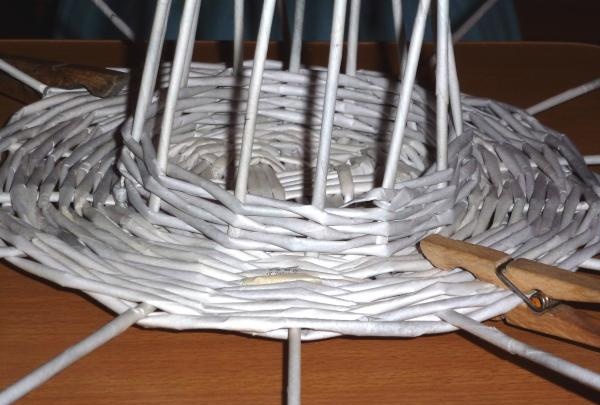
In this way we braid the entire base in a circle.
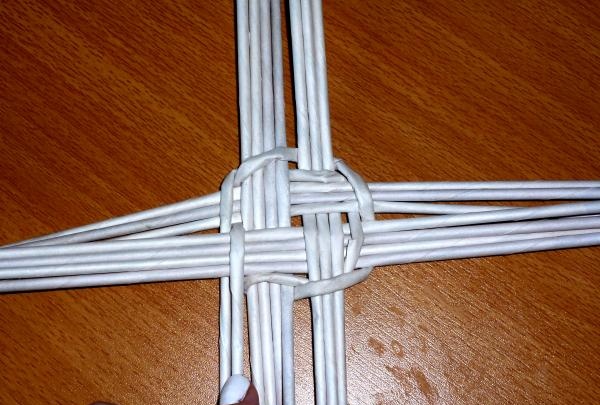
When weaving the next circle, you need to divide the guides into pairs, alternately braiding them with working tubes.
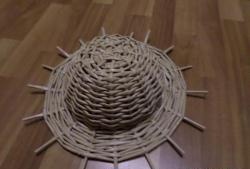
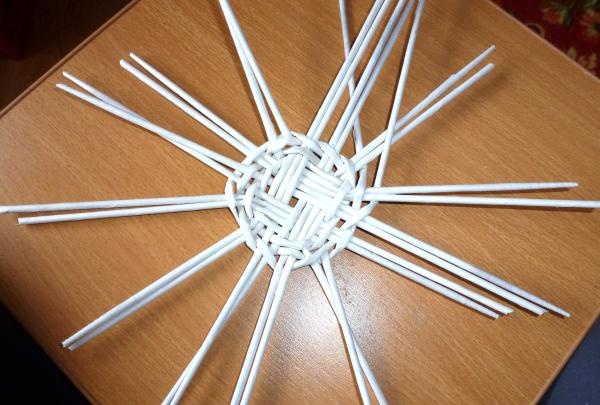
As weaving progresses, the working tubes should be extended as we did earlier. You should braid the base until you get a circle equal to the base of the Easter cake.
When the desired size is reached, we lift one tube from each pair and secure them.
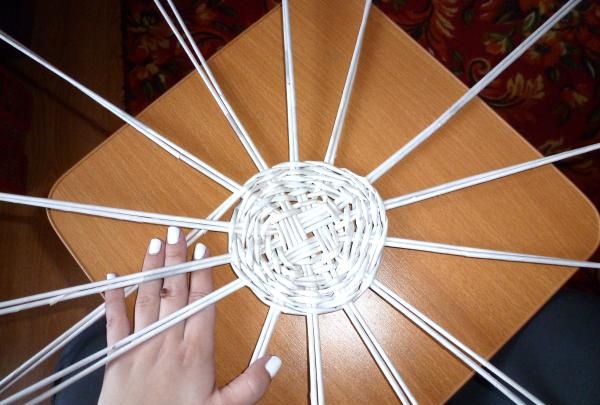
We continue to braid the remaining rays until the bottom of the basket reaches the size you need.
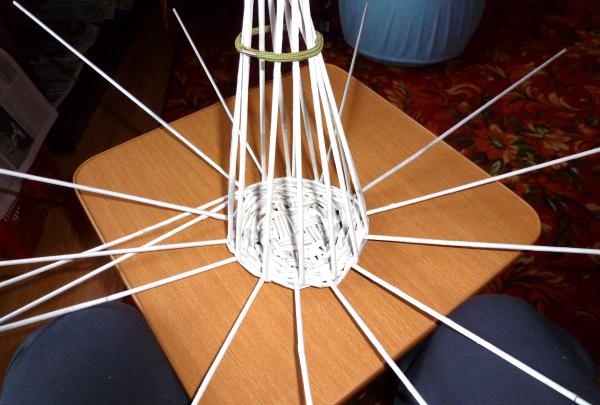
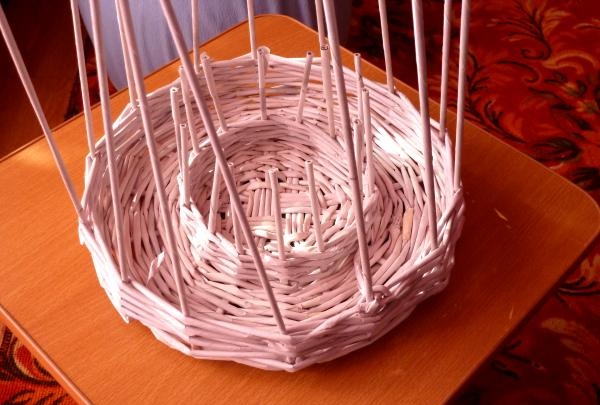
The next step is to start weaving the sides. I decided to start from the inside. All the weaving techniques are the same, we just braid the guides that stand vertically.
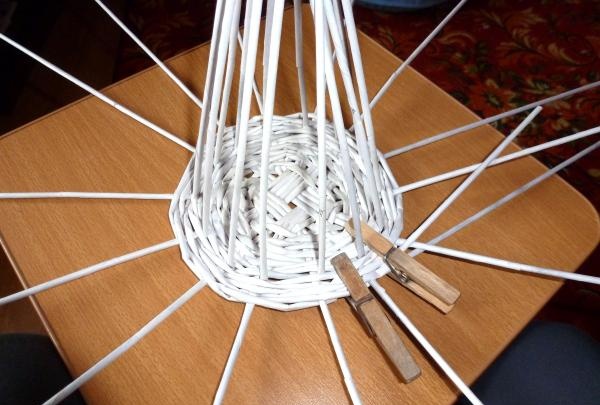
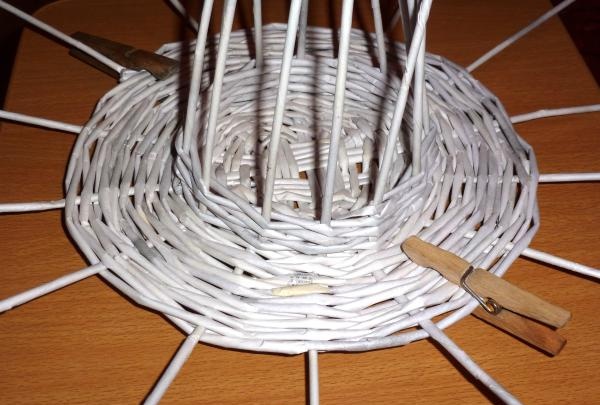
We weave the same side from the outer tubes.
We hide all the remaining ends in the weave, and cut off especially long remains and fix them with glue (preferably at the bottom).
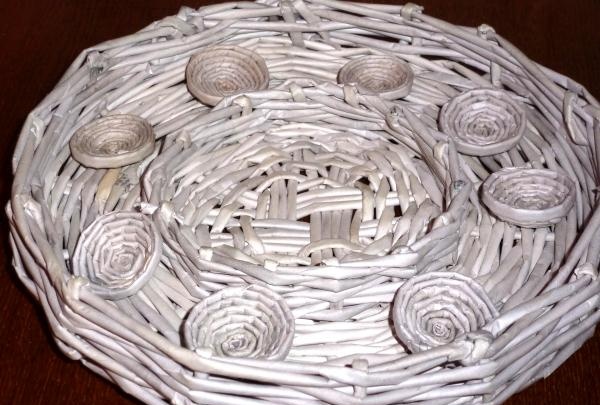
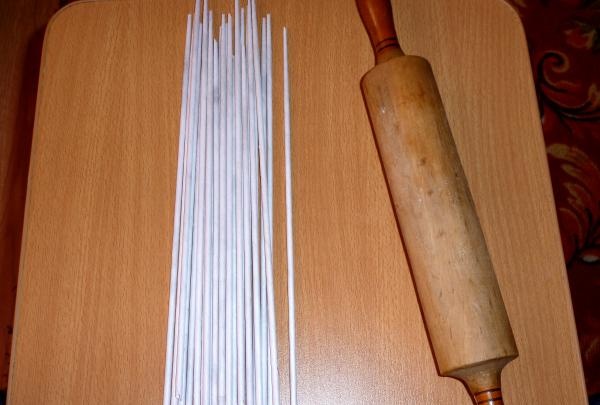
The vase itself is ready. Now let's start creating plates in which future painted eggs will show off. For this I needed glue, pipes and a rolling pin.
We carefully roll out the tubes with a rolling pin so that they become flat and soft, since in the future they will have to be twisted.If you don't roll it out enough, they will simply break.

For one cup I needed two straws. It is better to build them up before the rolling process. The finished double tube needs to be thoroughly greased with glue and twisted into a circle like this.
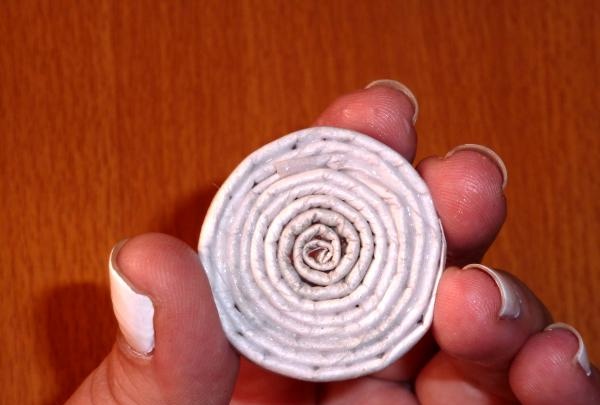
When the glue begins to stick a little, the bottom of the cup should be squeezed out a little.
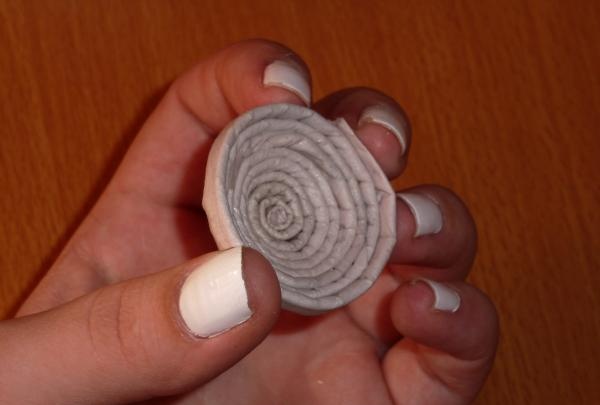
The number of cups depends only on how many decorated eggs you plan to place next to the cake. This is the Easter vase I got.
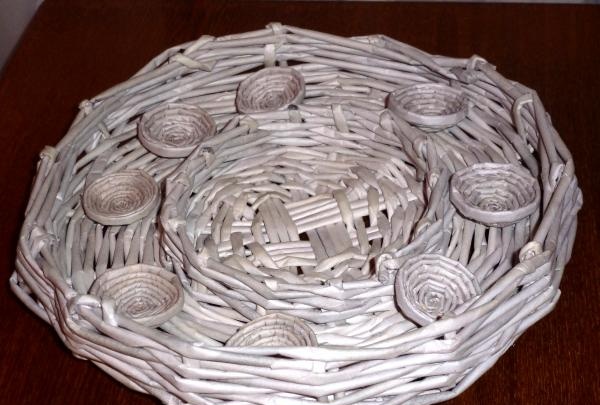
Ideally, it can be painted to suit any taste, but I decided to leave it in natural light colors. Firstly, it somehow reminded me of a nest, and secondly, against a light background, the eggs I painted will look much brighter!