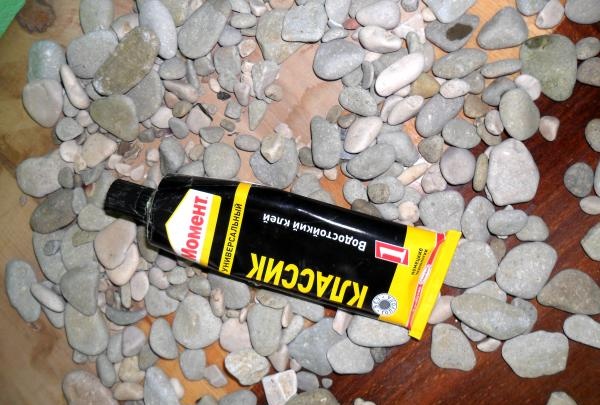
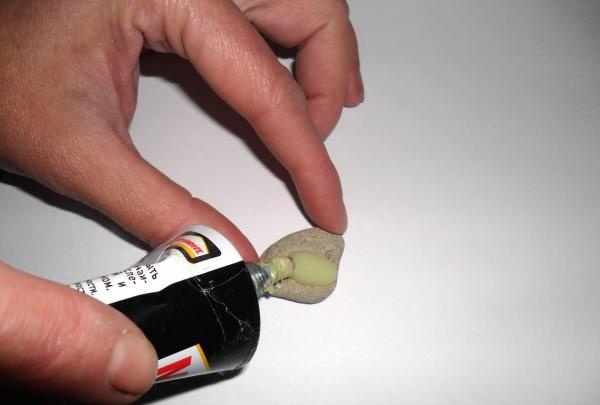
Glue type "Moment Classic".
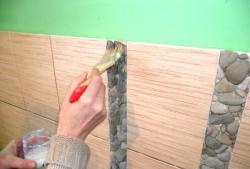
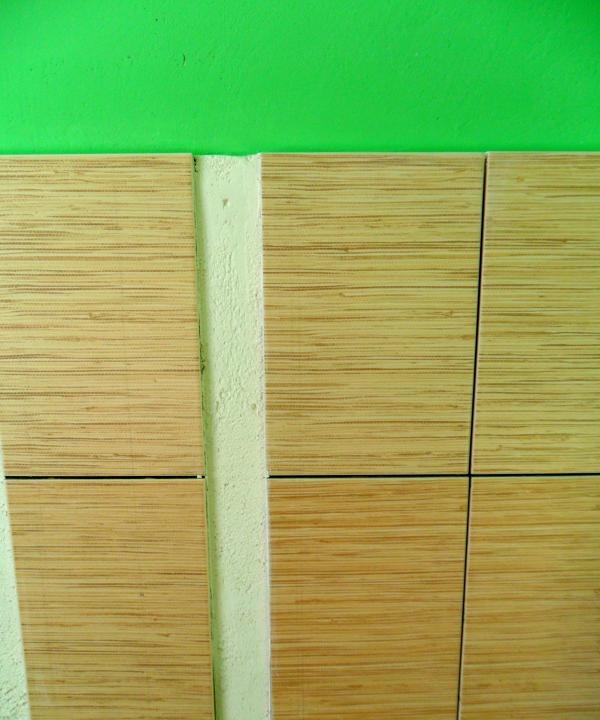
Stone varnish (or some primer) and small tweezers. Places for decors should be taken into account when marking tiles. The wall in the gaps left after laying the tiles must be leveled with tile adhesive or gypsum mortar and primed.
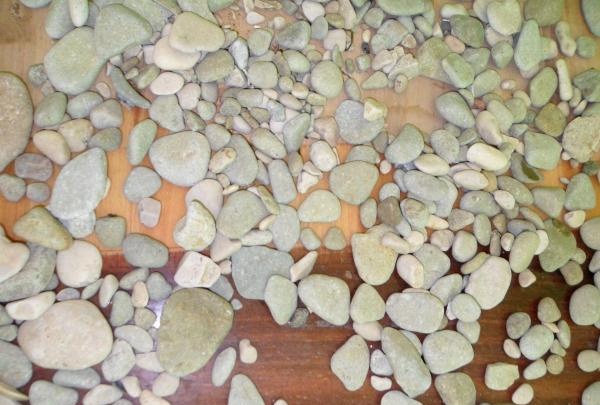
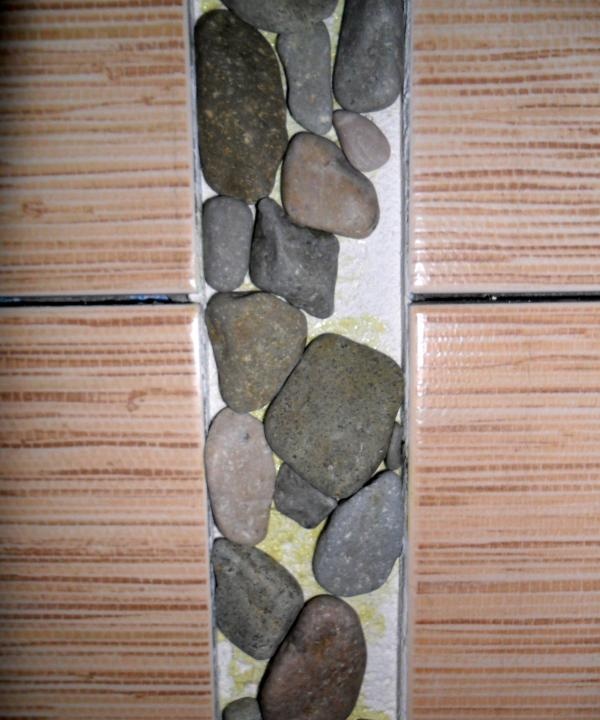
First, large pebbles are glued. The shape of the pebbles is selected so that their touching edges fit tightly against one another.
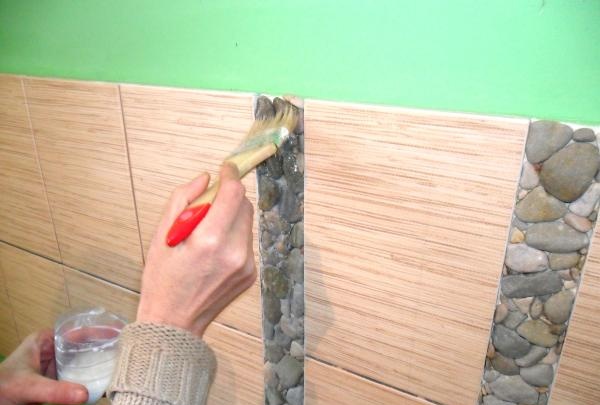
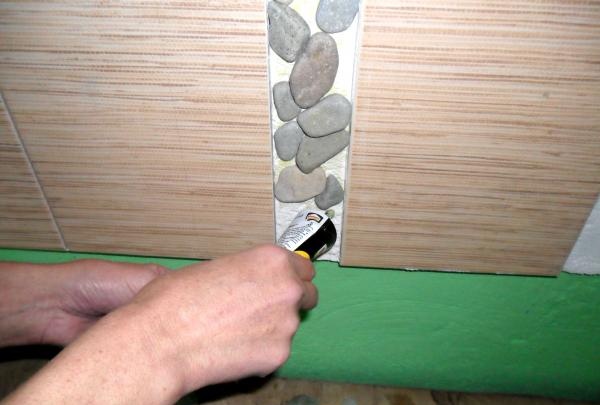
When working with Moment glue, you need to remember that a layer of glue is applied both to the wall and to the surface of the pebbles.
After the large pebbles are glued, the gaps remaining between them are filled with small and medium-sized pebbles. Working with small pebbles will be greatly facilitated by using small tweezers.
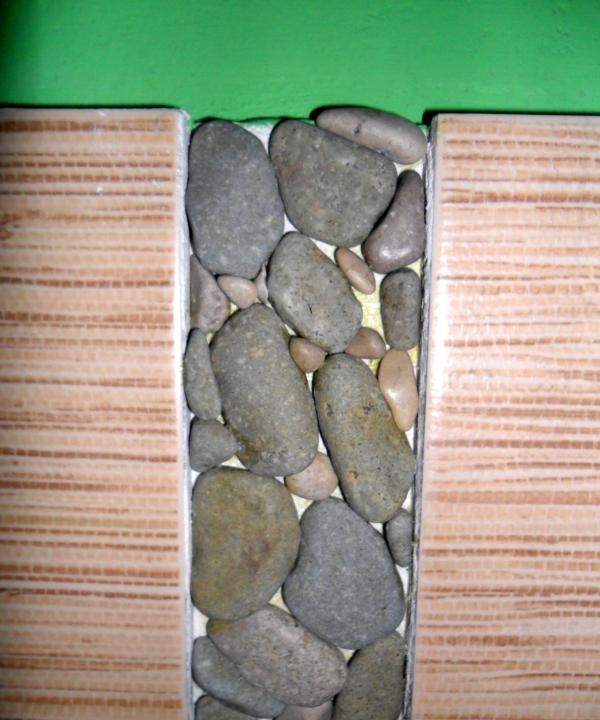
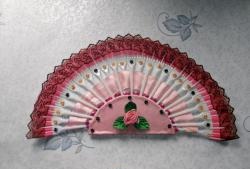
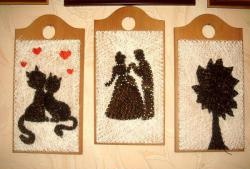
And now the decor is completely ready! Now the “finishing touches” are to coat the surface of the pebbles with stone varnish or (a more economical option) primer. This coating will close the pores on the stones, make their surface smooth and reveal color.