- Remains of acrylic yarn of the same density. I took yarn with 380 meters per hundred gram ball.
-Hook No. 2.
-Glue “Crystal”.
-Scissors.
-Needle for stitching.
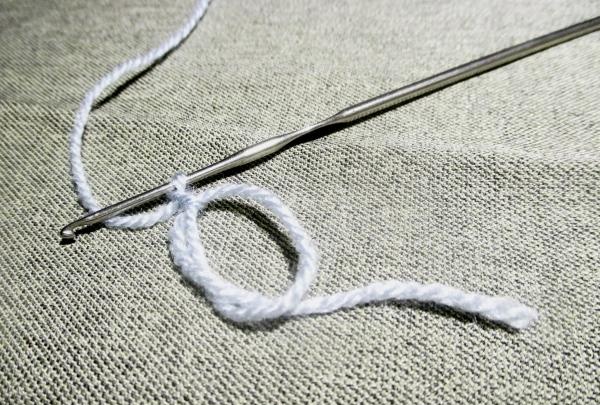
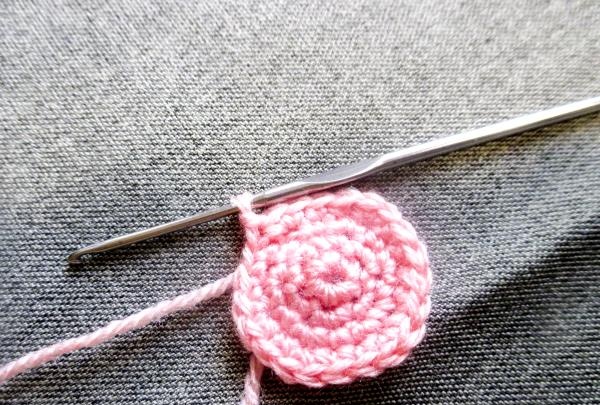
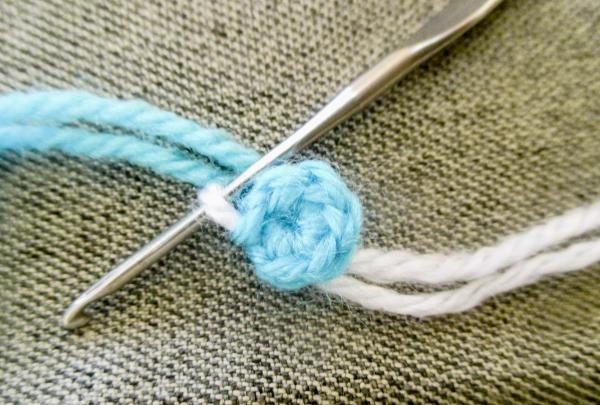
Begin knitting from an open loop.
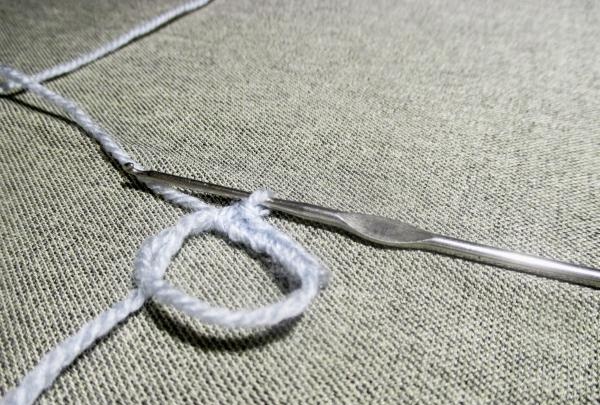
Then we knit 6 single crochet loops on it,
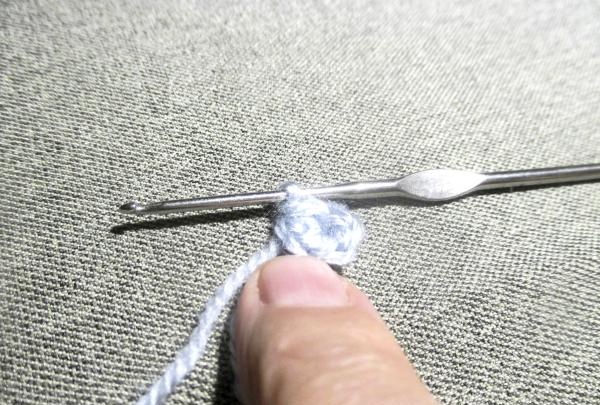
We connect it into a circle with a half loop.
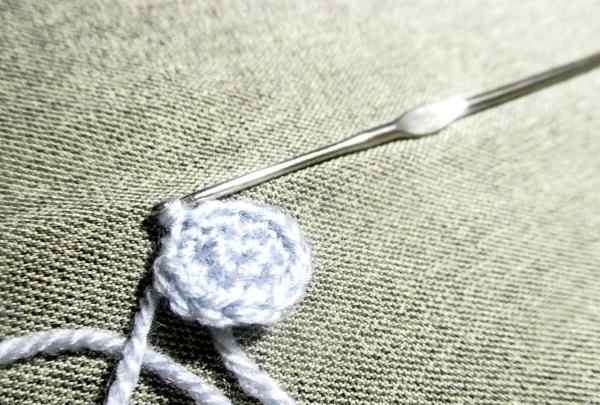
In the second row we knit two stitches into each loop and close the row with a half loop. And in the next row we add 3 loops evenly. You will get 15 loops in a row. We knit the next rows in a spiral.
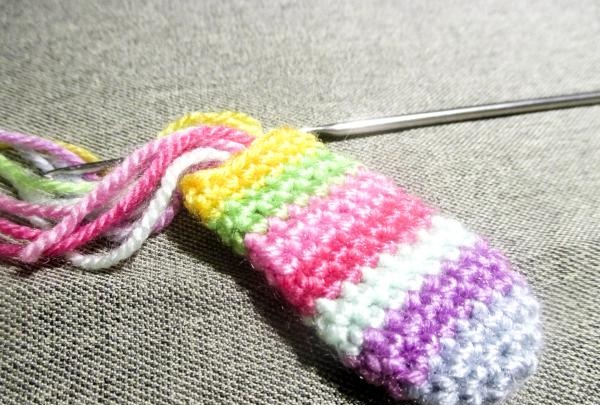
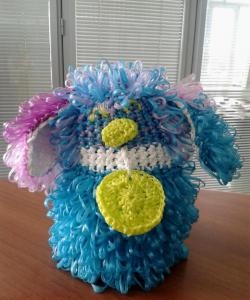
We change the thread and then knit two rows of each color. I found 7 types of different colors for the shell. I took it in a row as I wanted. You can pre-line up the balls and play with colors so that you like the color tints. You don’t have to break the threads until the end of the first ornamental fragment, although it is more convenient to do this right away, tying the previous thread with the next one.
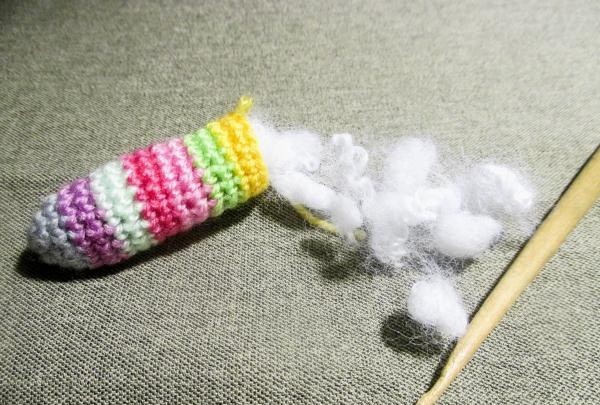
At the end of knitting each fragment, we fill it with padding polyester and remove the excess.

We knit the next fragment in the same order as the first. In the same way, fill the knitted area using a broken lead pencil.
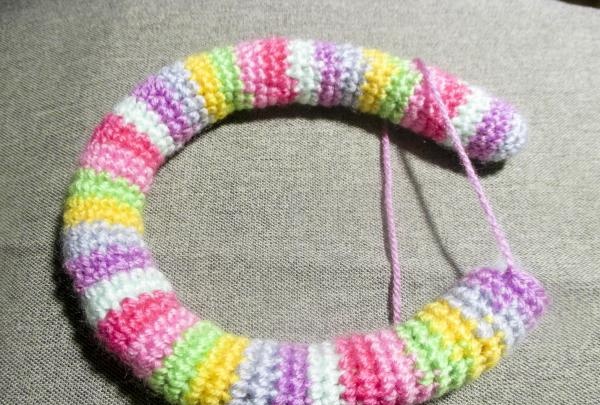
In total, we knit 4.5 fragments of 7 threads each. The length of the shell must be at least 30 cm.
Now let's start knitting the body. We cast on 6 single stitches on the open loop and continue knitting 3 rows, adding 6 additional rows in each. As a result, we will get 24 loops, although you can knit the body with 18 loops, which would also be good.
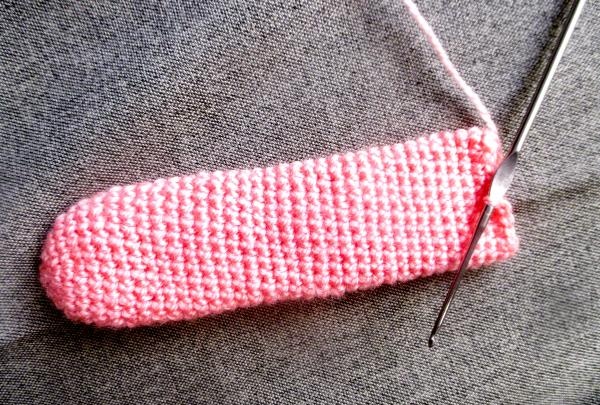
Then we knit without adding 11 or 12 cm.
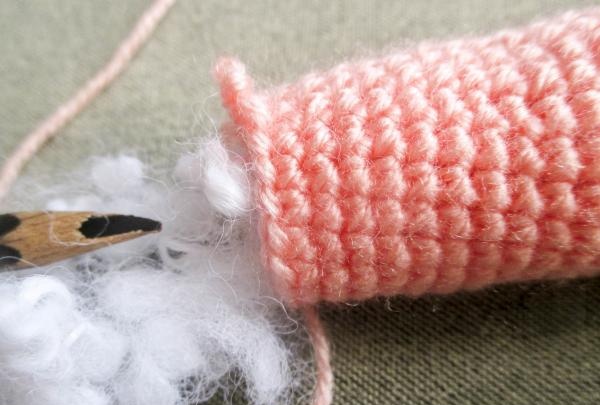
We fill the body with padding polyester, helping to push it through with a pencil. Then in the next row we remove 6 loops, 18 stitches remain. Then another 8 – 12 stitches remain. The last time we remove 6 loops and pull them onto a thread, which we hide in the body.
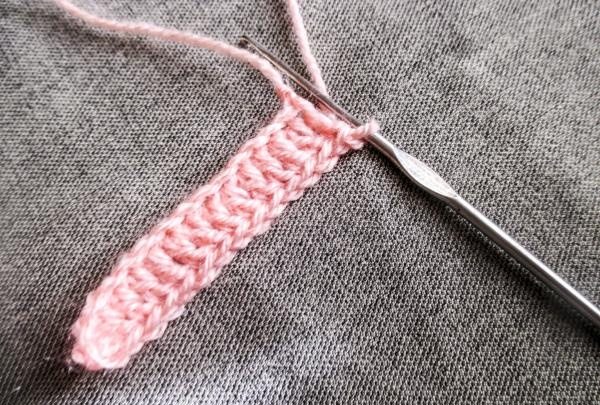
For the legs, we cast on 15 air loops and knit a double crochet into each stitch.
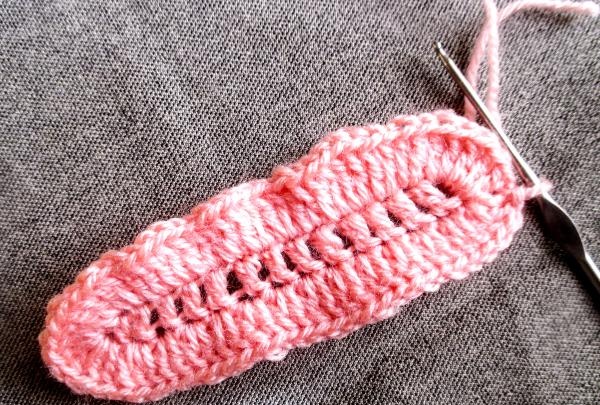
Then we make an extension of the canvas and tie double crochets on all sides, including the posts themselves (their side part). We knit two dc in each loop.
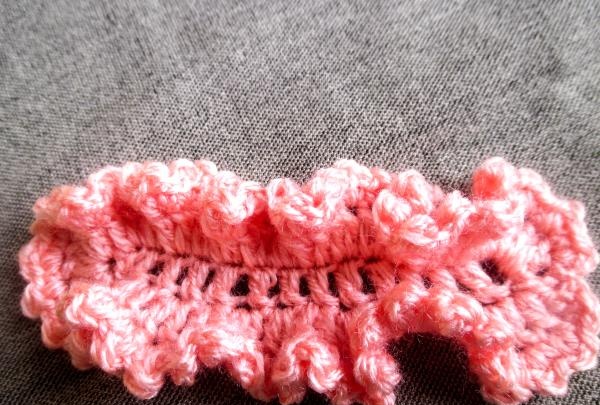
Now let's start tying. In each column we knit 1 single crochet, 1s/dc, 1s/bn. We have a beautiful base for the snail on which it will stand perfectly.
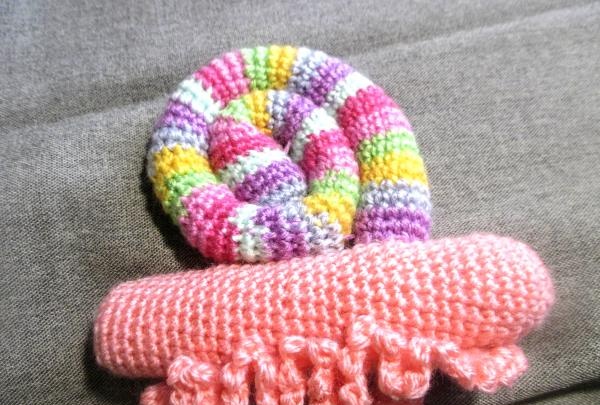
Now we sew this beauty in the middle of the body, and wrap the shell in a ring on top and also fix it on the body with a thread and a needle.
We knit eyes. We start, as always, with an open loop and 6 sc on it.
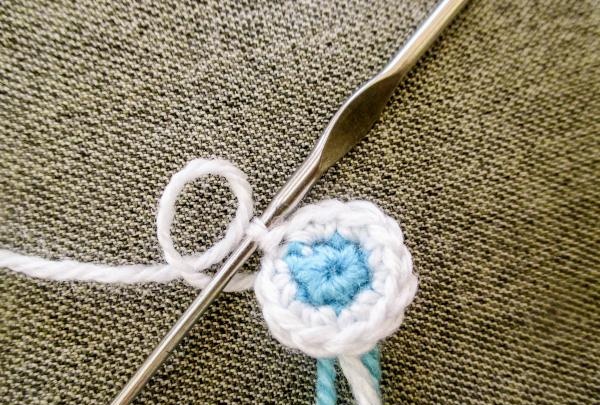
We continue with white thread, knitting 12 loops in a row.
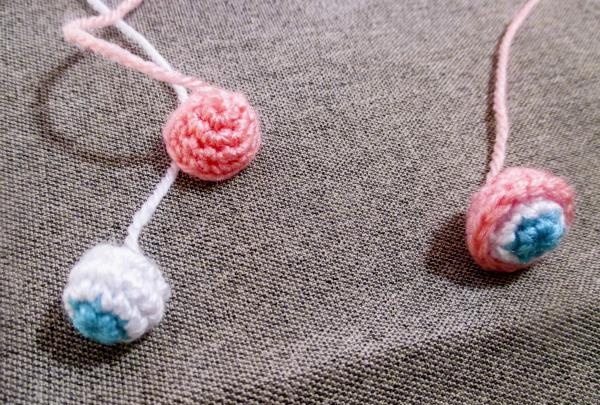
We make another row of 12 loops, and reduce the next one to 6. We push the ends of the threads there with a pencil and tighten.The result is an eye with a pupil. We knit a cap for it in three rows of 12 loops. We start, as usual, with an open loop.
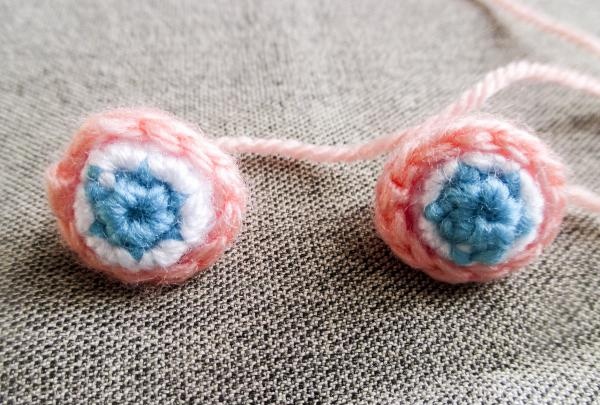
These are the eyes we got.

Sew them to the edge and embroider the mouth.

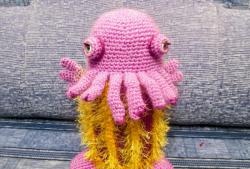
This is how the snail turned out from the side.
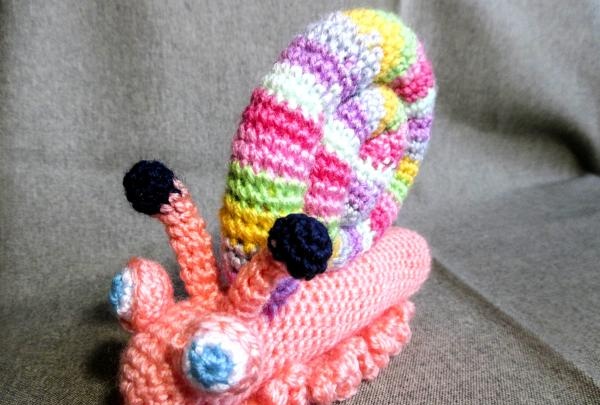
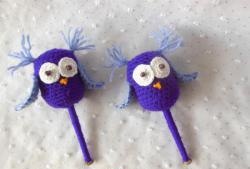
We knit the horns and sew them behind the eyes in front of the shell.
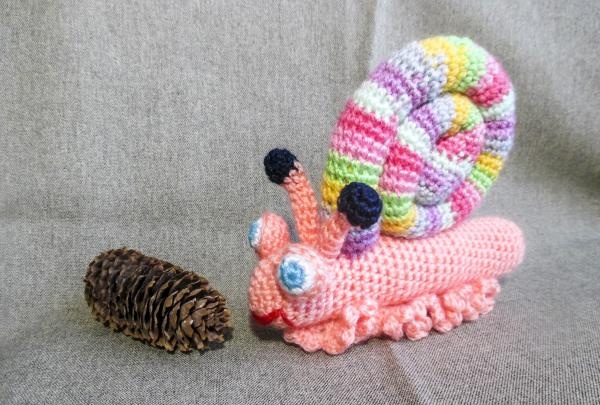
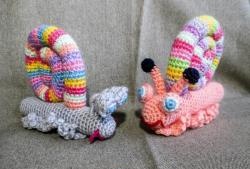
Now the snail crawled towards the cone.
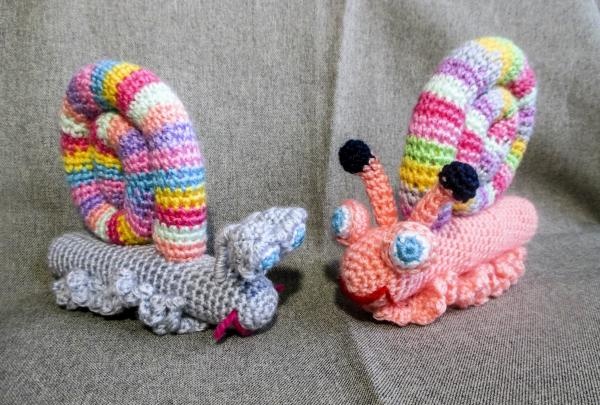
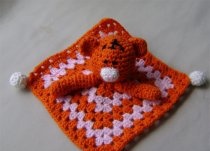
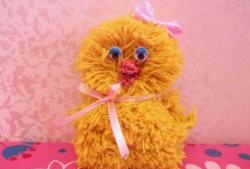
And here I met my girlfriend. The toys turned out great. Make your children and grandchildren happy!