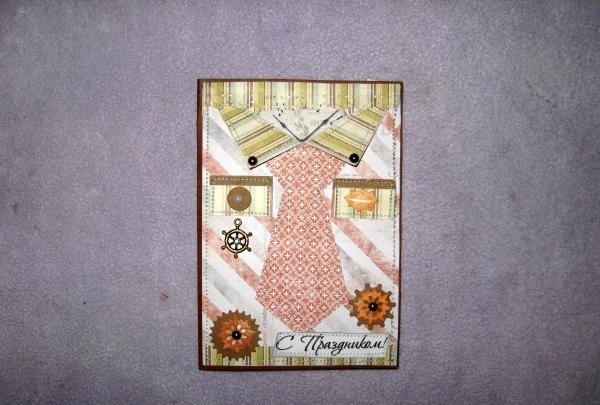
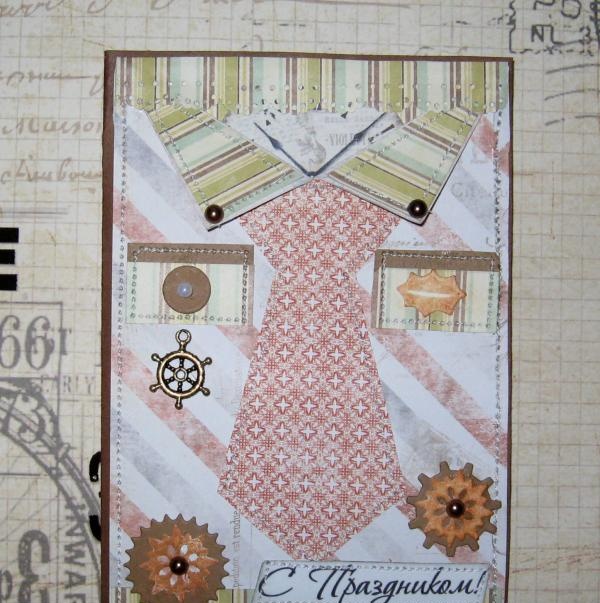
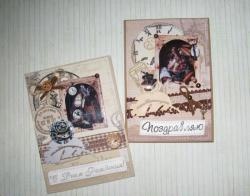
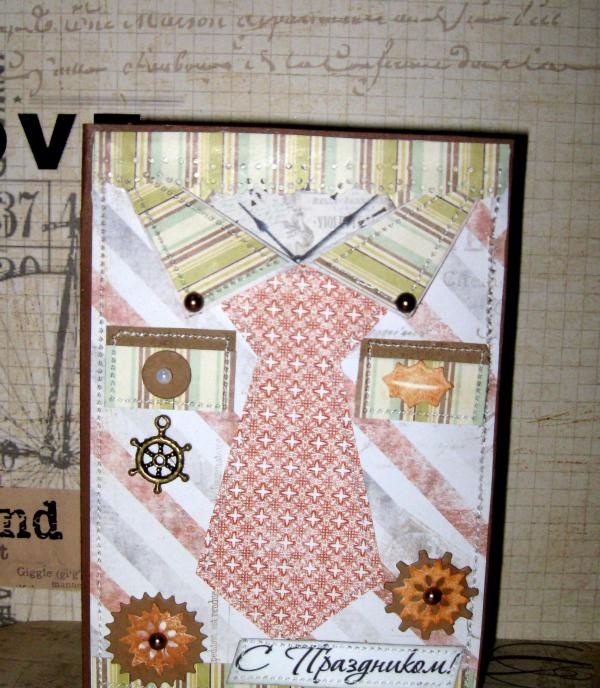
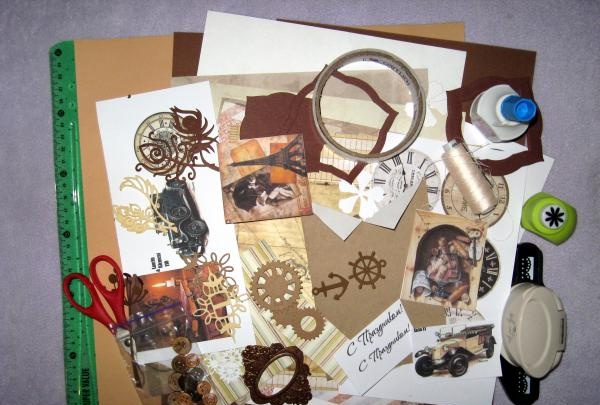
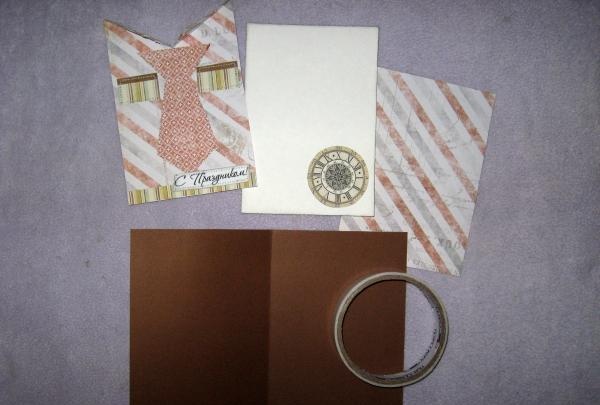
Now let's look at a master class on creating a men's postcard in the form of a shirt and tie, which corresponds to the men's style and looks quite representative and original. A technician will help us in making such a postcard. scrapbooking. For this master class we take:
• Dark brown cardboard;
• Scrapbooking paper 20*20 cm in several different colors;
• Round pictures with a clock;
• Brown gear cut-outs;
• Bronze anchor pendant;
• Watercolor paper;
• Printed inscription “Happy Holidays”;
• Brown half beads;
• Border hole punch with lace;
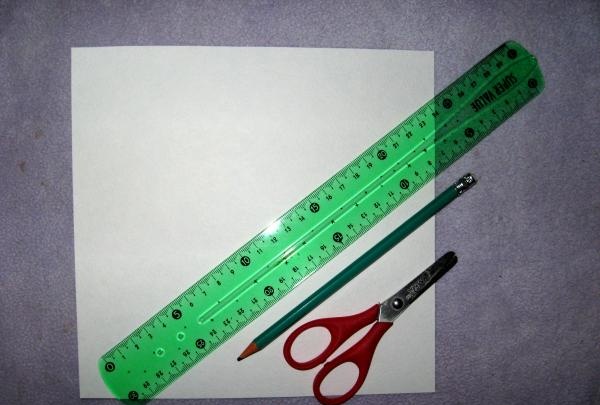
• Ruler, scissors, double-sided tape, pencil, glue gun;
• PVA glue;
• Ink pad for tinting.
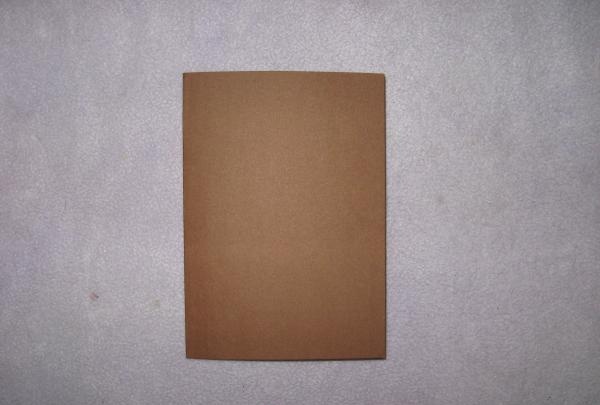
First, cut out a 15*22 cm rectangle from cardboard, unfold it and divide it exactly in half by 11 cm each and draw an invisible bend line with scissors.


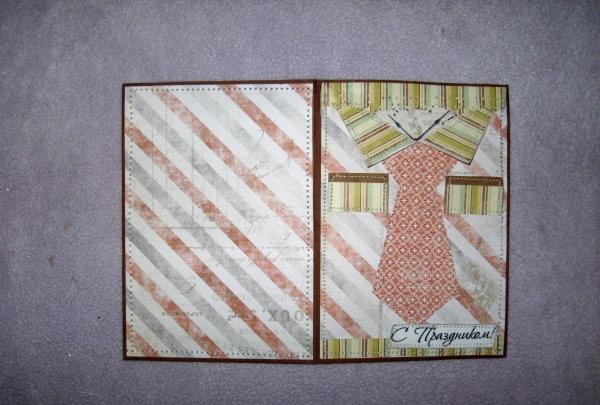
Fold and set aside for now. Use scrapbooking paper with contrasting colors, such as a brown and gray stripe for a shirt and a red and white flower for a tie.
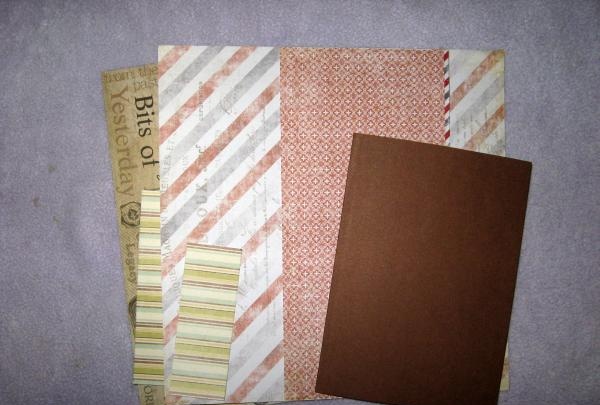
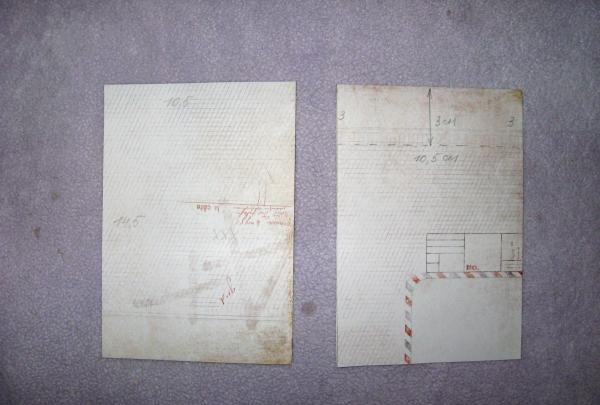
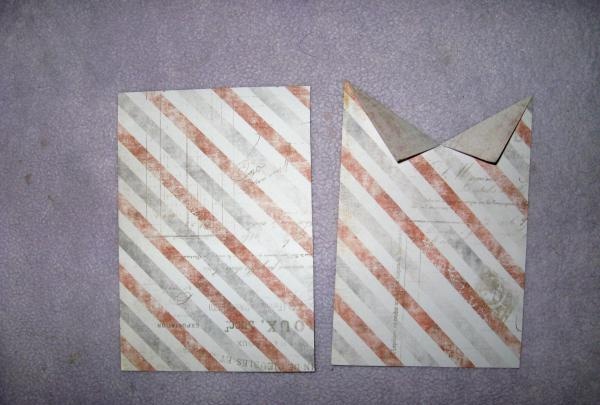
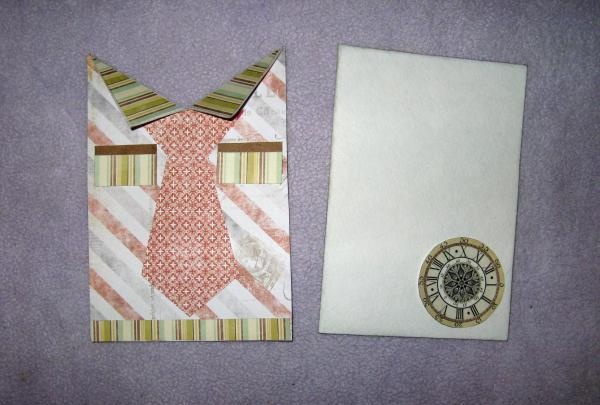
We measure two rectangles for the shirt 10.5 * 14.5 cm, one for the back of the postcard, and the second we take and divide exactly in half and retreat 3 cm down. We make a cut in the center with scissors and fold the collar, as in the photo.
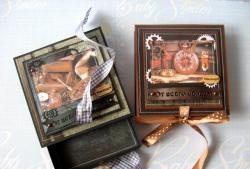
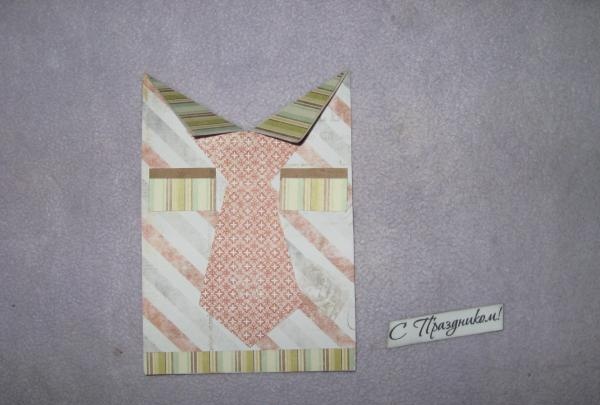
From another paper we cut out this paper tie. From brown cardboard and third scrap paper we cut out small rectangles for pockets. We glue a rectangle onto the front of the base, glue a watch onto it, a tie and pockets onto the shirt.
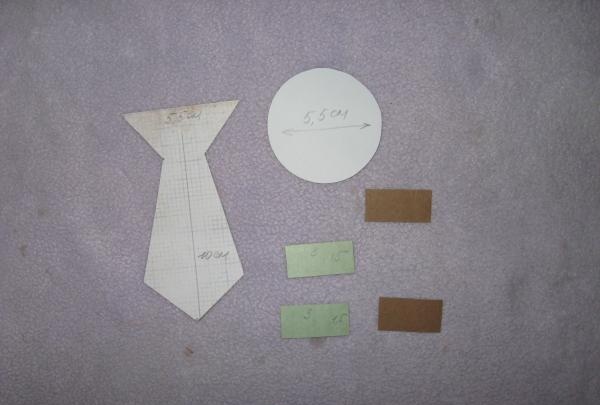
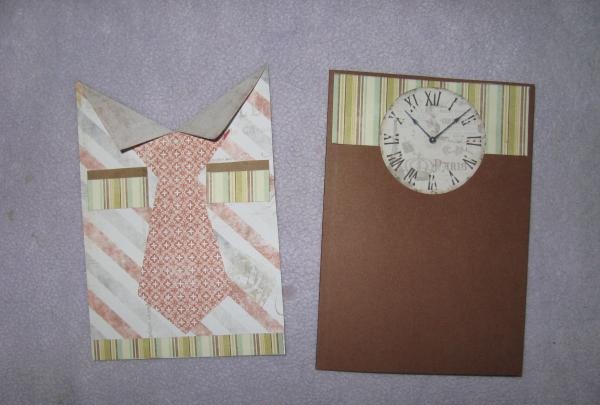
From watercolor paper we cut out an 11.5 * 14.5 base for the inside of the card, and glue a clock onto it at the bottom right.
We tint the inscription along the edges with a pad and glue it at the bottom. We sew the glued elements with a machine.
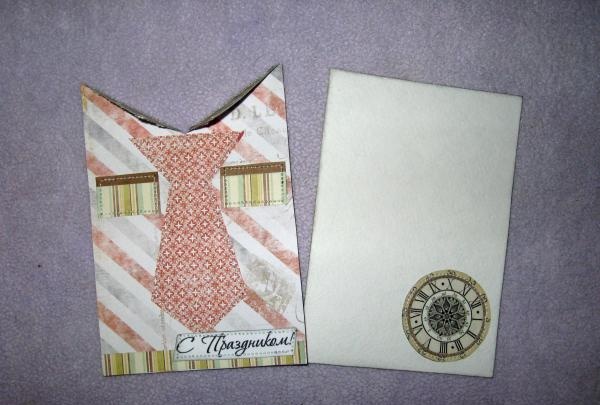
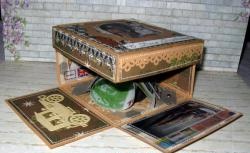
Now we glue it to the base, and use a hole punch to make openwork stripes inside.
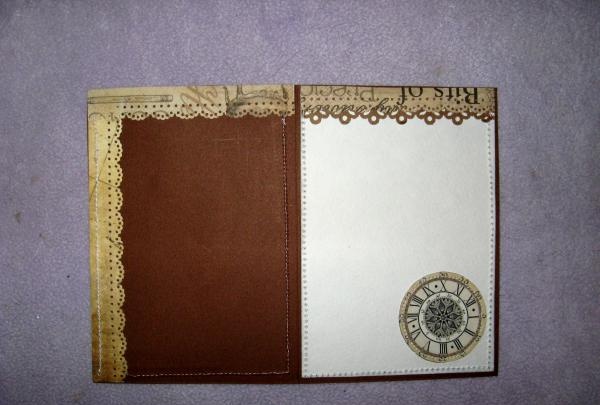
We sew together both sides of the card together with the scrap paper base. Now let's glue decor gun and PVA glue.
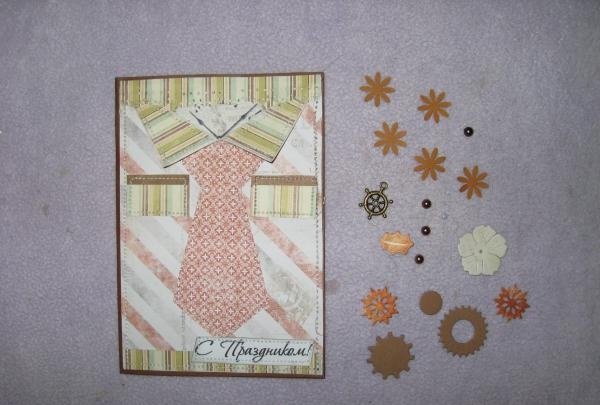
Ready. The result is a very stylish and beautiful postcard for a man. Good luck and have fun!