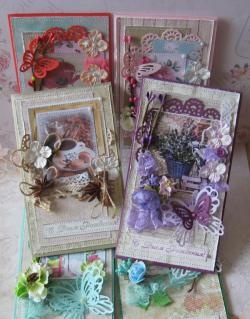
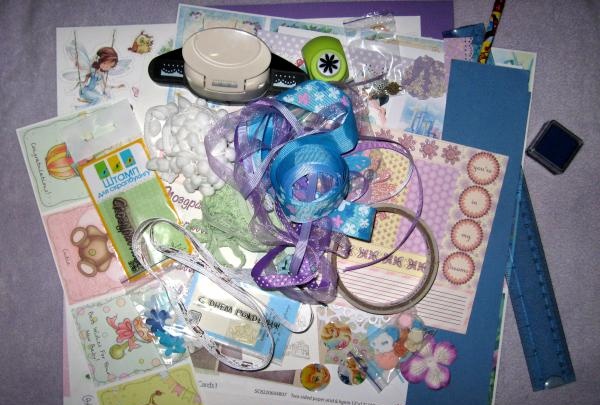
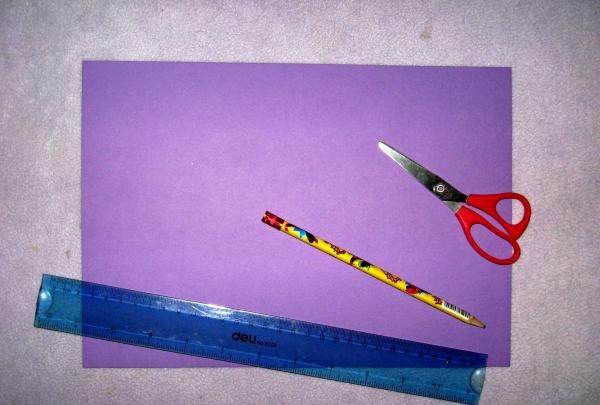
Now we will just consider making an interesting postcard-envelope for a girl with aging effects. Let's start and take:
• A sheet of purple cardboard A4;
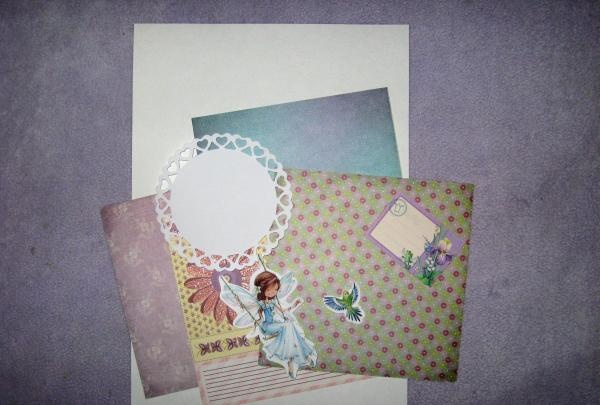
• Watercolor paper;
• Three sheets of scrap paper in purple colors, size 15*15 cm;
• Picture with a girl;
• Pearlescent white circle;
• Acrylic stamps: “Congratulations”, owl, patterned;
• Blue and burgundy ink;
• Lettuce lace;
• Purple rep ribbon with white polka dots;
• White ribbon with bobbles;
• Epoxy sticker with a girl;
• Flower hole punch;
• Border lace hole punch;
• Large white and purple hydrangea;
• Rose flowers made of polymer clay;
• Paper roses, white and pink paper flower;
• Purple organza ribbon;
• The center with rhinestones is purple;
• Blue and purple pearl half beads;
• Scissors, PVA glue, ruler, double-sided tape, pencil, glue gun.
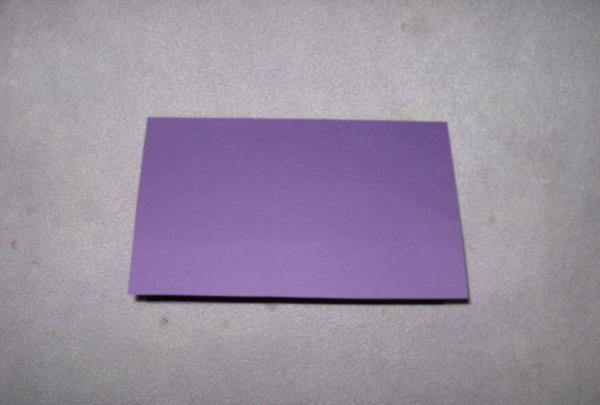
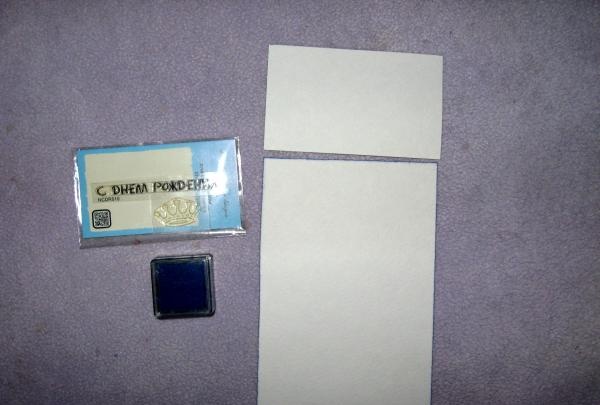
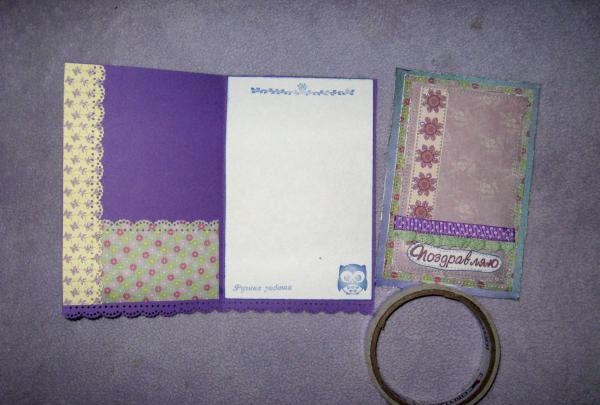
From cardboard we cut out a blank 10.5 by 15.5 cm when folded.
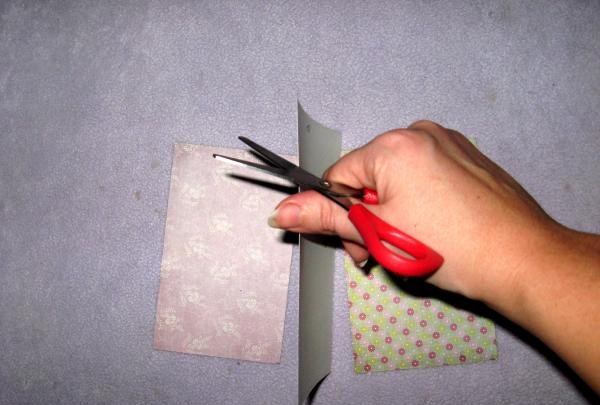
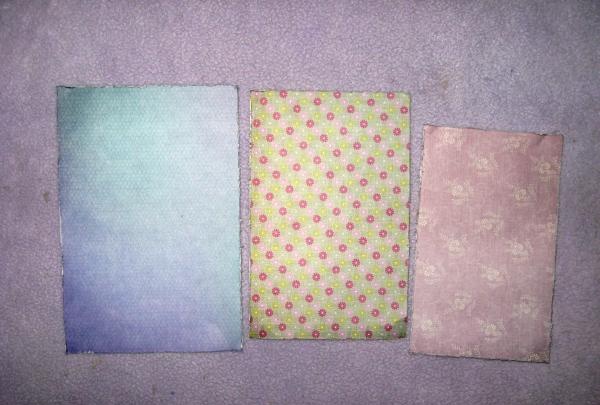
We take scrap paper and cut out three rectangles: 10*15 cm, 9*14 cm and 8*13 cm. This is for the top layer of the card. We make lace at the bottom of the workpiece.

Now we age each rectangle using scissors and scratch it.
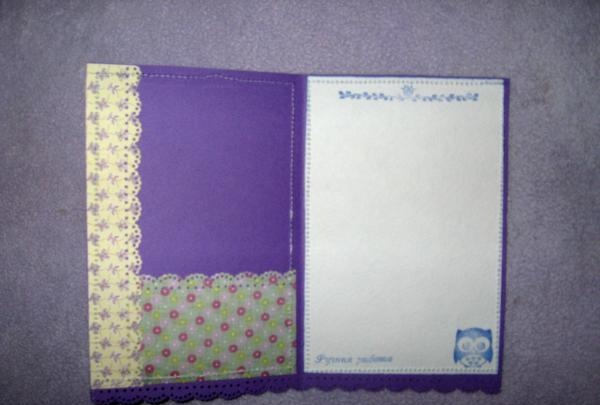
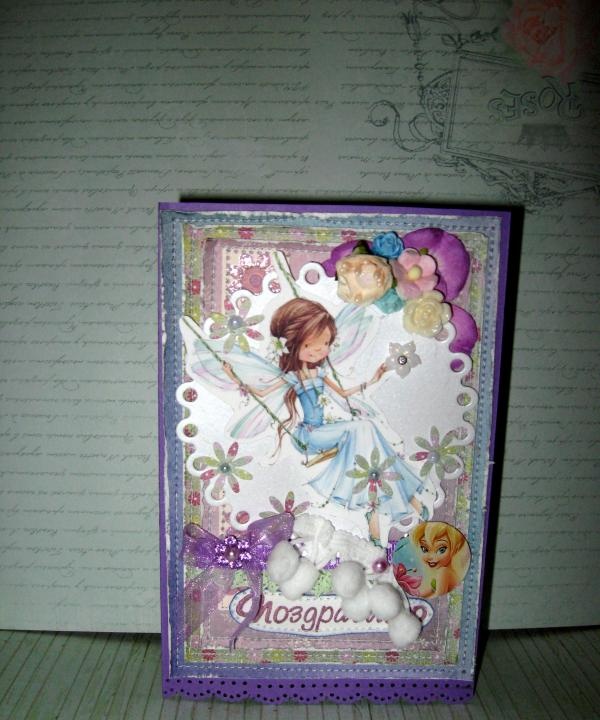
We also cut out a 10*15 cm blank from watercolors. We make stampings, as in the photo.Glue the girl onto the circle.
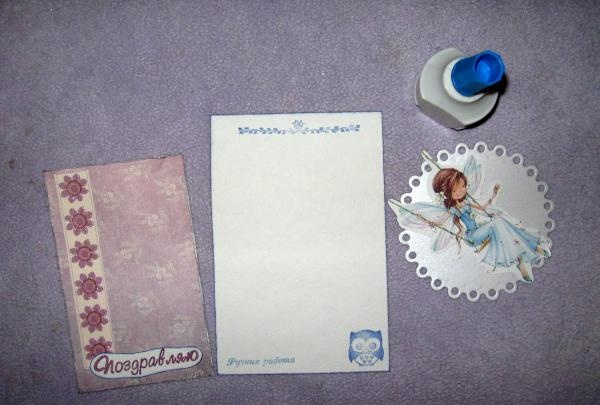
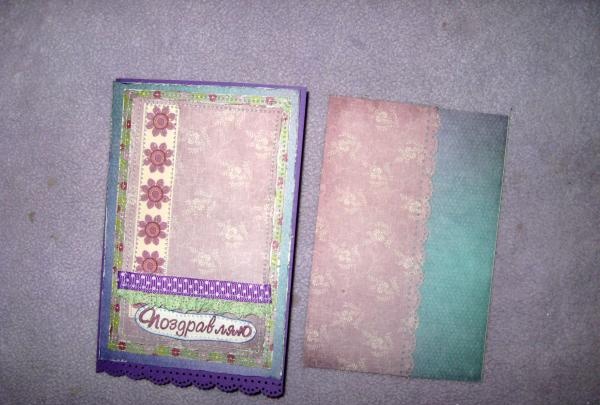
On the topmost layer we apply lace with a ribbon and an inscription, as well as a strip of other paper. Sew by machine.
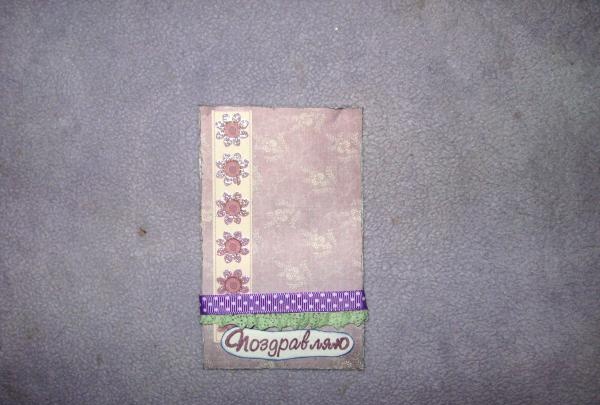
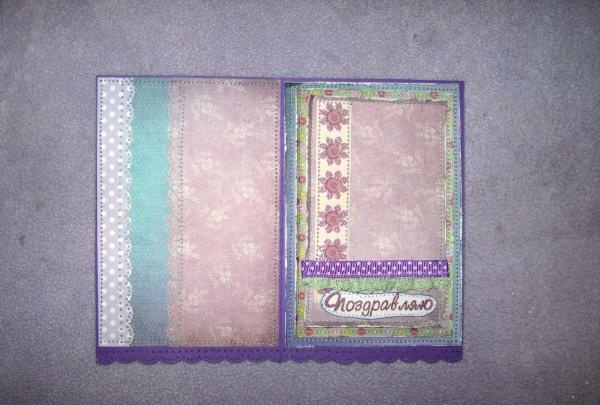
Now we glue each layer, sew it with a machine, and so on for all three layers. From the remaining paper we assemble a 10*15 cm rectangle for the back. We glue both parts to the base, inside there is a watercolor blank and sew it on by machine.
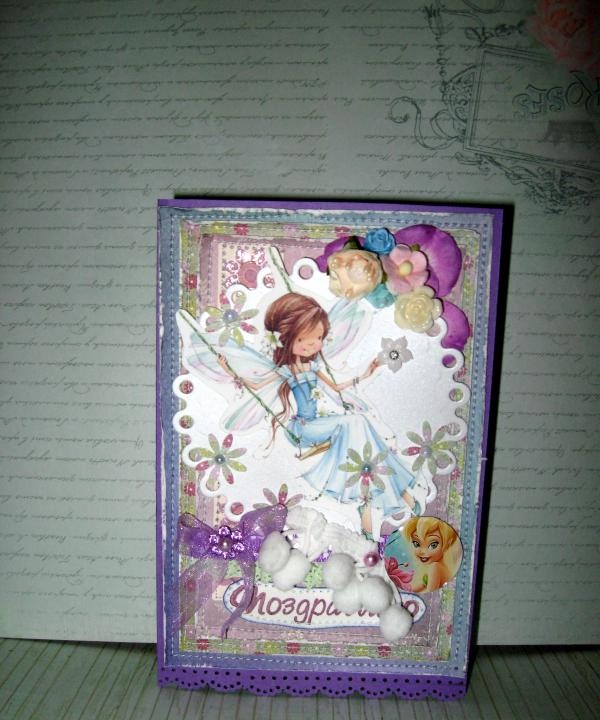
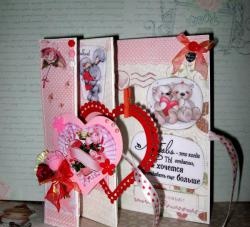
We glue the circle with the girl on the front. We punch holes in the flowers and decorate the circle with them. We glue flowers, ribbon and other decorations.
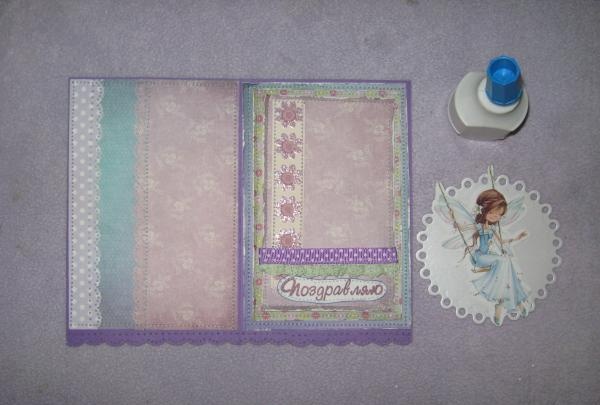
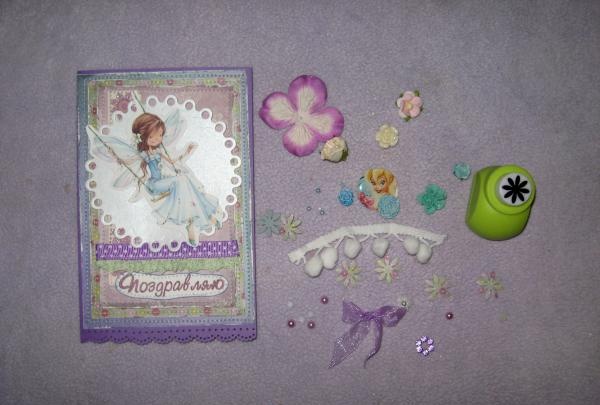
Inside we glue a pocket for money. Ready! The result is such an interesting postcard for a little girl.