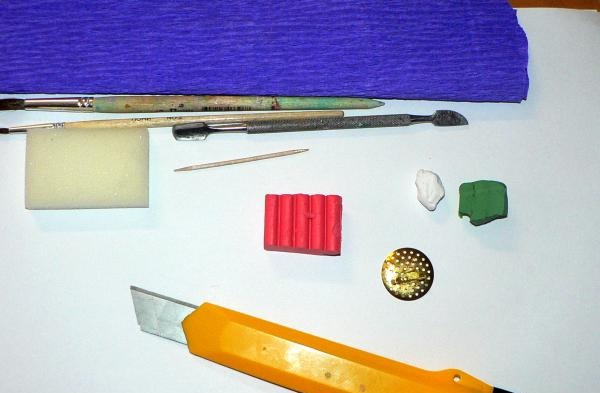
In order to ultimately get a rose brooch, we need to stock up on the following:
- polymer clay of three colors: pink, white and green, and we will need just a little white to slightly dilute the original pink color in the buds;
- thick corrugated paper to give the petals texture;
- basis for brooches;
- glue for attaching the rose to the base;
- varnish for coating the finished product.
You should have a stationery knife, a pusher or a wooden toothpick, and a piece of foam rubber on hand so that the semi-finished product does not become deformed during operation.
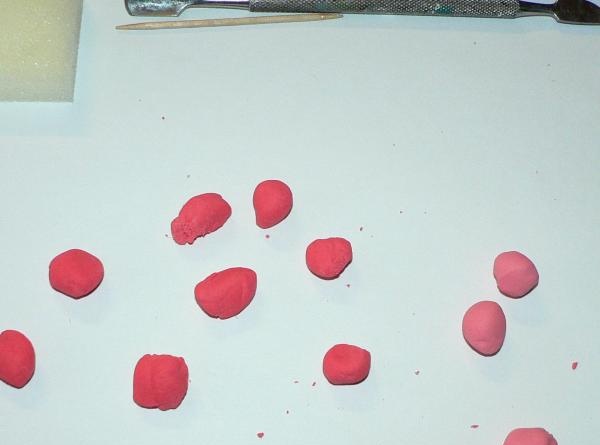
Knead the pink polymer clay and tear off several approximately equal pieces - these are the future rose petals.
We take equal pieces of pink and white plastic and mix - we get a pink color of a lighter shade.
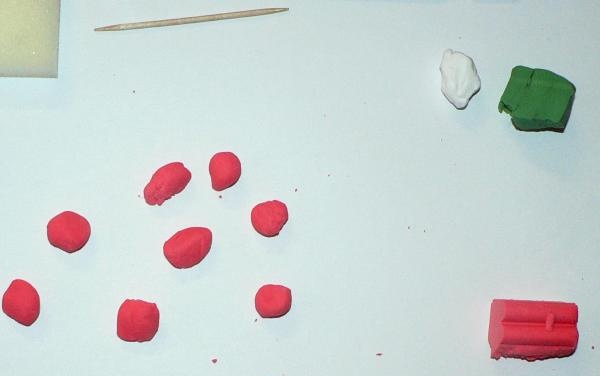
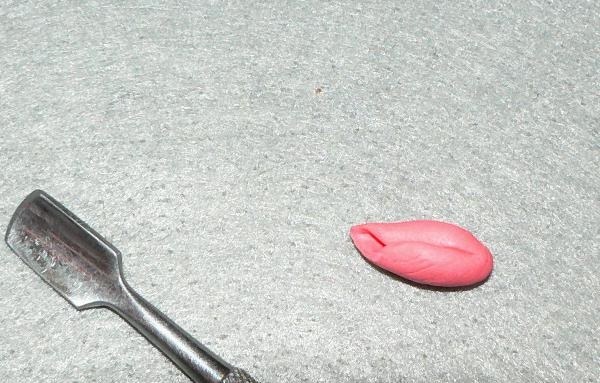
We form blanks of petals from light pink plastic.
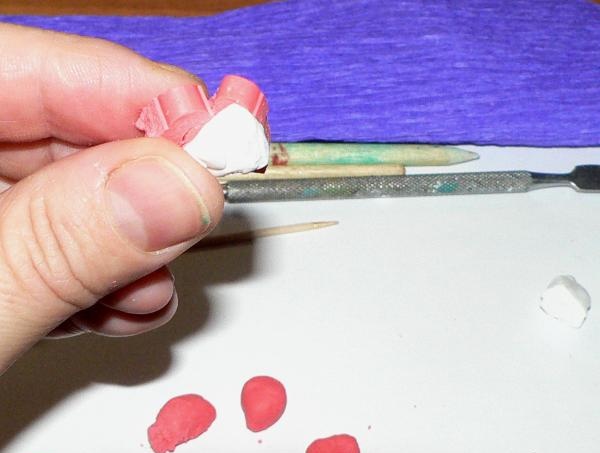
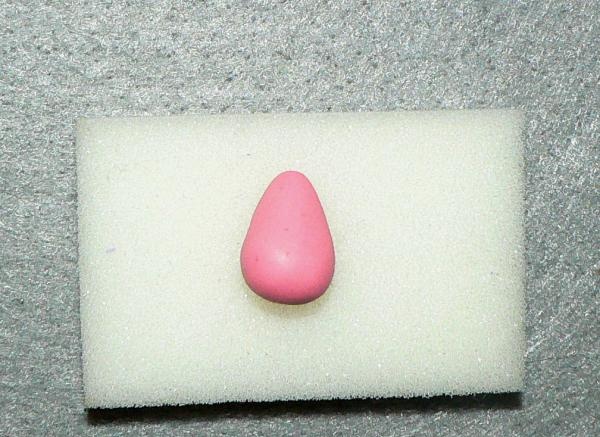
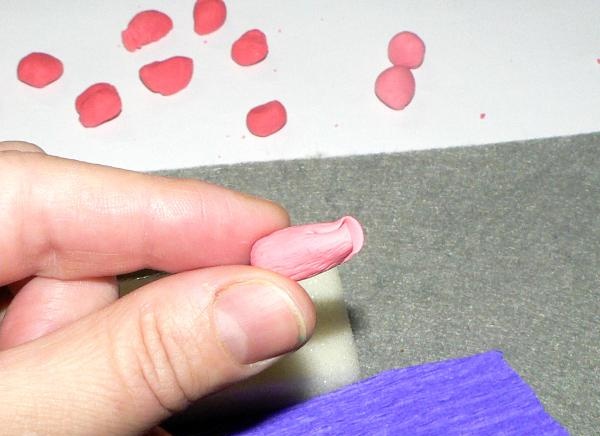
We take one light piece and form the base of the bud, giving it the outline of a droplet.
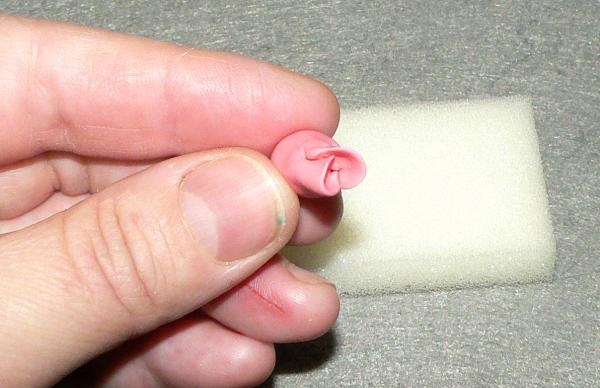
Using a knife and a pusher, we cut the top of the base and give it the appearance of the middle of a rose.
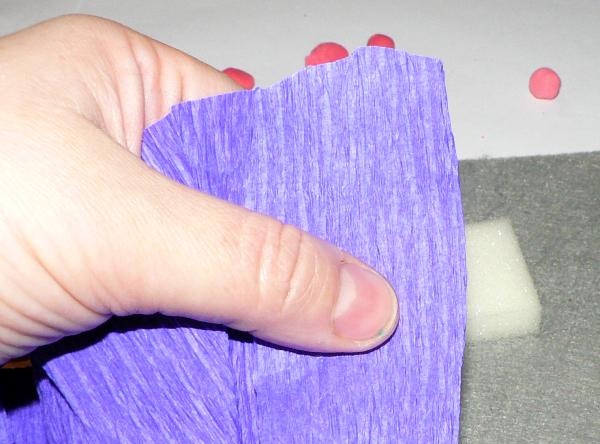
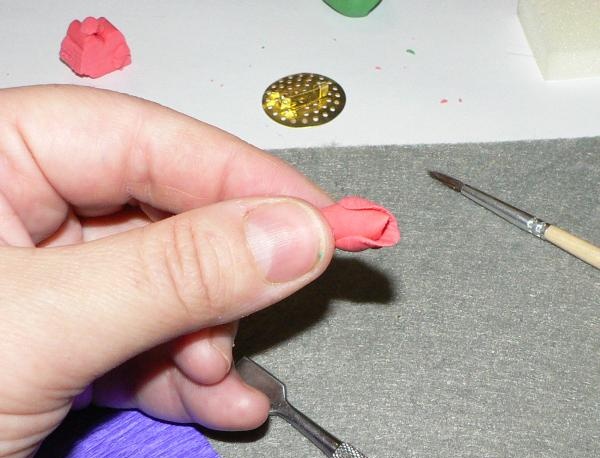
Take a piece of crepe paper and press it against the base of the rose to give the material a distinctive texture.
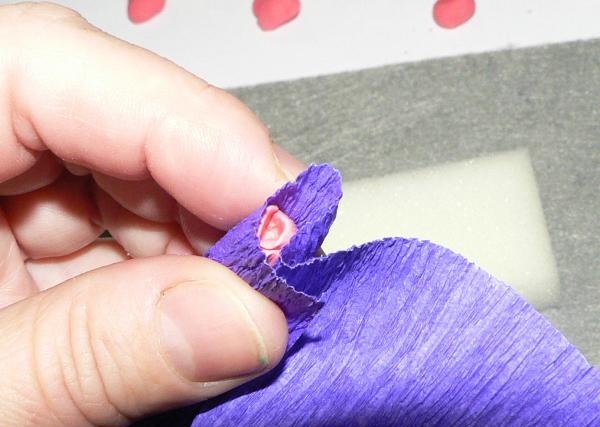
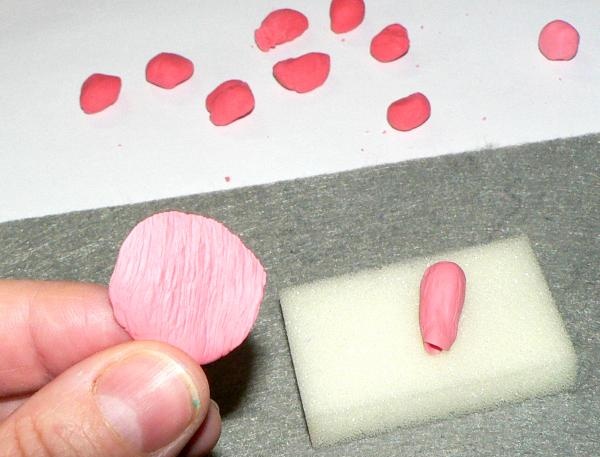
Take a light pink piece, knead it into a petal-like cake, wrap it in corrugated paper, and squeeze it.
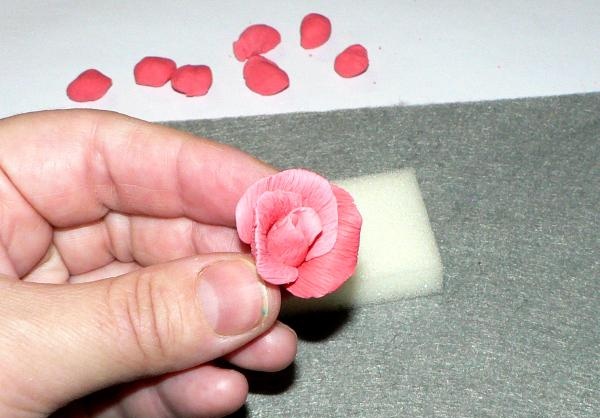
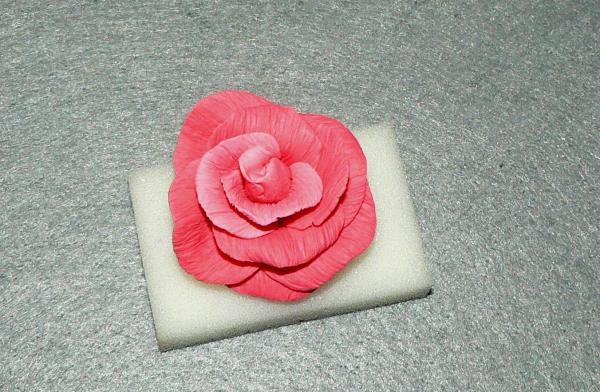
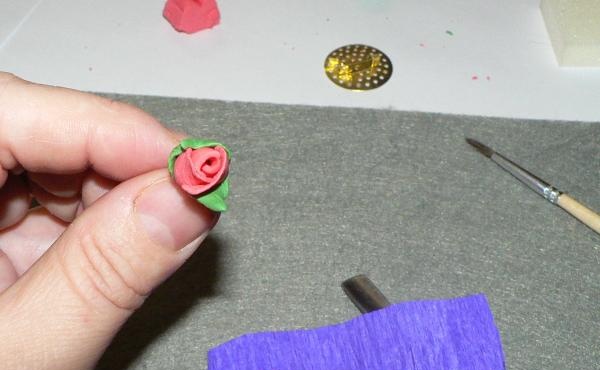
We texture all the petals, sticking them to the base of the bud sequentially, placing one on top of the other.
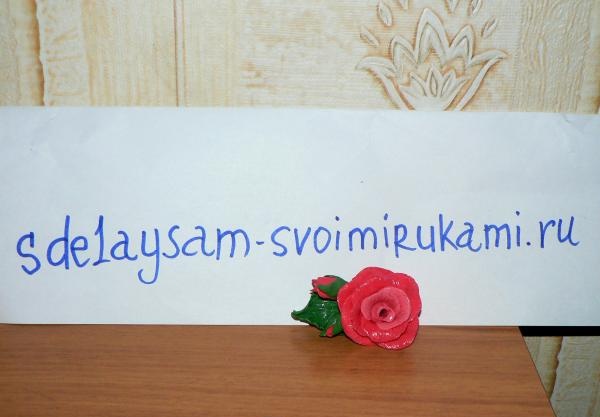
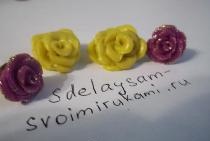
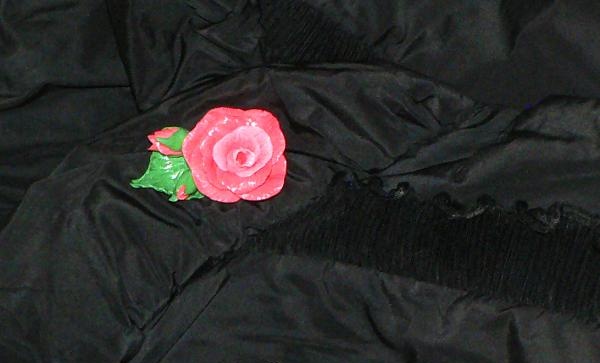
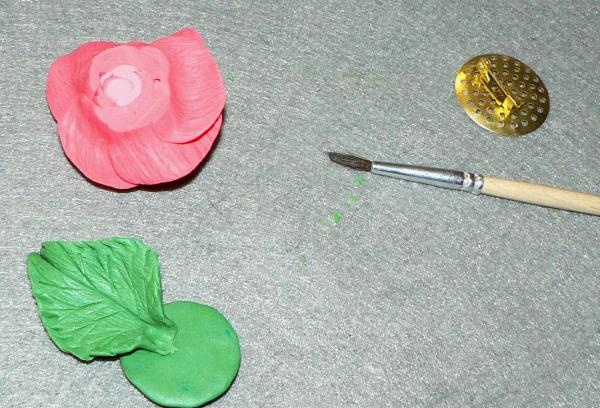
The rose is ready.
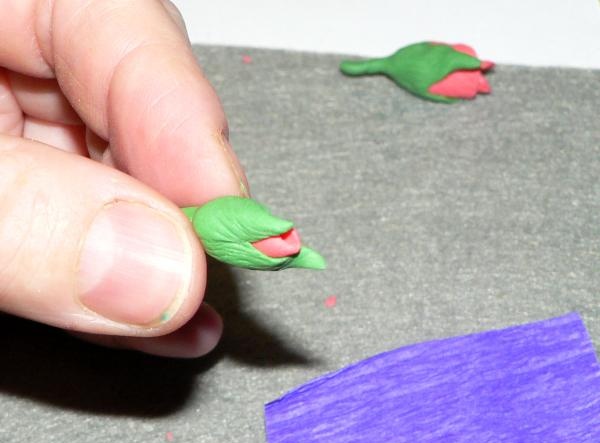
Now we will make buds. We repeat everything we did at the beginning when creating the rosette.
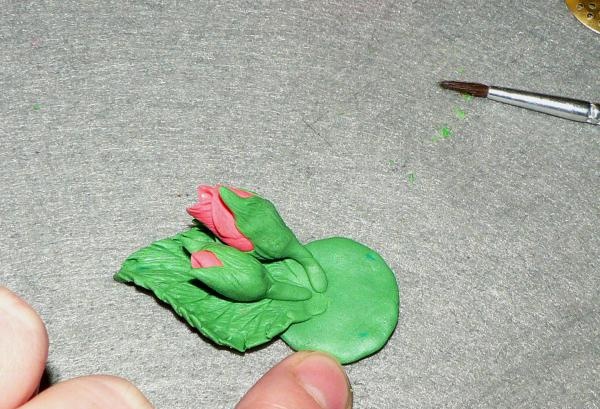
Roll out a small layer of green clay, sharpen the edge and wrap it around the bud. We apply corrugated paper. This is how we create two buds on legs.
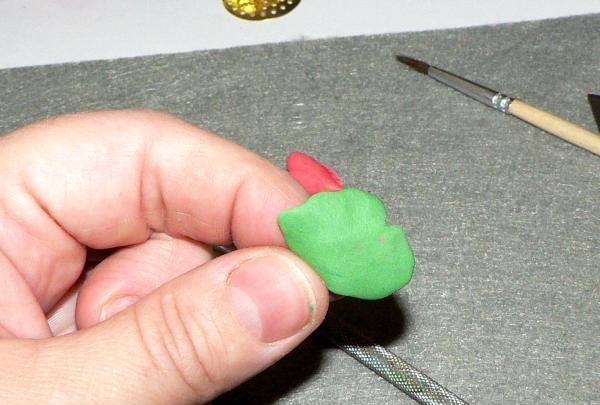
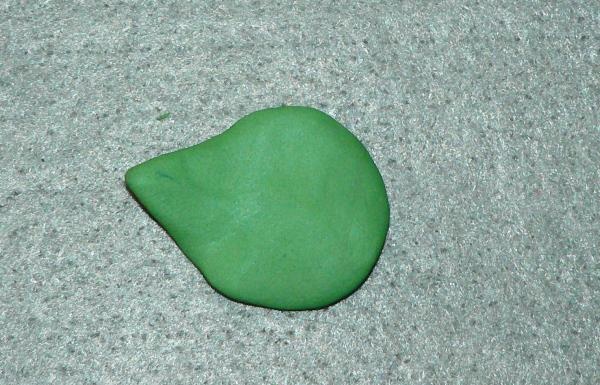
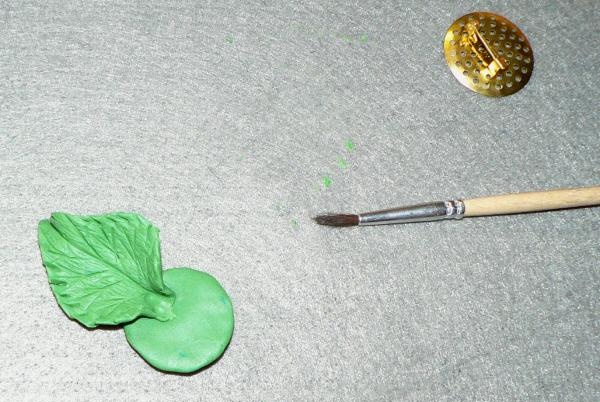
Let's start creating the sheet. To do this, take a larger piece of green plastic and give it the shape of a rose leaf, texture it with corrugated paper and, using a pusher, apply a pattern of veins and make teeth along the edges.
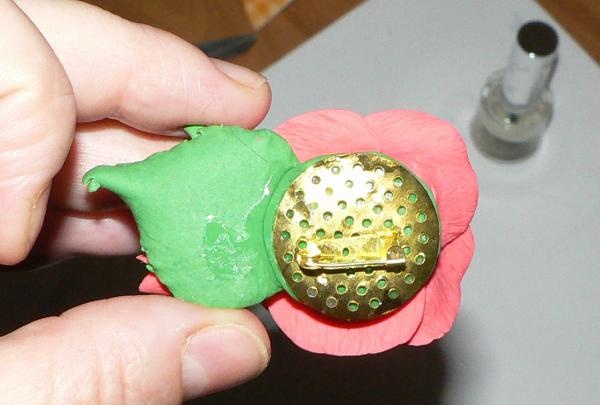
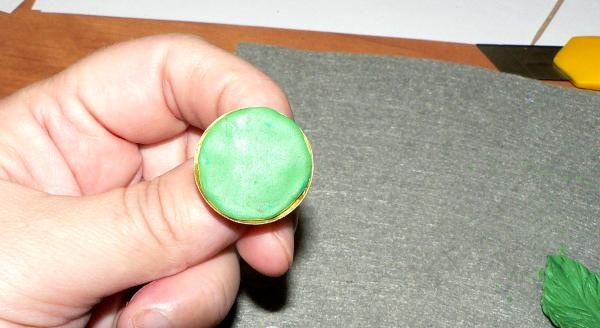
Take a piece of green clay and form a circle the size of the brooch base.

To this base we sequentially attach a leaf and two small buds. We use a knife to cut off the excess at the bottom of the rose so that it sticks well to the base.
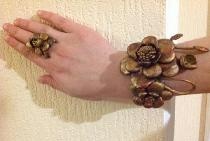
Lastly, we attach the rose to the plastic base, carefully pressing it with a pusher or stick through the middle of the bud.
Now we put this whole composition in the oven for about half an hour (temperature 110-120 degrees).
After cooling, glue the composition onto the brooch base and cover with varnish.
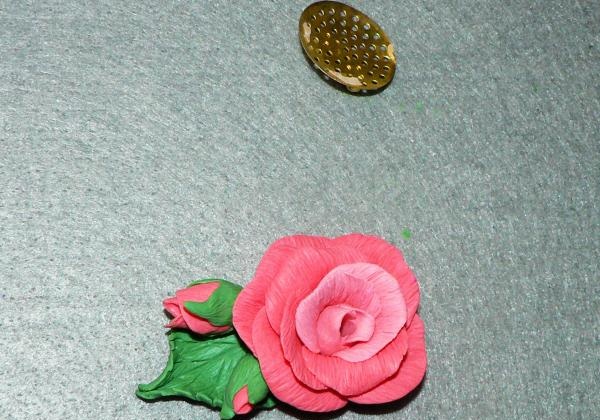
This spring brooch is ready to delight you and those around you!