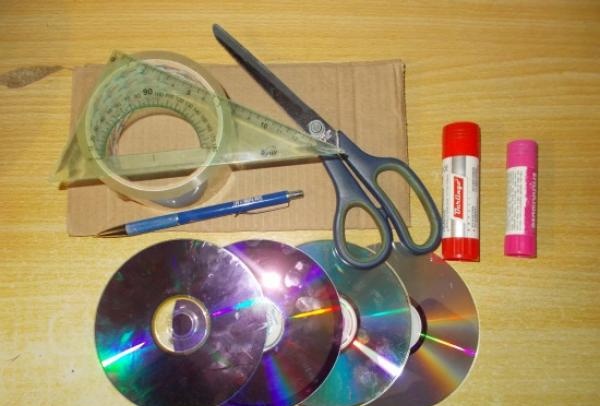
If you want to make a similar picture, you will need:
- Two laser discs (CD and DVD);
- The basis for the panel is made of hard cardboard;
- Ruler, pencil, glue, tape, scissors, thread;
- A white sheet of paper or cardboard;
- Hard cardboard for the frame;
- Self-adhesive PVC film.
Let's take the necessary tools for the first part of the work.
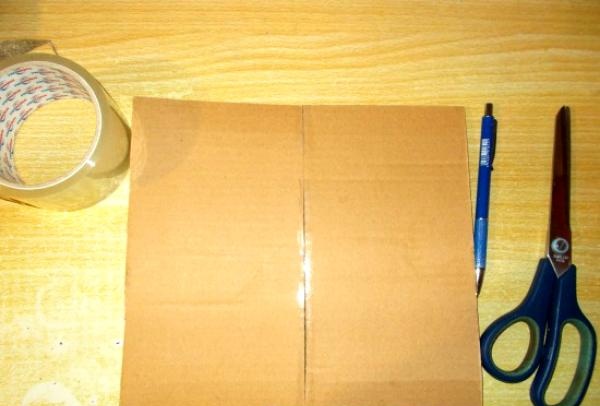
First, we will glue together two cardboard sheets taken to make the base of the picture, and then a white cardboard sheet on top, and trim the composition on all sides:
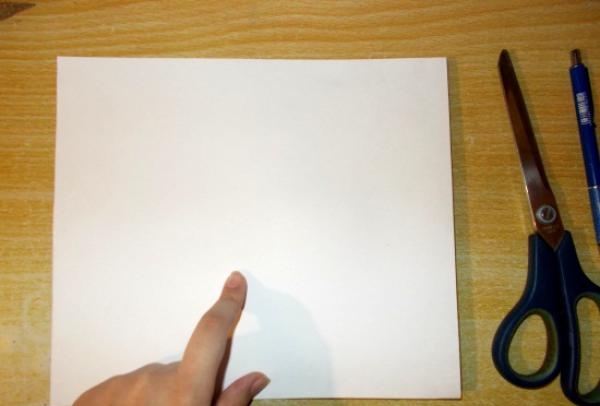
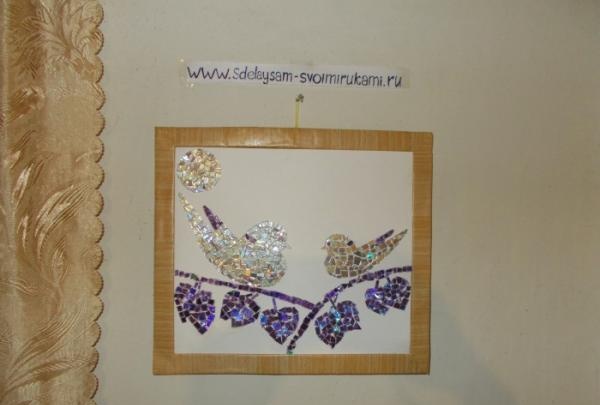
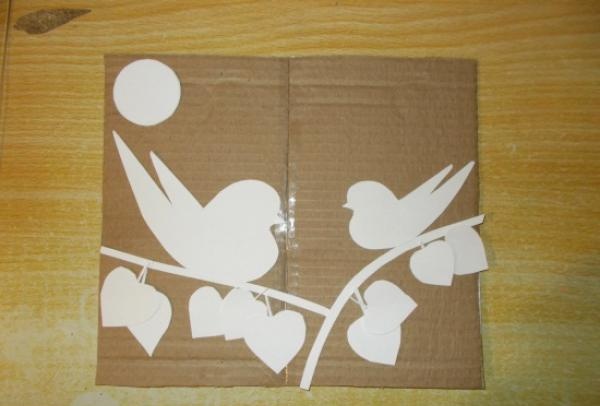
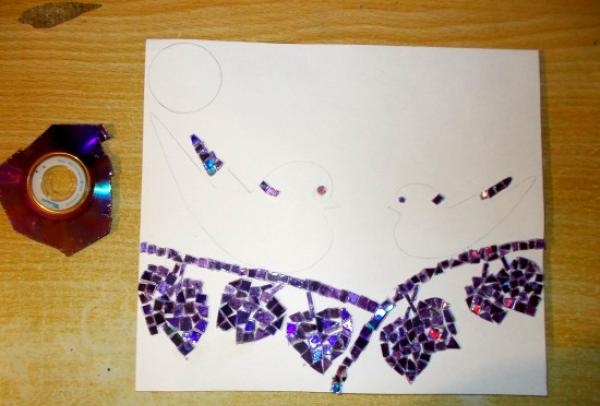
On the reverse side of the canvas we make a sample picture from cut out paper elements and label them as follows:
Two pigeons - G 1 and G 2;
Sun - S;
Leaves (nine pieces) - L 1, L 2, L 3, L 4... L 9;
Branches - B 1 and B 2.
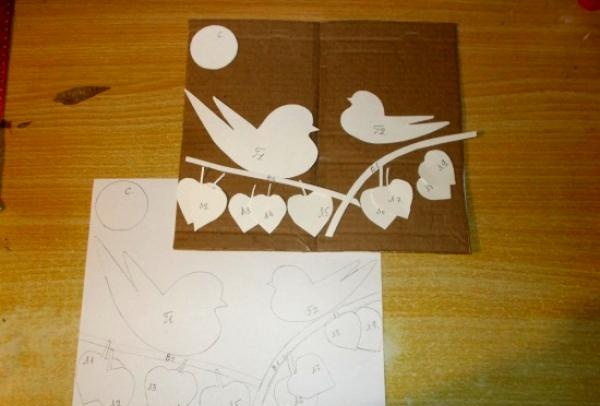
Then we redraw this sample onto a separate sheet of paper, and from it, gradually onto the canvas.
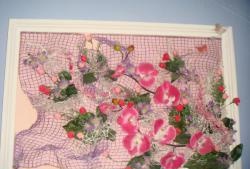
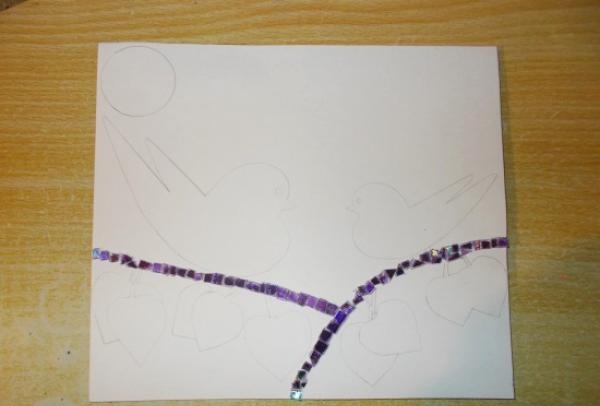
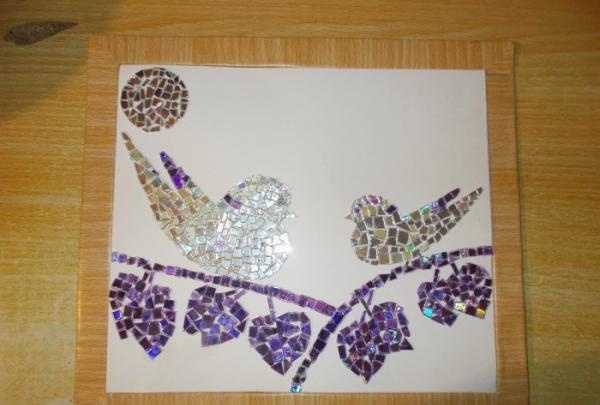
Having transferred the image to the canvas, we erase its elements while filling it with mosaic figures, so that the pencil is barely visible. And then we take laser discs and cut them into pieces of different sizes, triangles and quadrangles.
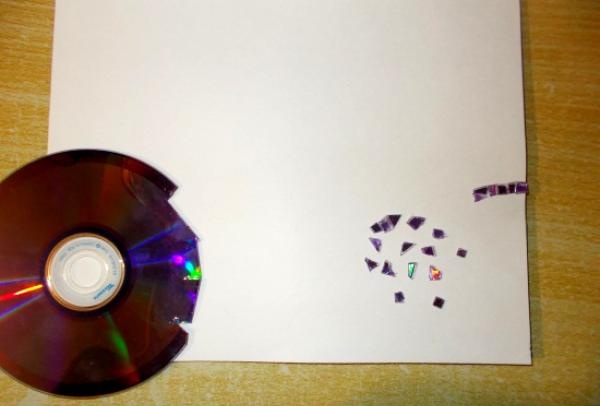
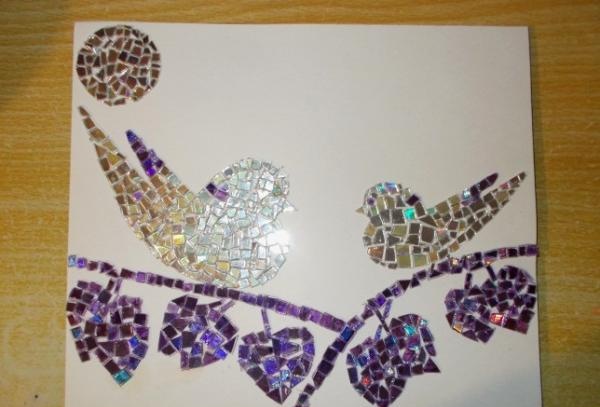
The purple tint is from the DVD we had that was recordable. It shattered into pieces during carving, and we glued each particle together, as a result of which, on one side, the layer coated with glue, shimmering with different colors of the rainbow, becomes less visible and the mosaic “stone” sparkles dully.
We had a factory CD. I tried to cut the discs with pliers, but they were not suitable for carving - they cracked the discs.
Now let's start creating the frame, take PVC film and four pieces of cardboard.
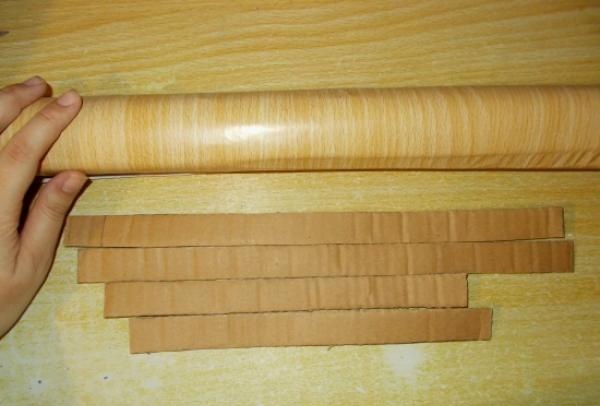
We glue the cardboard with tape and wrap it with PVC film that imitates a wooden panel:
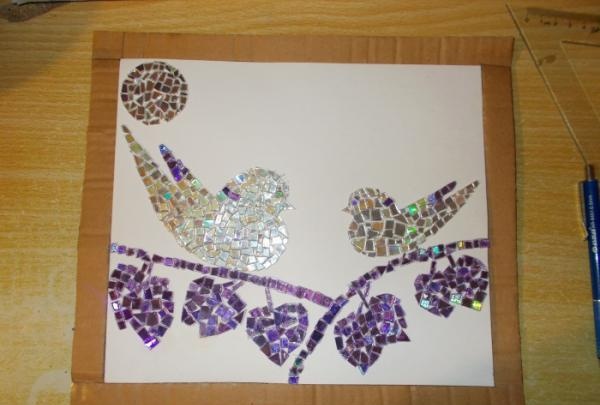
We wrap the picture with PVC film at the back and form a loop for our picture to hold on to:
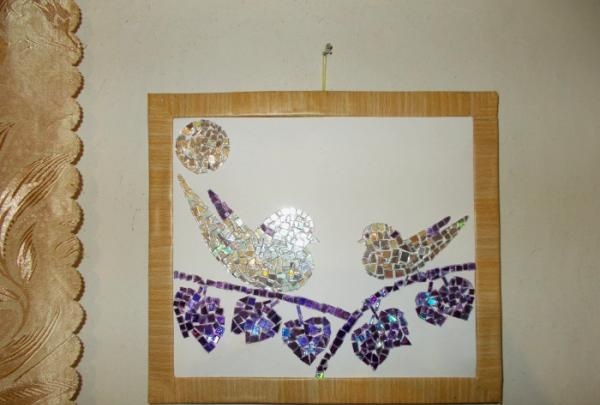
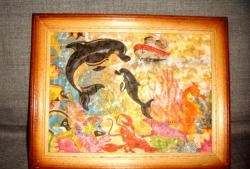
That's it, our mosaic picture of disks is ready. The idea to make it came to us when one of the bad disks was found, broken into small pieces, and its fragments resembled a distorted star. Now this painting from old disks decorates the interior of our living room...
Sincerely, Vorobyova Dinara.