To make our basket we will take:
1). Notebooks with newspaper sheets (newspaper ones are thinner than regular ones and therefore more convenient);
2). An object for twisting (for example, a pen refill);
3). Scissors and glue;
4). Blue gouache paint, brush and water container.
To make flowers you need:
1). Blue fabric;
2). Thread and needle;
3). A sheet of green colored paper;
4). Scissors.

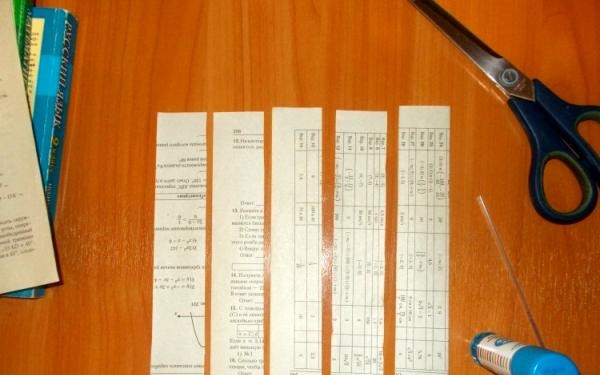
First, cut the newspaper sheets into oblong pieces:
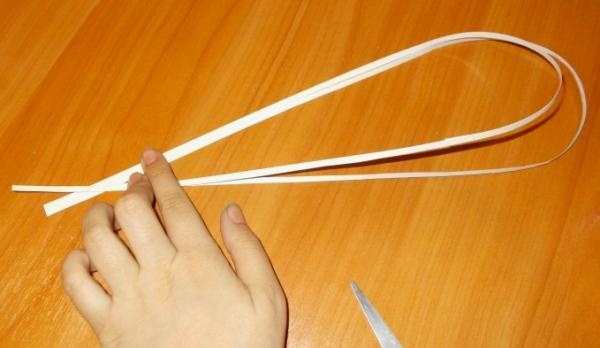
Then we wind each sheet of newspaper separately as shown in the photo:
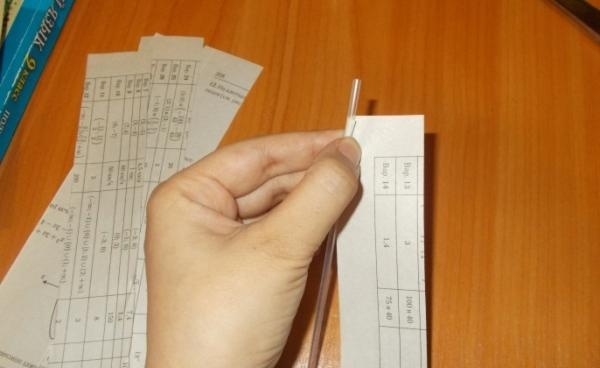
Glue the tube at its beginning, middle and end:
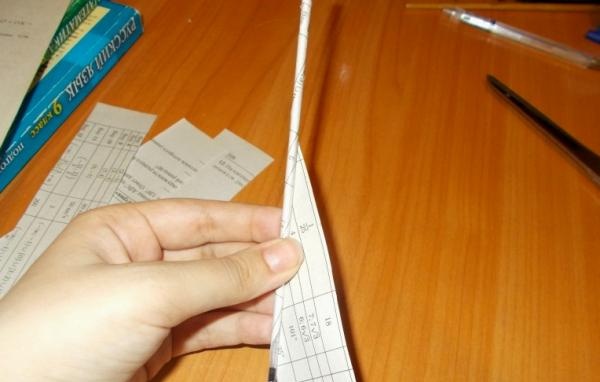
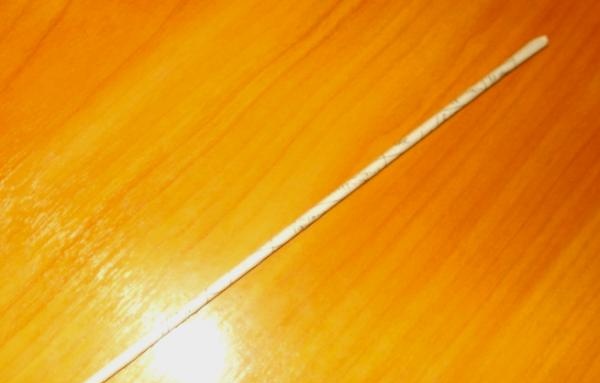
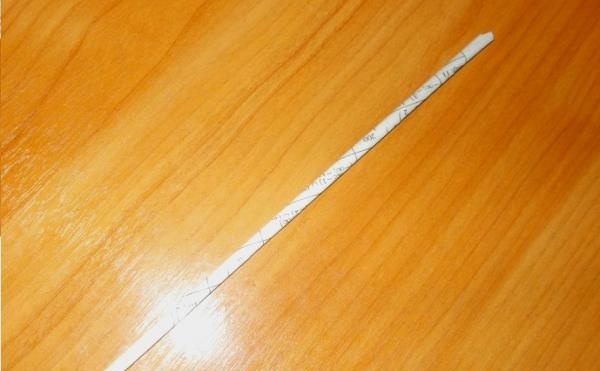
The tube should look like this:
After we flatten it, we get a twig like this:
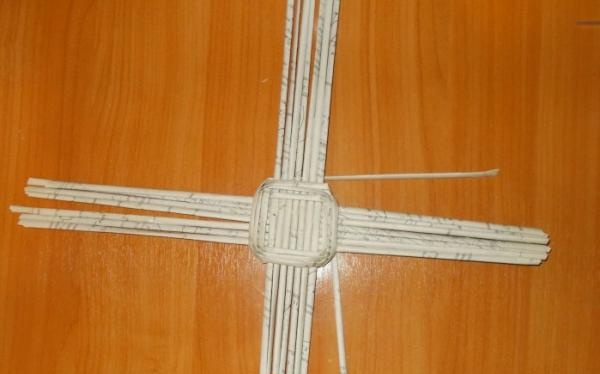
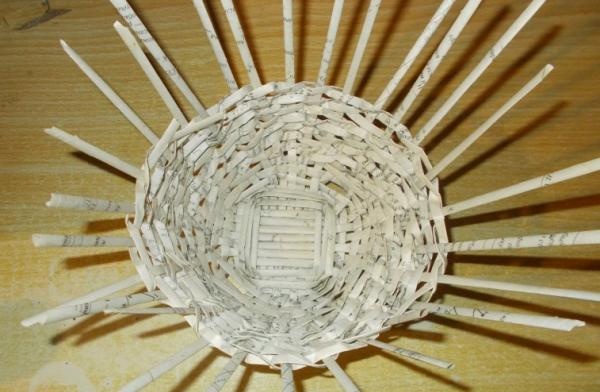
We collect seven rods for weaving the bottom of the basket and glue them together in a criss-cross position.We also make the main twig by connecting four ordinary twigs. In total, 32 twigs have now been selected for weaving the bottom:
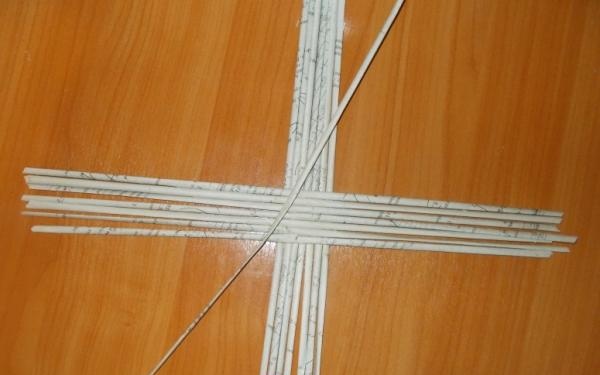
We put the main twig and start weaving from its middle, so that the left and right sides are equal.
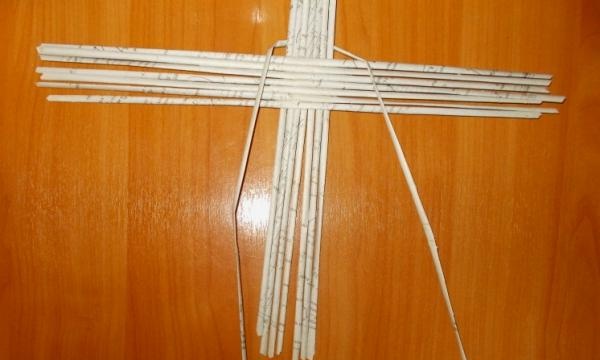
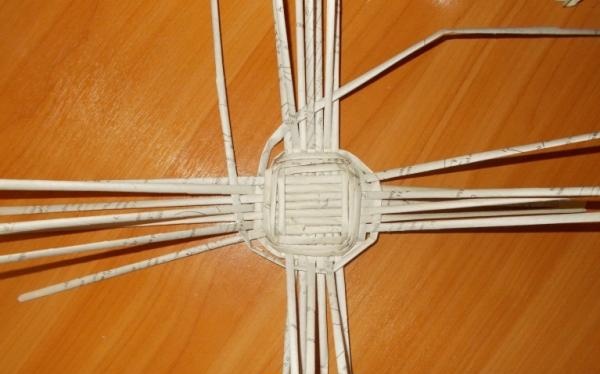
We braid the first circle with them:
We braid the second and third circles, adding new ones to the main twig if the old ones run out:
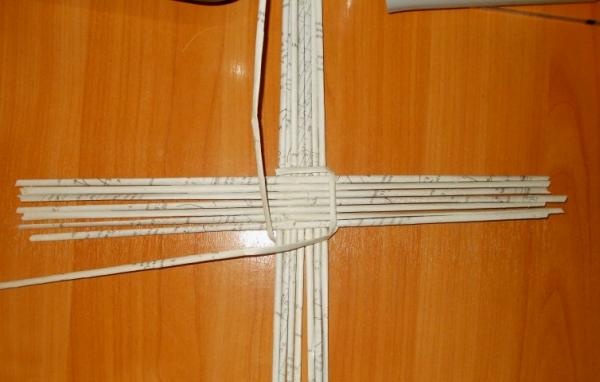
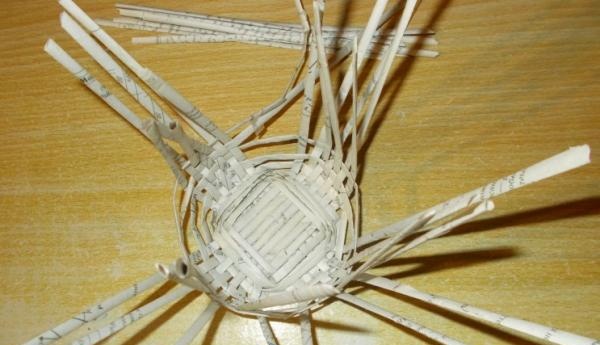
After the third circle, we begin to braid each twig separately.
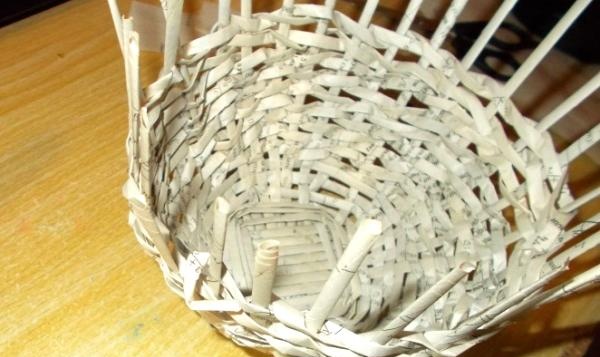
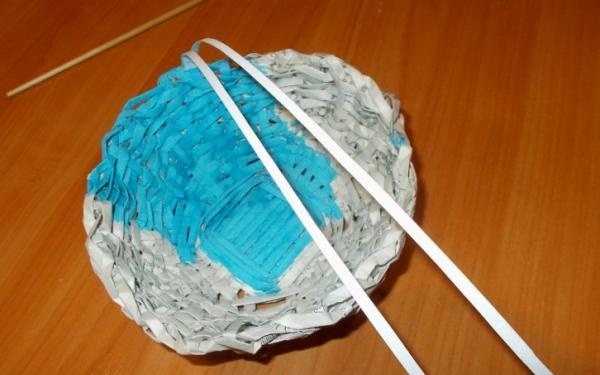
We make four circles of simple weaving, in which the main rods do not intertwine at all, after which we begin to weave with a “rope”:
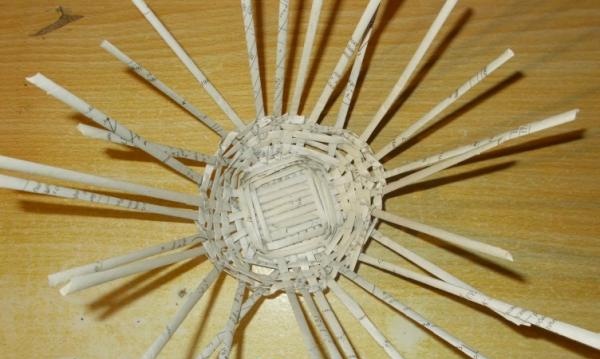
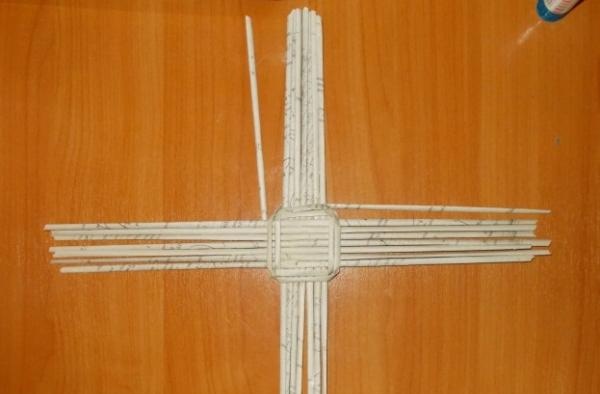
We braid the whole basket to the top in this spirit:
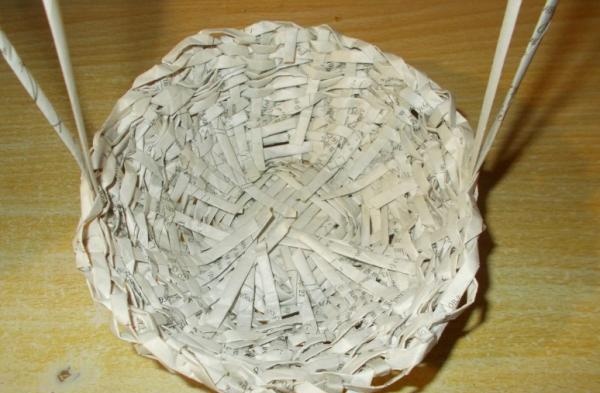
When you want to finish the weaving, you can simply cut the main rods and glue them one inside the other, and then hide them by gluing them down.
Bend the protruding side rods down and, passing through the weaving, cut and glue:
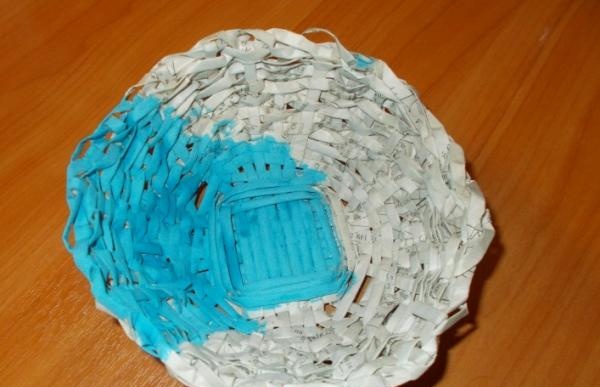
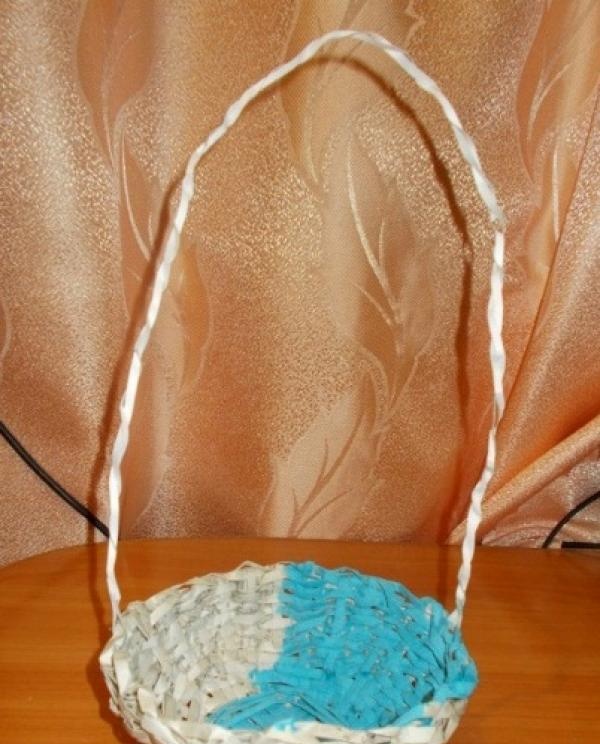
At first I tried to weave the handle of the basket from two twigs in a zigzag pattern, but after being woven, this handle lost its shape after painting and fell. The twig handle had to be replaced later with a cardboard one. The basket must first be painted from the inside, then from the outside (so that there are no paint stains if you paint first the outside and then the inside).
Making a cardboard handle:
I also wove it in a zigzag pattern, but did not decide to color it because, unlike the newspaper one, it does not have text, and the shade matches.
This is the kind of woven handle we should get now. But it looks sloppy because there is nothing attached inside, which we will need to work on a little later:
We finish painting the basket completely and select wires for the handle (to hold the handle):
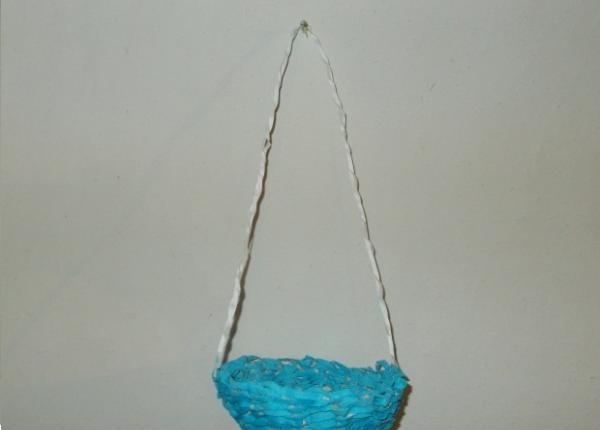
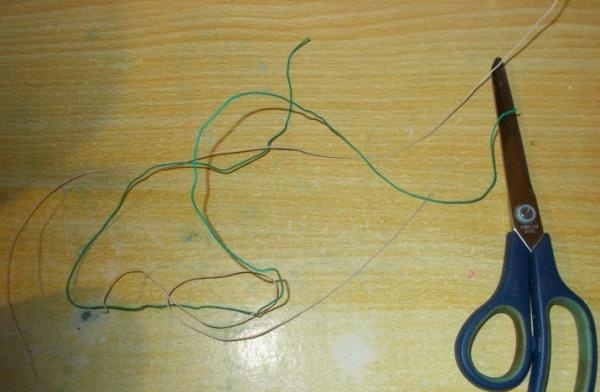
We thread the wire handles into the weave as shown in the photo:
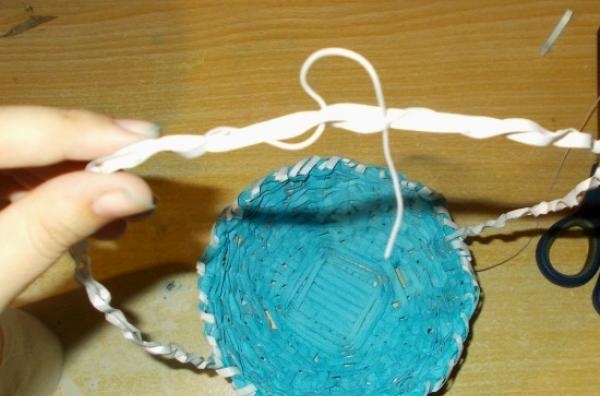
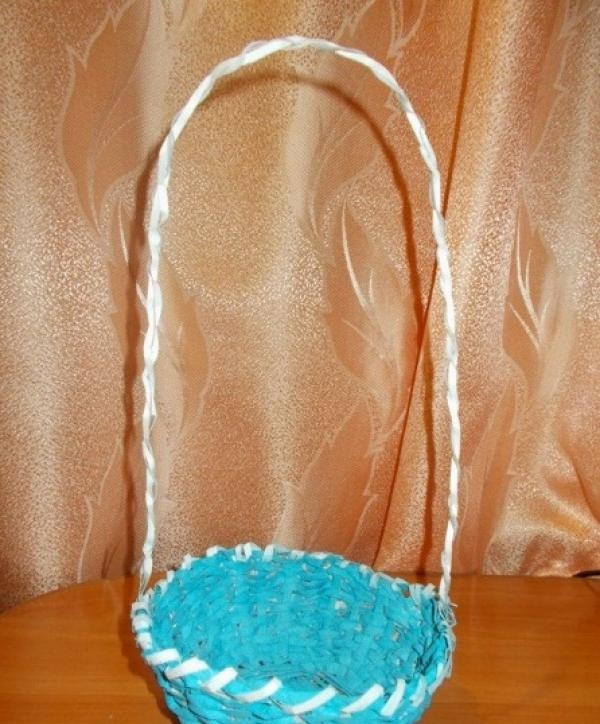
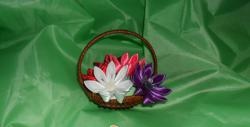
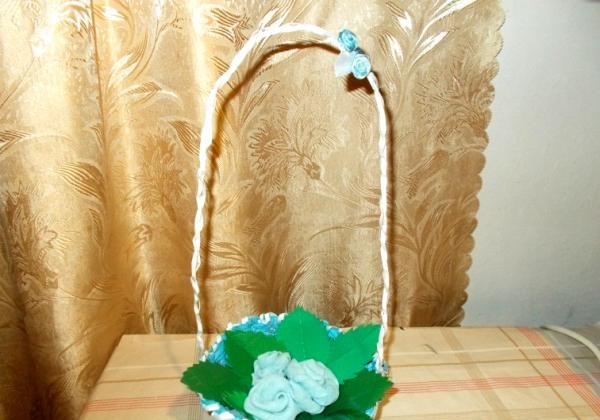
The upper side of the basket (if desired) can be braided along the border with a thin “twig” made of white cardboard, and several decorative roses can be sewn on top (there are three of them on the basket, but the third is bent to the other side).

We found these roses in a souvenir shop, but we can now make ones similar to them ourselves. Take several long rectangular pieces:
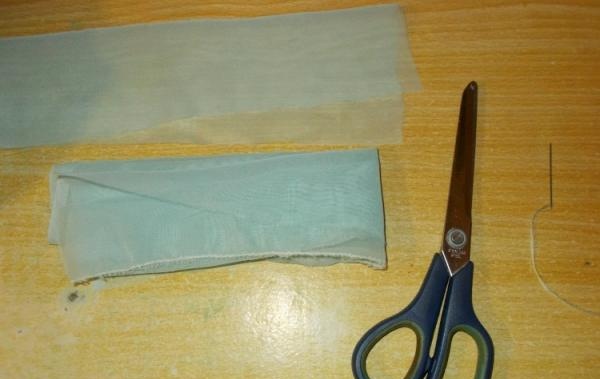
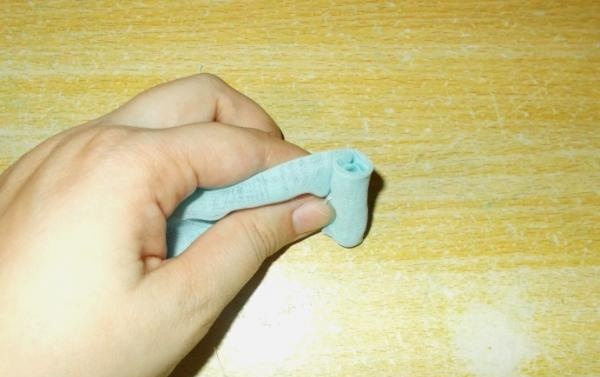
Taking one of them, roll it up thinly and connect it with several stitches in only a few places.
We must sew the patch only at the beginning, middle and end (it is impossible to sew along the entire length because then when twisting the seam will stand out). We roll the edge into a small tube and sew (or glue) from the bottom, after which we make a fold in the fabric and hem it:
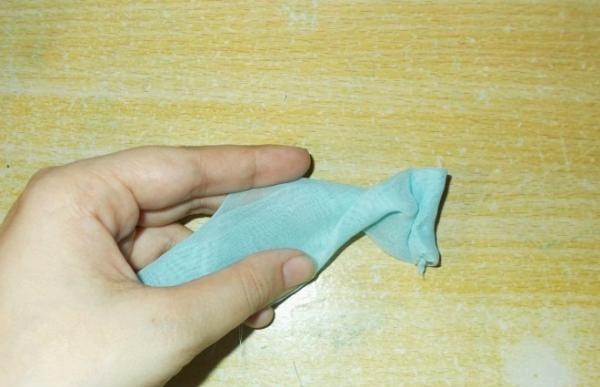
(Stitch in the center crafts we needed it so that rags of cut fabric would not come out - we sewed them in).
Continuing to twist the fabric in the same way, twist it in a spiral and hem (glue) the ends:
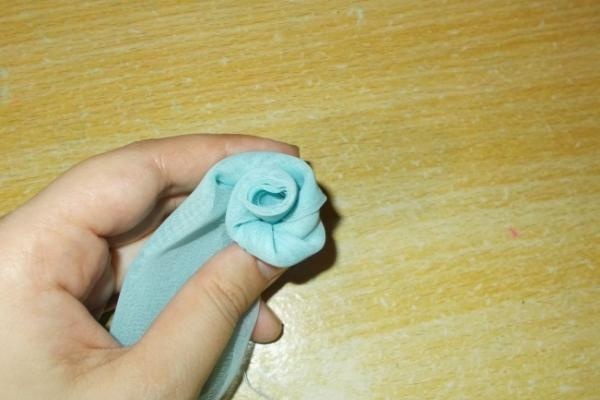
It turns out this rose:
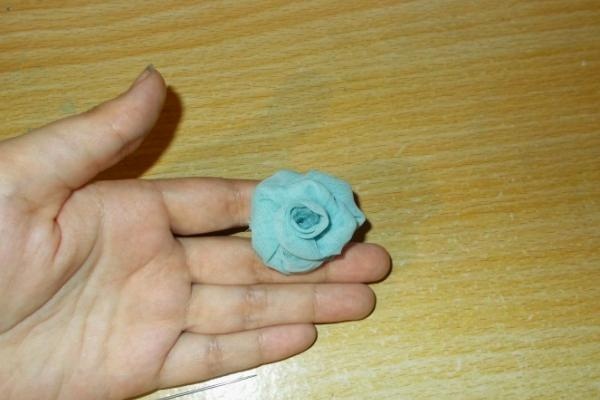
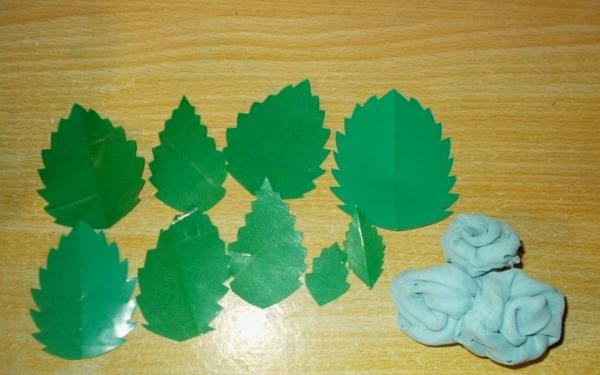
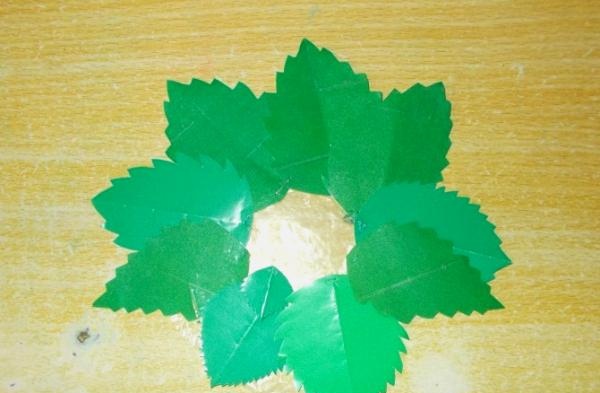
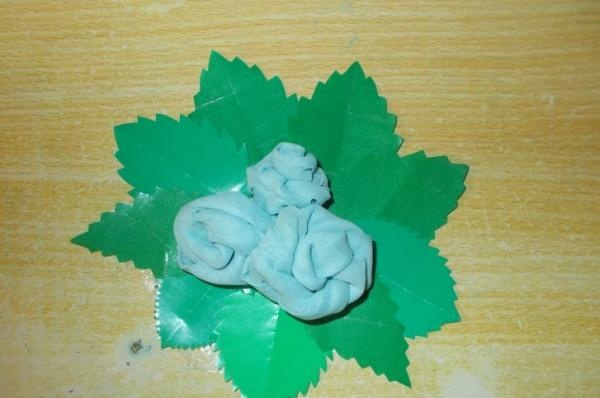
We make three such roses of different sizes and sew them at the ends to each other, and then cut leaves from green colored paper covered with tape on top:
We carefully sew the leaves and roses to a piece of fabric or a plastic bag (but it would be better, of course, to secure them with a stapler if there were staples for it):
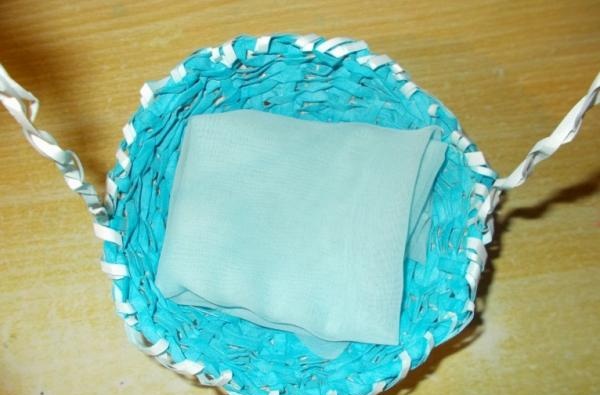
We put some fabric on the bottom of the basket (or beads, jewelry, but you can also put sweets):
And on top we put our decoration of roses:
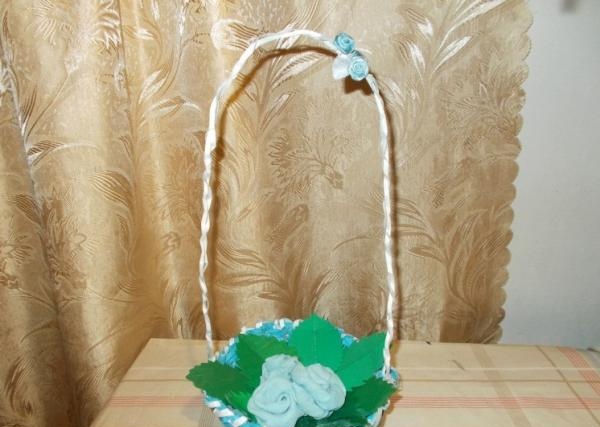
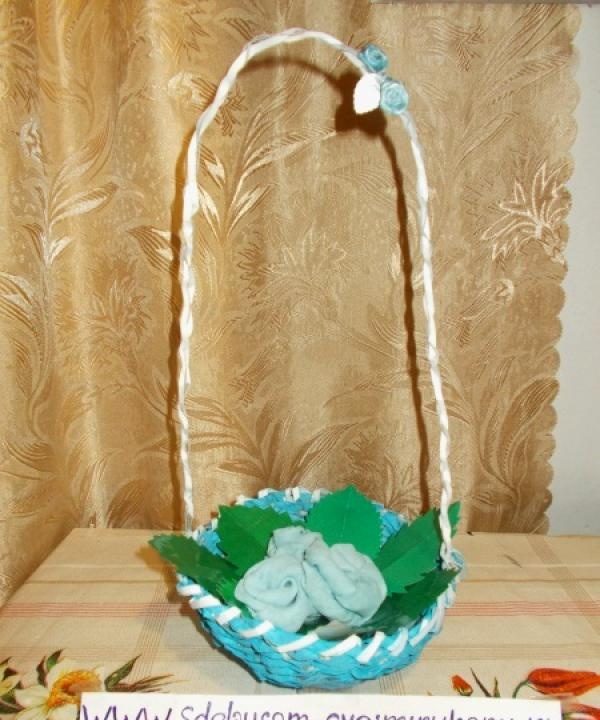
Our basket of flowers is ready!
Sincerely, Vorobyova Dinara.