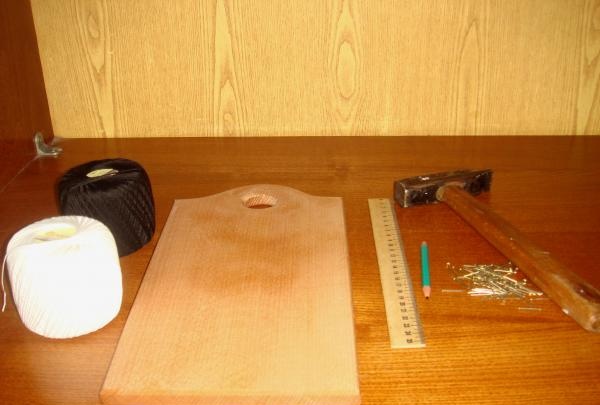
To work you will need:
- wooden board (you can use any piece of chipboard of the shape you need);
- black and white nylon thread (small skeins) or embroidery thread;
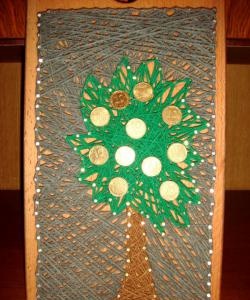
- decorative carnations (about 220 pieces);
- a hammer (plus an awl and pliers);
- a simple pencil and ruler;
- stencil image (drawing from the Internet).
Step 1. Decide on the base color. If you are satisfied with the natural tone of the wood, then the board can be left colorless. If the interior requires a certain color, then it is worth painting the base in the desired shade and varnishing it for greater texture.
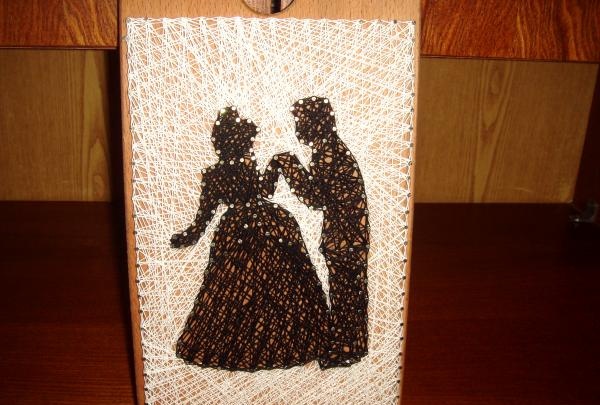
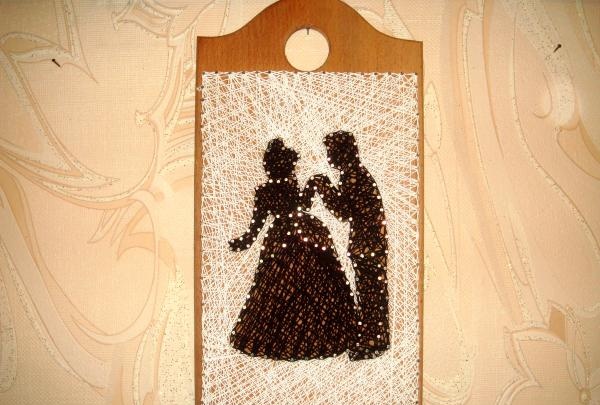
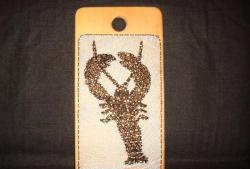
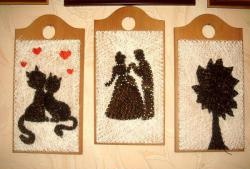
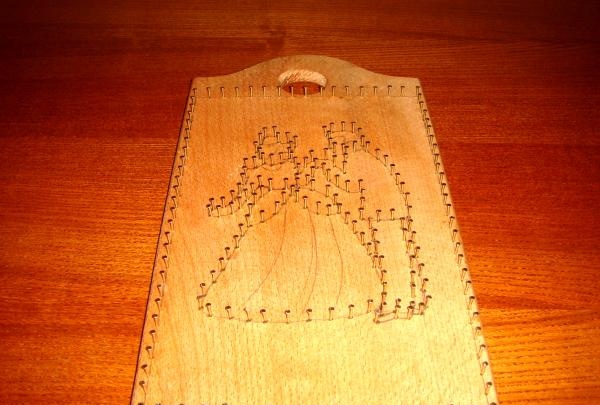
Step 2. Draw the image with a pencil. If you are good at drawing, this will not be a problem. But for those who are not good at fine arts, you need to prepare a stencil in advance (a beautiful illustration from the Internet, printed on a printer). In the photo this is a silhouette of a woman and a man.
Then, using a ruler and pencil, draw the boundaries of the picture. That is, make a frame around the perimeter.

Step 3. At a distance of approximately 1 cm along the contour of the image and on the borders of the frame, draw points into which nails will need to be hammered in the next step. To make your work easier, it is recommended to use an awl to make holes for the nails.
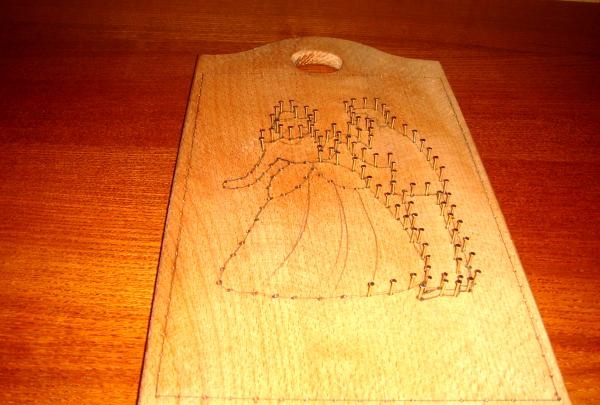
Step 4. It is necessary to gradually drive nails into all holes. To make it more convenient, you can hold them with pliers. Try to drive each nail to the same depth. Once you complete this step, check to see if any of them are sitting crooked. Straighten the slanted carnations, otherwise they will look ugly in the picture.
Step 5. Tie a white thread to the outermost nail. At this stage you need to make the background of the picture.Start hooking the thread under the heads of the nails - first intertwine the opposite ones, then insert the thread through several nails in a row. Make sure that there are no unbraided hats left at work. At the very end, make an edging around the perimeter of the work (frame), to do this, draw a thread like a snake through all the rows of nails.
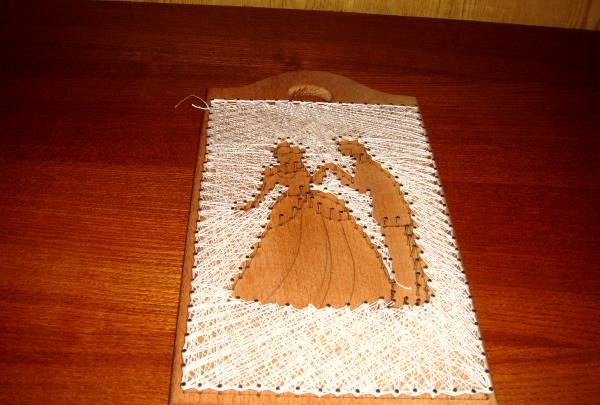
Step 6. Now the black thread is included in the work. It will weave around the internal image (silhouettes). Tie it with a double knot to the outer stud (the hem of the dress in the photo) and begin to braid the hats in a chaotic manner. The more densely you fill the space, the fuller the drawings will look. But there is no need to be overly zealous, otherwise the threads will simply merge. Don't forget to also pass the thread around the entire perimeter of the design.
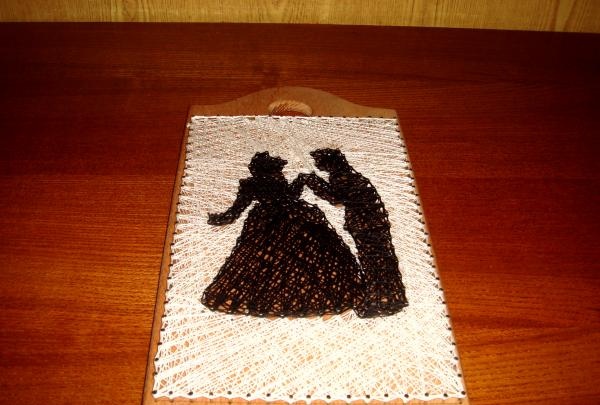
Step 7. Appreciate the beauty of your work and place it in the most visible place. Let the picture please not only you, but also all your loved ones, as well as guests.