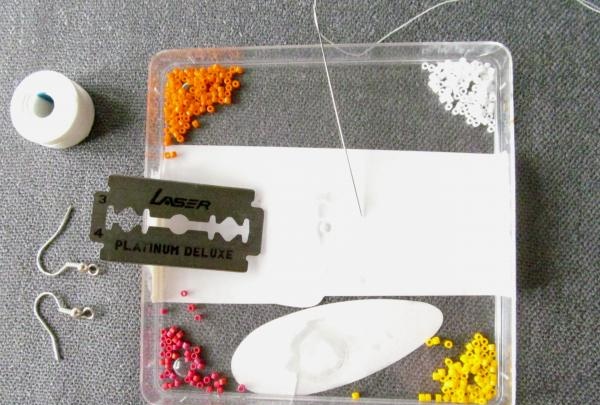
Materials and tools:
- Japanese “tube” beads Miyuki Delica or Toho Treasures, size 11, 4 colors: red, orange, yellow and white;
- beading needle no thicker than size 12;
- beading thread, for example, FireLine, Nymo and others;
- scissors or blade;
- ear wires;
- a flat container for beads with sides.
Progress:
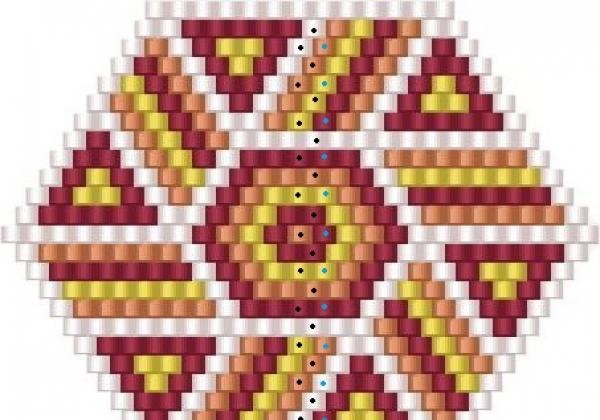
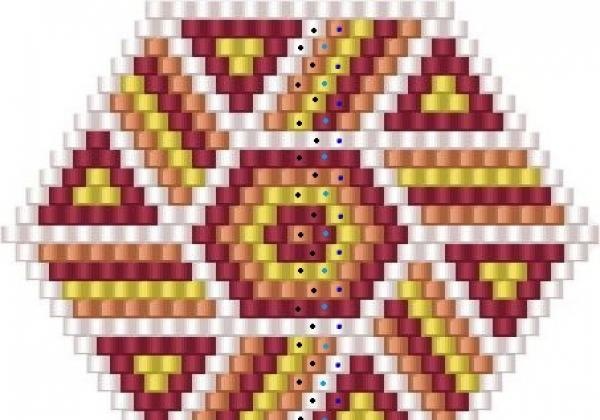
While working, we need to pay very close attention to the color arrangement.
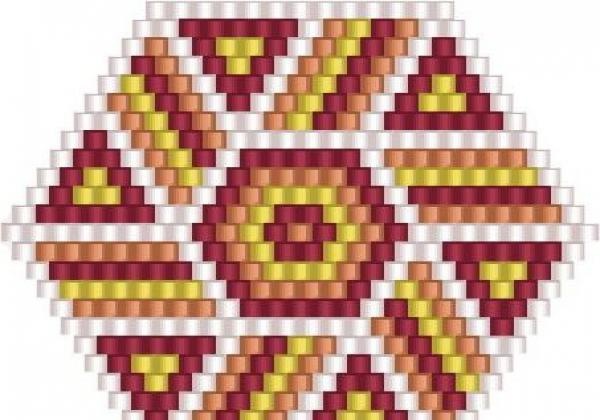
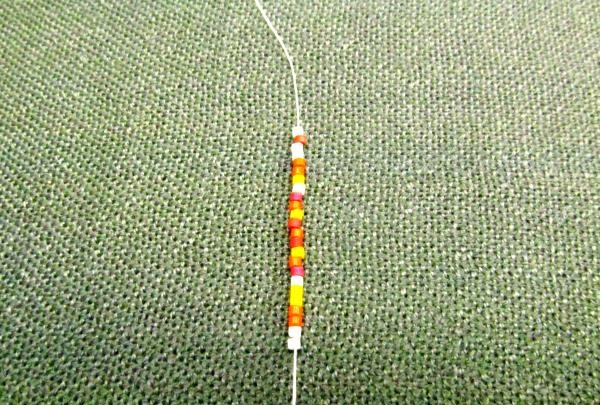
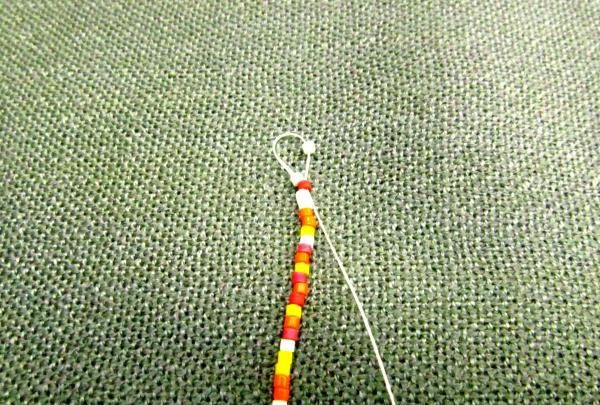
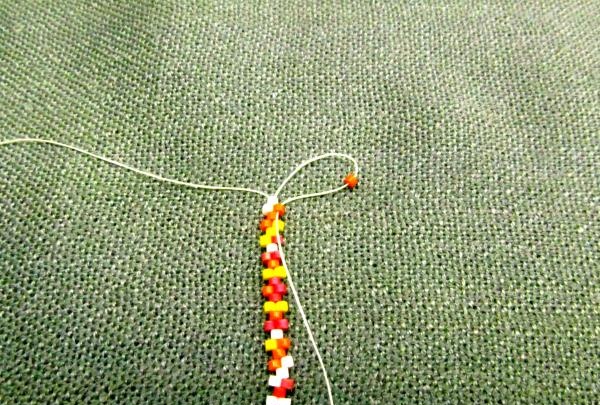
The most convenient way is to print it out and cross out the woven rows. We also pay attention to the size of the beads - even in Japanese it is very rare, but there are those that do not correspond in size to the others. We collect beads for the central (main) row of the earring, starting with 2 white ones - they should be located approximately in the middle of the working thread. Since the mosaic technique used in this work requires an even number of rows, and in the diagram it is odd, we will add the last horizontal row later.

It is more convenient to weave when the beads are woven onto the next row from top to bottom, so the work will constantly turn over.
It is important not to confuse the rows in the diagram.
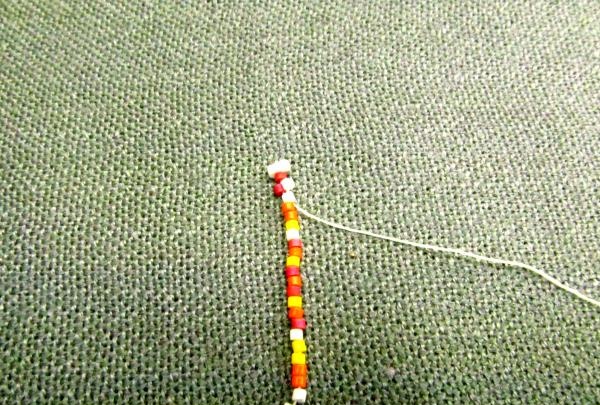
So, at the top of the thread there are white and red beads. We put on another white bead and go through the red one from the previous row.
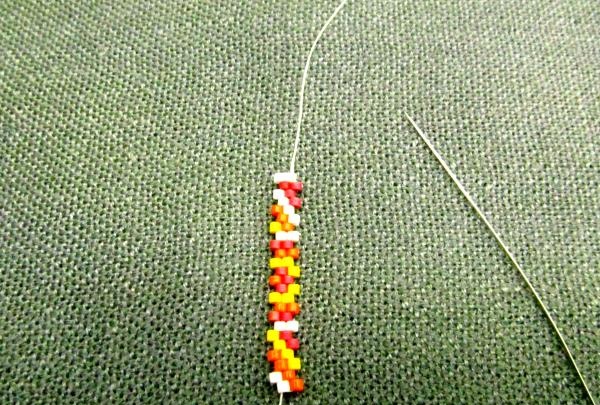
We tighten the thread, pick up another white bead and pass through the white bead - the 4th from the top in the initial row.
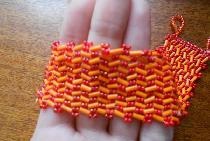
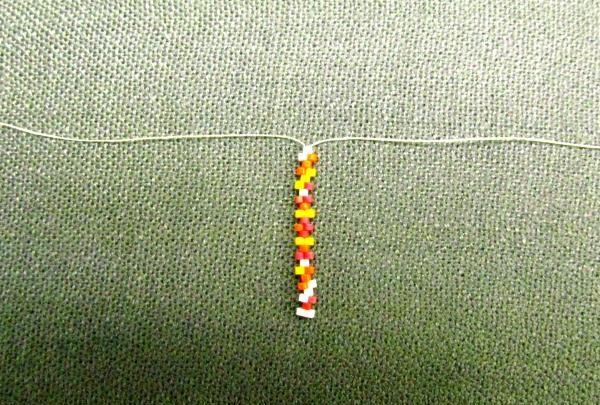
We complete the entire row in the same way. We get a “mosaic”, in each row of which there are 2 times less beads than in the central one. Check the thread tension along the entire row - the beads should lie tightly. We turn the weaving over so that the thread coming out of the white beads of the main row is again at the top.
Don’t be alarmed if the row is slightly curved - since the second side of the thread is not secured, the fabric “plays” a little at the beginning of weaving. Further rows will secure it and the curvature will go away. We collect an orange bead and pass the thread into the orange bead of the previous row, protruding above the main one.
We tighten the thread and cast on the entire row in the same way.
We turn the canvas over again.
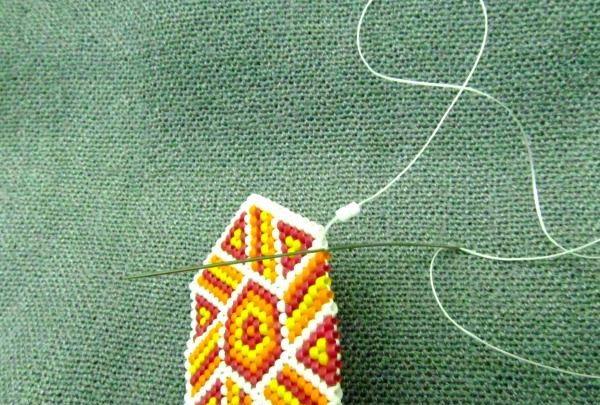
We weave all the rows in the same way before the fabric begins to narrow. To bring the thread into the bead of the row we have just woven, we pass the needle first through the adjacent bead from the previous bottom row, and from it into the second bead from the one where weaving should continue.

We tighten the thread, insert the needle into the bead next to the one from which weaving should continue, and then into the one needed for weaving, and tighten.
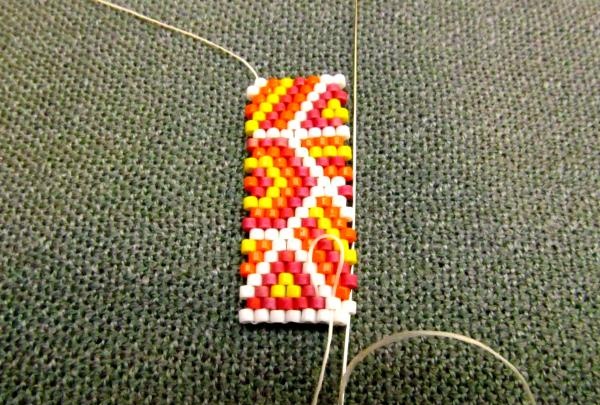
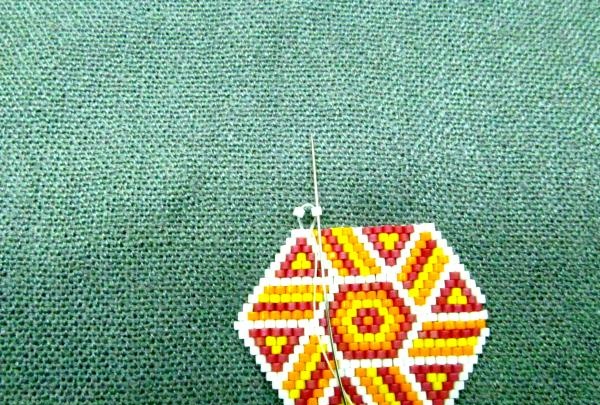
You need to tighten the thread a little tighter than before so that it disappears between the beads. However, this must be done carefully so as not to break it. Now the thread comes out of the desired bead and you can continue weaving.We narrow each next row in the same way until this side of the earring is finished with 1 bead. If the thread remains long enough, you can leave it and then use it to weave the missing outer row of the earring. If the thread is short, then you need to hide it by passing through the previous rows several times. The second side of the fabric is woven in the same way, but when the main part of the earring is completed, the thread is brought out through the white beads of the previous row to attach the earring. However, first it is better to finish the missing outer row of the canvas. To start working, the thread should come out of the first white bead of the current row. In order for the next row to be shifted by half of the beads, we pass the needle under the threads holding the outer beads of the existing row and tighten - now when tensioned, the thread ends up between them.

We collect 2 white beads and insert the needle under the thread between the 2nd and 3rd beads of the edge row.
Then we pass the needle through the 2nd bead in the opposite direction and tighten the thread.
We collect another white bead, pass the needle under the thread between now the 3rd and 4th of the previous row and return it through the typed one.
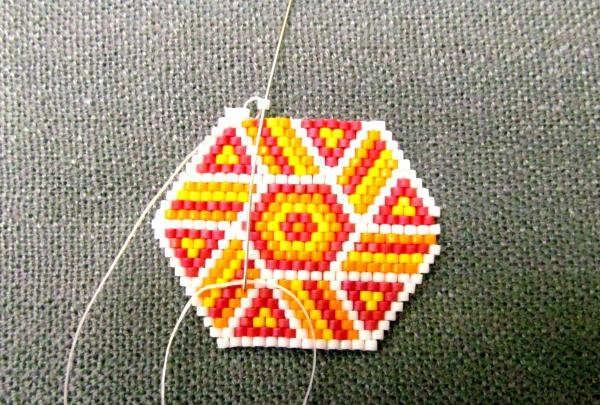
We finish the entire row in the same way. Let's return to the last corner of the earring, where the earring will be attached. Our thread should come out of the penultimate row of white beads. We string 5 more pieces and a wire and insert the needle into the bead from the other edge of the penultimate row. We should get a loop of 5 beads and earrings, holding onto the base of 3 beads of the earring fabric.
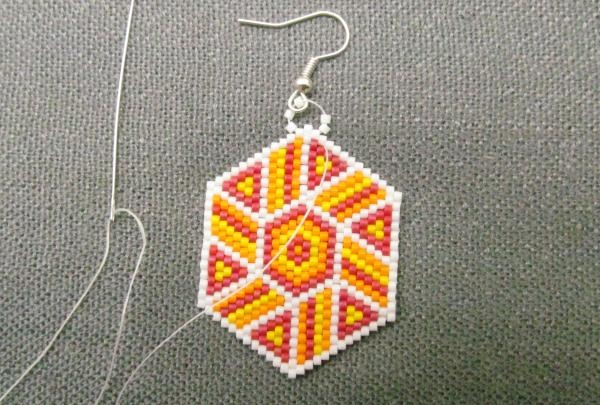
We tighten it and, for reliability, we pass again through the base beads and the loop itself. We fasten the thread and hide its tip in other beads of the fabric.
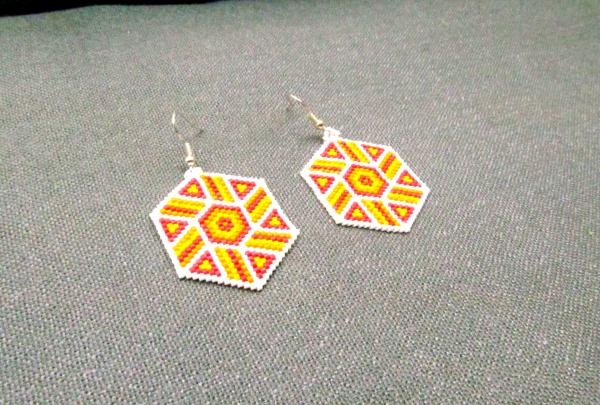
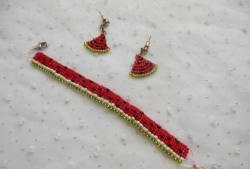
Summer solar earrings are ready.