Shall we get started?
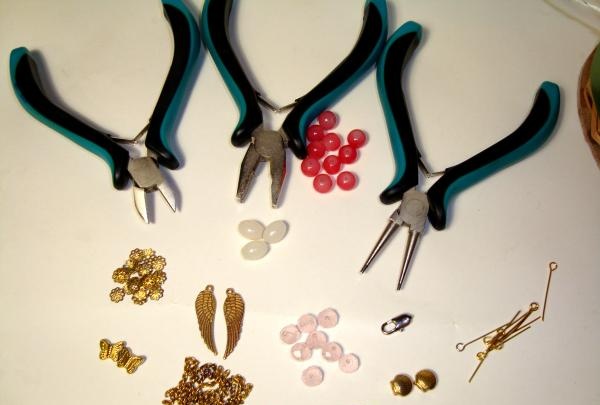
First, let's prepare everything you need:
- round nose pliers
- pliers
- side cutters
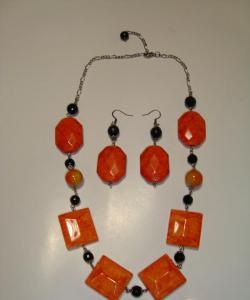
- 10 coral beads with a diameter of 8 mm
- 3 white oval beads 1 cm long
- 8 soft pink crystal beads
- chain with small links
- huggers
- carbine
- pins with round ears
- rings for fastening
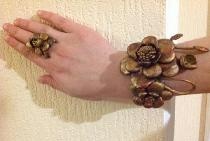
- accessories according to your wishes (I have wings, butterflies and shells)
Have you prepared? Then let's get started quickly!
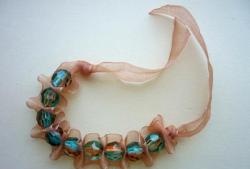
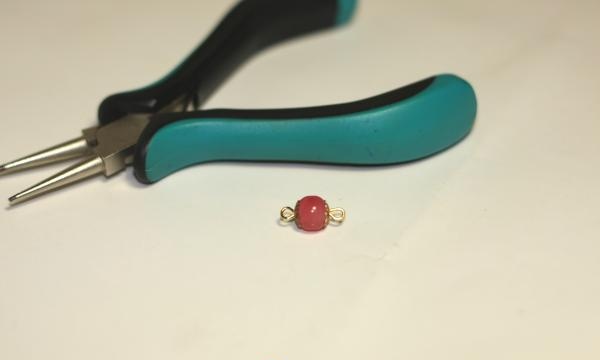
We string a hugger onto the pin, then a coral bead, followed by another hugger and bend the pin with our hands.
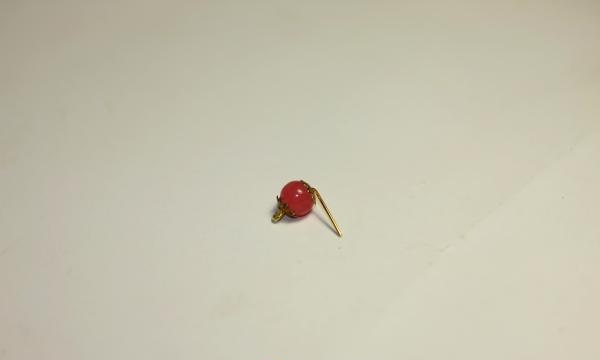
If your pins are long, like mine, then take side cutters (or nippers in common parlance) and bite off the pin, leaving only 1 cm.
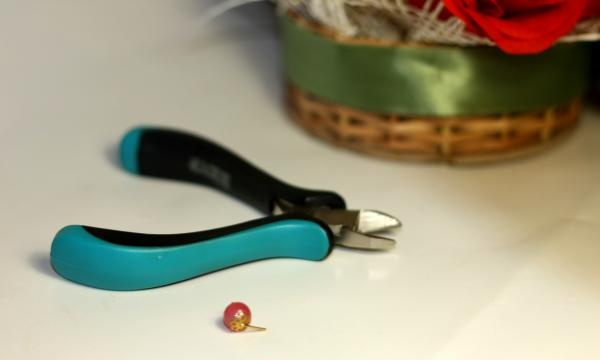
Now we need to make a loop, the same one we already have on the pin. To do this, take the pliers and grab the edge of the pin. Holding the pliers firmly, we wrap the pin in the direction opposite to where you bent the pin with your hands.A little practice and you will get straight loops.
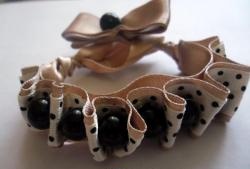
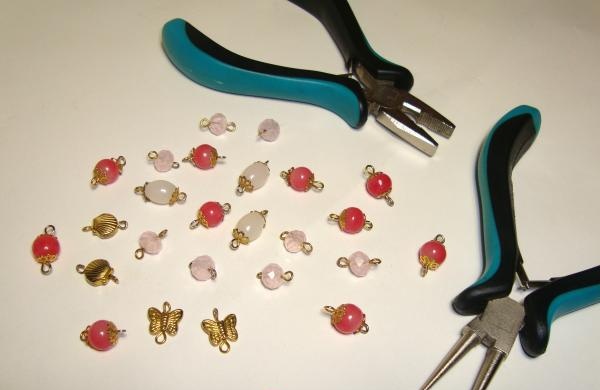
Let's do the same for the remaining beads. I only put the huggers on the coral round beads and the white oval beads. I will attach the crystals without hugging. You choose for yourself; in this case, the huggers serve simply as decoration and give our beads a slightly lace-like effect. If you don't have any cuddlers at all, you can do just fine without them.
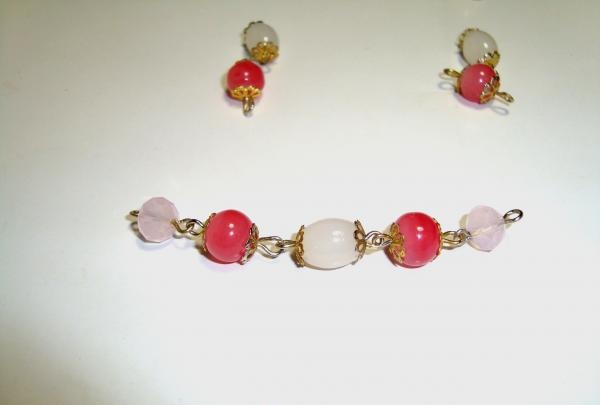
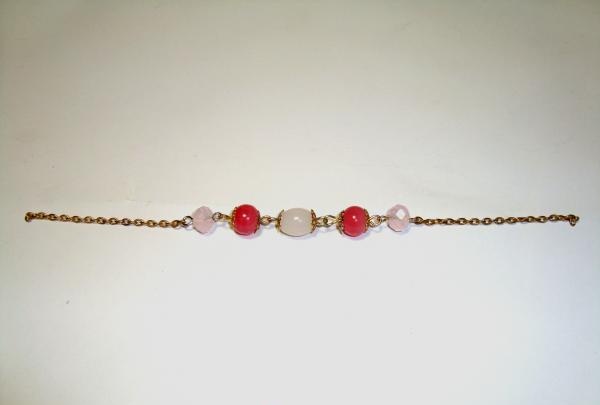
At this stage, I prefer to lay out the beads in front of me in the order in which I would like them to appear in the finished product and only then assemble them. After experimenting a little, the beads have formed in a certain order and you can start assembling, which I will start from the middle. So, using the rings we just made and the round nose pliers, we attach the beads to each other. And we remember an important rule - you need to securely close all the rings with round nose pliers so that the product does not tear during wear. The middle is ready.
We continue to collect individual parts of our beads and lay them out in the correct order so as not to get confused.
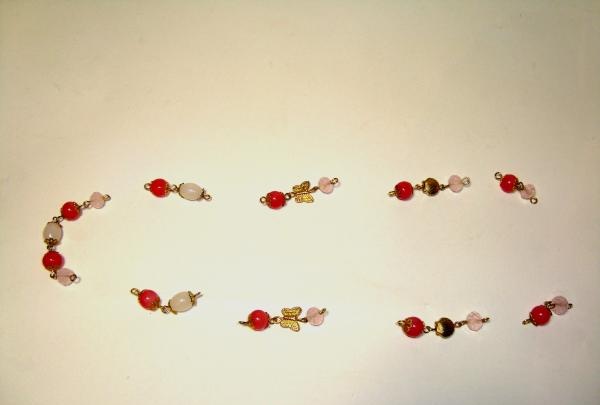
All that remains is to connect these parts with chains. We measure out 10 pieces of chains, approximately equal in length.
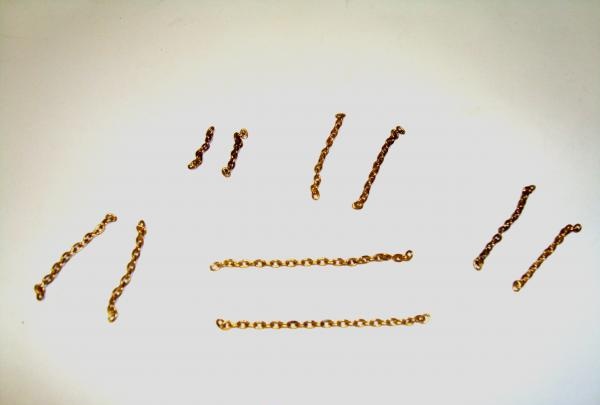
And carefully, using pliers, we attach the chains to the rings of the pins. The middle is done.
We attach the following parts.
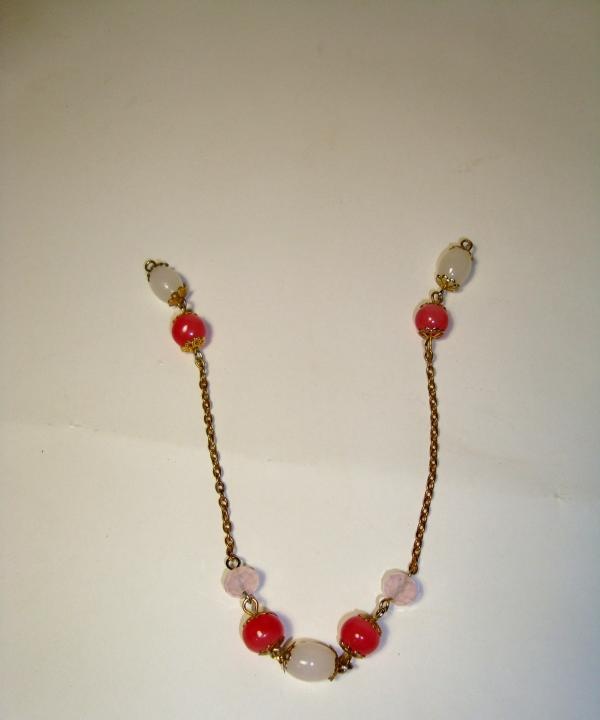
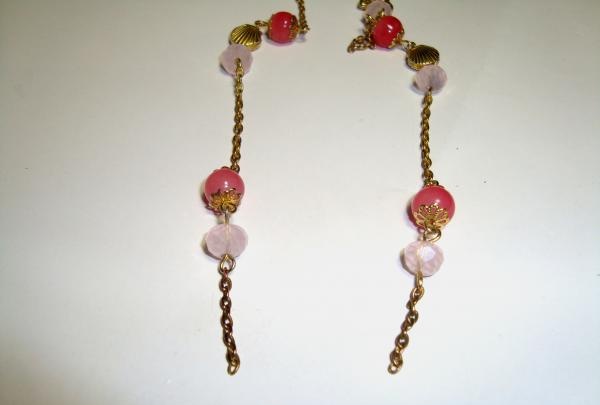
We move on to attaching beads with metal figures.
The last beads are attached.
And to them are the last chains.
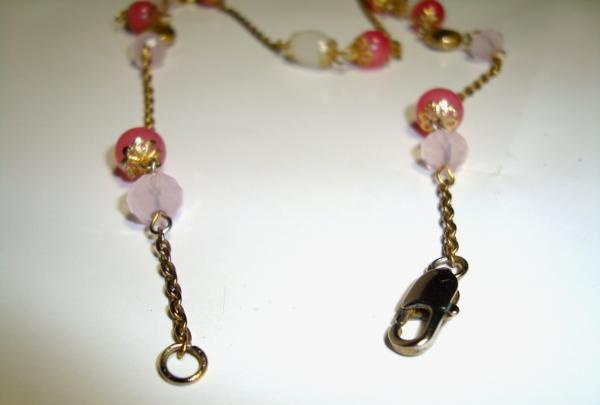
We attach a carabiner to one of the chains using a fastening ring.
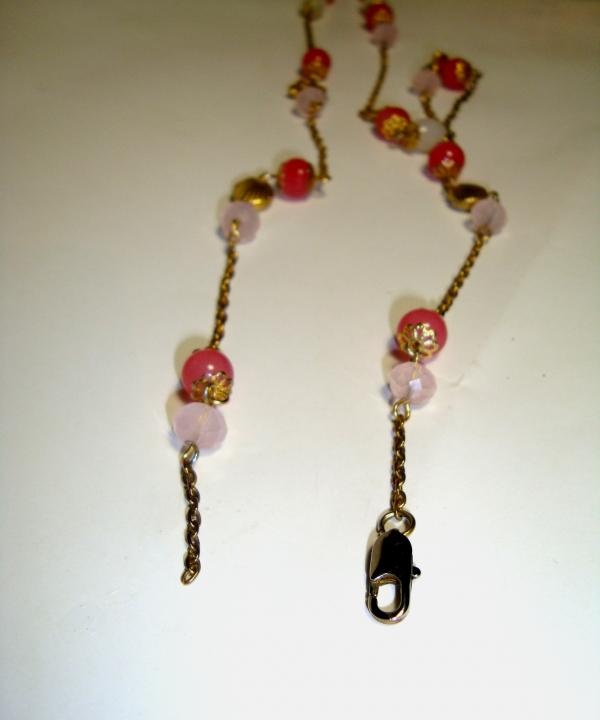
We attach a ring for fastening to the second chain.
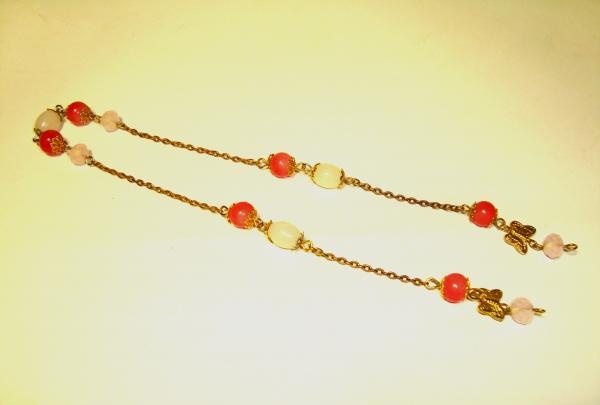
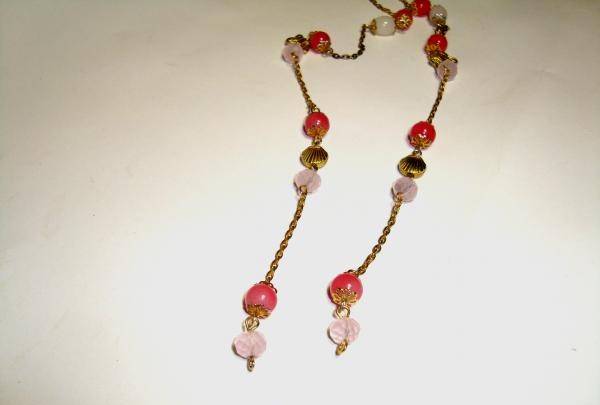
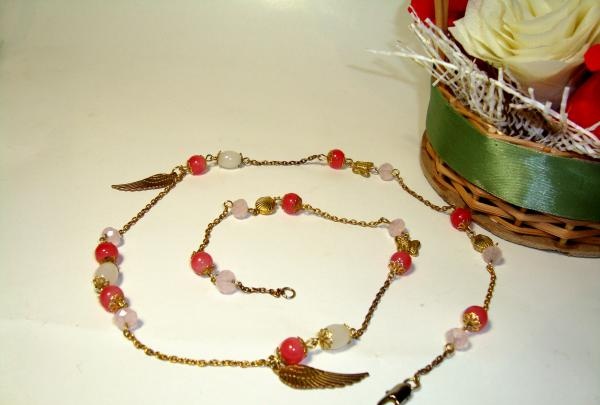
All that remains is to attach the wings. We will attach them to the pin loops using fastening rings.
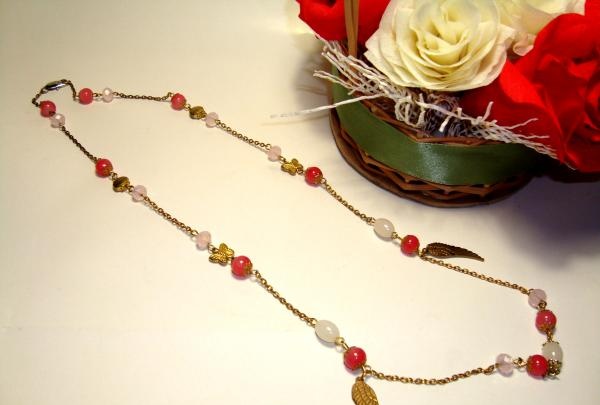
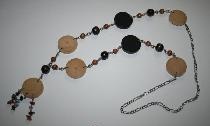
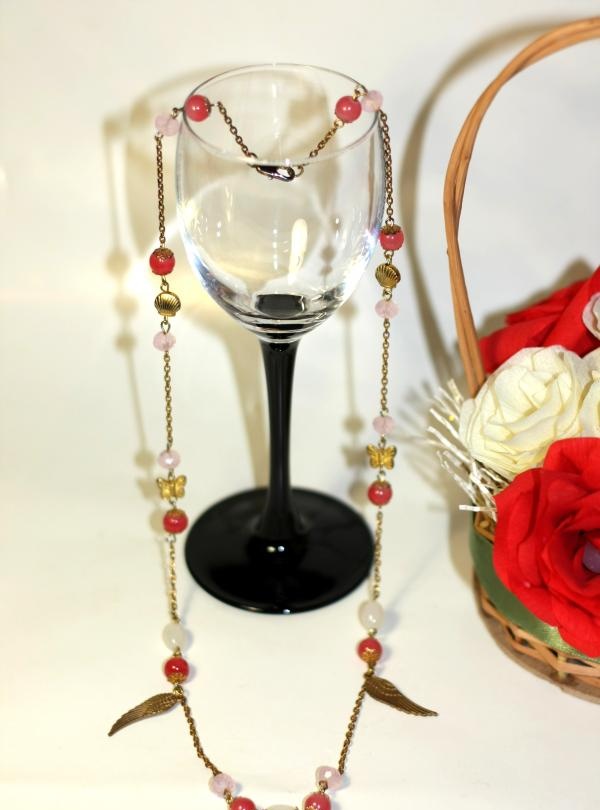
Our beads are ready!
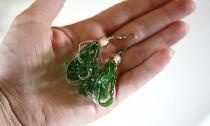
You can choose beads of any color, size and any shape.The fittings can also be different, in a golden or silver shade. You can also make these beads two or even three times longer and layer them, adjusting the length depending on your desire and the neckline of your top, blouse, tank top or T-shirt.