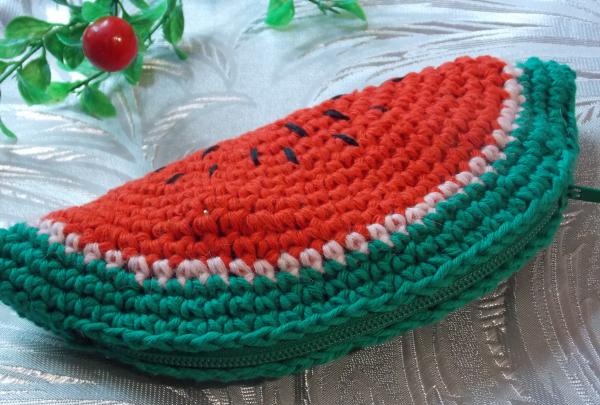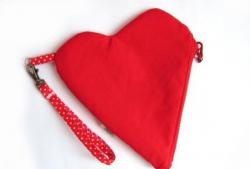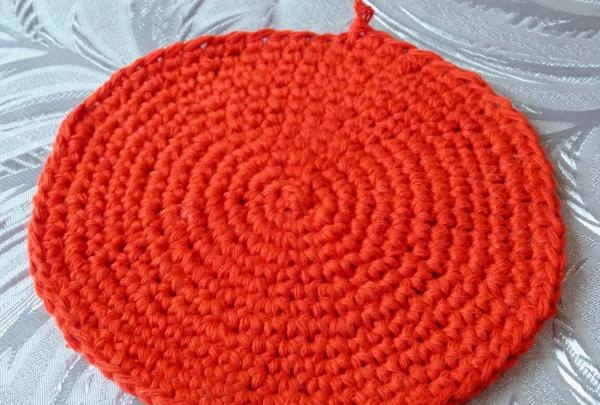
Knitting We start with a red thread from an air loop. From the resulting loop we crochet 4 air loops and close the knitting in a circle. Next, we knit 6 sc in a circle (single crochet).While knitting, you need to monitor the tension of the thread so that the circle turns out smooth and beautiful. After the first row is knitted, continue knitting as follows: add 6 stitches evenly in each row. Increase by knitting two stitches into one stitch of the previous row. In total you should have 13 rows knitted with red thread (more is possible). Finally, cut and fasten the red thread. If desired, the size of the cosmetic bag can be increased or decreased by knitting a small or, conversely, a large circle.
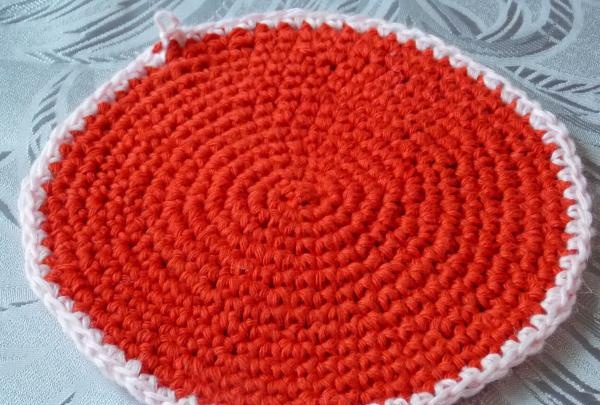
When the base of the future red cosmetic bag is knitted. You need to knit 1 row with pink thread. If you don't have pink thread, you can use white or yellow thread. Knit in the same way with increases of 6 stitches in each row. When finished, cut the pink thread and fasten it on the wrong side.
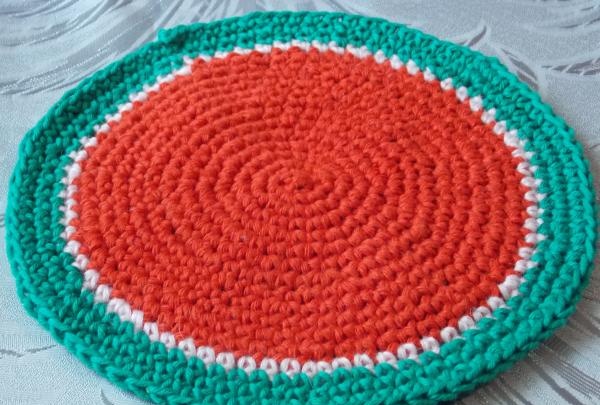
The last stage of knitting is to knit rows of green. Now you have to knit 3 rows, also adding 6 loops in each row. When knitting is finished, you need to cut the thread and secure it. Straighten the finished blank for the cosmetic bag and iron it lightly.
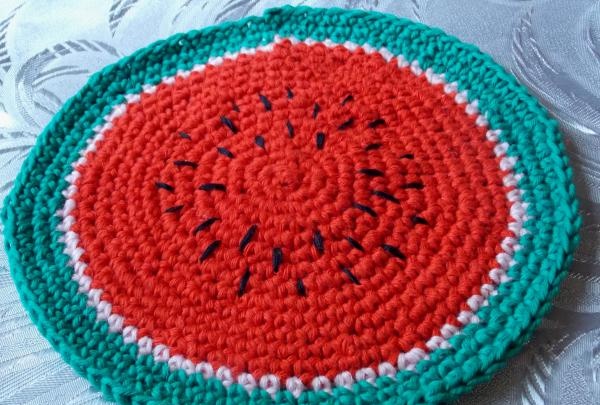
Now we take a black thread, thread it into a needle with a wide eye and embroider stitches in the shape of watermelon seeds. If desired, the seeds can be embroidered with black beads.

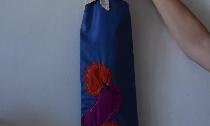
Next, we proceed to assembling a cosmetic bag in the form of a watermelon slice. We bend the resulting circle in half and sew a zipper along the top. If the zipper is longer than expected, it can be cut off and the edge secured with a seam. In my version, the zipper is not long; I sewed up the free edges with green thread. You can sew a zipper by hand or using a sewing machine.When the zipper is sewn in, all that remains is to turn the cosmetic bag right side out, straighten it and fill it with cosmetics so that it takes the desired shape. If you wish, you can sew a lining for your cosmetic bag, then it will last you longer and look more aesthetically pleasing.