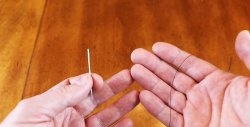
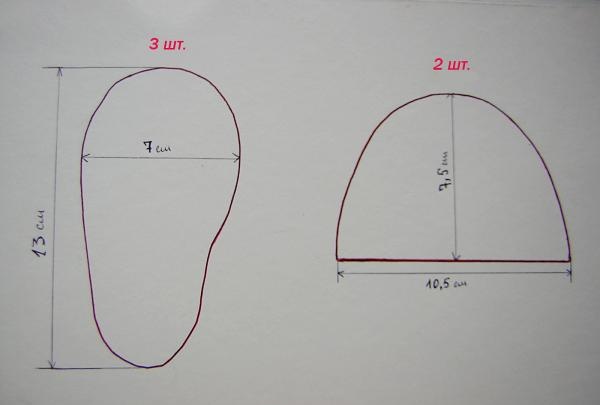
So, first we draw a slipper pattern. For the manufacture of parts, thin cardboard is suitable, which would easily accommodate a sewing needle. You can use cardboard from the packaging of tights. Cut out 2 pieces. top parts and 3 pcs. sole details.
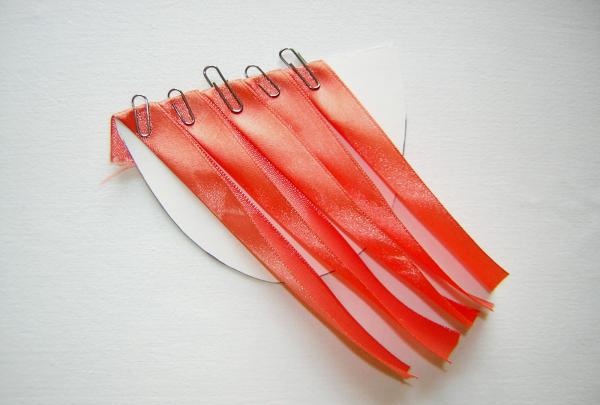
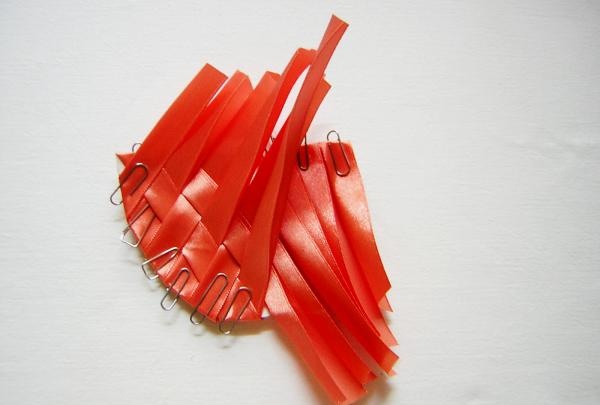
We fold our satin ribbon in half and apply it to the top piece diagonally, cutting off the ribbons as necessary. So until the end of the line. We fix everything with paper clips.
On the opposite side we also fix the ribbons with paper clips, starting to intertwine them.
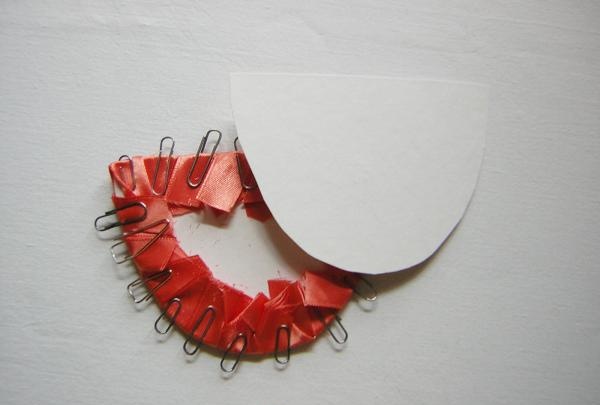
We align all the ribbons so that the pattern is neat, all edges must be secured with paper clips. From the inside out, carefully trim the too long ends of the ribbon with scissors. We attach the second part.
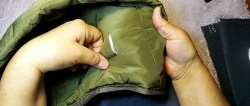
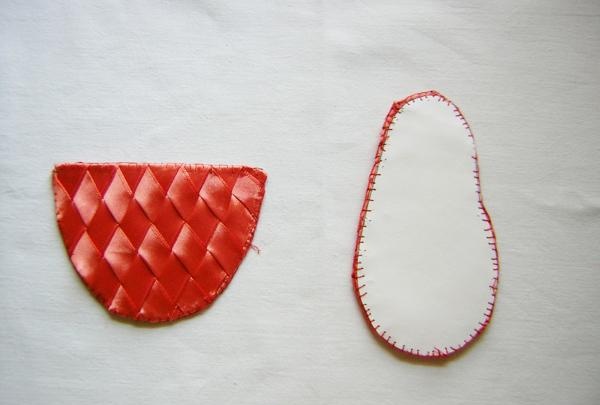
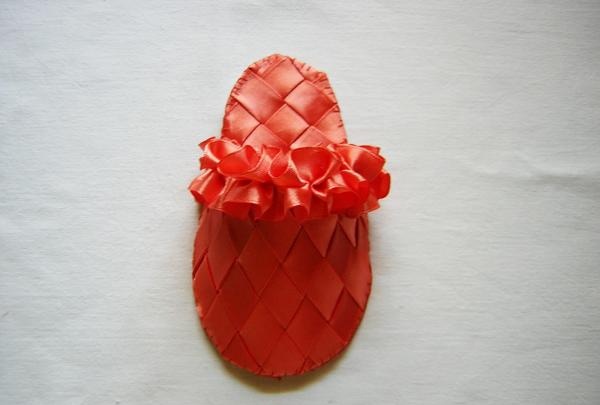
We hand-sew two parts of the top, fixing each ribbon. We do the same work with the sole of the sneaker as with the top.As a result, we have two parts that look like this from the front and back:
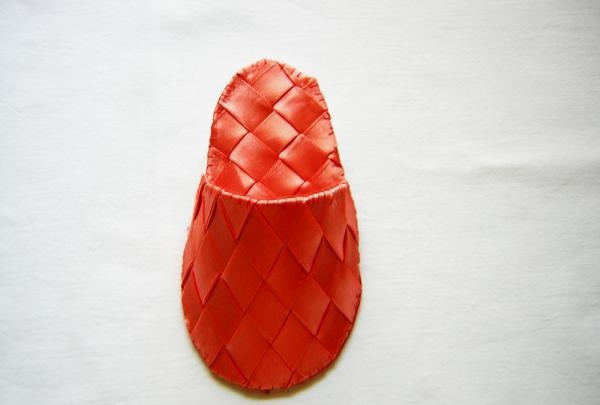
Carefully sew the two parts together into one slipper.
We cut off 50 cm of tape, carefully singe the cut edges with a match. We collect the ribbon in the center onto a thread.
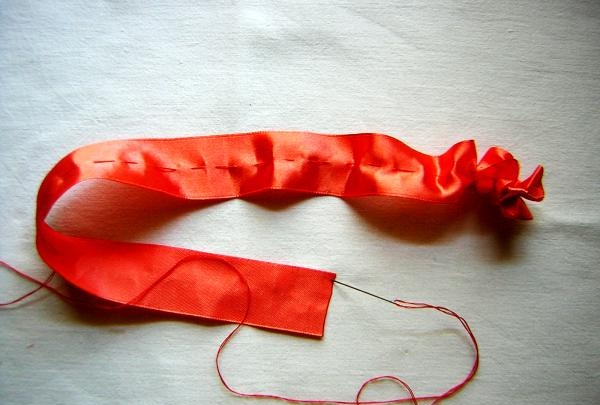
We gather the ribbon and sew it to the edge of the upper part of the sneaker, fixing it in the middle of the ribbon.
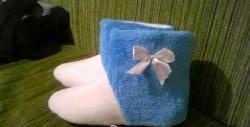
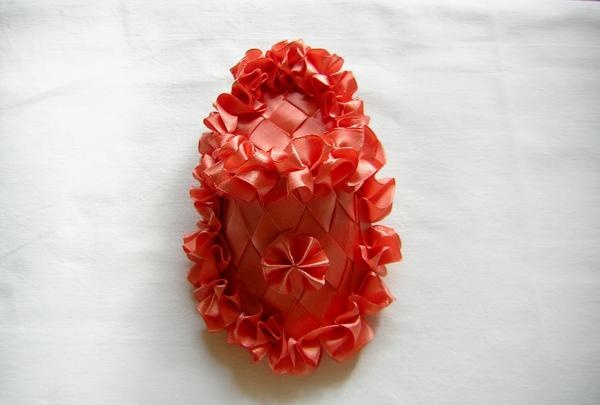
We take all the remaining ribbon, leaving 15 cm for the bow and fastening. We assemble it with a thread, gather it together so that the assembled length of the tape is 32 cm. Sew the tape to the sneaker around the perimeter. Cut a piece of ribbon 4 cm long, singe the edges with a match, collect a small bow and attach it to the middle of the slipper with thread or glue.
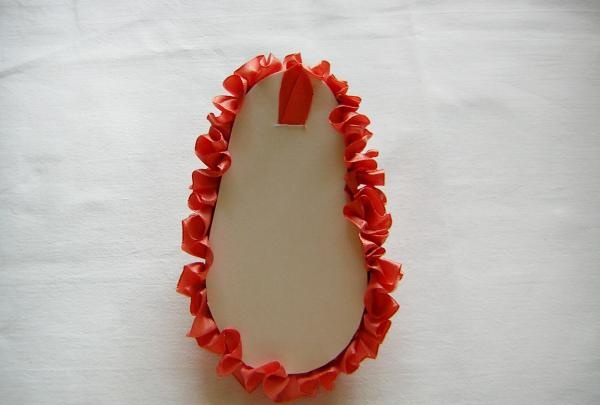
We make a loop for attaching the sneaker to a wall or other surface. We cut out an 8x1 cm ribbon from the remaining piece of tape. We singe it from three edges. You can buy a piece of ready-made narrow ribbon, if it comes in the same color. In the last part of the sole, carefully make a cut about 1 cm long with a blade or a stationery knife, and thread our ribbon into it. We glue the part with the loop to the sole of the sneaker. It will cover all visible seams and give a neat look to the finished souvenir.
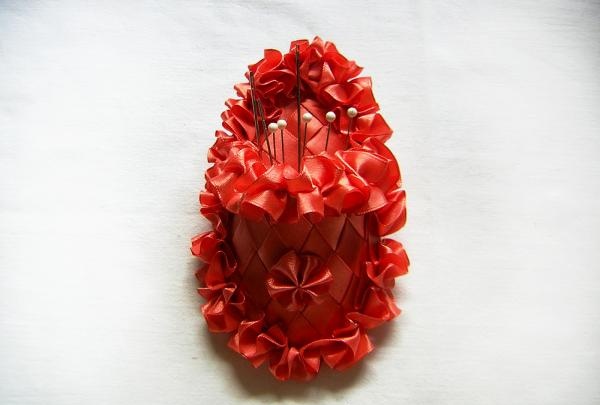
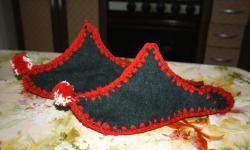
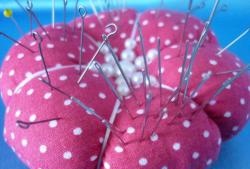
In the middle of the slipper you can place a piece of foam rubber covered with fabric, or sew a small pad of cotton wool, or glue in a small ball of knitting thread. Then you will get a useful souvenir pincushion, like this: