To get started you need:
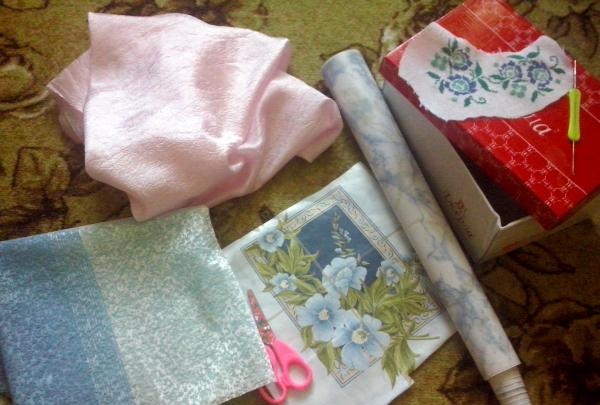
- shoe box or any other box as desired;
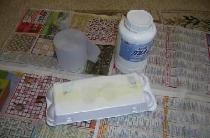
- self-adhesive paper;
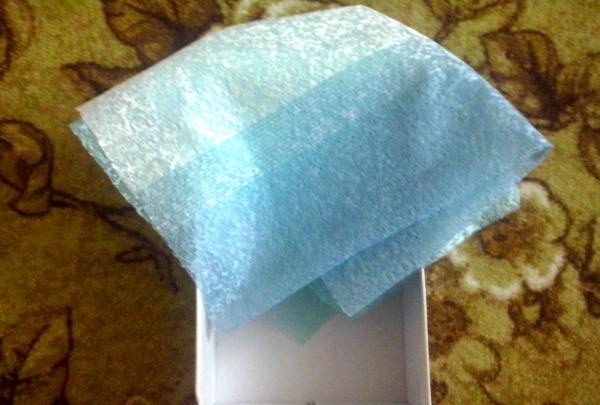
- fabric for exterior decoration;
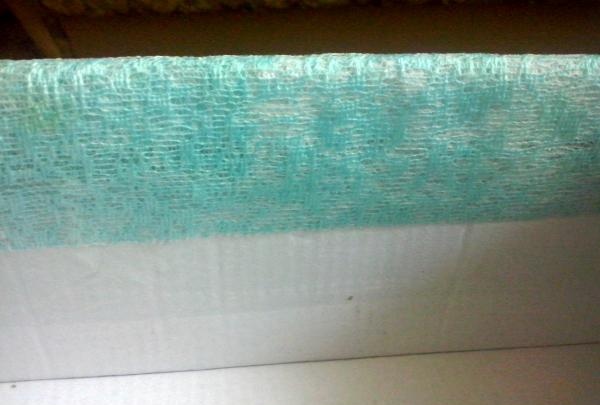
- fabric for the inside;
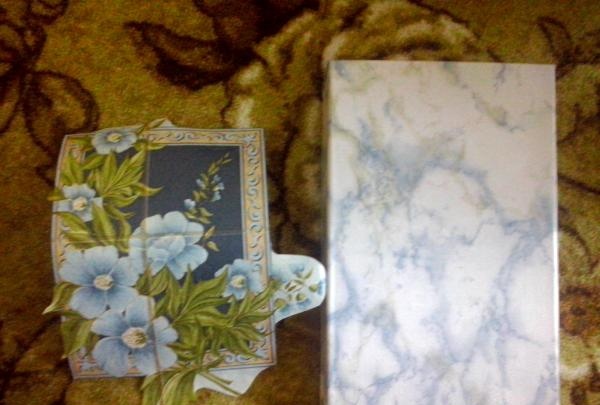
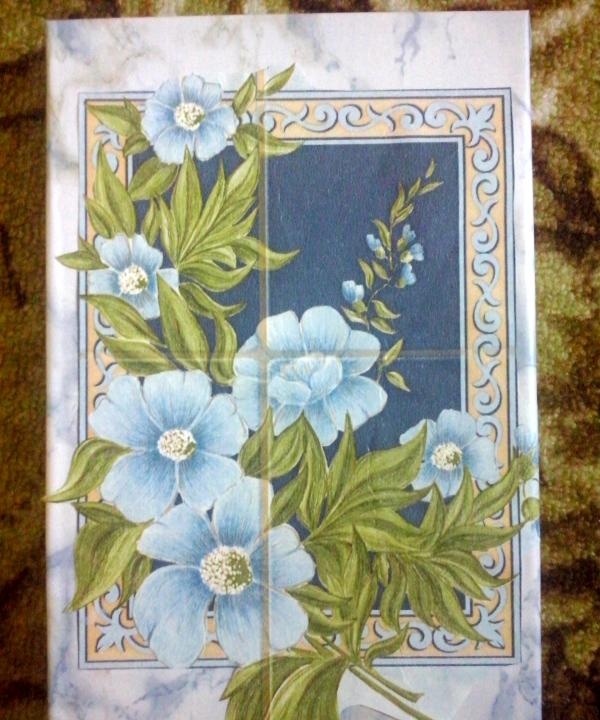
- cut out paper drawing;
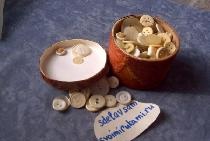
- two embroidered flowers on canvas;
- scissors, glue, thread, needle, tape.
Let's get started:
1. The first stage of work is to transform the lid of the box. To do this, take the lid of the box and carefully glue it on both sides. Make sure there are no bubbles or wrinkles. Then we take the paper design and glue it onto the lid with glue. We also smooth it out, removing air bubbles.
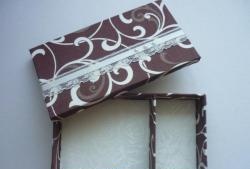
2. Let's start decorating the box itself. Take the fabric and fold it in half.
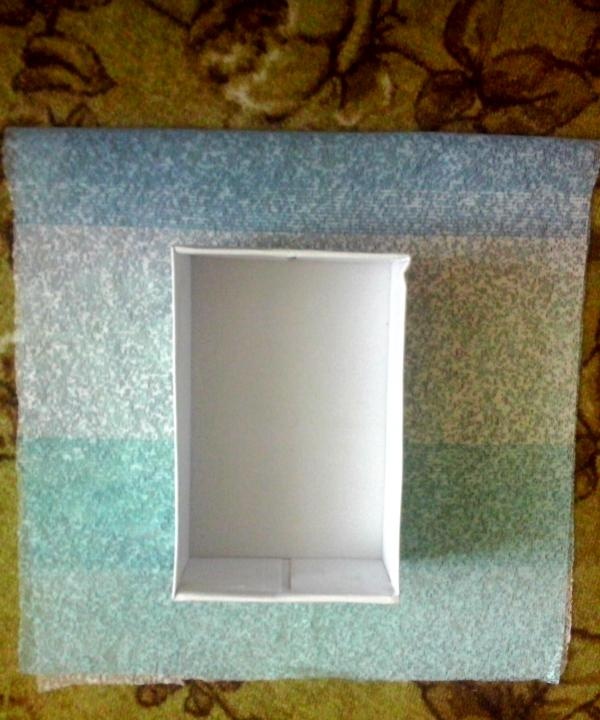
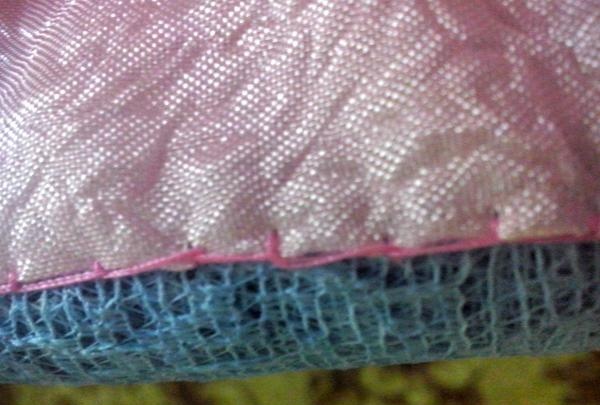
Next, using a thread and a needle, attach the fabric to the box, carefully smoothing it out.
These seams will not be visible, so the length of the seam may vary.
We form the corners and sides of the box.
Some needlewomen prefer to make triangular side folds of fabric - outward, but I always hide them inward. In my opinion, it is more beautiful and interesting. And after we have attached the fabric to the box, we can move on to sewing the inner fabric. We sew seams from the front side, exactly along the edge of the box.
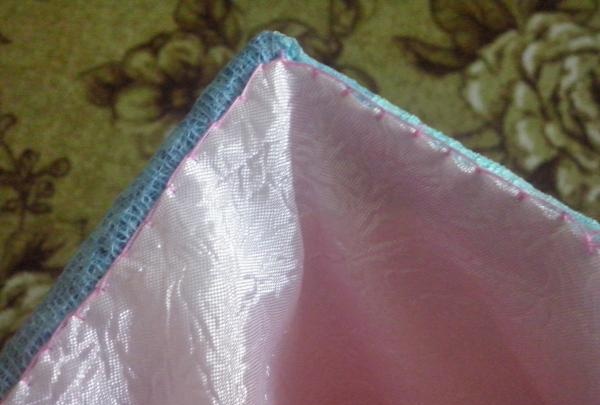
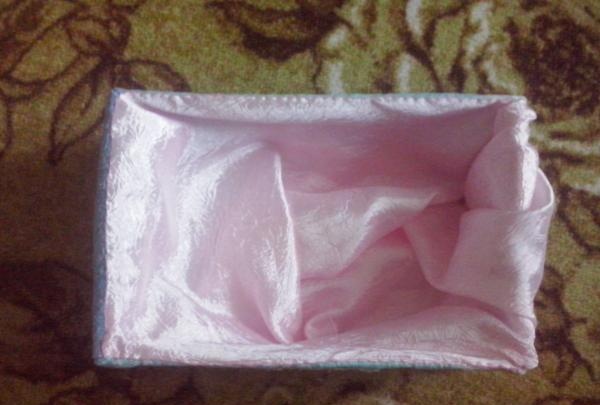
We do not stretch the fabric and give it natural folds. We leave a little more fabric at the very bottom of the box to also form waves. We carefully tie all the knots and hide them. We cut the thread with scissors.
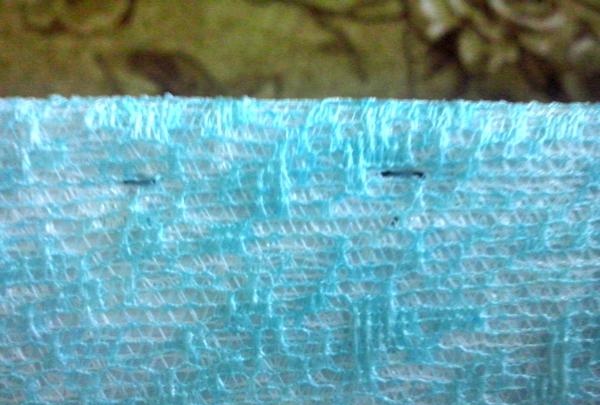
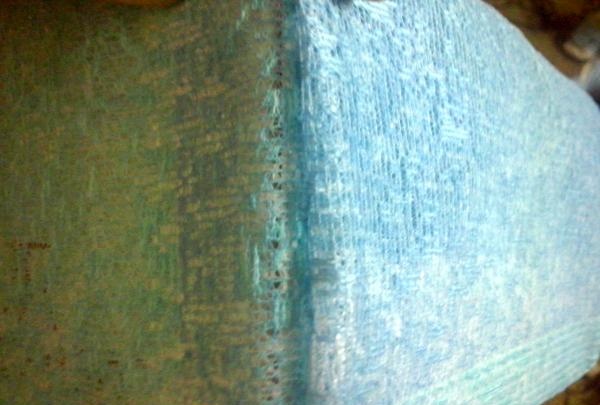
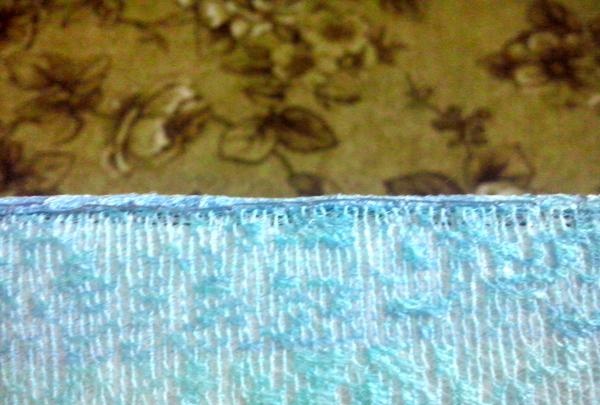
3. Let's start finishing the outside of the box. We cut out the embroidered element from the canvas, so that the edges of the pattern are 1 cm wider. (f13) We sew the pattern with thread in two folds.
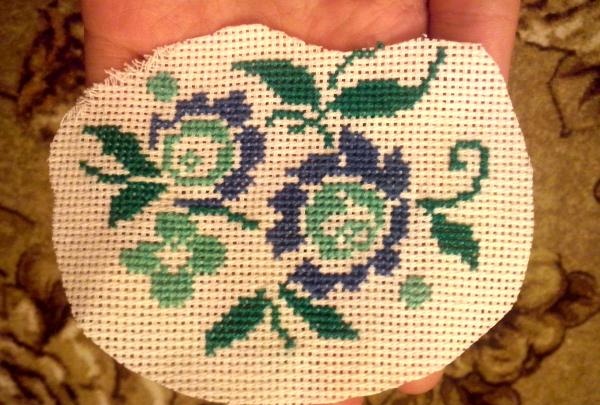
We unravel the remaining material from seam to edge and form an even fringe.
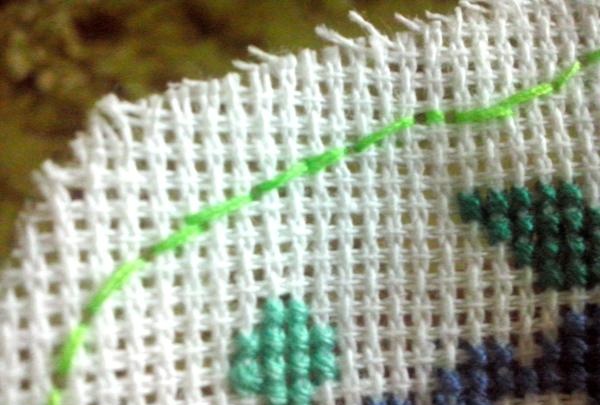
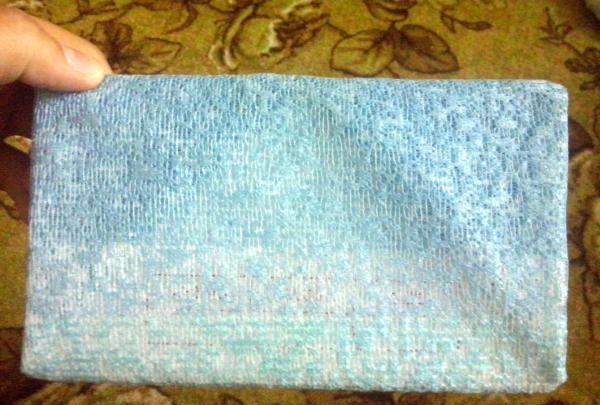
In this case, individual threads can be trimmed and trimmed. Using invisible seams, we sew the element to the box. We try to hide each knot and secure it tightly, because we will use the box regularly and nothing should fall off or unravel. We prepare the second side in the same way. To make the box original, you can sew different embroideries on each side.
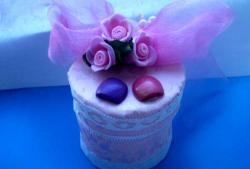
Note. If you have other interesting decorative elements, for example, ribbons, beads, seed beads and much more. You can easily sew them onto the box. This will not only elevate it, but also add sophistication. And if suddenly you don’t have any fabric at all, then you can simply cover the box with self-adhesive paper and decorate it with paper drawings. And on top of the design, sew or glue beads, beads and simple flowers from ribbons.
4. Now our box for handicrafts is ready.Imagine and implement!