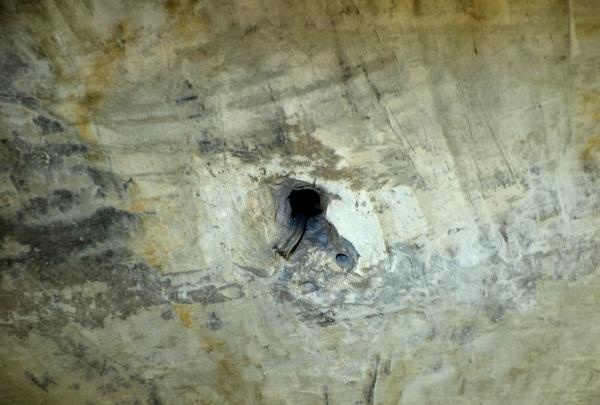
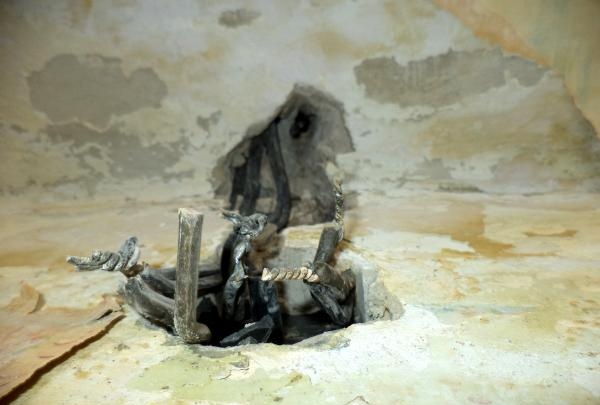
Now you need to determine the direction of the channel, since it may not be perpendicular to the walls. To do this, we drill control holes in the slab.
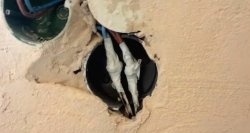
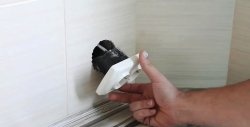
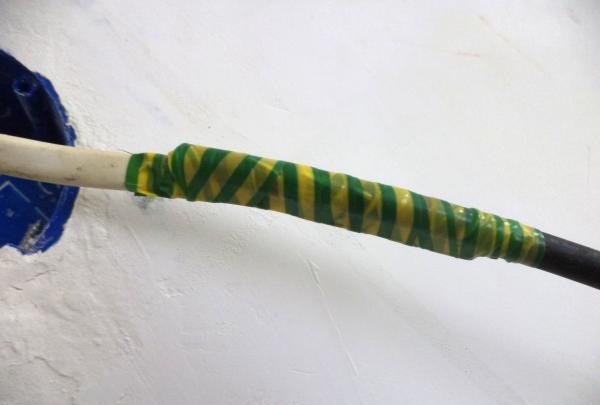
Having identified it, we find the place where the wire exits; it can be in the same room, or maybe in the next one, but always next to the branch box, which must be looked for under the old plaster and wallpaper.
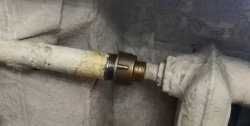
In the place where wires from different rooms and different lines converge, you need to find the right one. To do this, we turn off the power to the apartment, disconnect all the twists or couplings and use a dial to find the one we are looking for. Then, as at the beginning of work, we widen the hole in the plate and try to pull the wire through from different ends one by one. With some luck, he may immediately have some slack, but you shouldn’t immediately pull him out to celebrate. You need to connect its end to the end of the new wire and carefully pull this twist through the channel.
If you can’t pull it out right away, you can increase the force with a tool, for example, pliers, sharply pulling the wire from one end and the other, but in this case you can overdo it, old aluminum wires are quite fragile and you can simply break them, then the further process becomes more complicated. Therefore, there is no need to rush, you need to firmly connect the end of the old wiring with a piece of any wire on both sides and, alternately applying force without sudden jerks, try to pull it out. The channels in the slabs are quite large in diameter, but they can be clogged with construction debris or mortar that gets into them, so it is not always possible to pull them out. If this happens, we move on to the next stage and try to extend the guide probe. The material for it should be quite rigid, but flexible.The soft one will bend when meeting an obstacle, but the hard one will be difficult to give the desired direction. The best option is a sheathed cable for sewer cleaning; it is quite flexible to change the direction of movement in the channel and will not bend when meeting an obstacle. We insert the end of the cable into one of the two holes and, giving it the desired direction, move it forward.
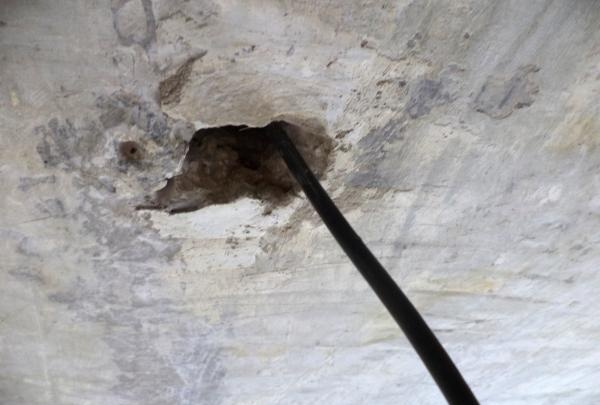
When jamming, we make reciprocating movements with simultaneous twisting. If the channel is not tightly clogged with solution, then everything will work out. Then we firmly attach the new wire to the cable, making the twist streamlined, without protruding corners, and pull it through the channel.
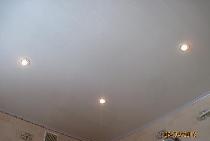
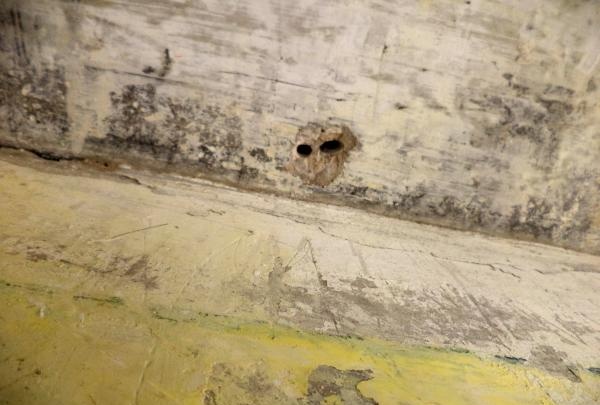
If it happens that the void is not passable, you can use the adjacent one, finding it by test drilling the floor panel at a distance of 15 - 20 cm from the old hole. But this is acceptable when the slab is hollow and has several voids, but if it is monolithic with one special channel for wiring, then this option is not suitable and all that remains is to carry out external fines, which is not encouraged by SNiP or to make a suspended ceiling.