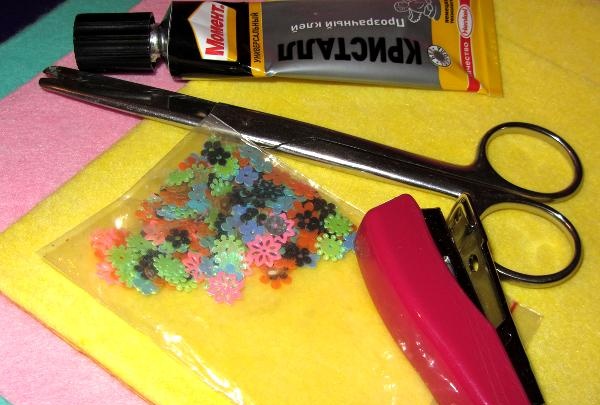
1. Materials and tools:
• Table cloths.
• Glue.
• Scissors.
• Sequins.
• Stapler.
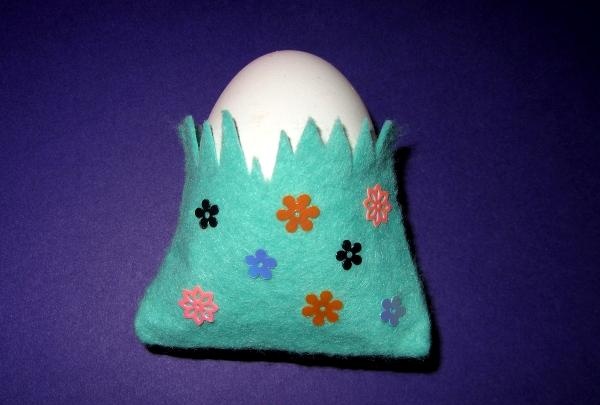
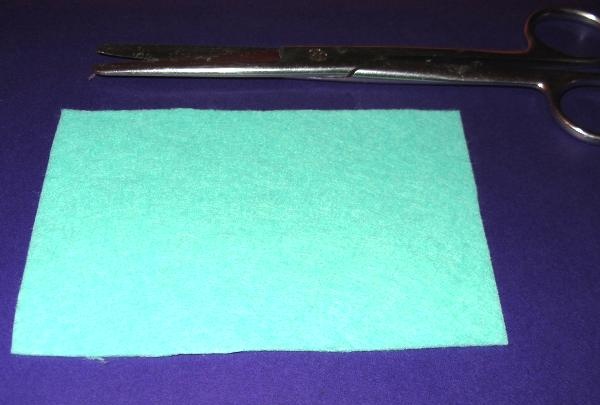
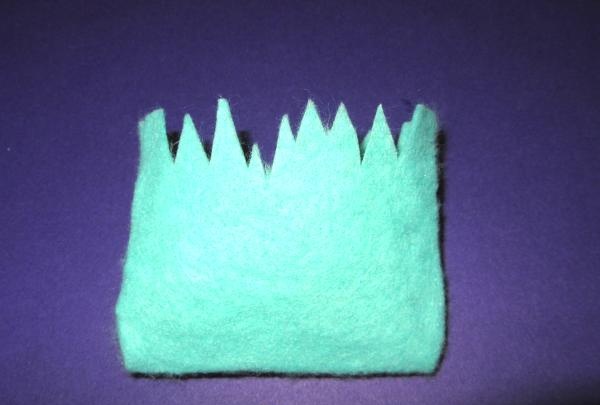
2. Cut out a rectangular piece of fabric measuring 7 cm by 10 cm. This piece is the future bag for the Easter egg.
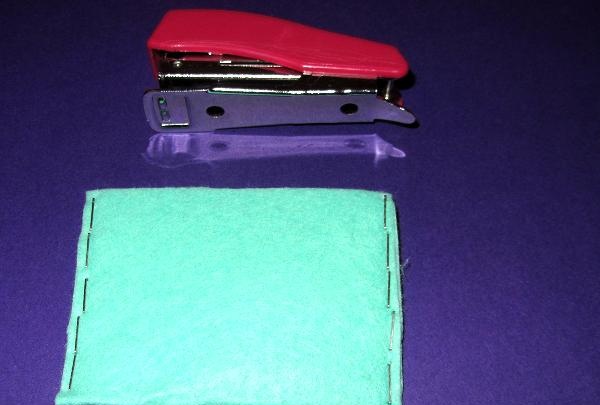
3. Fold it in half and fasten it with a stapler. You can use thread and a needle and simply sew a bag. It is easier and safer for a child to use a stapler, but this must be done under adult supervision.
4. Turn the bag inside out and cut out small triangles.
5. Glue various sequins.
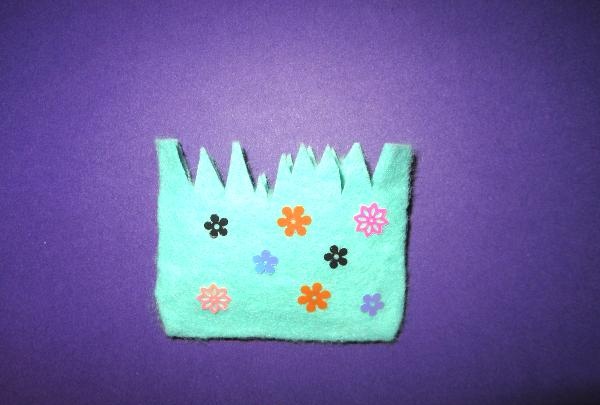
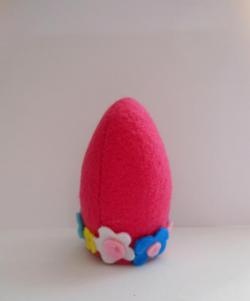
6. Place the egg inside and admire the cute Easter egg bag.
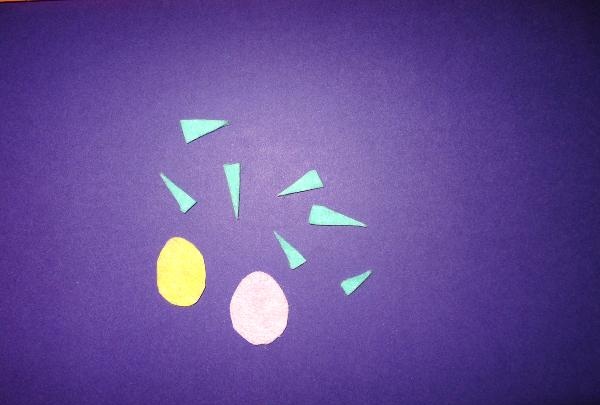
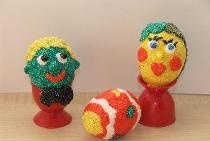
7. If there are no suitable sequins, then you can use buttons or cut flowers from the same fabric. Or use another decoration option. Cut out two eggs, yellow and pink.And also use the triangles that remained from cutting out the top of the bag.
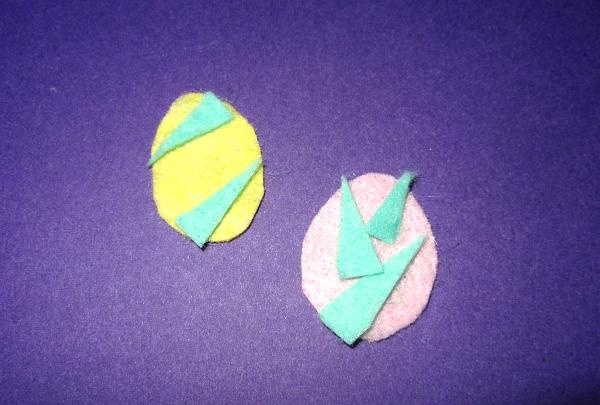
8. Glue the triangles in any order onto the fabric eggs.
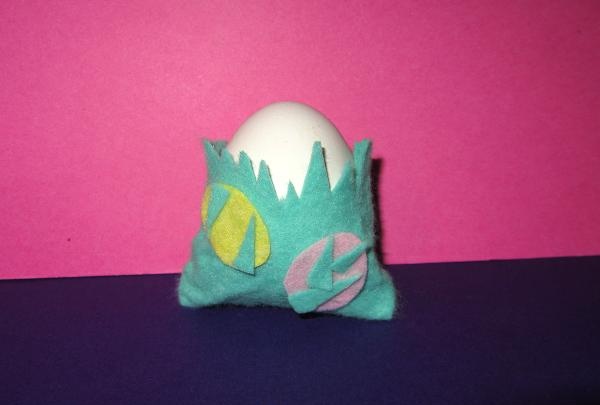
9. Use glue to attach the decorative elements to the Easter egg bag.