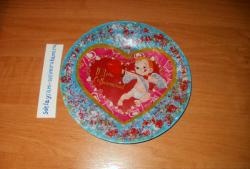
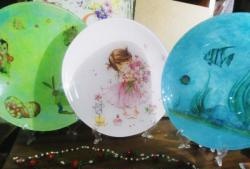
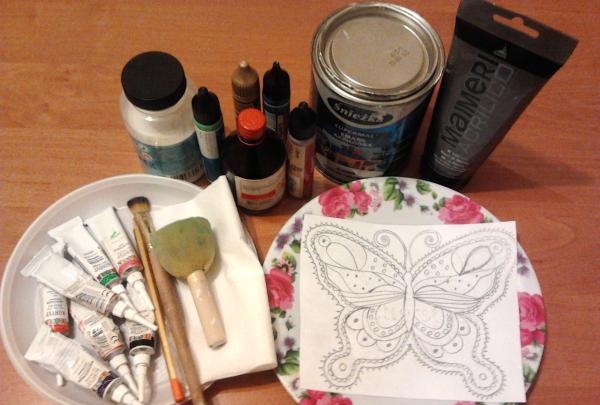
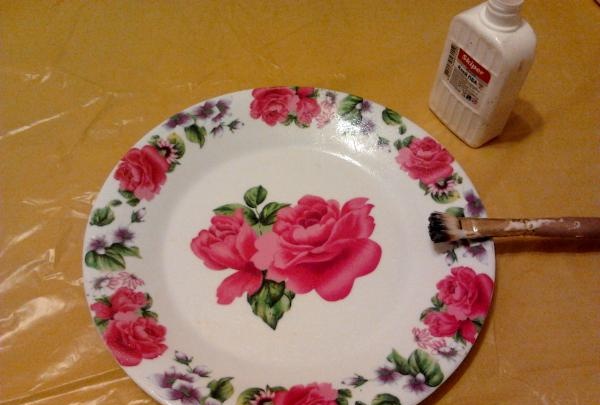
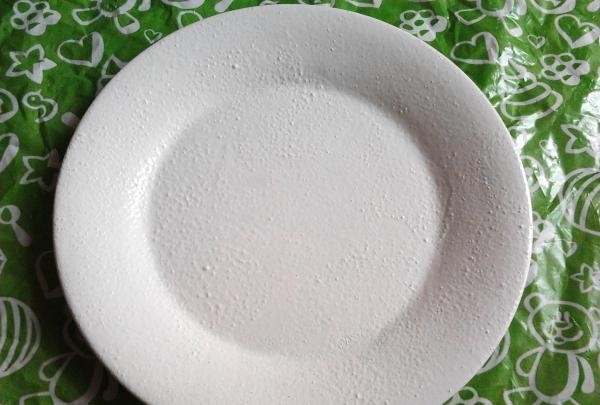
1. Plastic plate.
2. Acrylic contours and glitters of different colors.
3. Sketch of the drawing.
4. Acrylic paints (white and black).
5. PVA glue.
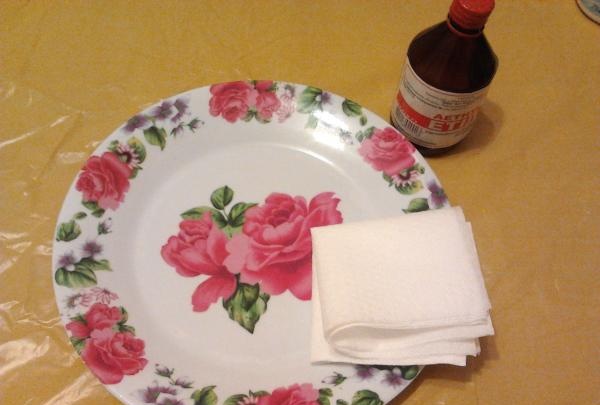
6. Alcohol.
7. Varnish for coating the acrylic base.
8. Sponge for paint.
9. Paper napkins.
10. Medium brush.
11. Colored pencil.
The work begins by degreasing the surface with alcohol. This is done so that the paint lies evenly on the plate. Wipe with alcohol on both sides.
Next, the entire product needs to be coated with a small layer of PVA glue. These actions are performed with the aim of better adhesion of the paint to the surface being treated.
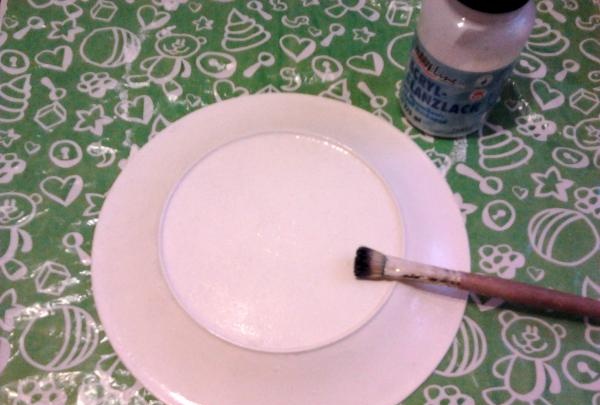
Then, using a sponge, paint the plate with white acrylic paint. To do this, press movements against the product with a sponge. By using a sponge, we avoid brush marks and the surface is painted evenly. You can use not only decorative, but also construction acrylic paint. It must be applied on both sides.
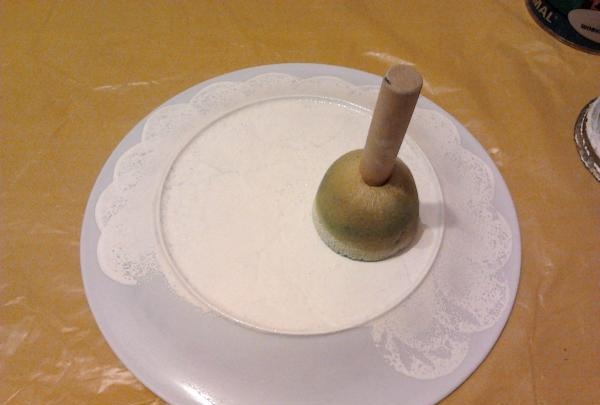
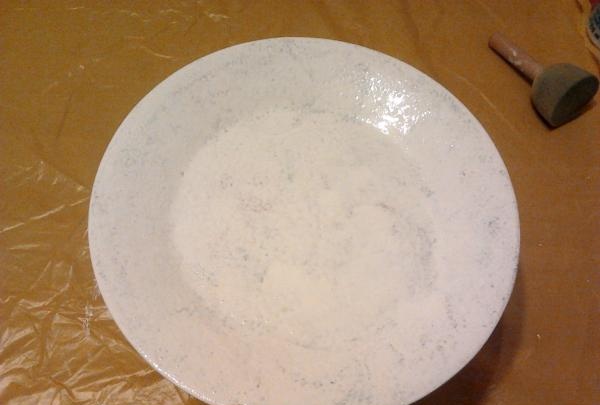
We apply white paint to prime the surface. After the first layer, the pattern under the plate is visible, so we paint it again.
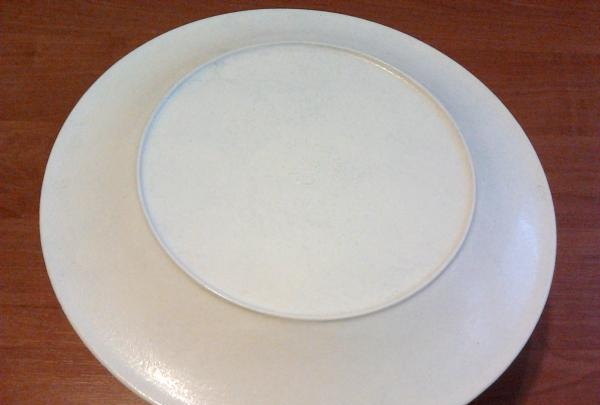
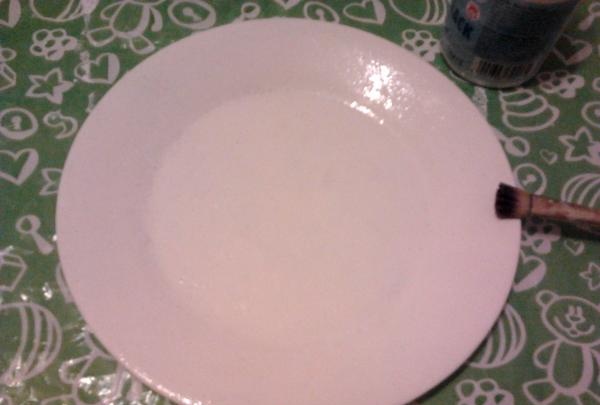
Next, coat the product on both sides with acrylic varnish. In this way, we fix our primer and protect the surface from swelling of the paint.
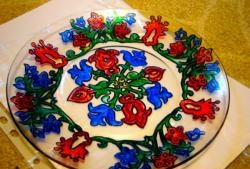
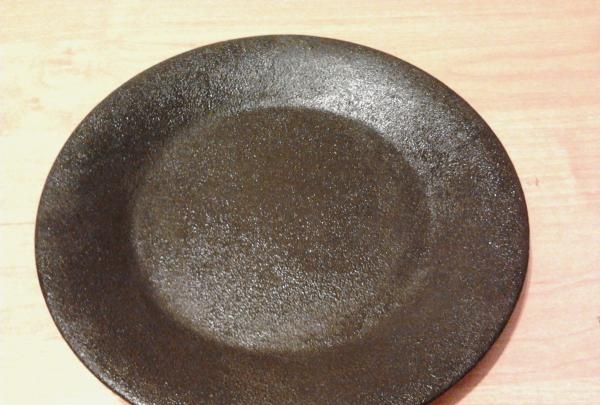
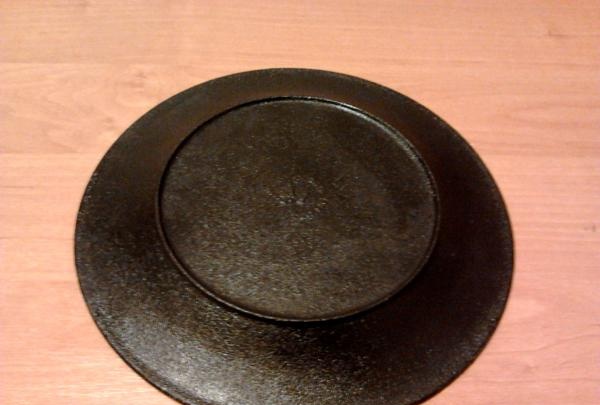
The next step is to prepare the background of the plate. To do this, apply two layers of black acrylic paint to the entire product, allowing it to dry between coats.
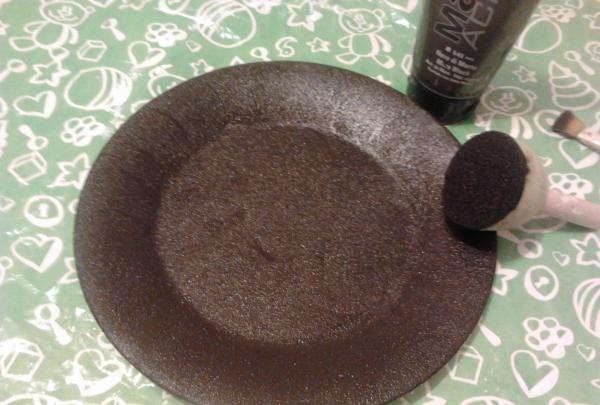
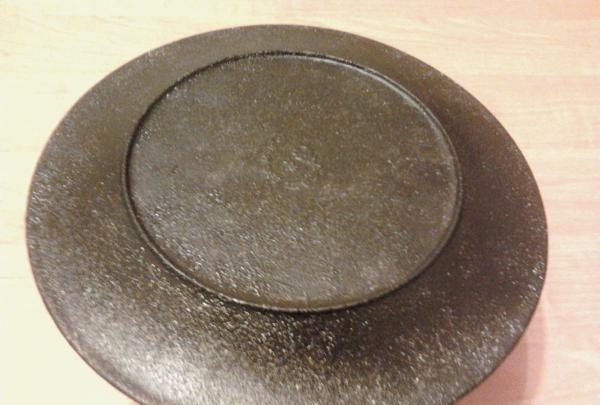
Then the plate needs to be treated with acrylic varnish. This is done to fix the paint, and also if we put a sloppy point, it can be removed without damaging the surface. Using a glossy varnish, we will also add shine to the surface.
After drying the product, you can begin to apply the design. To do this, you need to decorate the back side of the sketch with a colored pencil. Choose bright colors so they can be seen against a black background.
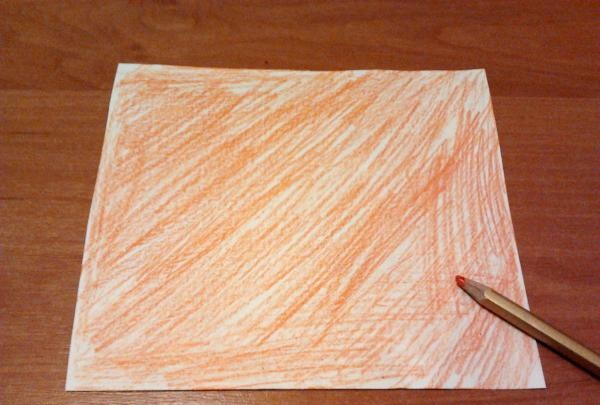
Next, place the butterfly design on the plate with the front side up. And we begin to trace the sketch, pressing firmly on the pencil. When we remove the drawing, we will see how our butterfly has been transferred to the product.

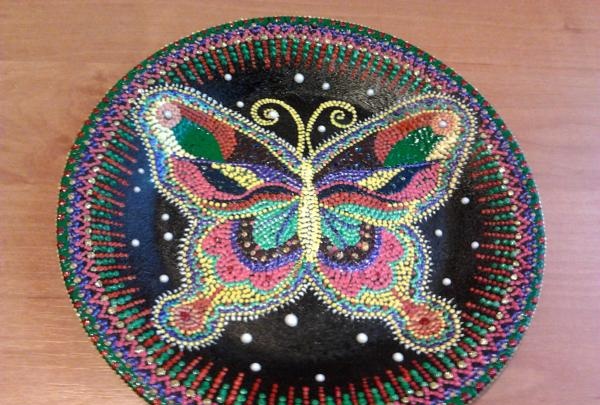
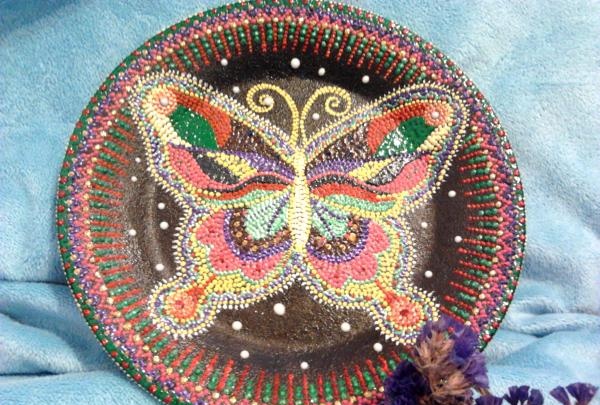
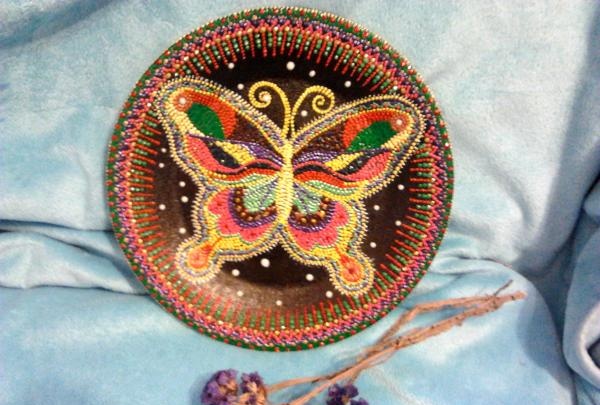
Let's start painting the plate. To do this, take a contour for painting and outline the silhouette of a butterfly.
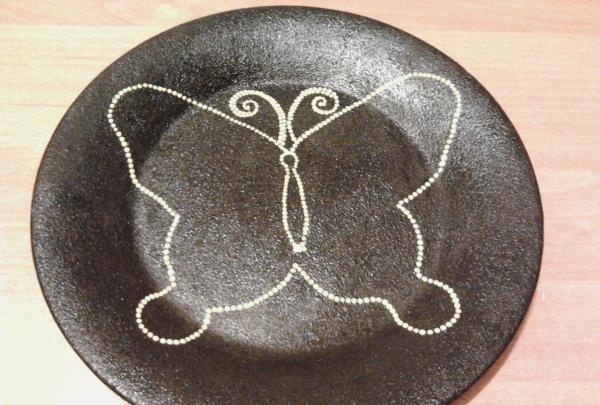
Now we take the contours or glitters and apply the main large dots.
We continue to highlight the main lines of the butterfly.
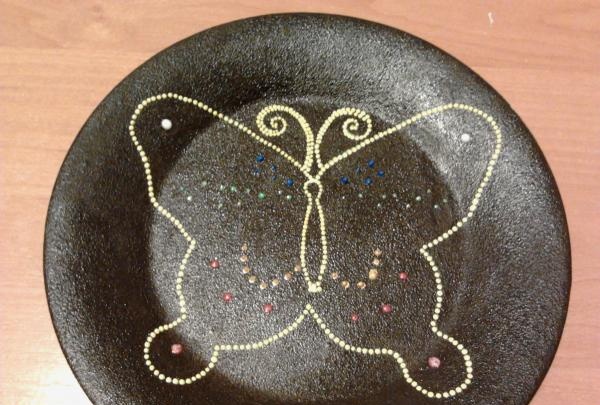
Let's start painting the wings. You need to work carefully so as not to catch the already marked points.
So we fill the two upper wings.
Let's move on to the two lower wings. The size of the dot left depends on the force of pressing on the tube. For a large point you should press the contour harder, for a small point - lighter.

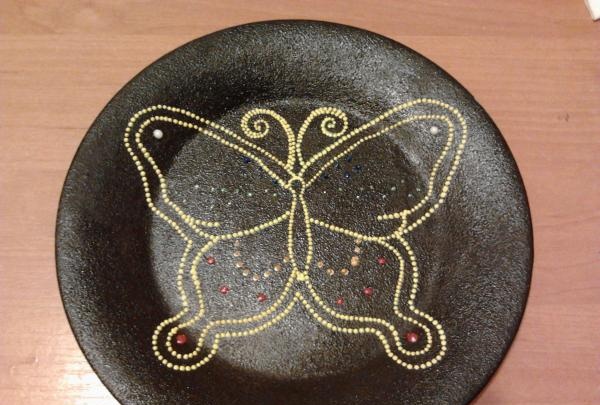
Then we take a white outline and give the wings of the butterfly fluffiness. To do this, put a point and stretch it slightly.
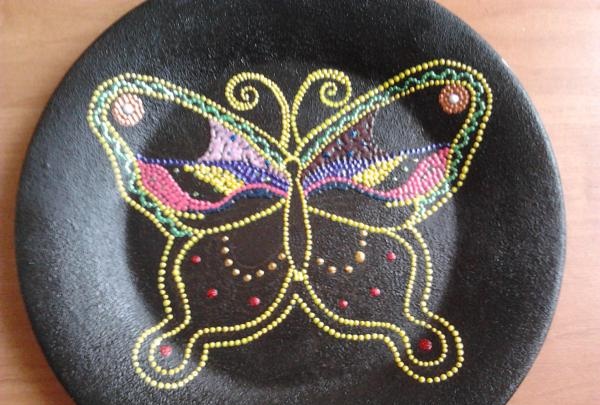
Let's move on to the design of the edging of the plate. Let’s show our imagination and start creating. We place the first points along the side of the product.
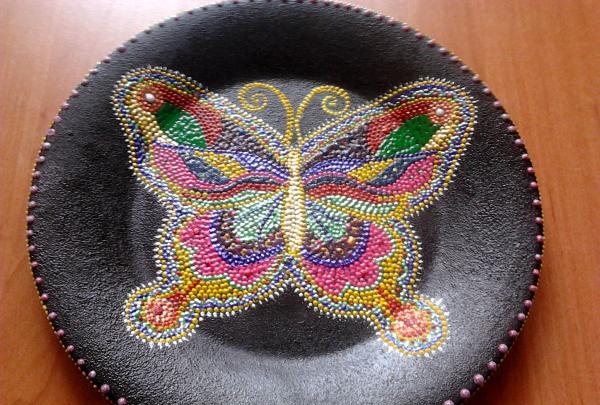
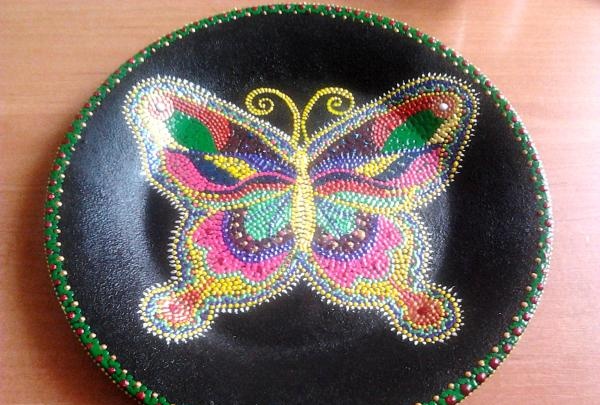
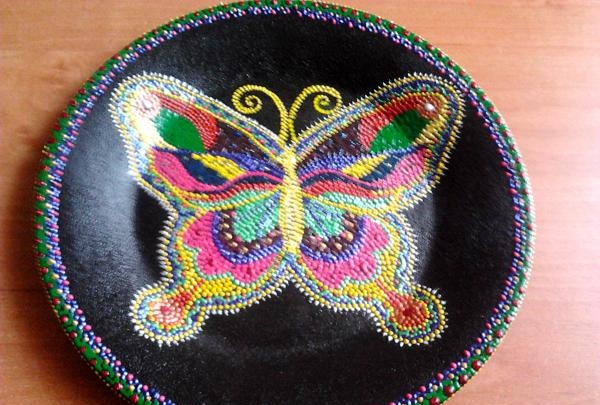
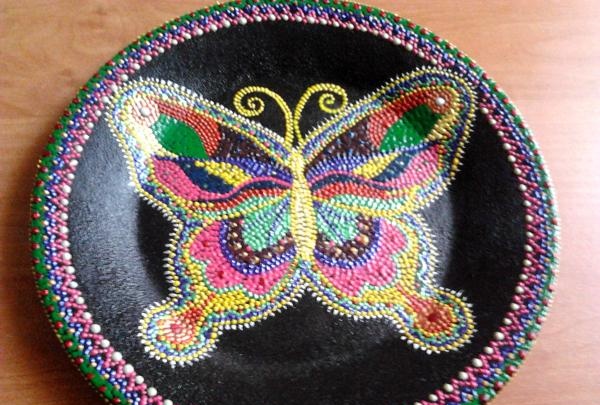
We come up with a design, it’s good to alternate dots of different sizes and use contours with mother-of-pearl or glitter.
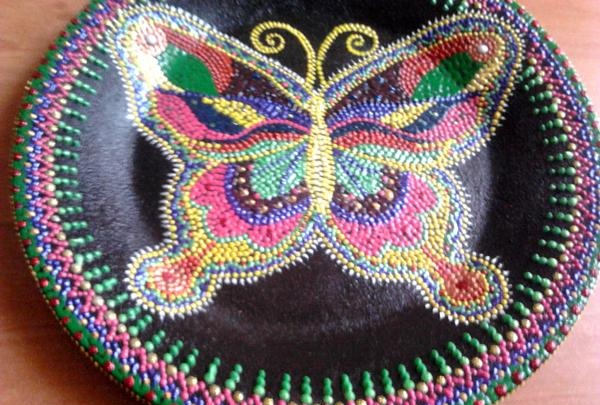
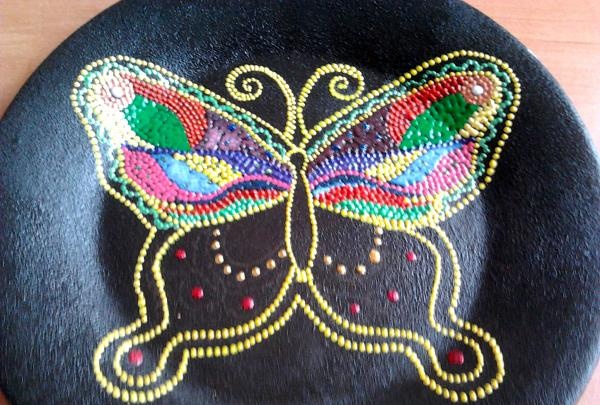
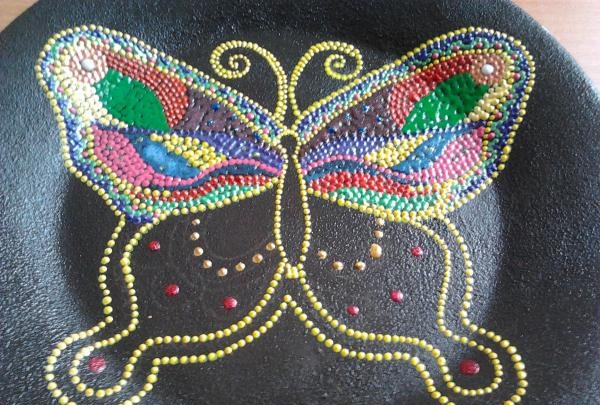
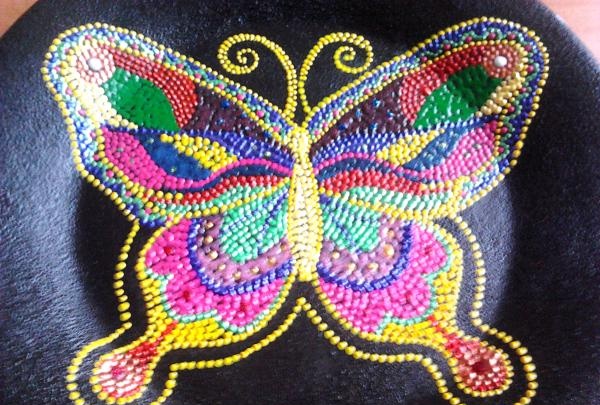
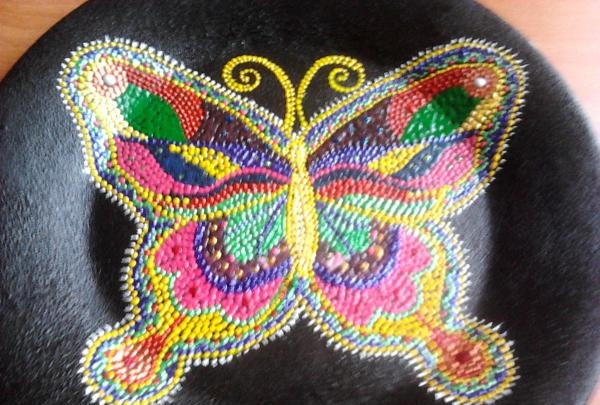
You can complete the work with a scattering of dots with a pearl outline. The butterfly is ready, now let's admire the result.