To work we will need:
1. The flower pot itself. This could be an ordinary nondescript or shabby pot, a mayonnaise jar or an old plastic bucket.
2. Eggshells.
3. PVA glue.
4. Brushes for applying glue and varnish.
5. Construction varnish.
First of all, you need to stock up on the main tool - shells. It is suitable for both boiled and raw eggs. The color can also be different: from white to light brown. And it’s even necessary to have shells of different colors available to make the design look more impressive. First you need to prepare the eggshells. To do this, immediately after using the eggs, fill the shells with warm water in a container for about 2 hours.
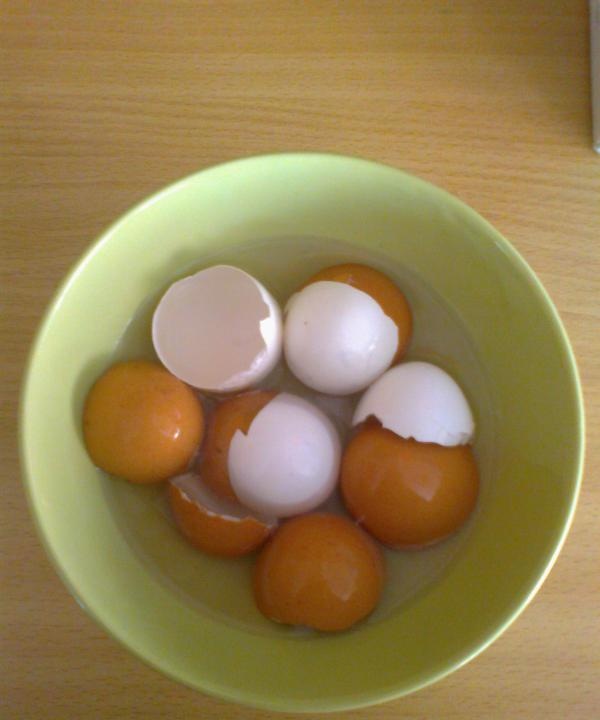
This is done so that the inner film is well separated from the shell.

After removing the film, throw it away, put the shell on a towel and let it dry thoroughly.
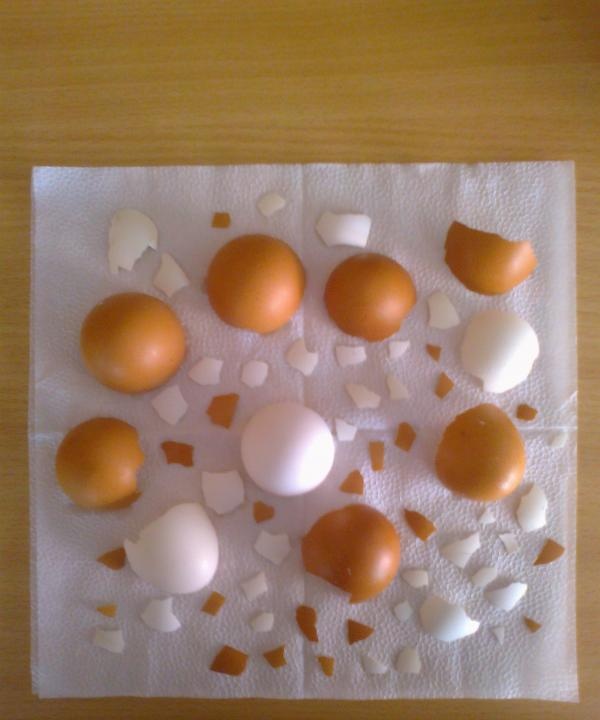
During the preparation process, it can sometimes happen that small pieces of shells break off. We don’t throw them away; they will come in handy too. By the way, it is more convenient to work with small pieces.
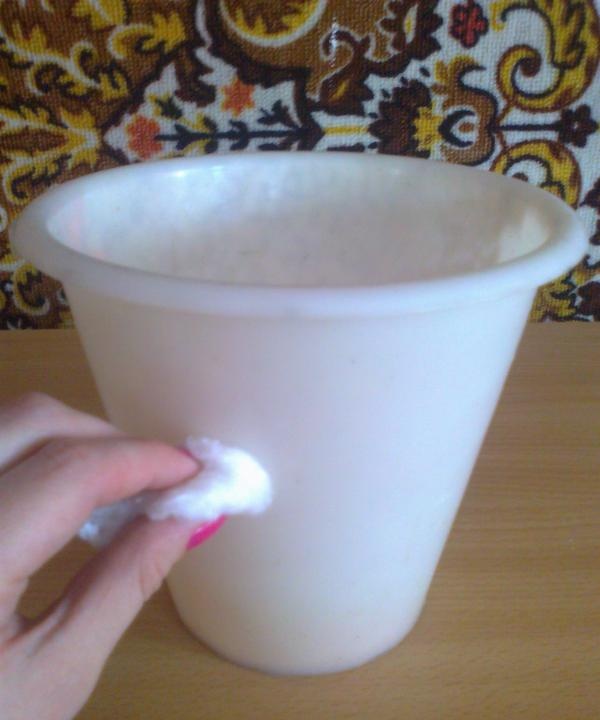
An important condition of the process is that the surface to be decorated must first be thoroughly washed and dried. We clean it and degrease it with alcohol or nail polish remover.
So, everything is prepared, let's start applying pieces of eggshell to the product of your choice. Using a brush, apply PVA glue in small portions to a small area of the pot. We work with small areas, as the glue dries very quickly. We take a piece of shell, smear it with glue and apply it to the surface of the product, pressing down a little. You need to press so that the shell cracks. This can be done directly with your finger, or using a toothpick or match. Then we distribute the pieces a short distance from each other.
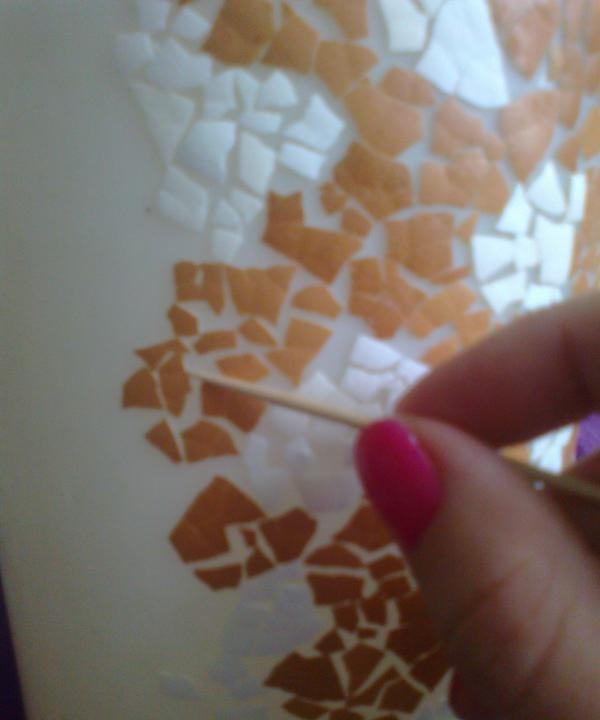
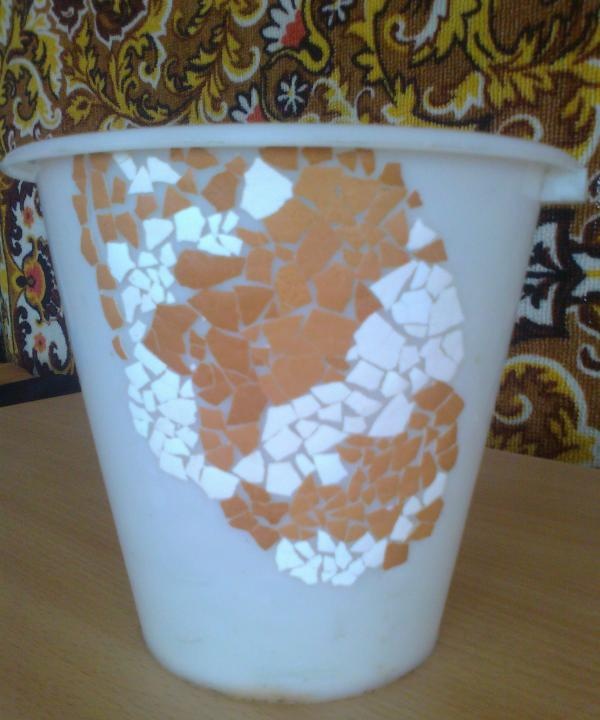
In the manufacturing process we show imagination and creativity. You can alternate dark pieces of shell with light ones to get an unusual pattern.
To secure the shell more securely, cover the top with glue.
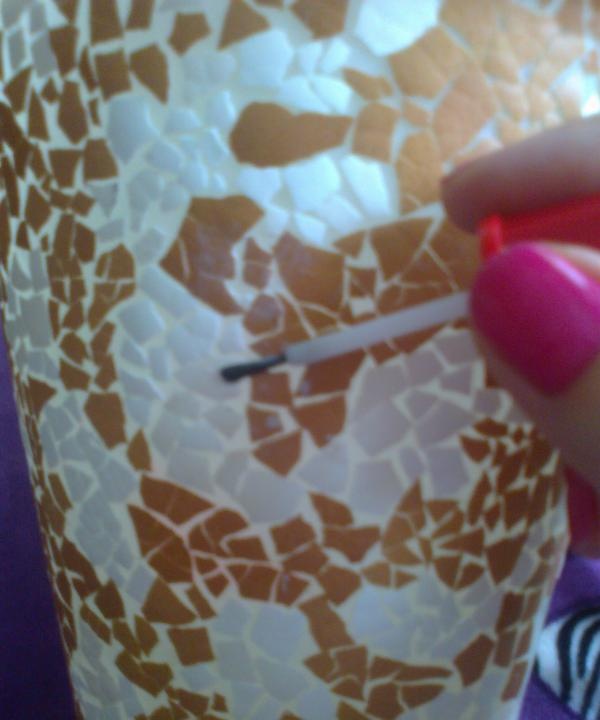
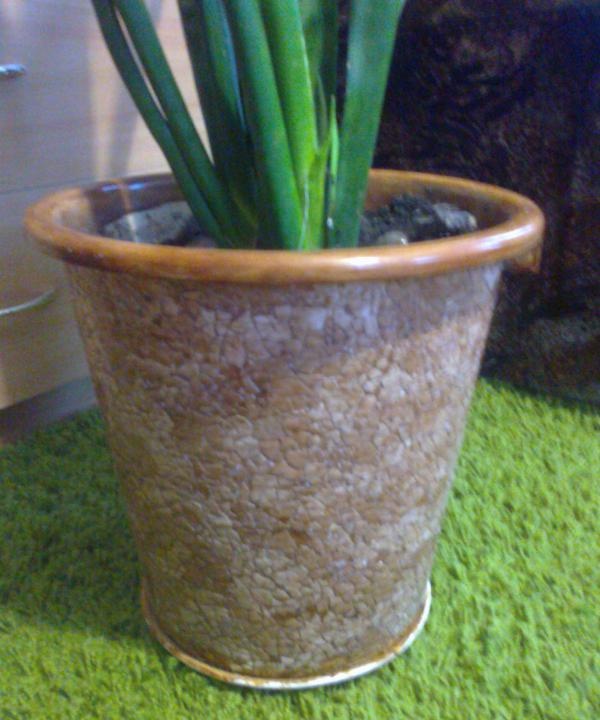
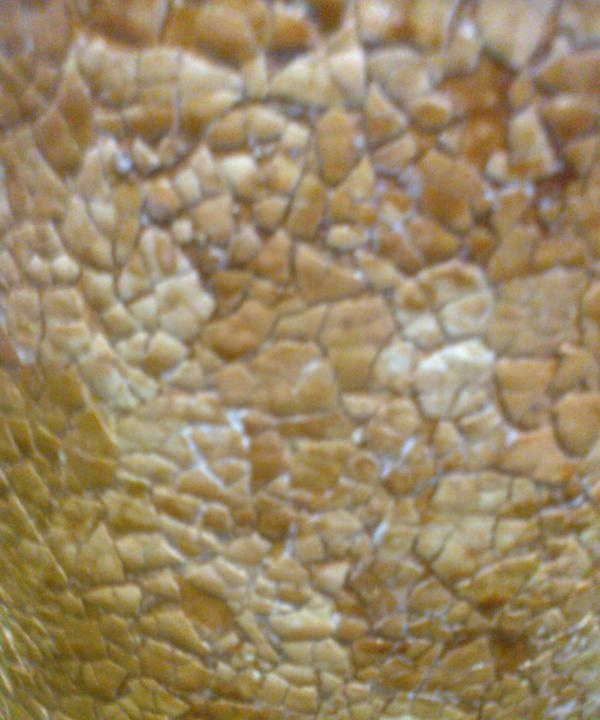
As soon as we glue the shell onto the entire surface, let the pot dry thoroughly for 24 hours. Then carefully coat the product with varnish for exterior and interior use. For the best effect, you can choose a varnish with some shade, for example “Oak”.
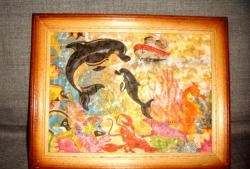
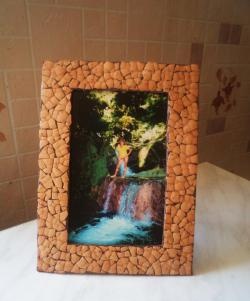
If the surface to be decorated is small, for example, a photo frame, then we can fix the shell simply with nail polish. The work is ready.