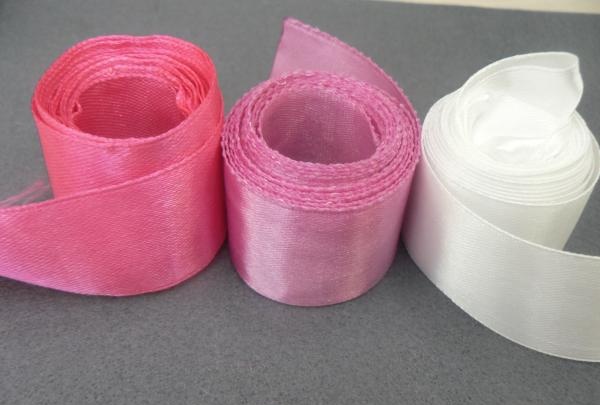
So, we will need to purchase a standard set of materials used to create crafts using technology kanzashi:
- ribbons of various colors, for a bouquet I use ribbons 2.5 centimeters wide;
- candle, matches;
- pencil, ruler;
- “Moment” glue (as practice has shown, it is best to use “Crystal”, but if you cannot purchase it, any other one will do, but with a strong hold).
Let's start making a charming bouquet for a lovely lady. Stages of work:
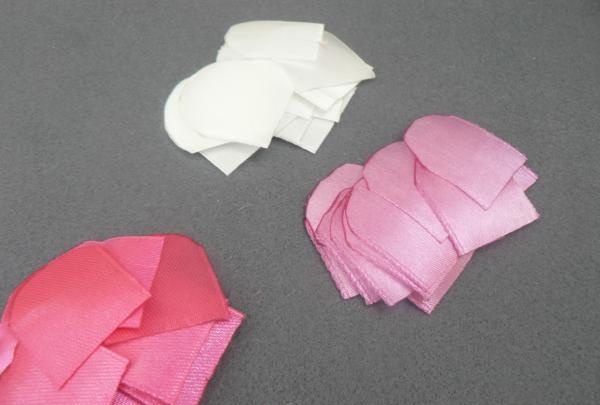
1. We start by preparing the ribbons (select the desired color).
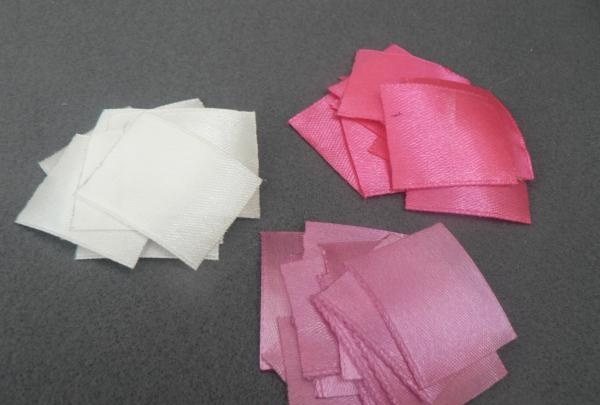
2. Cut the ribbons into rectangles 3 cm long. For one flower you will need 12 petals of the same color.
3. Now we need to round off the petals of our future flowers. We carefully apply the strokes along which we will cut.
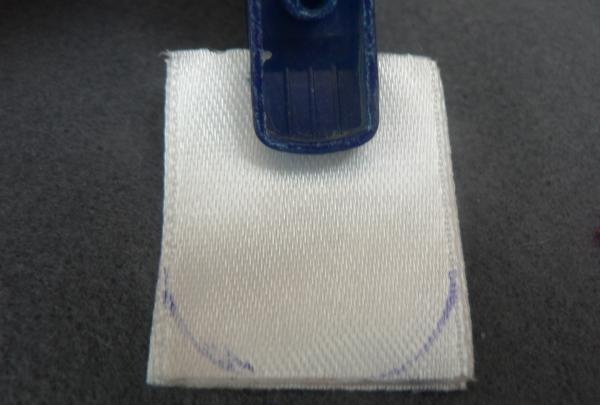
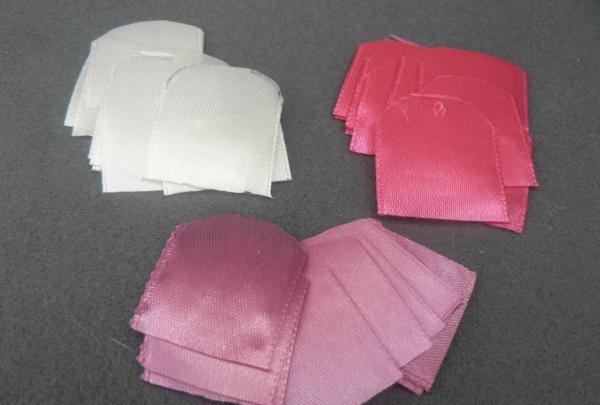
4.By the way, in order not to cut out each petal separately, I folded all 12 petals and, holding them with a clothespin, cut them all out at once. You need to do this with all the petals.
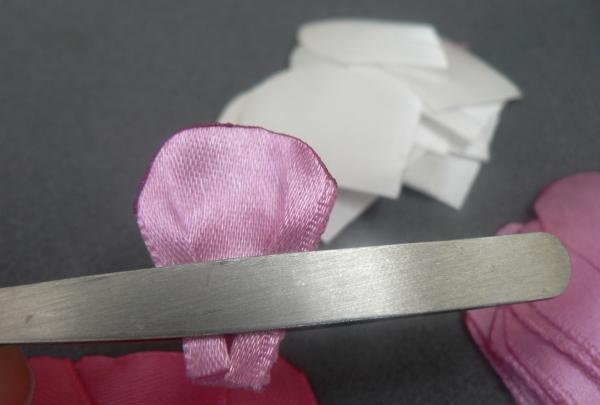
5. Next, each petal must be singed on a candle so that the edges do not crumble. It is better to do this by holding the petal facing you, bringing it to the base of the flame.
6. Next you need to give the shape by folding the base. We make folds as follows:
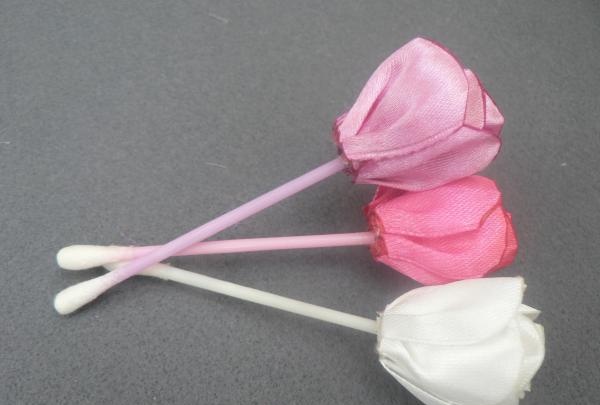
7. The most time-consuming part of the work is completed. Let's start assembling. We will collect flowers using cotton swabs.
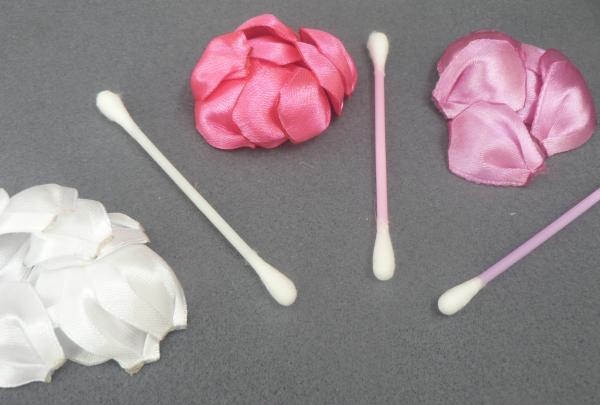
8. Carefully glue the first petal to the stick.
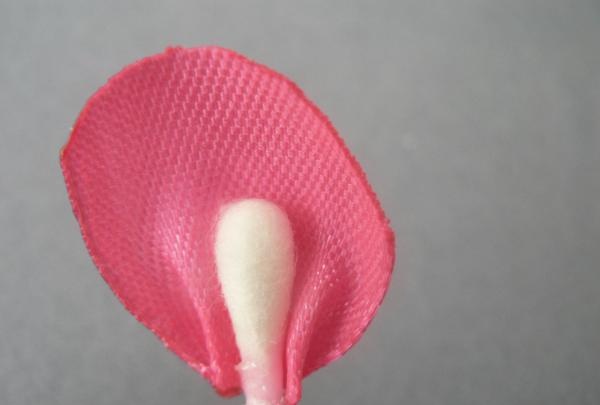
9. Next, glue the remaining 11 petals to the stick in a checkerboard pattern. We get this flower:
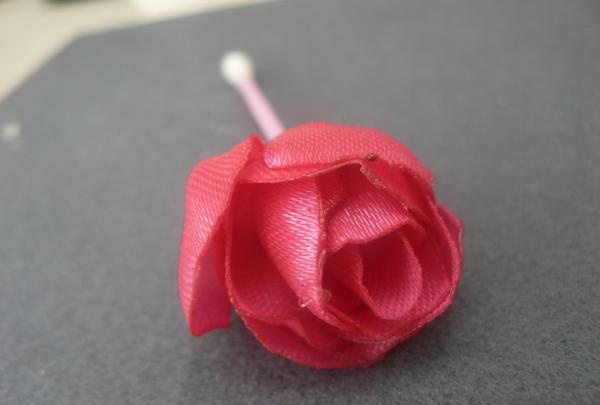
10. This is what the base of the flower looks like.
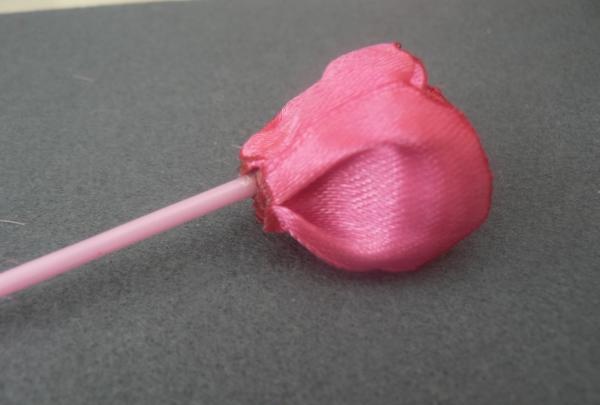
11. We collect the remaining flowers in the same way.
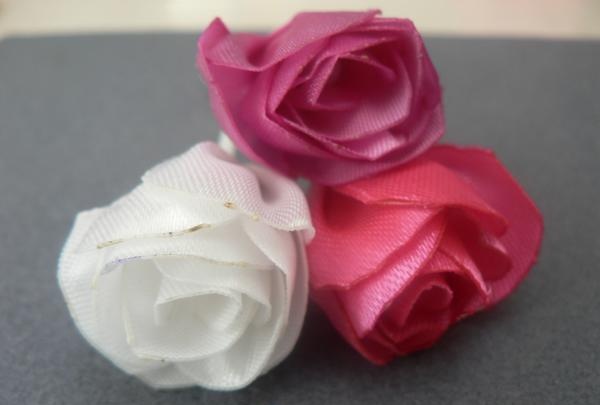
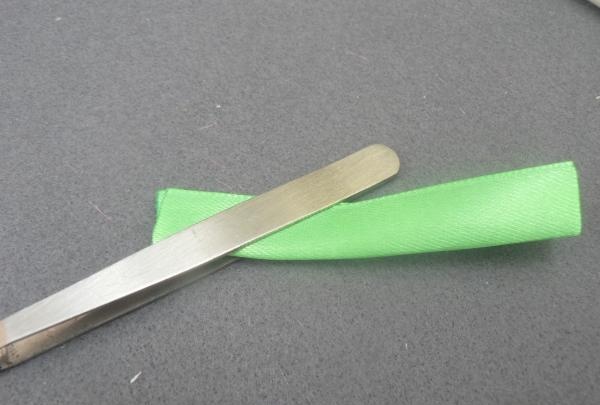
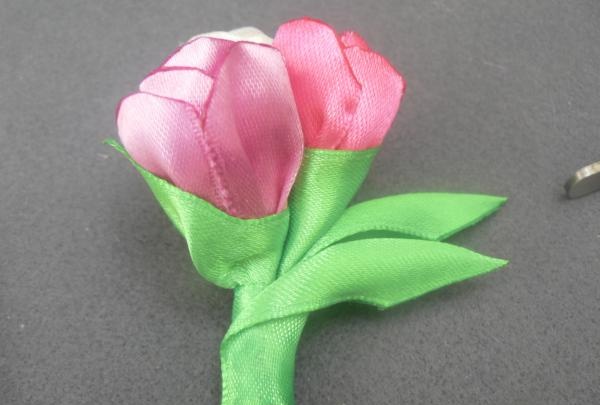
12. The flowers are ready, but where have you seen a bouquet without greenery? We make sepals.
For this we need 3 strips 7 cm long (the width of all strips is 2.5 cm).
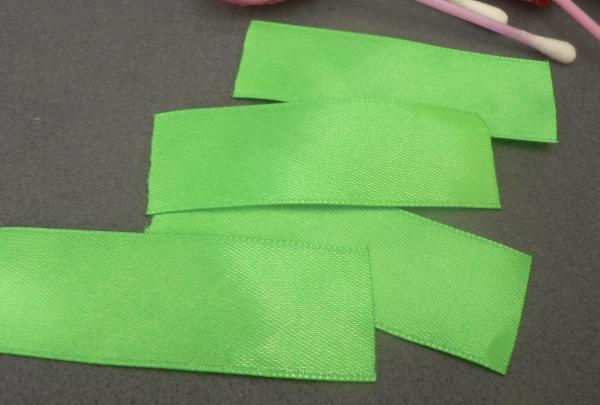
13. Fold the strip in half, face down.

14. Cut and immediately singe the cut.
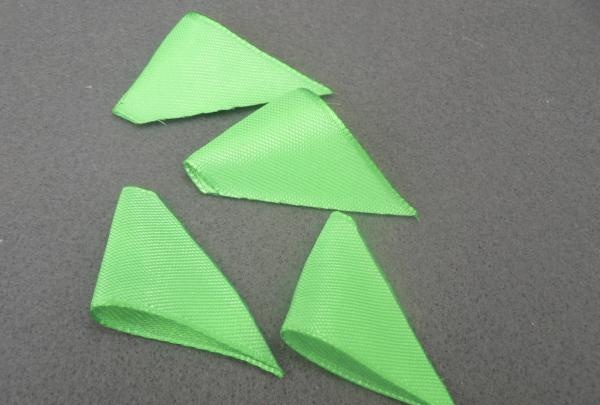
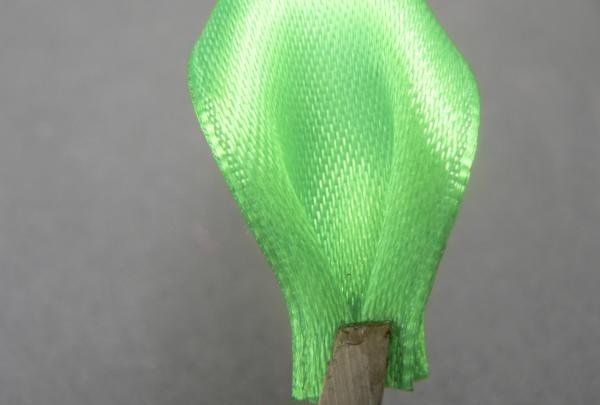
15. Turn it inside out, you get such wonderful petals.
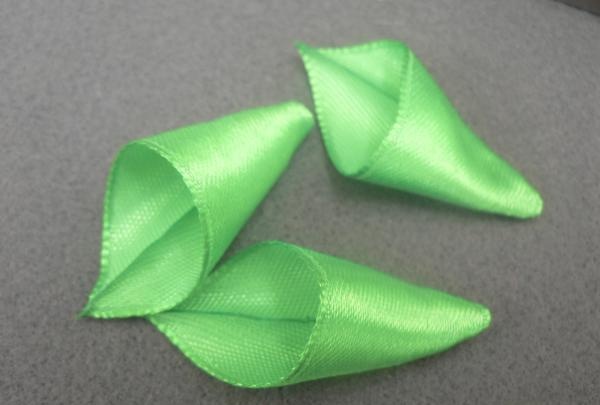
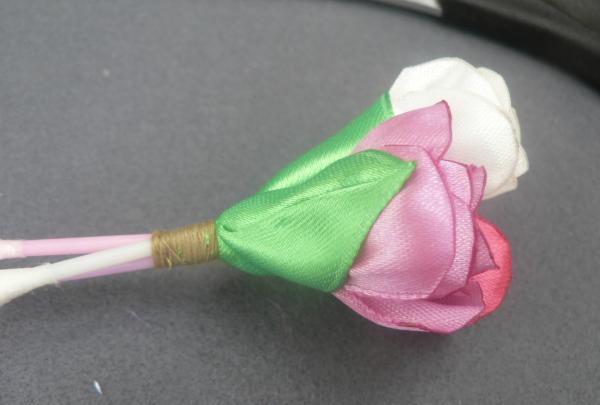
16. We put the petals on cotton swabs.
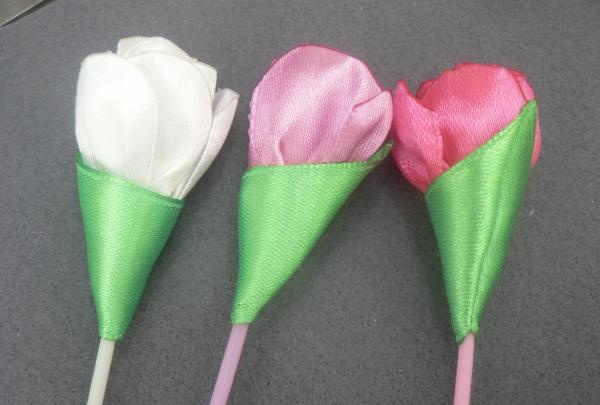
17. We tie our bouquet tightly with thread.
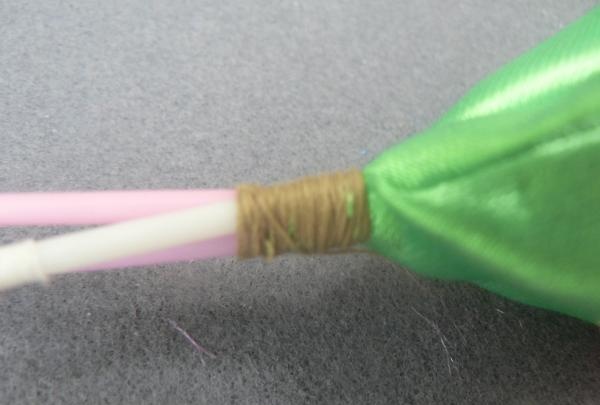
18. Trim the unnecessary ends of the sticks.
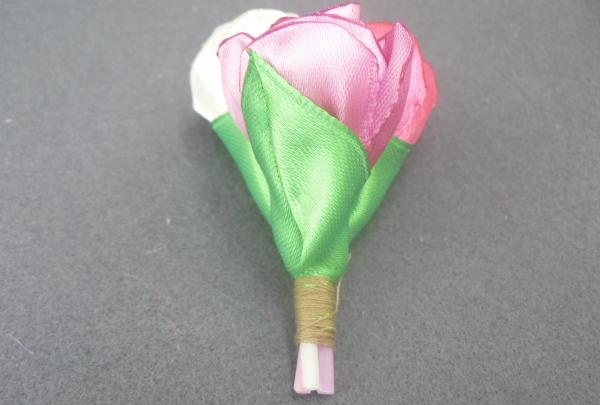
19. Next we decorate the stem of the bouquet. Wrap it with green ribbon.

20. It seemed to me that there were enough leaves in the bouquet. I decided to make the leaves a slightly different shape. To do this, cut two more rectangles 7-8 cm long. Fold them lengthwise, right side out.
21. Trim.

22. Roll up the base of the sheet.
23. Burn to seal. Glue the leaves in the place where it is necessary.
24. Actually everything! True, I also decided to add a small bow as a final chord.


If you want to use this bouquet to decorate your refrigerator, simply glue it to a magnet.
As you can see, everything is quite simple, the main thing is to be patient and have great desire! With such components everything will certainly work out!